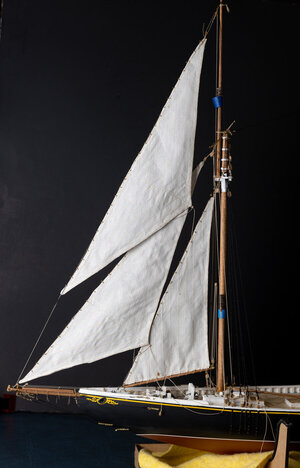
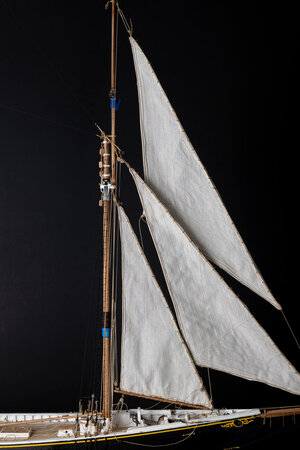
- Joined
- Sep 3, 2021
- Messages
- 4,250
- Points
- 688

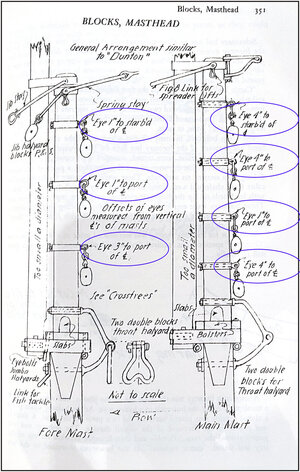
I also considered the idea that those blocks might start interfering with one another when aligned and when lowering the gaffs, leading to the offset blocks.Very likely the reason for the offset eyes.

I also considered the idea that those blocks might start interfering with one another when aligned and when lowering the gaffs, leading to the offset blocks.Very likely the reason for the offset eyes.
Not having the upper eyebolts in straight line makes sense to me, as that would create a weak spot down the length of the mast. Almost like putting a Maul into the top of a log and hitting it.
That is a nice observation, Kurt. If I understand correctly that it is about the little kink in the topmast shrouds.Very likely the reason for the offset eyes.
The bowsprit with rigging sometimes gets in the way. A trigger part. You've done a great re-do, JeffMy innate clumsiness got me as I finished my last series of photos. My bowsprit rigging got caught on my vise and broke one of the anchoring rings at the bow. It snapped my solder joint on one of the "ears" and broke open my solder joint of the ring itself.
View attachment 381833
View attachment 381834
I spent some time thinking about how to fix this without having to redo the rigging if possible. I decided it was worth trying something novel (for me). The forwardmost ring has 3 "ears" for rigging that needed to be replaced. I had some copper tubing of just the correct diameter. I started by sawing slots in the end of the tube for the ears to slot into.
View attachment 381835
Next, I soldered the brass strip "ears" in place. This sounds easy but wasn't really that easy. I chose to use some wider brass than I had additional used since the balloon jib stay is likely to need something fairly strong to be attached to.
View attachment 381836
Once I had the soldering completed, I cleaned up the excess solder with a round file and filed the inner surface smooth with the same file. One of the joints was not well soldered and I ended up redoing one of the "ears". I checked the fit before cutting the ring off the tubing and after some additional filing on the inside of the joints it fit well.
View attachment 381837
I cut the end from the tubing and slid it in place. Some paint to cover the solder and copper color and the new piece was slid onto the bowsprit.
View attachment 381838
View attachment 381839
The original shackles were reused as I was able to remove the pins by using some CA glue remover to aid in pulling out the original pins. I had assumed that I would need to make new shackles, but got lucky here. I was able to re-pin the shackles without having to retie the rigging which would have also meant redoing the footropes.
View attachment 381840
And this is why I haven't attached the catheads yet. They would not last a week while I am actively working on the ship.
After reading the posts again and some input from Johan @RDN1954, I now understand it's about the eyebolts on the top of the lower mast for lifting the gaff's. Excuses for the misunderstanding.That is a nice observation, Kurt. If I understand correctly that it is about the little kink in the topmast shrouds.
I saw that happening also by my BN, although I moved the rests for attaching the deadeyes.
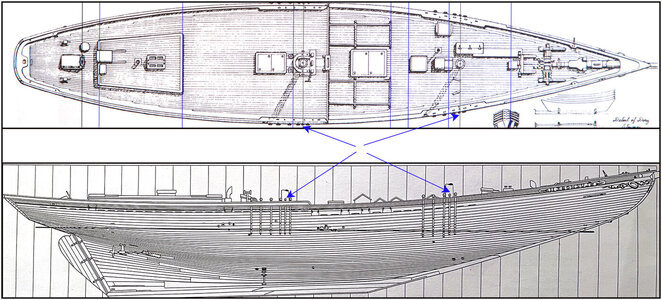
Then it is interesting to include the sketches of J.B.Jenson from his Sage. He draws in all his sketches, in which it can clearly be seen, the small deadeyes of the topmast shrouds between the 1st and 2nd main shrouds. And those small deadeyes are exactly in the middle of both masts:
View attachment 381937
2x2 blue arrows point to the little deadeyes. Then the topmast shrouds won't have a 'kink'.
But with most kits they are in the middle of the shrouds and slightly backwards. (Jenson has also drawn 5 main shrouds for the main mast.)
It's an interesting discussion whether or not it is functional, given the small angle. The angle is at the foot of the topmast. The top mast shrouds are purely for lateral forces.
My excuses for this side-step in your build-log, Jeff.
Regards, Peter
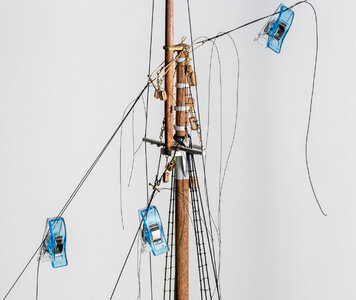
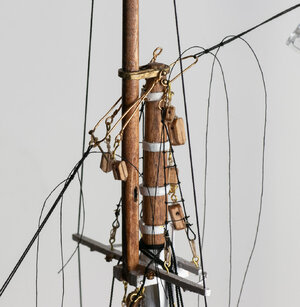
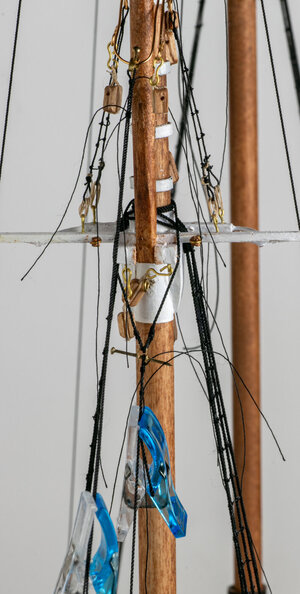
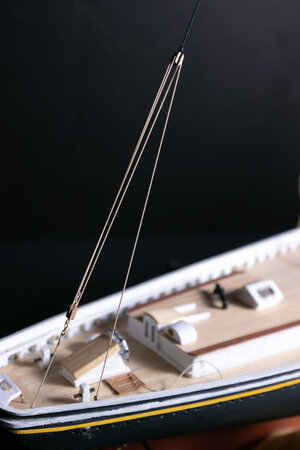
Very…Nice recovery!
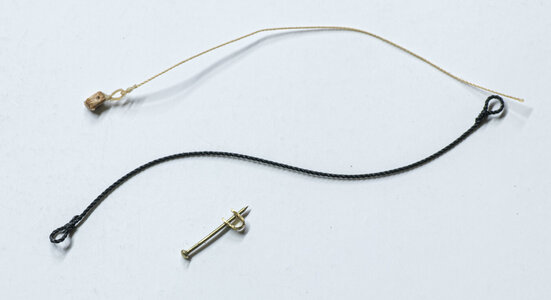
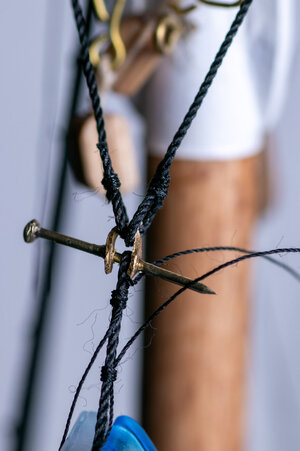
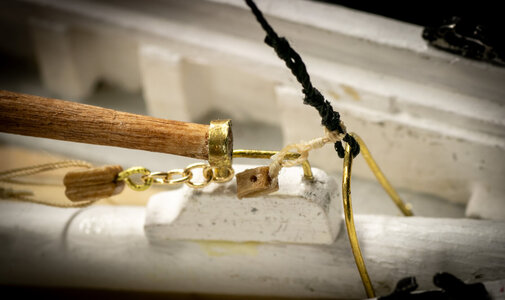
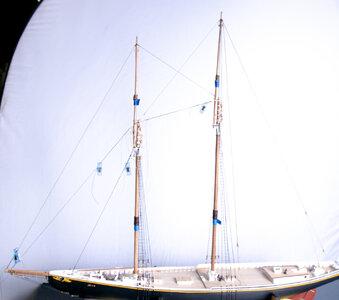
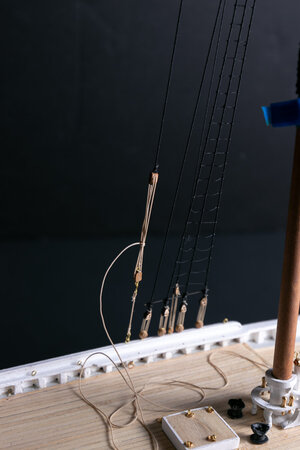
Good morning Jeff. Looking mighty fine. Awesome redo BTW. Cheers GrantI haven't decided completely about the flying backstays yet as the plans say that they were used primarily for racing and I have built the fishing version. These stays can either be used as a backstay (one at a time) or hooked to a eye after the last shroud of the mainmast. I wanted the backstay in place to counter the pull of the other stays so I added both flying backstays but rigged one to a eyebolt at the stern (starboard) and one to the storage location. I left the running end of the tackle long enough that I can change sides if I decide to do so later.
View attachment 382313View attachment 382314
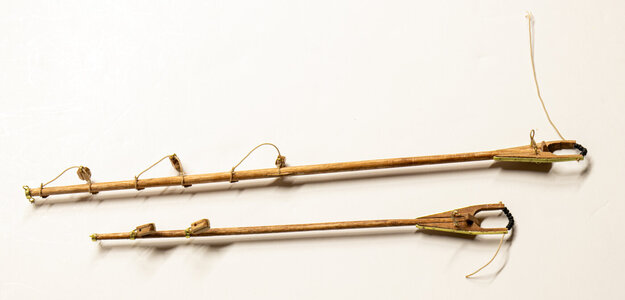
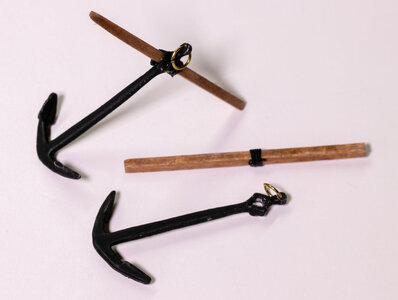
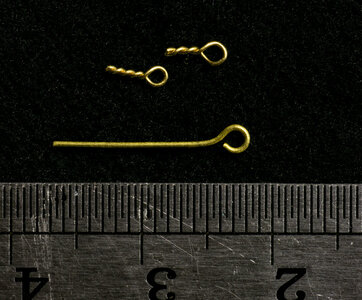
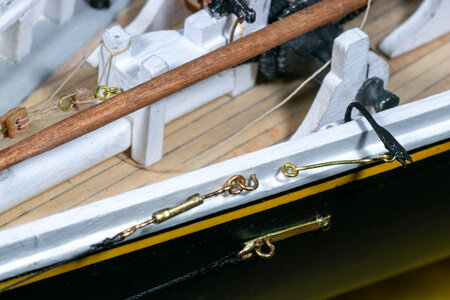
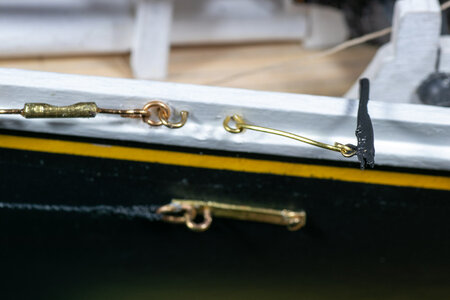
The turnbuckles in the photos with the cathead are the smallest I am going to do. I think I still might need one more for the build. With your Constitution, you're one to talk about tiny.Wow, what a tiny cathead! And I suppose you'll make some tiny turnbuckles next?
I was thinking about making working turnbuckles for my Robert E Lee. But now I’m doubting it.The turnbuckles in the photos with the cathead are the smallest I am going to do. I think I still might need one more for the build. With your Constitution, you're one to talk about tiny.

I know this from a while back (gives an idea of where I am in my Bluenose build), but what are AL, FI, and BL?don't be afraid to apply some AL, FI or BL.
Hi Hugh.I know this from a while back (gives an idea of where I am in my Bluenose build), but what are AL, FI, and BL?
No problem, Peter. I was glad that Hugh asked the question. I am certain that I can claim to follow a couple of these. I might add "SL" for "Skill Level". I decided to stay away from "Builder's Skill" after writing its abbreviation first.Hi Hugh.
In his build-log of his Bluenose, Dean @Dean62 used often his 'Artistic License' to explain a particular choice.. We shortened that to 'AL'.
In my build-log of the Bluenose I often used my 'Free Interpretation' for item from different sources. That's 'FI'. Then 'AL-FI' was born, often looking over your shoulder.
Francois @François wrote in his build-log of his Alfa Romeo that he use his 'Builder Leeway' for several items. That's the 'BL'. Then we got 'BL-AL-FI'.
Sorry for the side step, Jeff.
Regards, peter

Thanks for the explanation. I think I’m pretty much full of BL in life, although people around me would say I’m using the wrong consonant and should be using “S” instead of “L”.Hi Hugh.
In his build-log of his Bluenose, Dean @Dean62 used often his 'Artistic License' to explain a particular choice.. We shortened that to 'AL'.
In my build-log of the Bluenose I often used my 'Free Interpretation' for item from different sources. That's 'FI'. Then 'AL-FI' was born, often looking over your shoulder.
Francois @François wrote in his build-log of his Alfa Romeo that he use his 'Builder Leeway' for several items. That's the 'BL'. Then we got 'BL-AL-FI'.
Sorry for the side step, Jeff.
Regards, peter
