Bluenose - Model Shipways MS2130 - 1/64 - By JeffT [COMPLETED BUILD]

Joined
Sep 1, 2020
Messages
811
Points
353

Location
Cicero, NY
I will be building the Model Shipways Bluenose (MS2130) in 1/64 (3/16"=1') scale. This is one of the ships I have wanted to build for some time. I got pretty lucky when purchasing the kit and got it at a super sale price when Mode Expo moved their warehouse last year.

The Bluenose will be going to my older daughter when completed. This ship reminds me of her. She works hard at one full time and one occasional part-time job, so she is a hard worker. But she is also a dedicated competitor running long trail runs. I think her longest to date is 60 miles (nearly 100km). The bluenose had 2 personalities, working and racing, much like her.

In order to be transparent, I actually started the Bluenose several months ago (middle of October 2022). I plan to post updates a couple of times per week until I get caught up with the actual build. I am using other build logs that I have found as references as well as the plethora of information available online about the Bluenose for guidance. Specifically, the build by the Suburban Ship Modeler is most helpful.

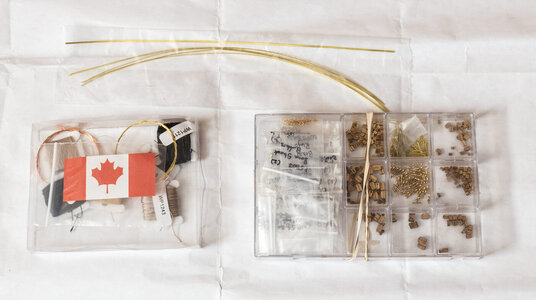
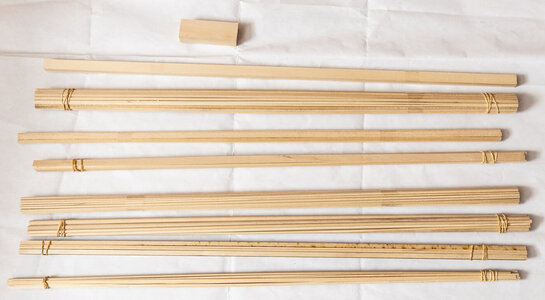
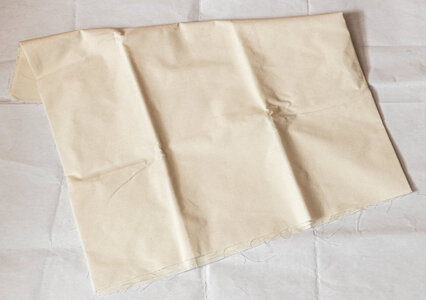
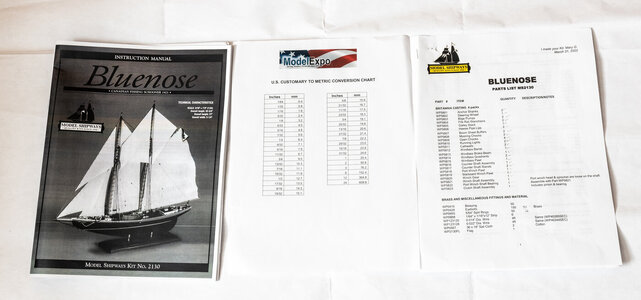
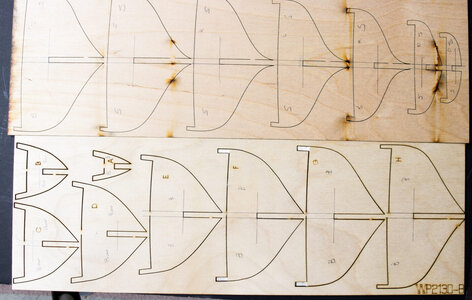
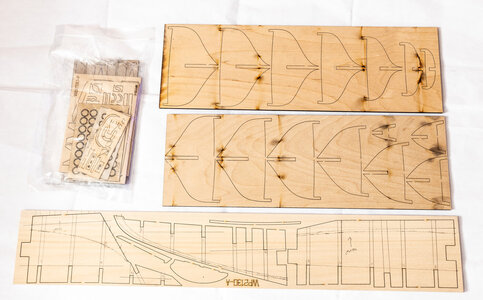
To start here are some pictures of the kit plans and supplies. I checked the parts list and found I was short on the listed number of eyebolts so I contacted Model Expo. I received the additional parts within a week at no charge and no shipping. Great service.
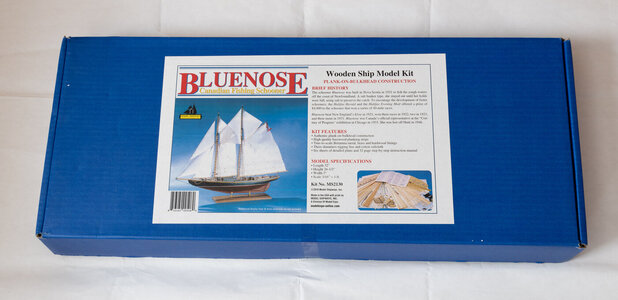
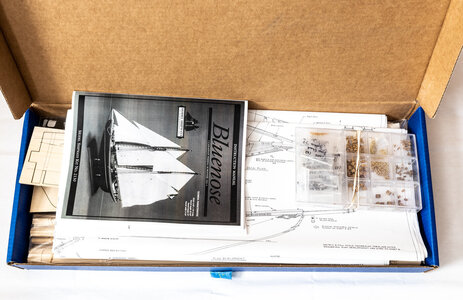
EOSR0077.jpgEOSR0078.jpgEOSR0080.jpgEOSR0081.jpgEOSR0083.jpgEOSR0084.jpgEOSR0085.jpgEOSR0086.jpg
 
Last edited:
I will be building the Model Shipways Bluenose (MS2130) in 1/64 (3/16"=1') scale. This is one of the ships I have wanted to build for some time. I got pretty lucky when purchasing the kit and got it at a super sale price when Mode Expo moved their warehouse last year.

The Bluenose will be going to my older daughter when completed. This ship reminds me of her. She works hard at one full time and one occasional job, so she is a hard worker. But she is also a dedicated competitor running long trail runs. I think her longest to date is 60 miles (nearly 100km). The bluenose had 2 personalities, working and racing, much like her.

In order to be transparent, I actually started the Bluenose several months ago (middle of October 2022). I plan to post updates a couple of times per week until I get caught up with the actual build. I am using other build logs that I have found as references as well as the plethora of information available online about the Bluenose for guidance. Specifically, the build by the Suburban Ship Modeler is most helpful.
View attachment 359612View attachment 359613View attachment 359614View attachment 359615View attachment 359616View attachment 359617View attachment 359618View attachment 359619

To start here are some pictures of the kit plans and supplies. I checked the parts list and found I was short on the listed number of eyebolts so I contacted Model Expo. I received the additional parts within a week at no charge and no shipping. Great service.
Hi Jeff. Nice to see that you started a build-log of building the MS-Bluenose.
I will ad it to the BN-list with information of (almost) all the BN’s in this SoS:
It’s set up in the YuanQing area, but in the second part of the list you will find links to other MS-BN build.
You are among a lot of other enthousiast BN builders. So don’t hesitate to ask questions.
Regards, Peter
 
I will be building the Model Shipways Bluenose (MS2130) in 1/64 (3/16"=1') scale. This is one of the ships I have wanted to build for some time. I got pretty lucky when purchasing the kit and got it at a super sale price when Mode Expo moved their warehouse last year.

The Bluenose will be going to my older daughter when completed. This ship reminds me of her. She works hard at one full time and one occasional part-time job, so she is a hard worker. But she is also a dedicated competitor running long trail runs. I think her longest to date is 60 miles (nearly 100km). The bluenose had 2 personalities, working and racing, much like her.

In order to be transparent, I actually started the Bluenose several months ago (middle of October 2022). I plan to post updates a couple of times per week until I get caught up with the actual build. I am using other build logs that I have found as references as well as the plethora of information available online about the Bluenose for guidance. Specifically, the build by the Suburban Ship Modeler is most helpful.

To start here are some pictures of the kit plans and supplies. I checked the parts list and found I was short on the listed number of eyebolts so I contacted Model Expo. I received the additional parts within a week at no charge and no shipping. Great service.
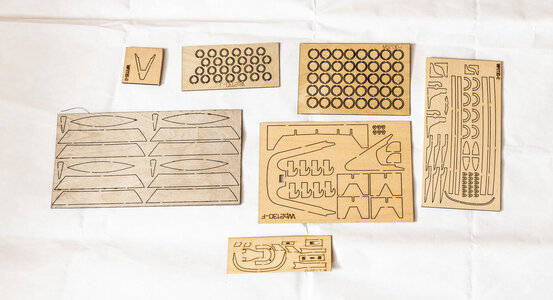
View attachment 359612View attachment 359613View attachment 359614View attachment 359615View attachment 359616View attachment 359617View attachment 359618View attachment 359619
Jeff, glad to watch you build this kit. I have ordered it and I will be watching your posts with interest
 
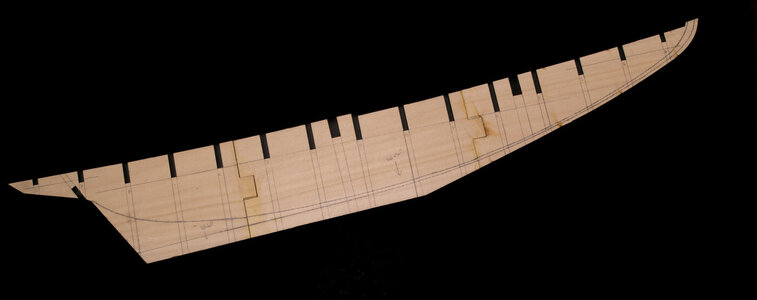
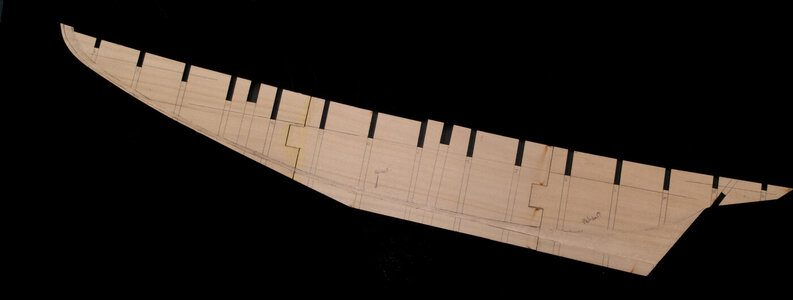
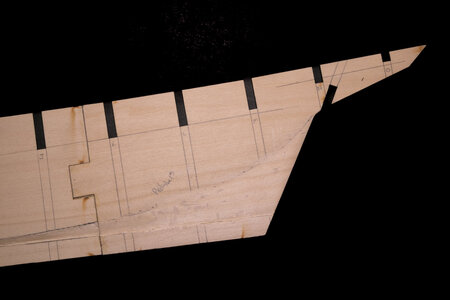
I glued the 3 false keel parts together and then marked the various reference lines on both sides.
IMG_6978.jpgIMG_6979.jpg

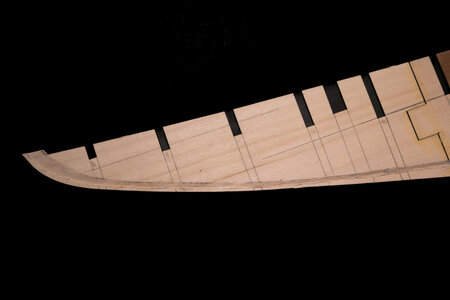
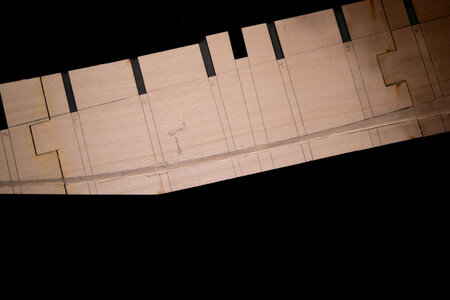
The next step was to cut the rabbit the full length of the false keel, again on both sides. This went much quicker than I expected it to go. I used a Xacto #11 blade to cut the lower line and a #17 (chisel) blade to make the actual rabbit cut. Once I got the angle right, I was able to slice out the proper amount of wood with a single cut. Some clean-up of the cut was needed after the preliminary pass.
IMG_6980.jpgIMG_6981.jpgIMG_6982.jpg


After cutting the rabbit, I added some 1/8" stock on each side to reinforce the joints in the false keel to help strengthen it.
IMG_7026.jpg
 
Last edited:
Always good to see a nice start, Jeff. A nice flow of the rabbet into the deadwood at the back of the keel.
Regards, Peter
Just slow work with careful cutting. I later realized while planking that I didn't cut the rabbit at the stern deep enough, so I had to spend some more time on it. It was much more difficult to do with the bulkheads in place.
 
Time to work on the bulkheads. First, they were marked with the reference line from the plans. In most cases the reference line coincided with the top of the slot in the bulkhead where it fits to the false keel. The location of the refence line changes some on the bulkheads near the bow & stern and is used to show that the bulkheads are properly aligned during assembly.
IMG_6991.jpg

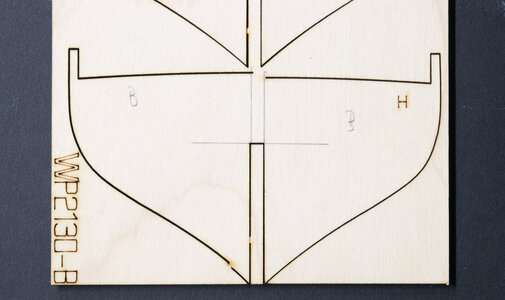
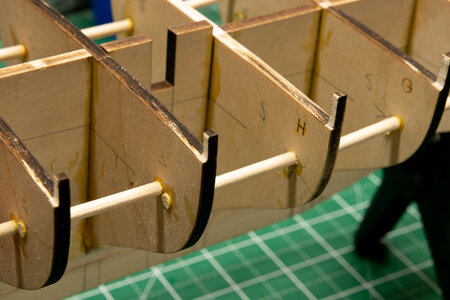
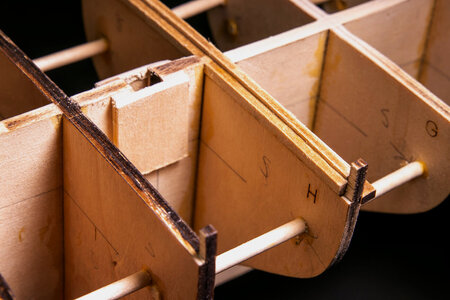
One problem was noted on bulkhead H. The laser cut line from one side did not match the line cut for the other side. The good news was that the higher line had extra material as opposed to the lower line not having enough material. I used a paper template and marked the correct line on the higher side and sanded down to the line, so the curve for the deck was maintained and that the two sides were even.
IMG_6992.jpg

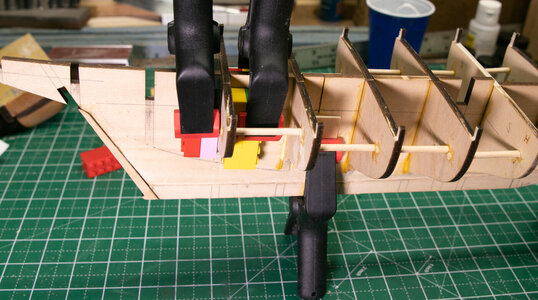
I did not take very many pictures of the installation of the bulkheads. I used Lego blocks on all four sides of each bulkhead to square the bulkheads with the false keel. You can see the results of the reshaping of the top of Bulkhead H in the picture. Titebond II was used to glue the bulkheads in place.
IMG_7027.jpg

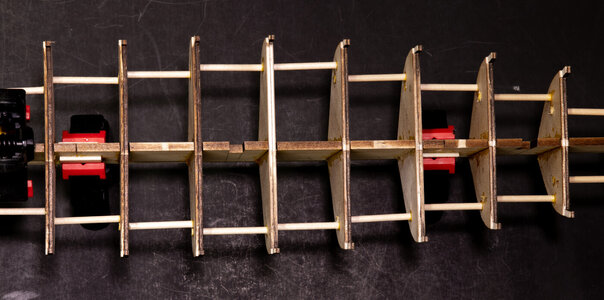
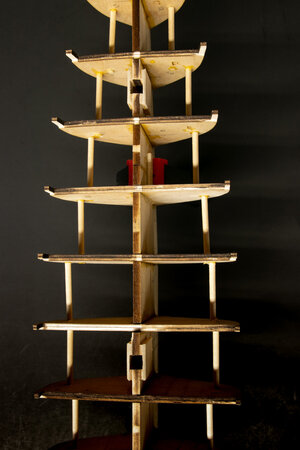
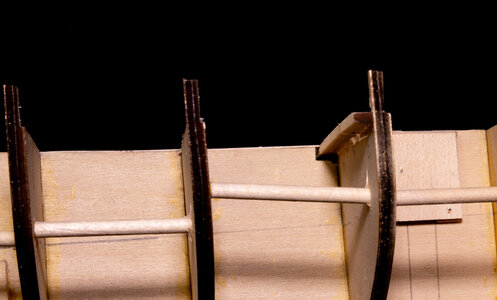
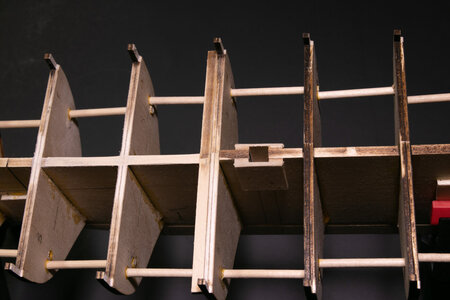
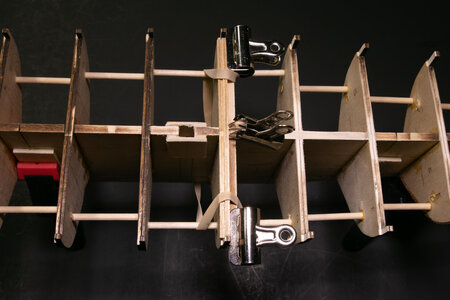
I also decided to strengthen the hull with 3/16" dowels set between each of the bulkheads. I didn't have a drill bit long enough to do more than one bulkhead's width, so I glue the dowels between 2 bulkheads moving the dowels away from the false keel based on the size of the bulkheads.
IMG_7028.jpg IMG_7029.jpg
Covers for the masts were added to both mast slots in the false keel. The width of the hole is based on the size of the dowels used for the masts.
IMG_7030.jpg

It's not shown here, but I also added some V shaped pieces (1/16"" square sanded down along the diagonal of the square) in the corners of the mast hole to fit the mast dowels more tightly.
 
Time to work on the bulkheads. First, they were marked with the reference line from the plans. In most cases the reference line coincided with the top of the slot in the bulkhead where it fits to the false keel. The location of the refence line changes some on the bulkheads near the bow & stern and is used to show that the bulkheads are properly aligned during assembly.
View attachment 360935


One problem was noted on bulkhead H. The laser cut line from one side did not match the line cut for the other side. The good news was that the higher line had extra material as opposed to the lower line not having enough material. I used a paper template and marked the correct line on the higher side and sanded down to the line, so the curve for the deck was maintained and that the two sides were even.
View attachment 360936


I did not take very many pictures of the installation of the bulkheads. I used Lego blocks on all four sides of each bulkhead to square the bulkheads with the false keel. You can see the results of the reshaping of the top of Bulkhead H in the picture. Titebond II was used to glue the bulkheads in place.
View attachment 360937


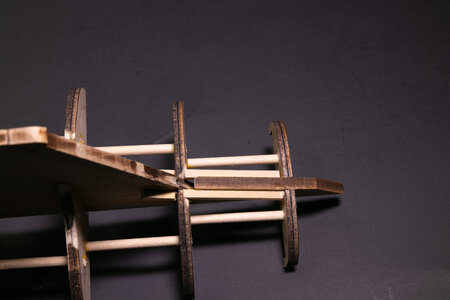
I also decided to strengthen the hull with 3/16" dowels set between each of the bulkheads. I didn't have a drill bit long enough to do more than one bulkhead's width, so I glue the dowels between 2 bulkheads moving the dowels away from the false keel based on the size of the bulkheads.
View attachment 360938 View attachment 360939
Covers for the masts were added to both mast slots in the false keel. The width of the hole is based on the size of the dowels used for the masts.
View attachment 360940

It's not shown here, but I also added some V shaped pieces (1/16"" square sanded down along the diagonal of the square) in the corners of the mast hole to fit the mast dowels more tightly.
A solid base with the dowels between the bulkheads, Jeff. It will also give the bulkheads resistance when sanding the sides in shape for the nice lining of the hull planks. And a good prevent for twisting.
I see you have also sanded the stanchions a bit thinner. You did it before installing, lying flat?
Regards, Peter
 
The stanchions on the bulkheads were cut down before installing the bulkheads to the keel. I made a simple jib of two pieces of 1/8 x 1/8" scrap to fit the stanchions. I sawed down to the jig on the stern side and sawed flat across the jig (using a thin Xacto saw blade) to remove 1/16". The instructions say to do this to match the 1/8" false stanchions to be added later. Most builds have cut these off and gone completely with1/8" square false stanchions. Spoiler alert: I ended up cutting them off after I installed the bulwarks. They were not always the correct thickness (side to side, not fore and aft which was correct after thinning using the jig).
 
Last edited:
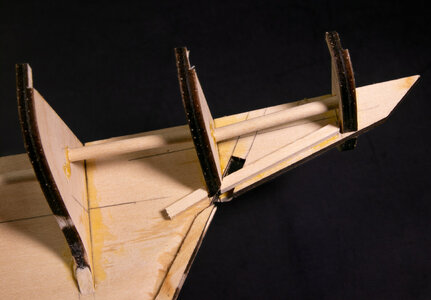
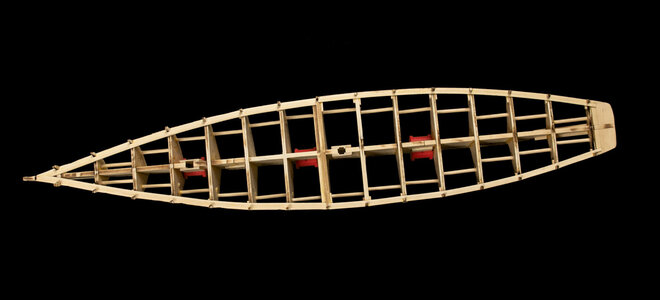
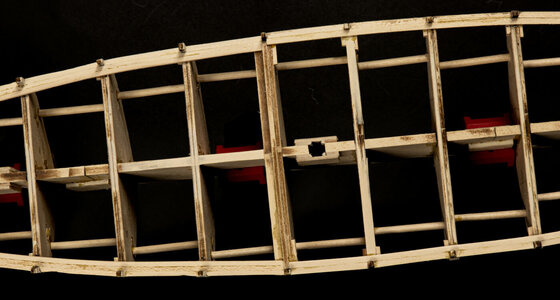
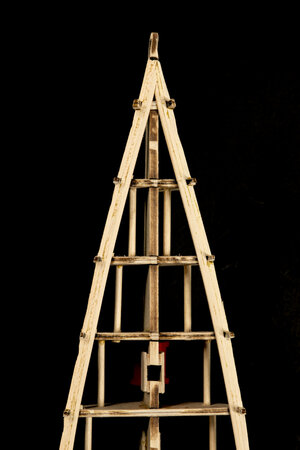
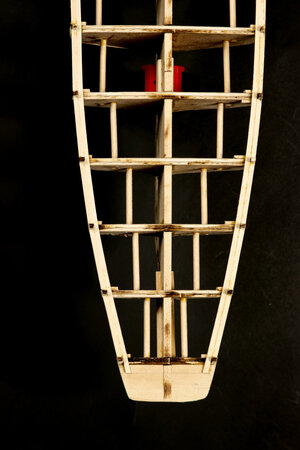
Horn timbers were cut and installed according to the plans. These pieces give some surface area for attaching the planking near the stern. Also note that the use of the bracing dowels greatly reduced the chance of breaking off the "pointy" end of the keel at the stern, something that has happened to a number of builders of this kit. I probably should have been more careful of matching the reference lines of the keel and the bulkheads, but the flow of the deck was correct in the end so no harm.
IMG_7031.jpgIMG_7032.jpg
There is a step at about midship between the quarterdeck and the foredeck. Three laser cut pieces are supplied that have slight curves to follow the sloping of the side-to-side deck. A notch needs to be cut in the keel on the aft side of bulkhead H to accommodate the great beam. In order to make this all fit correctly I had to add a shim over the keel between bulkheads F and H. I used a thin plank for my scrap wood from other build and sanded until it was flat across and it met the forward part of the great beam assembly correctly. As you can see in the pictures, it was sanded very thin near F and got a bit thicker at H. This has been noted in other builds of the kit as well.
IMG_7035.jpgIMG_7034.jpgIMG_7036.jpgIMG_7037.jpgIMG_7039.jpg


I will need to add some thin shimming material to the tops of some of the bulkheads later so that the deck lies smoothly.
 
Horn timbers were cut and installed according to the plans. These pieces give some surface area for attaching the planking near the stern. Also note that the use of the bracing dowels greatly reduced the chance of breaking off the "pointy" end of the keel at the stern, something that has happened to a number of builders of this kit. I probably should have been more careful of matching the reference lines of the keel and the bulkheads, but the flow of the deck was correct in the end so no harm.
View attachment 361070View attachment 361071
There is a step at about midship between the quarterdeck and the foredeck. Three laser cut pieces are supplied that have slight curves to follow the sloping of the side-to-side deck. A notch needs to be cut in the keel on the aft side of bulkhead H to accommodate the great beam. In order to make this all fit correctly I had to add a shim over the keel between bulkheads F and H. I used a thin plank for my scrap wood from other build and sanded until it was flat across and it met the forward part of the great beam assembly correctly. As you can see in the pictures, it was sanded very thin near F and got a bit thicker at H. This has been noted in other builds of the kit as well.
View attachment 361073View attachment 361072View attachment 361074View attachment 361075View attachment 361076


I will need to add some thin shimming material to the tops of some of the bulkheads later so that the deck lies smoothly.
One of these days, I'd love to start this model. I'm anxiously awaiting the building of your hull. Please go into detail on how you plank it.
 
One of these days, I'd love to start this model. I'm anxiously awaiting the building of your hull. Please go into detail on how you plank it.
I am afraid you might be disappointed in my documentation of planking the hull. I have a few pictures but not many. I will attempt to describe the process as best I can when I get to that post. Still some more things to do before planking so stay tuned.
 
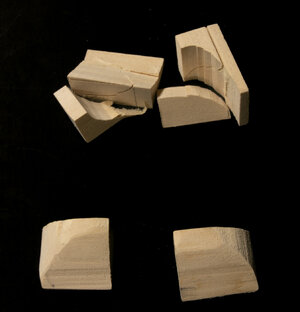
The stern filler block is shaped from the supplied block of wood. I traced the shape of the pieces onto three sides of the halves of the supplied block of wood. I then used a scroll saw to cut out the roughly shaped pieces.
IMG_7046.jpg
Once glued in place I started shaping further by sanding. The sharp eyed among you will note that I got overly aggressive on the port side and ended up having to glue an additional wood strip across the end and do some reshaping. Got'ta love wood and the fact that is somewhat forgivable to errors.

IMG_7047.jpg

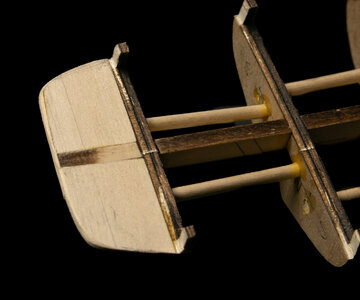
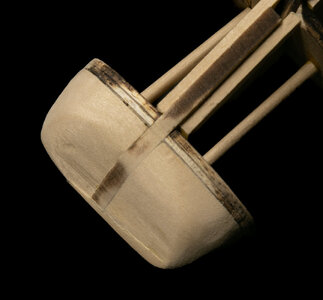
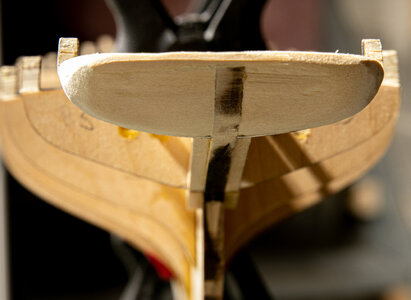
The (nearly) final result. Time will tell whether it is shaped correctly. I have a feeling that this is where builders of this model miss the shape and/or size of the filler block and then the laser cut rails at the stern don't fit correctly.
IMG_7048.jpgIMG_7049.jpg
 
I added the waterways all around the ship. The process was to add the long strips inside the bulkhead extensions first and then the short pieces between each bulkhead. The fore deck has 3 pieces and the quarterdeck consists of 2 pieces. It is not immediately evident in these pictures, but I glued on some 3/16" square pieces along the bulkheads for the ends of the short strips (those between the extensions) to rest on while glue was drying.
IMG_7053.jpgIMG_7054.jpgIMG_7055.jpgIMG_7056.jpgIMG_7057.jpg

I don't really care for how I ended up doing the bow, but it will not be visible in the final model.
 
Last edited:
Back
Top