Suggest a young woman then, did wonders for my arthritis!Not exactly. I just started my 12 hour shift at work.
You are using an out of date browser. It may not display this or other websites correctly.
You should upgrade or use an alternative browser.
You should upgrade or use an alternative browser.
Cheap Chinese Halcon speed build [COMPLETED BUILD]
- Thread starter DARIVS ARCHITECTVS
- Start date
- Watchers 45
-
- Tags
- completed build halcon
Ain't got oneAwh, boo was enjoying this kit but the planks are too short...View attachment 423960hrrumph!
To save himself trouble...Who was said to be terribly bent....
Suggest a young woman then, did wonders for my arthritis!
Ain't got one
Ain't got one
Ain't got one
Why are you not working rheñ?Not exactly. I just started my 12 hour shift at work.
No, he came from KentTo save himself trouble...
I guess I got lucky (yea me!). But sorry about that. My transom was fitted between the gunwales which took a bit of trimming. It was not wide enough to fit on the ends and so that is where I thought it was supposed to go. And then all the planks except for the last (at the keel) were either a tad too long or just right. I had to make an extension on both sides for the last.Awh, boo was enjoying this kit but the planks are too short...View attachment 423960hrrumph!
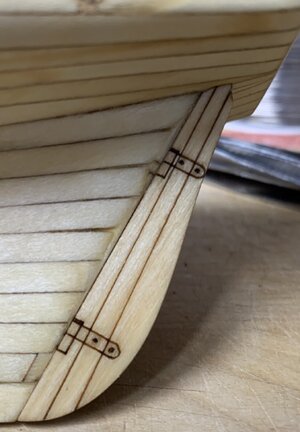
Your clamping iß excellent hope I never meet u!
Thanks. And I was thinking this will be next for my old eyes. It should still be a skill level or two up though.Your clamping iß excellent hope I never meet u!
Your clamping iß excellent hope I never meet u!
But I was thinking we could have a pint or three! The vodka would have to wait. Unless we were at a pub. Then it is limited. I can't have that stuff in the house because I tend to drink it. Until it is empty. And then get some more. And so it is beer only at home!
M.
Dear @Zoopher and all othersWhy are you not working rheñ?
please!!!!
you are writing here in a building log of a member, who want to show and explain his ship modeling -
and I guess he and nobody else is really interested in your alcohol status
This is not a CHAT
-> so please try not to be off topic
I was waiting to see if Zoopher could raise my page count over Paul's Vasa Build log... 

No worries, Uwe. I'll get a few boat building words in edgewise. At least we found out Zoopher doesn't have a plank stretcher!
No worries, Uwe. I'll get a few boat building words in edgewise. At least we found out Zoopher doesn't have a plank stretcher!

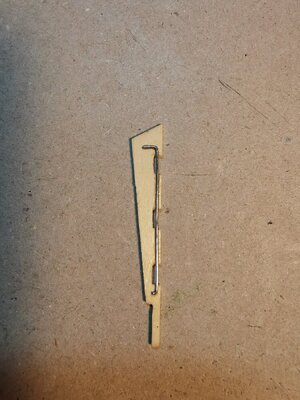
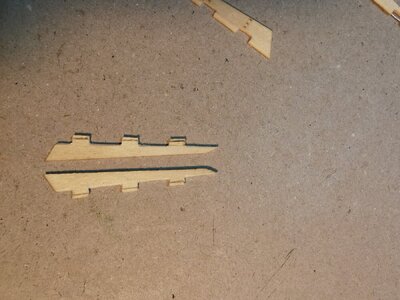
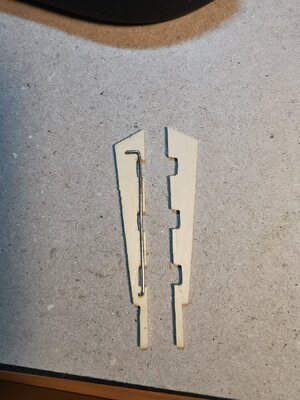
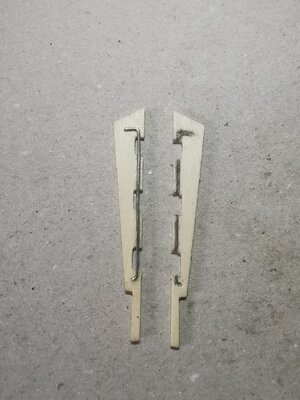
I learned a lot following the making of your Halcon. It is the first model of a wooden ship that I started making. I enjoy every step of the making! I'm not in a hurry, I'm even complicating it a little. For example, making the rudder, which consisted of gluing two halves together, was too simple for me. I wanted the rudder to be movable.....
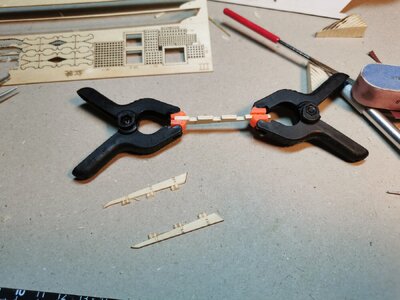
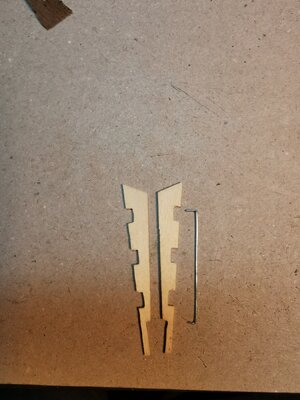
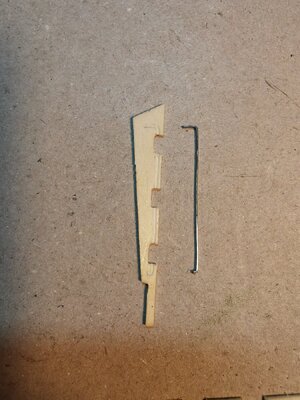
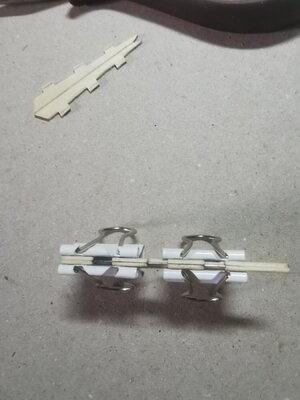


Attachments
That's a great upgrade. This model is not one I would recommend as a first model because of the nonexistent instructions and crappy materials, but if you possess some hand skills, you can make a decent mode out of it, especially if you make modifications like this.I learned a lot following the making of your Halcon. It is the first model of a wooden ship that I started making. I enjoy every step of the making! I'm not in a hurry, I'm even complicating it a little. For example, making the rudder, which consisted of gluing two halves together, was too simple for me. I wanted the rudder to be movable.....
View attachment 425403
View attachment 425404
View attachment 425405
View attachment 425406
View attachment 425407
View attachment 425408
View attachment 425409
View attachment 425410
Day 36
Slowly rigging the booms. Forgot my damned magnifying headset back home again. I hope I don’t go blind from this… (C’mon Zoopher! Let’s hear the punchline to that!)
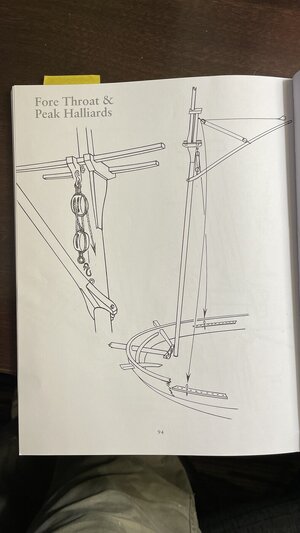
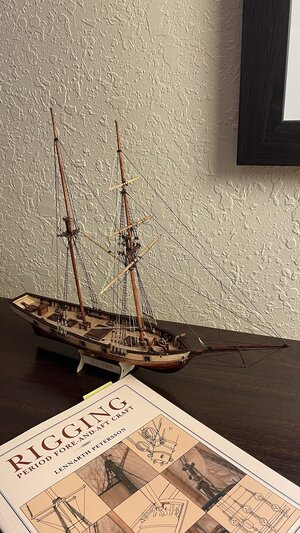
Anyway, the rigging supporting the fore gaff boom will be done to the diagrams in Petersson’s book below.
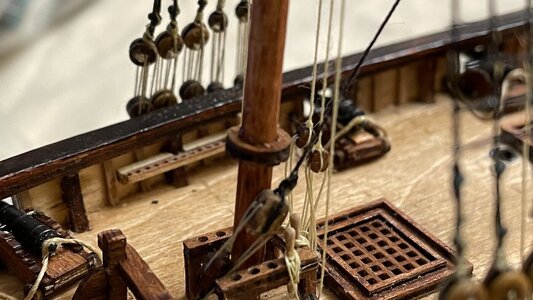
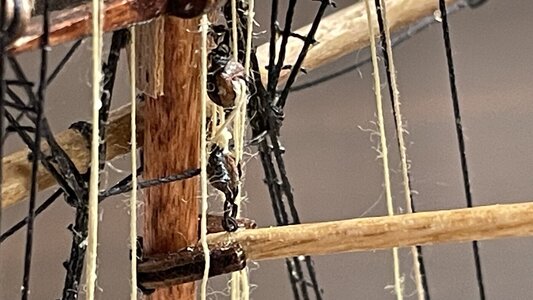
The rings that supports the lower fore sail and main sail booms were glued around the masts. I had to break both rings in half to get them around the masts and reassemble each ring from two pieces. Below is the foremast boom support ring.
Eyebolts were glued into holes drilled in the foremast for rigging blocks to hook onto.
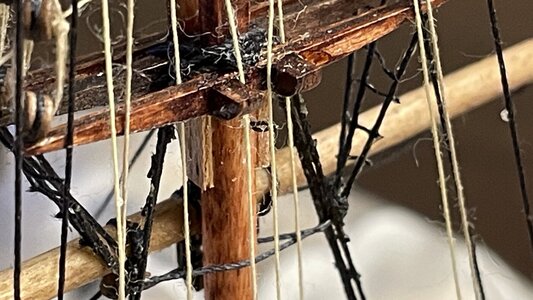
The tiny 1mm eyebolt is hard to see below the masthead. Keep in mind how small this is. The blocks are 2.5mm.
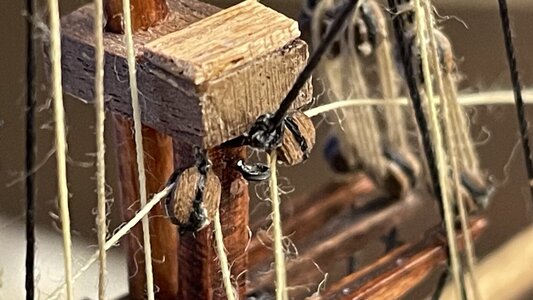
To simulate rollers, a series of overhand knots were made in the heavy coat thread used for fashioning the parrels.
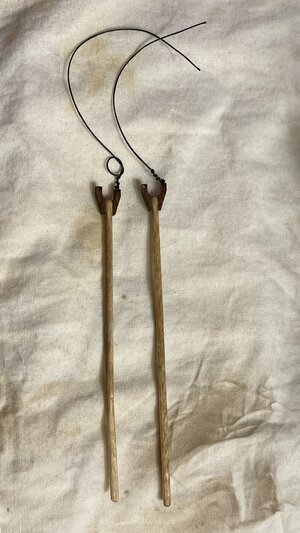
It’s easier to see magnified 5x.
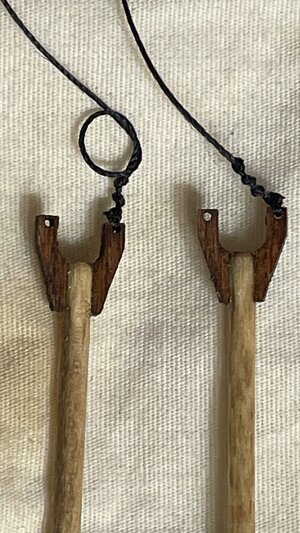
The end of the parrel is tied off and trimmed after the boom is fitted to the mast.
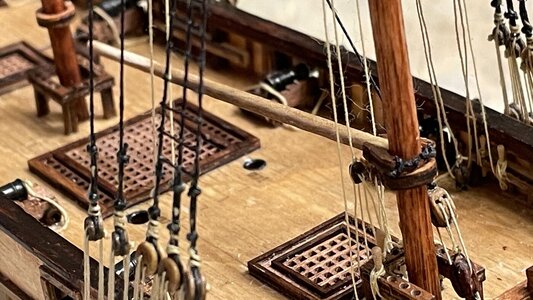
Parrel just before the bitter end of black thread is trimmed off.
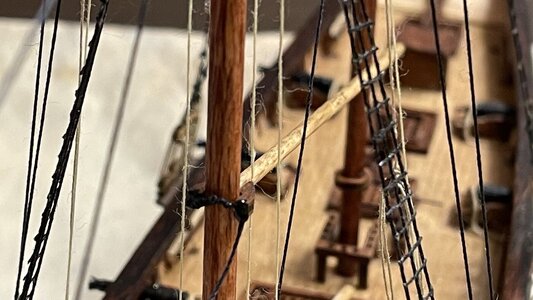
The halyard for the gaff boom is rigged with blocks, and the fall is lead downward and belayed. For the upper fore gaff halyard, a belaying point is prepared by installing a belaying pin in the starboard pin rack outboard of the foremast, third hole from the forward end of the pinrail.
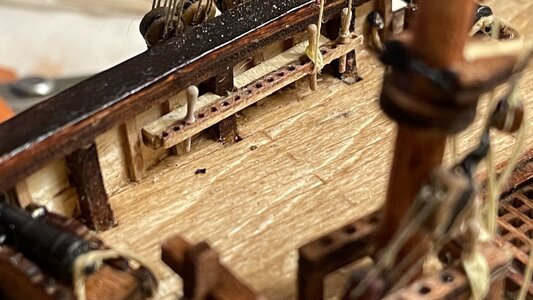
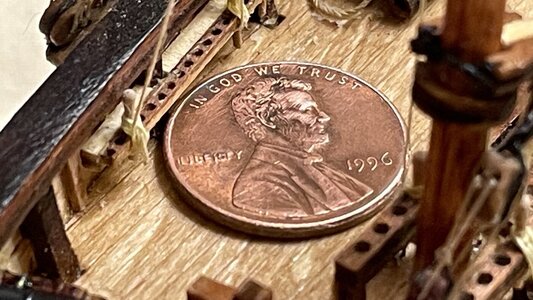
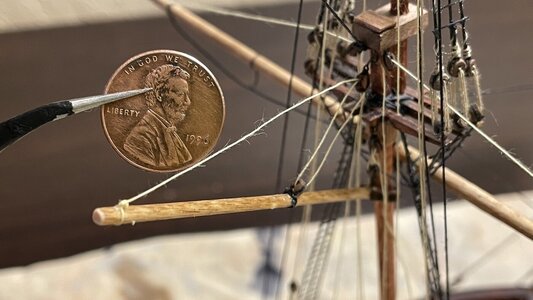
The thin tan thread is properly belayed to the pin using two sets of tweezers. The penny shows just how small this work is. The belaying pin is 6mm long, and I tied it using just my eyes without use of any magnification.
Now that the halyard is done, next is the lift line which supports the aft end of the gaff.
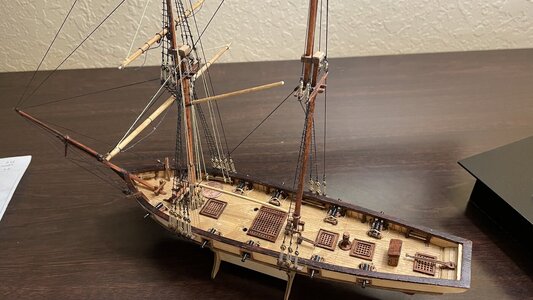
The lift is rigged and belayed to the same pin location on the port side that the halyard was belayed to on the starboard side.
Progress so far.
Slowly rigging the booms. Forgot my damned magnifying headset back home again.
 I hope I don’t go blind from this… (C’mon Zoopher! Let’s hear the punchline to that!)
Anyway, the rigging supporting the fore gaff boom will be done to the diagrams in Petersson’s book below.

The rings that supports the lower fore sail and main sail booms were glued around the masts. I had to break both rings in half to get them around the masts and reassemble each ring from two pieces. Below is the foremast boom support ring.

Eyebolts were glued into holes drilled in the foremast for rigging blocks to hook onto.

The tiny 1mm eyebolt is hard to see below the masthead. Keep in mind how small this is. The blocks are 2.5mm.

To simulate rollers, a series of overhand knots were made in the heavy coat thread used for fashioning the parrels.

It’s easier to see magnified 5x.

The end of the parrel is tied off and trimmed after the boom is fitted to the mast.

Parrel just before the bitter end of black thread is trimmed off.

The halyard for the gaff boom is rigged with blocks, and the fall is lead downward and belayed. For the upper fore gaff halyard, a belaying point is prepared by installing a belaying pin in the starboard pin rack outboard of the foremast, third hole from the forward end of the pinrail.

The thin tan thread is properly belayed to the pin using two sets of tweezers. The penny shows just how small this work is. The belaying pin is 6mm long, and I tied it using just my eyes without use of any magnification.

Now that the halyard is done, next is the lift line which supports the aft end of the gaff.

The lift is rigged and belayed to the same pin location on the port side that the halyard was belayed to on the starboard side.

Progress so far.


Last edited:
The rigging is well done considering the scale, but...what are we gonna do with all the fuzzzzzzzzzzzzzzzz on the thread? Have you tried to run the thread through beeswax?
And where in the world did you find that massive penny???
- Joined
- Jun 17, 2021
- Messages
- 1,653
- Points
- 488

Working at that tiny scale, the camera sees and magnifies a lot of stuff the viewer won't see. My question is: how do you breathe while doing the work?
Ire-iterate; The recipient of this little gem is getting quite a little treasure!
Ire-iterate; The recipient of this little gem is getting quite a little treasure!
I am using standard cotton/poly sewing thread. The fuzz is only noticeable at the great magnification used in the photos. I did not take the time to run the thread through beeswax as you can see. Maybe I should try that. At this point, I'm a bit hesitant to try taking an alcohol flame to the boat to try to get rid of the fuzz, especially having never done that before.The rigging is well done considering the scale, but...what are we gonna do with all the fuzzzzzzzzzzzzzzzz on the thread? Have you tried to run the thread through beeswax?
What you should also be asking is how I can SEE such small detail without my magnifying headset! I'm 59 years old and still have steady hands, and hoping to get as many models done before age takes its toll.Working at that tiny scale, the camera sees and magnifies a lot of stuff the viewer won't see. My question is: how do you breathe while doing the work?
Ire-iterate; The recipient of this little gem is getting quite a little treasure!


