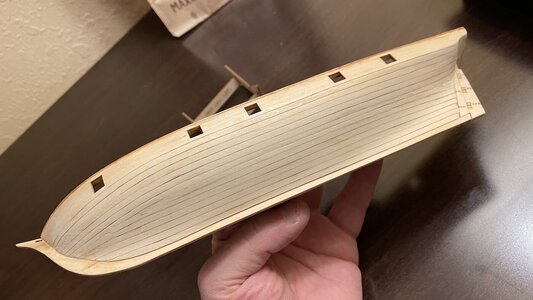
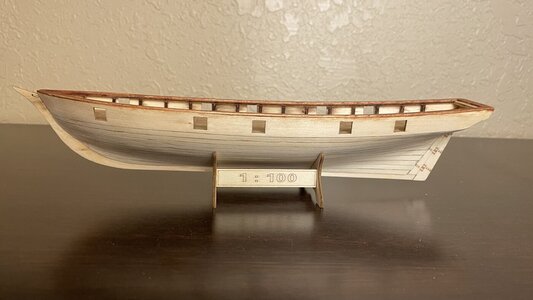
Cheap Chinese Halcon speed build [COMPLETED BUILD]

Joined
Jan 1, 2018
Messages
4,682
Points
688

Location
Ramsey, Minnesota, USA
Since a few of the members here are trying their hand at making a decent model out of the cheap Chinese Halcon or Harvey Baltimore sloops, and since I had a Halcon kit sitting around for a year of so, I started a speed build of it with bashing limited to deadeye, cannon, and blocks replacements and proper rigging. The reason for taking time away from HMS Sovereign of the Seas is because my job has changed and I have to drive to a neighboring State each week to work, and I needed a sanity project at the hotel since I'm cut off from my home computer, work space, and all my tools. Let's see how long this little boat takes...

So, here we go.

Day 1

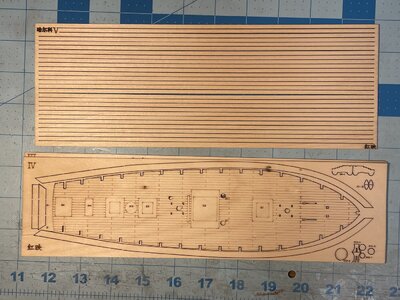
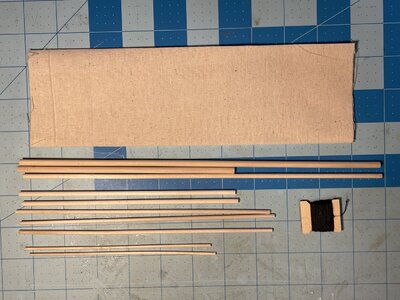
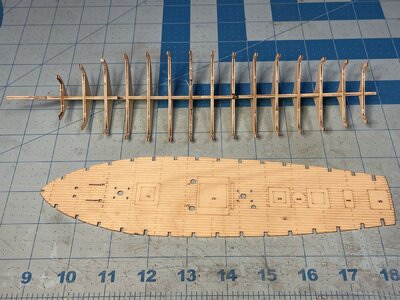
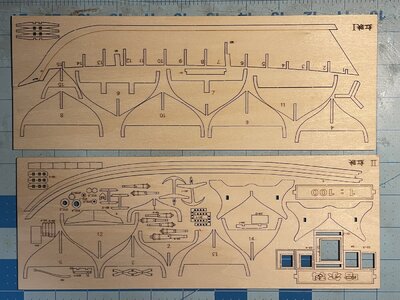
Here is what you get for $12.00 US. Thin laser cut plywood parts, some rough sail cloth, a spool of black thread, and some dowels.
IMG_1022.JPG

IMG_1023.JPG

IMG_1024.JPG

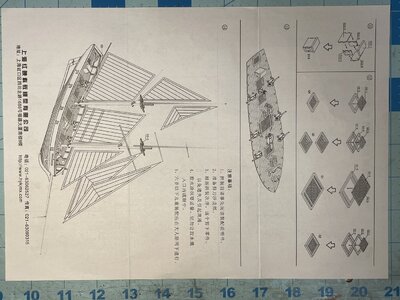
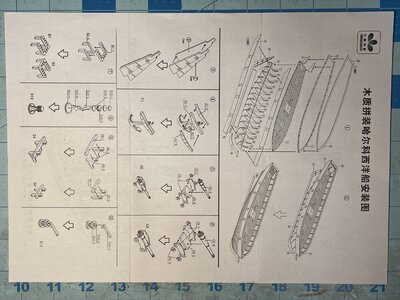
One sheet on instructions, printed on both sides. Yeah... these REALLY suck. The alignment of some parts is not possible to determine from the pictures in many cases. The writing in Chinese doesn't offer any help. I love how the instructions tell you to install the cannon carriages BACKWARDS. ROTF ROTF ROTF Makes me giggle like an idiot. The anchor stocks are not in the correct orientation also.
IMG_1025.JPG

IMG_1026.JPG

The parts had very minimal wood attachments to the rest of the sheet, making them very easy to remove.
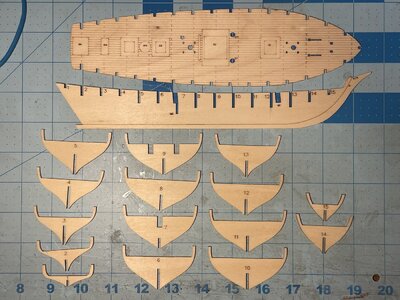
IMG_1027.JPG

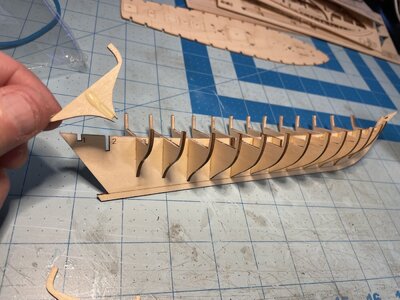
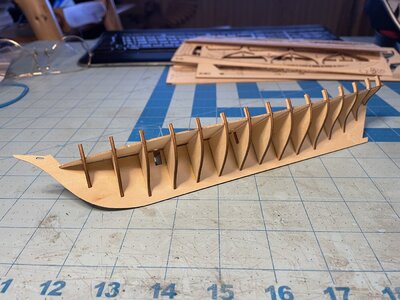
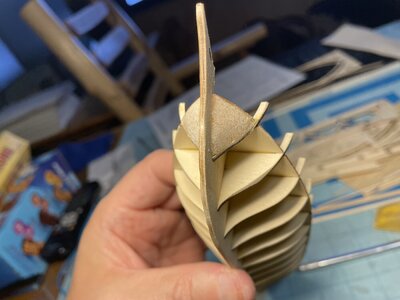
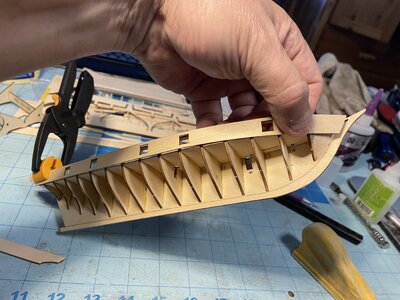
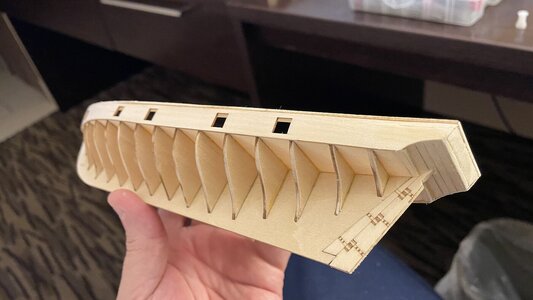
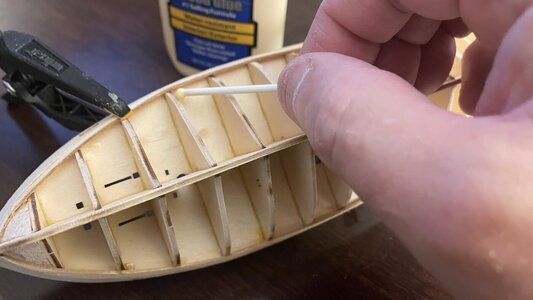
I am surprised to say that fitment of the parts is truly excellent! No shimming required for the assembly and the frames form a nearly perfect hull shape. Not what you expect from a mass produced kit at all. The laser cuts are VERY precise and neat. I used a cotton swab to wipe out the excess glue form the corner joints to keep things neat.
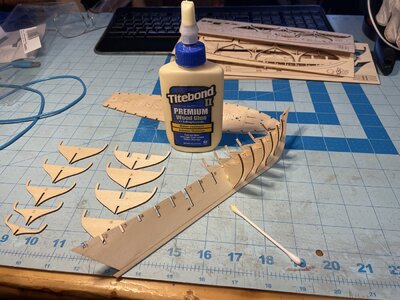
IMG_1028.JPG
 
I'm getting about one day per week to work on this schooner kit.
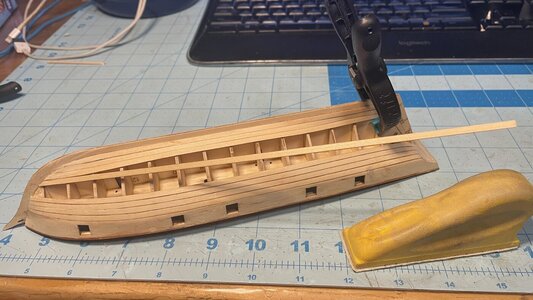
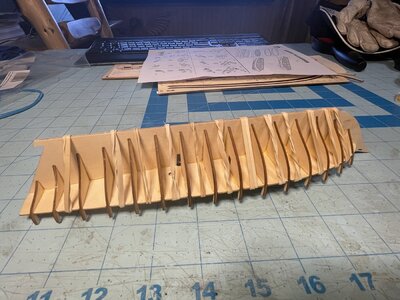
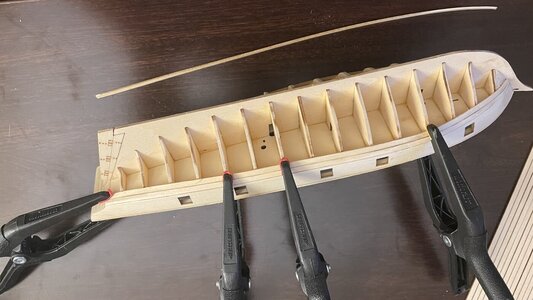
Gluing the frames in position on the false keel. The instructions show the keel as separate pieces from the false keel, but the false keel actually includes the keel. Maybe they simplified the kit and didn't update the instructions.
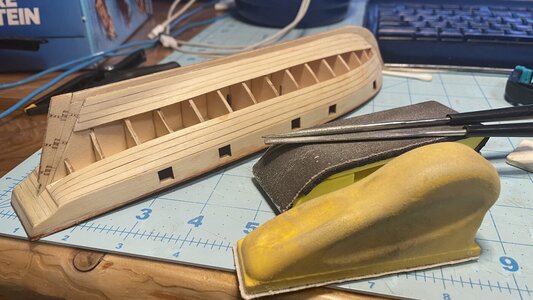
IMG_1029.JPG

With precisely cut parts, you don't need to use wooden blocks to ensure the frames remain perpendicular to the false keel.
IMG_1030.JPG

The deck slots are perfectly fit to accept the frames and don't require sanding. Test fit shown here.
IMG_1031.JPG

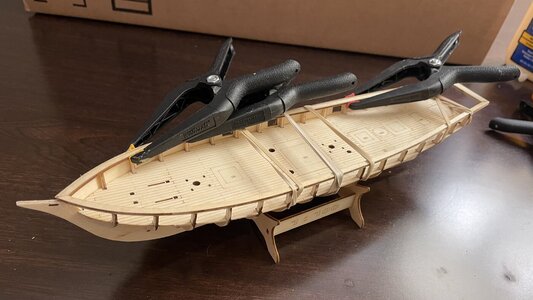
Rubber bands hold the deck in contact with the frame while the glue dries.
IMG_1032.JPG

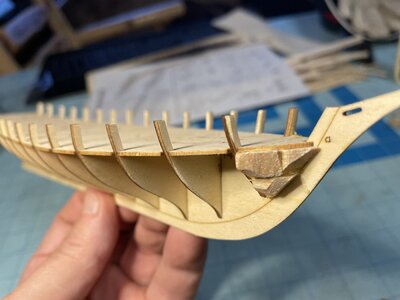
I added chunks of balsa to the bow for the ends of the planks to have purchase to. This is crucial as we're about to see, since the soft wood plank strips do not like to bend far without cracking.
IMG_1033.JPG

A little sanding after the glue is dry and we have a good surface to glue the plank ends onto.
IMG_1034.JPG

Trying to see how the first layer of gunwale railing wood lines up with the side plank at the rear corner.
IMG_1035.JPG
 
Day 2

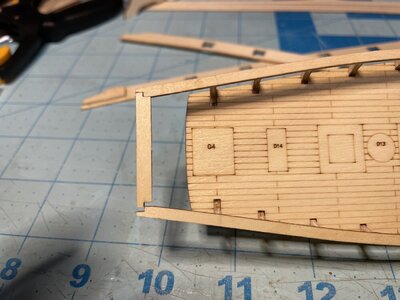
Things get a little delicate here. It took a while to figure out how the edges of the first layer of railing overlapped the edge of the hull side plates, and where the rear end of the railing terminates relative to the rear edge of the side plates. After dry fitting the parts a a few times, I was able to figure it out.
IMG_1036.JPG


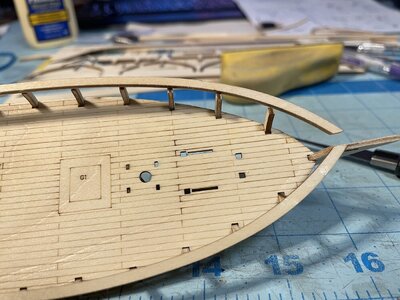
The parts which attach to the rear end of side plates have to be located with space all around, in order to accept the edges of the railing, transom, and strakes of the counter. This was not evident in the instructions. With the front ends of the railing trimmed to fit at the bow, such that the rear ends are at the correct position relative the side plates which form the bulwarks, the railing pieces are glued with CA glue to the top of the frames.
IMG_1037.JPG

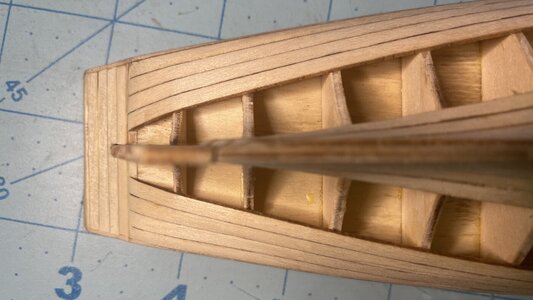
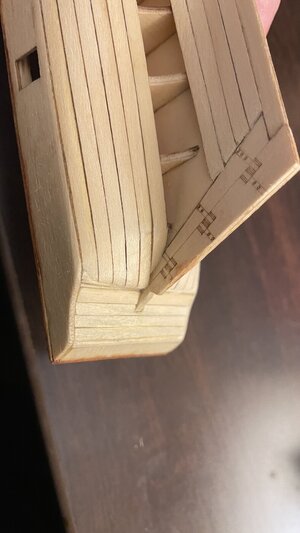
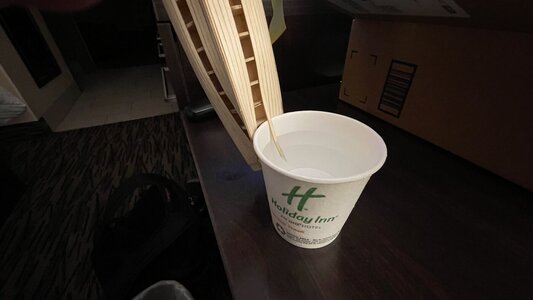
The front end of the side plates (bulwarks) are soaked in water and carefully bent around something round and allowed to dry before test fitting.
IMG_1038.JPG

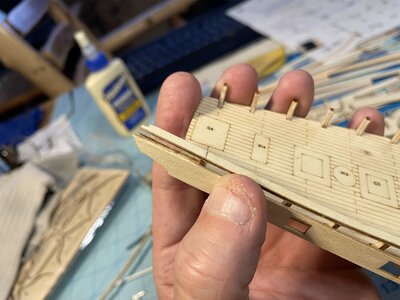
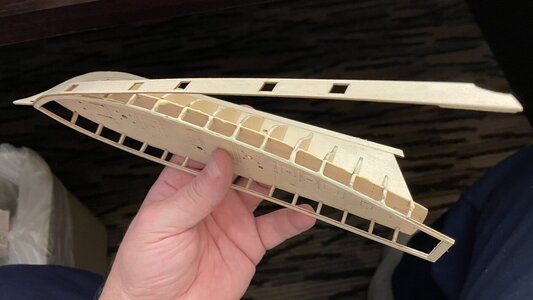
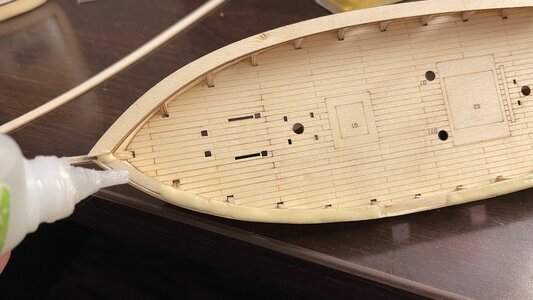
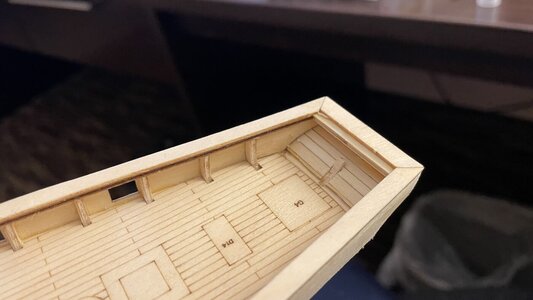
The aft piece of the railing is glued with CA to the side railings. Parts are fitting very well together with minimal trimming. The instruction show square holes in the railing to accept the tops of the frames, but the parts are not cut for them, and the railings are actually glued to the top of the frames. Another kit simplification.
IMG_1039.JPG

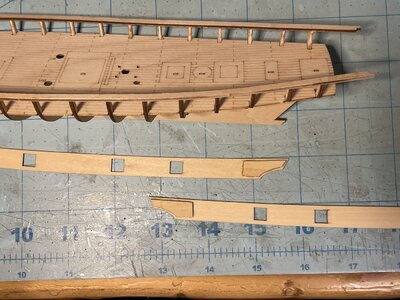
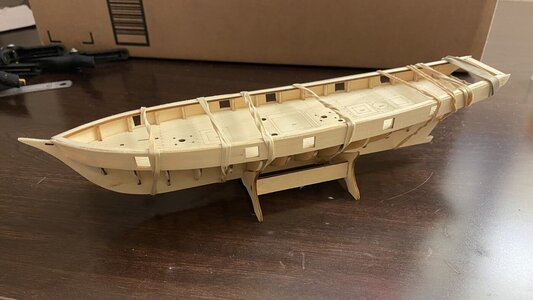
Time to glue and clamp the bulwarks on using hobby clamps and rubber bands.
IMG_1122.JPG

IMG_1123.JPG

All edges are checked for proper fitment and alignment before setting the model aside to dry.
IMG_1124.JPG
 
Day 3

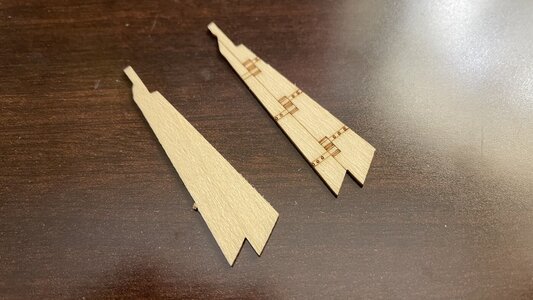
The rudder is integral with the sternpost and comes in two pieces, with details laser etched.
IMG_1125.JPG

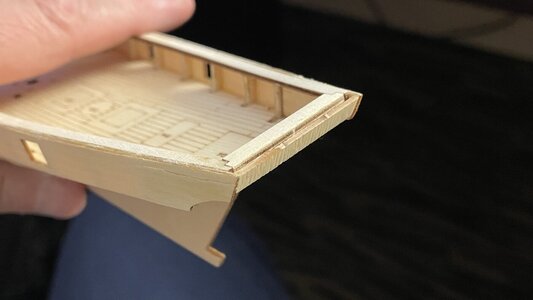
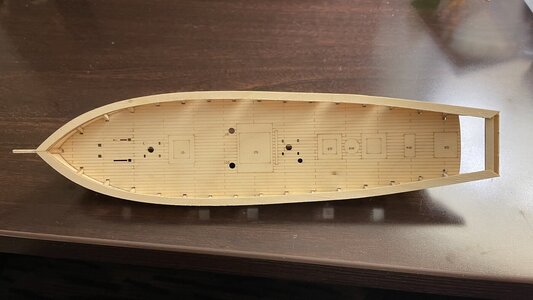
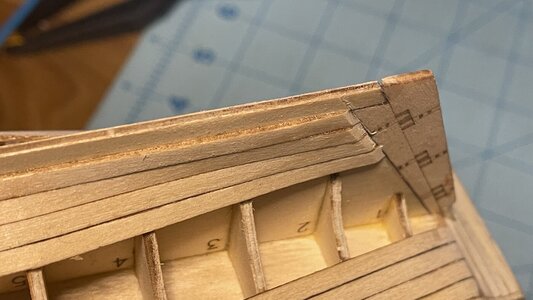
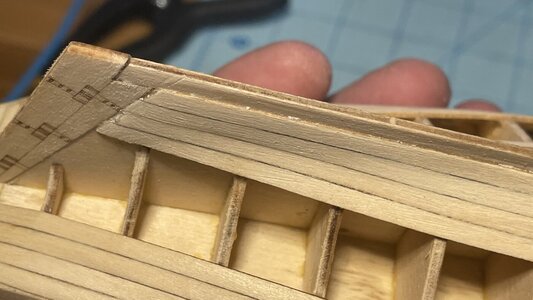
The transom is glued to the ends of the bulwarks. The gap at the top edge will be covered up by the second layer of railing pieces later, as will the visible edge of the bulwarks.
IMG_1128.JPG

The first half of the upper railing piece is attached on the starboard side after trimming the front end to the proper length.
IMG_1129.JPG

To speed building, spots of CA glue are used to hold long parts like this railing between areas help by PVA glue. Using this trick, you don't need clamps because the parts are instantly held in place by the CA glue. This technique is also useful in planking a hull.
IMG_1130.JPG

IMG_1131.JPG

The final railing layer is added at the stern.
IMG_1132.JPG

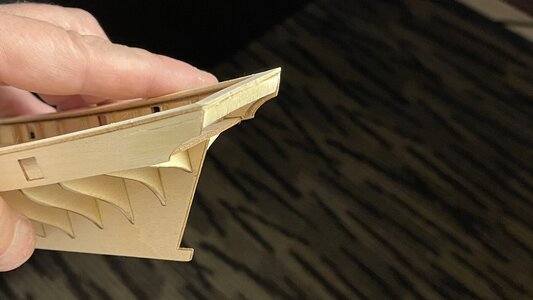
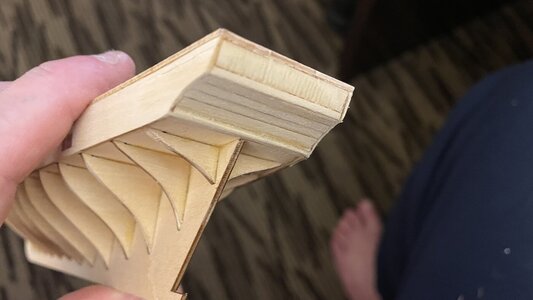
Strips of wood 3mm wide are cut from spare wood in the kit to make the counter.
IMG_1162.JPG
 
Day 4

After making a hole for the the rudder post in the counter, the rudder and sternpost is attached to the false keel. The transom and other areas are lightly sanded.
IMG_1164.JPG

IMG_1165.JPG

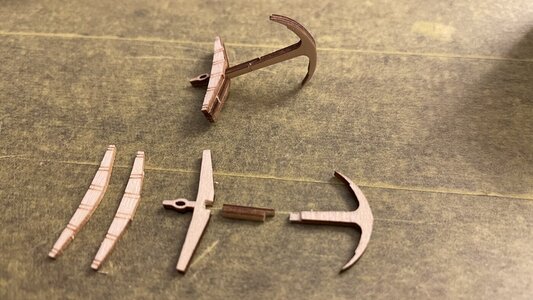
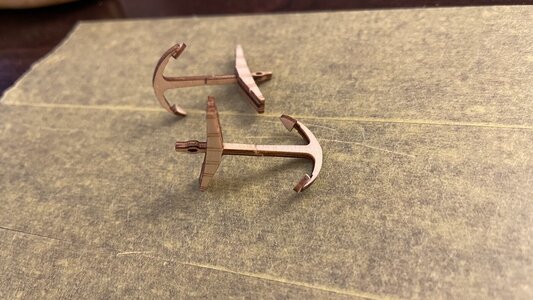
Now for the anchors. These are terrible. I had to use spare plywood to extend the overly short shanks and rotate the stocks to the correct position. Who ever made this kit never saw an anchor before. The parts of the shank were spliced for strength, since these parts are tiny and the plywood delaminates easily as a result. The anchors will get painted later.
IMG_1166.JPG

IMG_1167.JPG

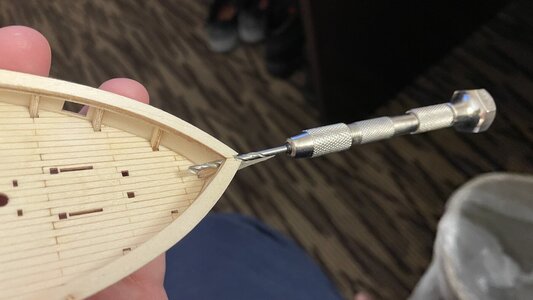
A hole was carefully hand drilled for the bowsprit and a the top of the railings notched to accept the bowsprit later.
IMG_1168.JPG

Drops of glue were added to the inside corner joints for strength.
IMG_1218.JPG

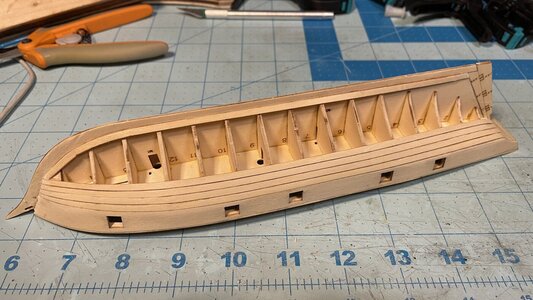
Now the fun part begins; planking. The wood is soft but prone to breaking if you push it too far. Sometime water soaking is required to assist in forming the bends. Since the planks are not pre-bent except at the bow where the curvature is greatest, the wood remains springy. So, to lay a plank, you have to first anchor it to the end where the curve is greatest using CA glue, that is, at the bow. When the glue is dry, THEN you can press the plank around the hull, holding it to CA glue spots on the frame in two more stages; the center third of the hull length, then the after third of the hull. That way, you slowly work the plank around a few frame joints at a time, which is manageable with two hands and no clamps. The plank will stay where you put it.
IMG_1219.JPG
 
Here is the result so far.
IMG_1220.JPG

Day 5

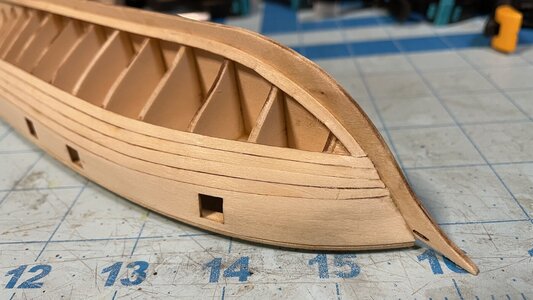
Strips of planking are attached. None of them are soaked and preformed. The garboard strakes were curved up the stem, but that will be changed later to the correct planking pattern.
IMG_1292.jpg

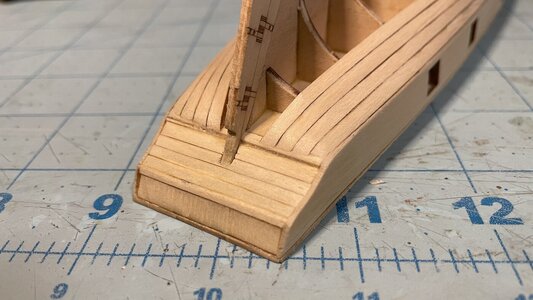
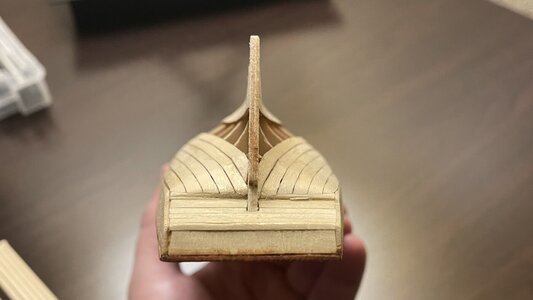
The aft ends of the planks are faired into the counter.
IMG_1293.jpg

More planks added.
IMG_1294.jpg

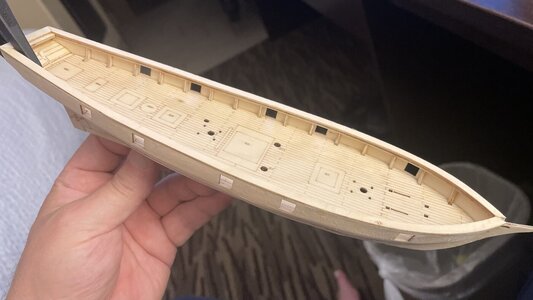
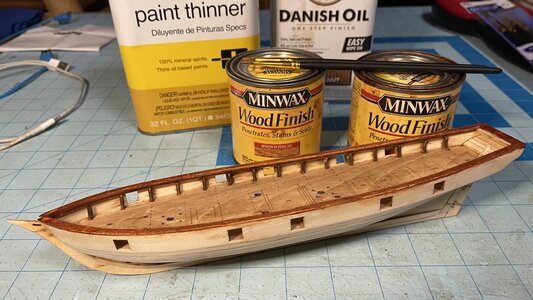
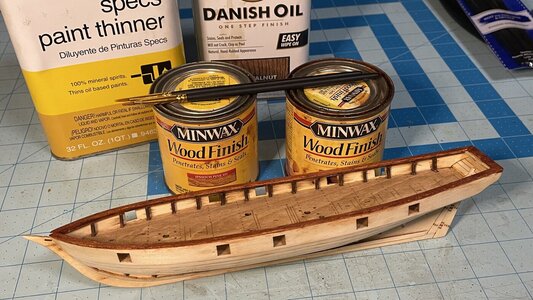
I tried adding some color to the model with Ipswitch pine stain on the deck and gunstock red-brown stain on the railings.
IMG_1295.jpg

IMG_1296.jpg

Day 6

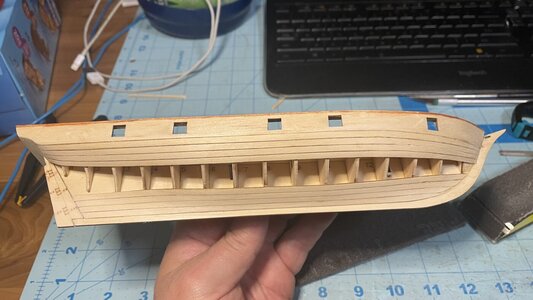
More planking. Note the change in pattern of the planks near the keel at the bow which is a correction.
IMG_1297.jpg
 
Planking continues, stopping every few strakes to sand the hull smooth and admire the form taking shape.
IMG_1298.jpg

The sharp bend of the planks near the stern to meet the counter may require soaking and pre-bending. I was able to get the planks to stay with CA glue even though they were springy.
IMG_1299.jpg

Prior to sanding the planks at the deadwood to fair them into the sternpost and keel.
IMG_1300.jpg

Rough sanded, the planks are faired properly. Be careful not to sand right through a plank.
IMG_1301.jpg

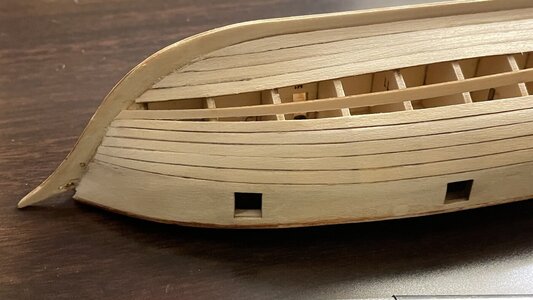
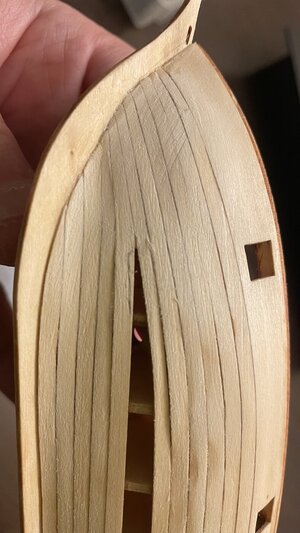
Closing the gaps. You can see that at the bow, planks needed to be tapered. As the gap closes toward the turn of the hull, planks will have to be tapered and stealer planks added near the stern.
IMG_1302.jpg

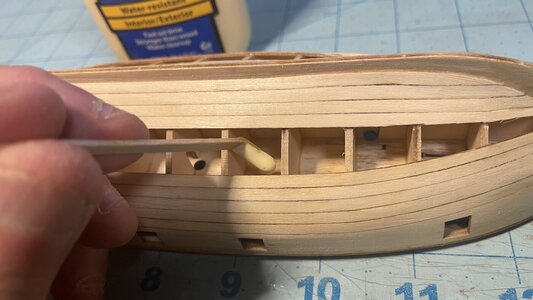
Using a bent stick, PVA glue is applied to the interior surfaces of the planks for extra strength before the gap closes too small to allow access.
IMG_1303.jpg
 
Day 7

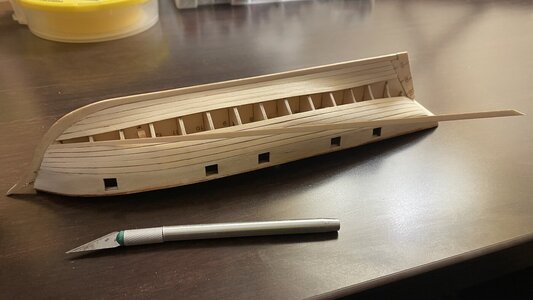
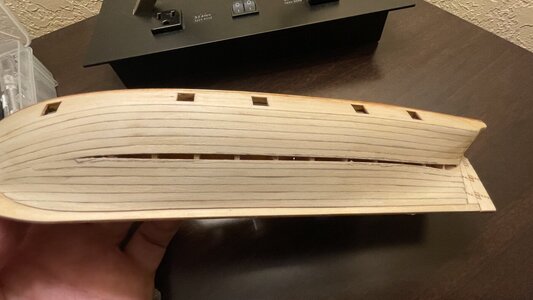
I’m actually posting this from a hotel in Wisconsin using my iPhone! Planking of the hall continues. Only one plank plus a stealer plank remains on each side.

The next plank shown is begun in the same matter as the previous ones. The front end of the plank is anchored to the bow first, then the plank is attached one firm of time working rearward.
IMG_1304.jpeg

IMG_1305.jpeg
Things are getting tighter at the stern post.
IMG_1306.jpeg

Holding the end of the plank in hot water, softens it, so can make that hard bend up toward the counter.
IMG_1307.jpeg

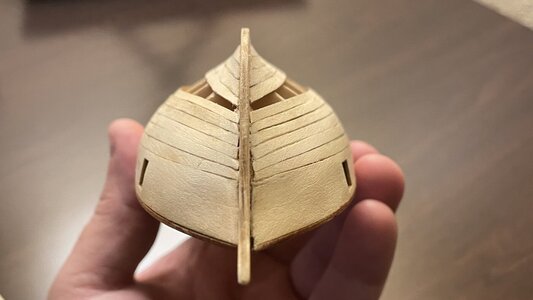
Whenever you plank a hull, it is important to keep an eye on the symmetry, and very the width of planks on one side, or the other to maintain it.
IMG_1308.jpeg

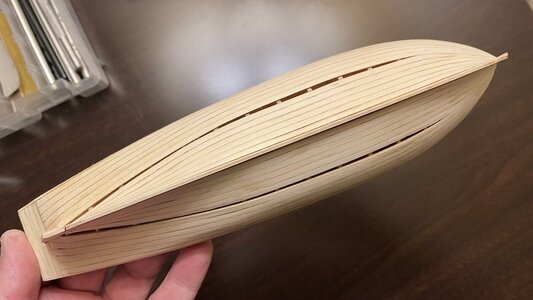
The symmetry isn’t perfect, but it’s close enough.
IMG_1309.jpeg

The pencil line marks, where wood will be removed and a drop plank installed.
IMG_1310.jpeg

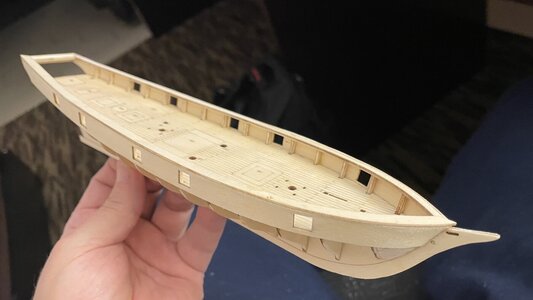
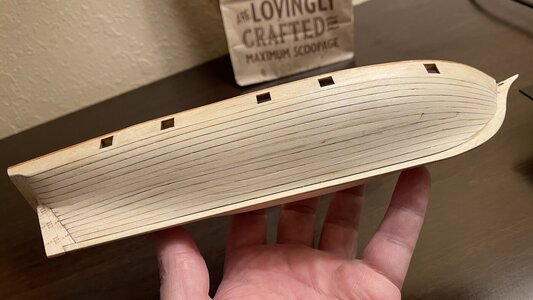
Almost done. I have been rough sanding the hall, all along the planking process, and the results are pretty nice.
IMG_1312.jpeg

IMG_1313.jpeg
 
Last edited:
Pardon the pun, but it does look like a nice little kit.

I would just use parts provided and replace the rigging lines.
Well, all of the rigging parts are missing except for the fiferails for belaying. The line is fuzzy thread and inferior quality and the sailcloth is very coarse. There are no deadeyes or blocks in the kit. You need to provide pretty much everything.

It really does help to have experience in hull planking because the boat is very small and plank trimming needs to be precise to make the seams have no gaps and the plank ends line up along the stem and sternpost. Many planks had to be bent along their flat plane into curves that you would normally cut splined planks from wider plank strips to make them fit. The wood behaves like basswood. When soaked in water, these softwood planks can be massaged into curves if you are very careful, without breaking them. On the scale, it takes patience.
 
Last edited:
The stain job on the deck and the the railing looks blotchy and horrible due to the plywood glue in the wood and glue used in assembly as well as the coarse grain of the wood.

Because the CA glue in the joints resists stain, I am thinking of coating the hull in stained shellac which will allow the laser burnt edges of the planks to show through in a way that painting would not.
 
Last edited:
Back
Top