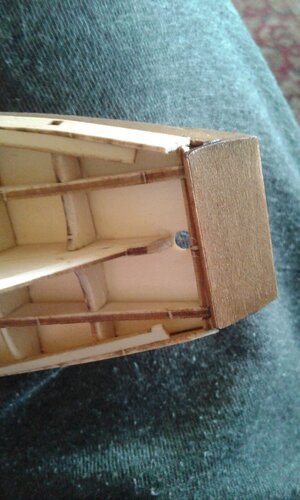
Sorry been drinking with acfreindvtoniteWell according to my research 3 pivor5w arevreqir e
You are using an out of date browser. It may not display this or other websites correctly.
You should upgrade or use an alternative browser.
You should upgrade or use an alternative browser.
Cheap Chinese Halcon speed build [COMPLETED BUILD]
- Thread starter DARIVS ARCHITECTVS
- Start date
- Watchers 45
-
- Tags
- completed build halcon
M. British r9Sorry been drinking with acfreindvtonite
Well, that clears it up now, doesn't it?Well according to my research 3 pivor5w arevreqir e
Last edited:
Yes, ignore that ,ass 3 hinges and add 3 hinges. Am so drunk
Yeah? And it's nearly 1am GMT on a Friday? CONGRATS! Good on you! Or something else entirely... I don't know for sure. I'm drinking beer myself.Yes, ignore that ,ass 3 hinges and add 3 hinges. Am so drunk
Cheers!
M.
Who was said to be terribly bent....I once met a fellow from Kent...
Pfft, vodka here you lightweight yank !!!Yeah? And it's nearly 1am GMT on a Friday? CONGRATS! Good on you! Or something else entirely... I don't know for sure. I'm drinking beer myself.
Cheers!
M.
Yeah? And it's nearly 1am GMT on a Friday? CONGRATS! Good on you! Or something else entirely... I don't know for sure. I'm drinking beer myself.
Cheers!
M.
Day 35
Did 3 1/2 hours of rigging today. The lifts were installed on the foremast.
Rigging this small has to be done in a particular series of steps in order to get precise line tension and proper belaying. First, you tie the lift line to the belaying pin and cut off the excess, insert the belaying pin in the rack, securing it and the line with PVA glue.
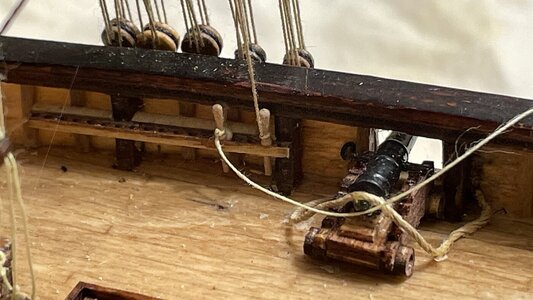
Mine is then lead upward to blocks, and left loose near the yardarm.
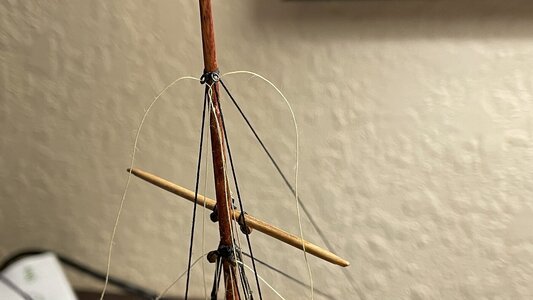
tweezers are used to belay the standing part of the line around the pin. This work becomes easier with practice, and even without eye magnification, I was able to maneuver the line around the belay pin.
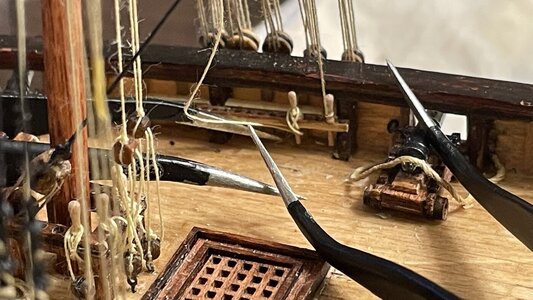
Add a bit of PVA glue to the belayed line to secure it, and you’re done at this end.
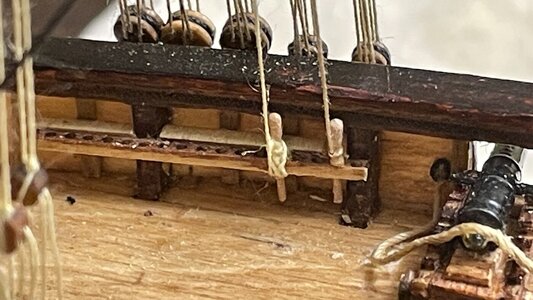
Here are the tackles for the halyards and lifts for the foremast on the port side.
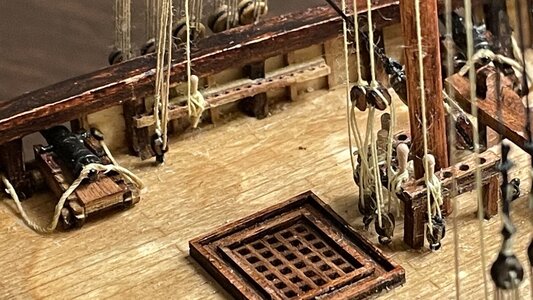
The yard for the fore coarse sail is held aloft with a sling and lifts, after the halyard is dismantled. A tie and halyard or just a halyard supports the yards above it.
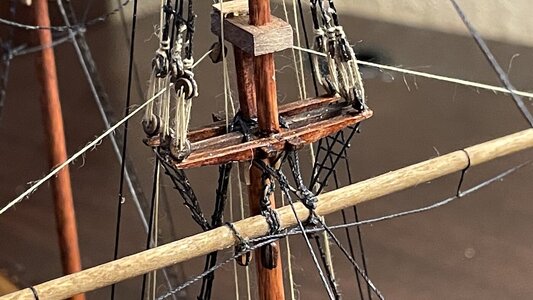
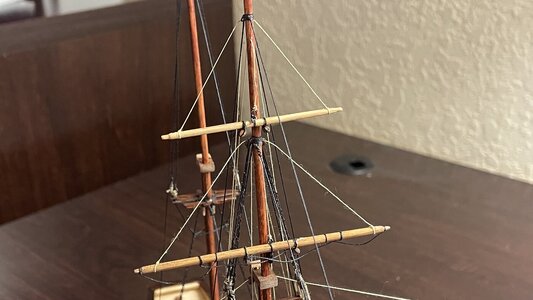
The falls of the tackles are a bit loose because there is no downward force on the yard arms. Once the sheets and clue lines are installed, the tackles will be under more tension because they will draw the yards downward.
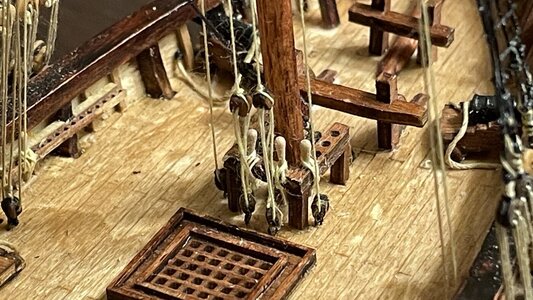
The foremast lifts are complete.
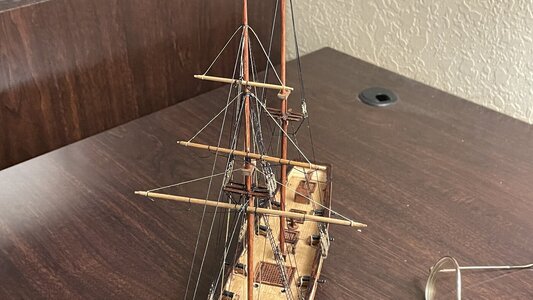
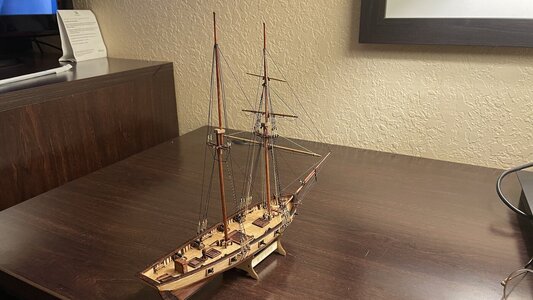
Progress so far.
Did 3 1/2 hours of rigging today. The lifts were installed on the foremast.
Rigging this small has to be done in a particular series of steps in order to get precise line tension and proper belaying. First, you tie the lift line to the belaying pin and cut off the excess, insert the belaying pin in the rack, securing it and the line with PVA glue.

Mine is then lead upward to blocks, and left loose near the yardarm.

tweezers are used to belay the standing part of the line around the pin. This work becomes easier with practice, and even without eye magnification, I was able to maneuver the line around the belay pin.

Add a bit of PVA glue to the belayed line to secure it, and you’re done at this end.

Here are the tackles for the halyards and lifts for the foremast on the port side.

The yard for the fore coarse sail is held aloft with a sling and lifts, after the halyard is dismantled. A tie and halyard or just a halyard supports the yards above it.


The falls of the tackles are a bit loose because there is no downward force on the yard arms. Once the sheets and clue lines are installed, the tackles will be under more tension because they will draw the yards downward.

The foremast lifts are complete.

Progress so far.

Uh oh… Zoopher found my build log. Here we go!Yes, ignore that ,ass 3 hinges and add 3 hinges. Am so drunk
Rigging, easy peasy. Anyhoo sorry guys had a neighbour down and she played guitar for me as we listened to classics on tube. What would you do boys?Uh oh… Zoopher found my build log. Here we go!
Buythebuy Kurt, is that the Halcon or Harvey you're building?Rigging, easy peasy. Anyhoo sorry guys had a neighbour down and she played guitar for me as we listened to classics on tube. What would you do boys?
Too much hobby, ger a younger drunk female neighbour, model ships be ******!Day 35
Did 3 1/2 hours of rigging today. The lifts were installed on the foremast.
Rigging this small has to be done in a particular series of steps in order to get precise line tension and proper belaying. First, you tie the lift line to the belaying pin and cut off the excess, insert the belaying pin in the rack, securing it and the line with PVA glue.
View attachment 423944
Mine is then lead upward to blocks, and left loose near the yardarm.
View attachment 423945
tweezers are used to belay the standing part of the line around the pin. This work becomes easier with practice, and even without eye magnification, I was able to maneuver the line around the belay pin.
View attachment 423946
Add a bit of PVA glue to the belayed line to secure it, and you’re done at this end.
View attachment 423947
Here are the tackles for the halyards and lifts for the foremast on the port side.
View attachment 423948
The yard for the fore coarse sail is held aloft with a sling and lifts, after the halyard is dismantled. A tie and halyard or just a halyard supports the yards above it.
View attachment 423949
View attachment 423950
The falls of the tackles are a bit loose because there is no downward force on the yard arms. Once the sheets and clue lines are installed, the tackles will be under more tension because they will draw the yards downward.
View attachment 423951
The foremast lifts are complete.
View attachment 423952
Progress so far.
View attachment 423953
The Halcon. There are some differences between the two.Buythebuy Kurt, is that the Halcon or Harvey you're building?
Yes there is and why are you still awake? Do you have a drunk young woman too?The Halcon. There are some differences between the two.
Not exactly. I just started my 12 hour shift at work.Yes there is and why are you still awake? Do you have a drunk young woman too?
Use the plank stretcher.Awh, boo was enjoying this kit but the planks are too short...View attachment 423960hrrumph!


