You are using an out of date browser. It may not display this or other websites correctly.
You should upgrade or use an alternative browser.
You should upgrade or use an alternative browser.
Brillant.
- Joined
- Apr 20, 2020
- Messages
- 5,163
- Points
- 738

My dear friend, you have deservedly earned the compliments, you are doing a particularly impressive jobThank you everyone for the kind words.
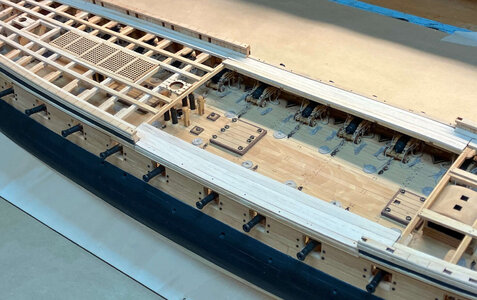
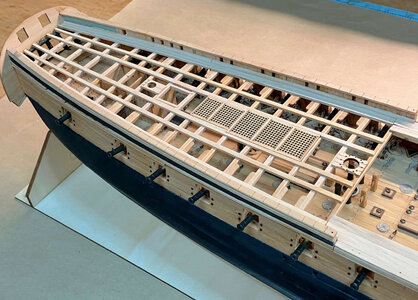
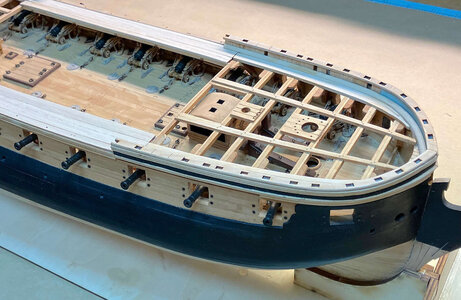
More work on the Upper Deck Framing / Binding Strakes / and now the Planking. I will not be planking the entire Upper Deck.
View attachment 365282
View attachment 365283
View attachment 365284
View attachment 365285
View attachment 365286


I agree with Shota, a most impressive and wonderfully detailed build Donnie.
This is really nice work here Donnie!
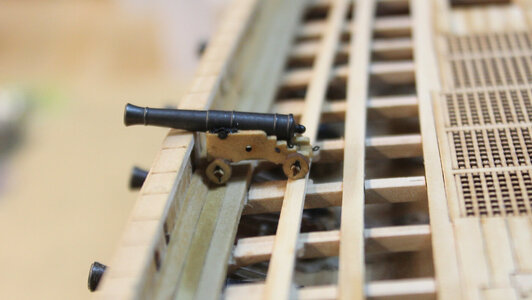
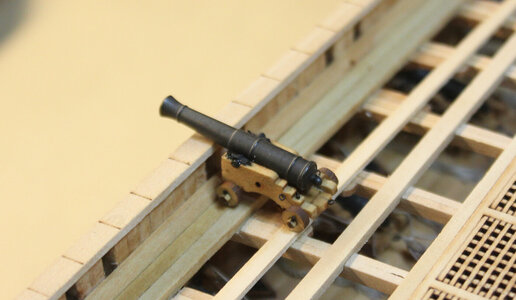
Thank you all for the nice compliments. Wow - I did not realize it has been so long since I posted. Just too many things going on. I decided to stop the work on the upper deck planking and start on the upper cannons. Boy are they tiny. So, I went ahead and made all ten of them. Now, I just have to attach the rigging.
These images are not that good and I hate to report that I did not take my time in setting up for a decent shot. They are not in any permanent position or even placed correctly.
These images are not that good and I hate to report that I did not take my time in setting up for a decent shot. They are not in any permanent position or even placed correctly.

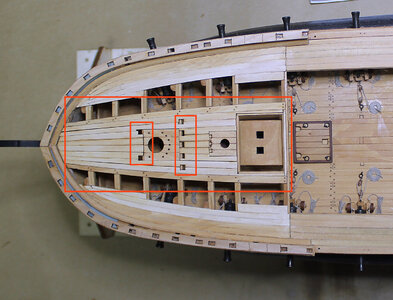
DO NOT INSTALL THE PLANKS (OUTLINED IN RED). THE BITT RAILS SHOULD BE INSTALLED FIRST.
NOTE: NOTHING WRONG WITH THE MANUAL --- MY MISTAKE...
I will need to order more supplies from Dry Dock Model and Parts to complete the Cannon Rigging. In the meantime, I am working on laying out the planks at the Bow. Some are glued in, while the center section is just dry-fitted. The open area will remain open. Thank you all for watching.
NOTE: The lighter color planks do not have any Linseed oil on them yet.
If I remember, the uneven planks at the tip of the Bow will be covered up by other structures.
Last edited:
Wow. You've outdone yourself on this one, Donnie.
Well, I really do appreciate the kind words, but I think it is more of the kit than me. The only thing I have done more was rigging the cannons and just paying a little extra attention to details.
Paul,
I have a tool that I made to do this with. I am at my office now. When I get home, I will take a picture of it. In the meantime, I could provide a rough CAD drawing of how I made it.
I have a tool that I made to do this with. I am at my office now. When I get home, I will take a picture of it. In the meantime, I could provide a rough CAD drawing of how I made it.
The tool is made out of wood. The center shaft is perhaps a 1/8 brass tube or brass bar. Tube less likely to bend or flex. The Top half is about 1/8 thick while the bottom half of wood round is about 3/8 thick. The top part is made to be removed so coil can come out.
The top part also has a slot that the end of the line will go through. The long end of the line is what you will wrap. Of course, you have to hold pressure on both pieces to keep the coil flat inside. Bees way and cotton line are the best. Nylon is horrible to do things like this with. Later, I will try to get a real picture of it.
I am sure there are more variations of this than I can even imagine. I am sure there are better ways to do this - this is old school.
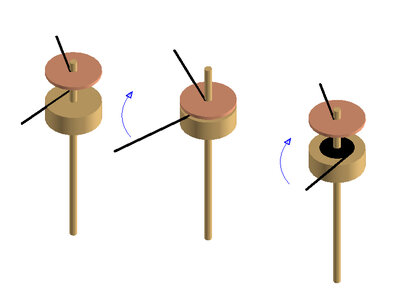

Hi Donnie great progress, at this rate you will soon be ready to start Le Rochefort. I'm already looking forward to the collaboration. Great tool for wrapping the ropes.
Yep, I am ready to wrap this one up. Perhaps about 2 more months. It would be greatly less if I were able to work on this more often.
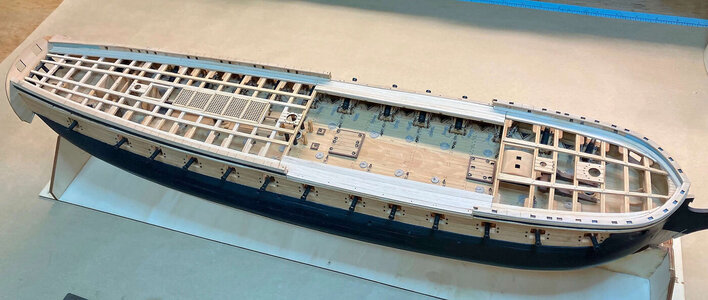
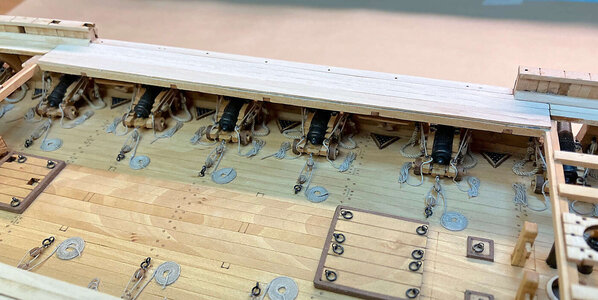
Here's the latest. I think I am done with the deck planking. I on purpose left out a lot of strips so that the lower deck can be seen. The cannons are just in place - there is no rigging yet. I have to order more supplies from Zoltan. The blocks will be 2.5mm this time to complement the smaller size cannons.
In the meantime, I will add treenails to the decking. All I do is drill the holes and push the toothpicks in and cut them off. I do not use glue as the likelihood of them coming out is unlikely. Besides the Linseed oil will help seal them in. This way, I do not have to worry about scrapping glue.
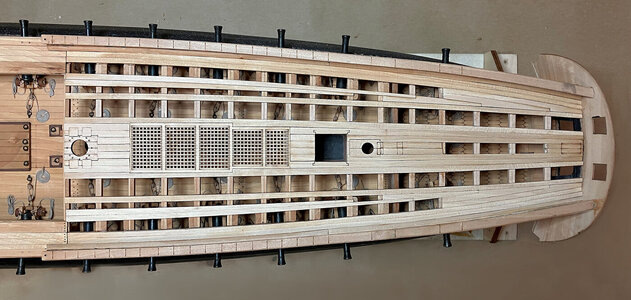
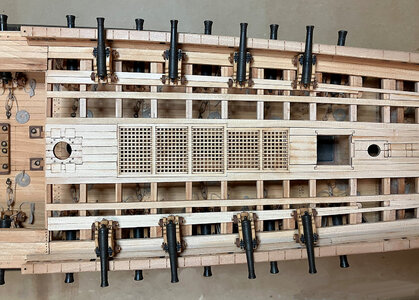
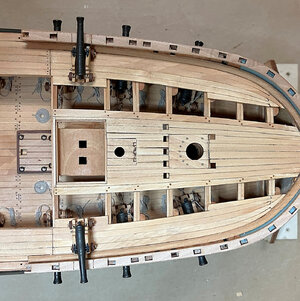
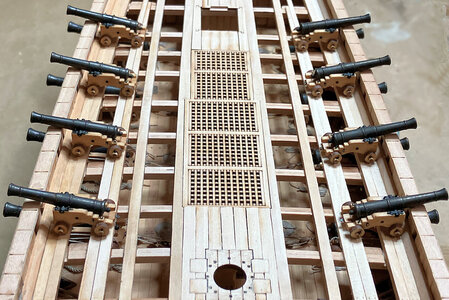
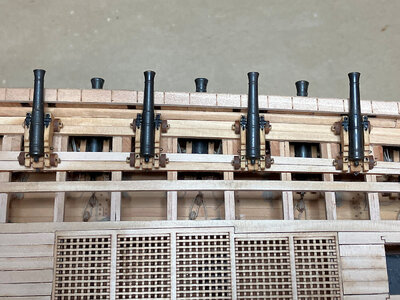
In the meantime, I will add treenails to the decking. All I do is drill the holes and push the toothpicks in and cut them off. I do not use glue as the likelihood of them coming out is unlikely. Besides the Linseed oil will help seal them in. This way, I do not have to worry about scrapping glue.


Looks fantastic. I agree with you about the tree nails, I didn't glue a single one on La Palme either.
The open deck turned out really nice Donnie. Peaking below provides a nice look for the model.
That is so clean looking! Just amazing.


