Belle Poule 1780 by Donnie

Donnie

Administrator
Staff member
Administrator
Forum Moderator
Joined
Aug 21, 2011
Messages
5,117
Points
738

Location
Madison, MS
January 7, 2022 9:00 PM

Today, with a little excitement and a lot of apprehensions, I am now proceeding with Sail & Sail's Model of the Belle Poule. I say apprehension due to the fact of a few models in the past gave me at times unpleasant experiences. I hope that this one proves to be different. I believe that it could have the potential. So join me if you wish into this new adventure as the shipyard prepares the necessary tools to create a model that hopefully will be a refreshing experience.

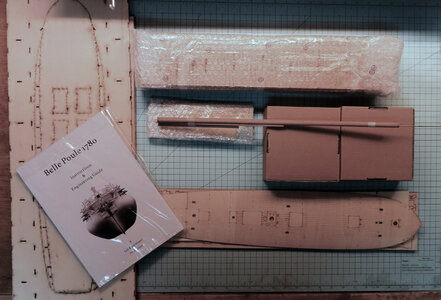
The first picture is just a peek into the core contents for now. More images of the contents will unfold as time goes and permits.
box-contents-01.jpg
 
Last edited:
Witaj
Z przyjemnością będę oglądał postęp twoich prac.
P ozdrawiam Mirek
 
Jim,
thank you for your interest - I think this one is going to be a nice project.

Hello Cedric,
I was debating the same thing. But since I have Poule model now, I shall go ahead with it. The Granado is a nice model too.

Witaj Mirku,
dziękuję za zainteresowanie moim projektem i bycie częścią naszych forów
 
January 7, 2022 9:00 PM

Today, with a little excitement and a lot of apprehensions, I am now proceeding with Sail & Sail's Model of the Belle Poule. I say apprehension due to the fact of a few models in the past gave me at times unpleasant experiences. I hope that this one proves to be different. I believe that it could have the potential. So join me if you wish into this new adventure as the shipyard prepares the necessary tools to create a model that hopefully will be a refreshing experience.

The first picture is just a peek into the core contents for now. More images of the contents will unfold as time goes and permits.

View attachment 281293
Dear Donnie
good luck with the new and promising model, I will keep following with great curiosity :)
 
I. UPPER HULL

Thank you all - well between Zoltan and the Admiral, it seems I didn't have a chance !!! Ha.

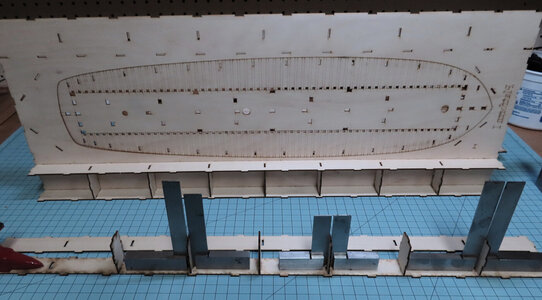
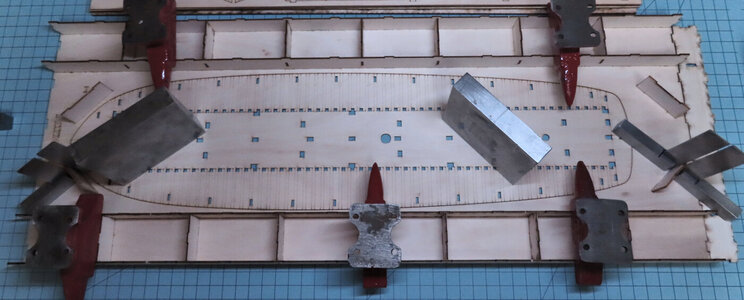
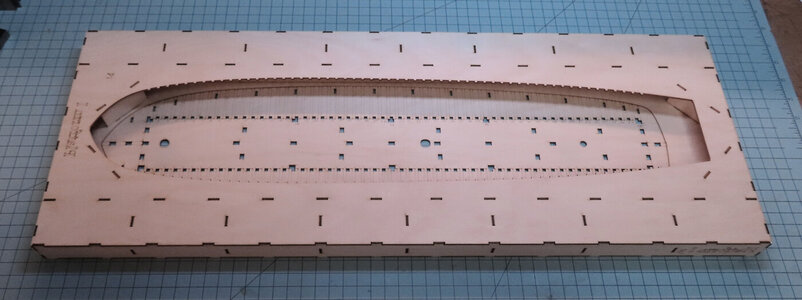
Well, so far so good. The jig is very nice. The Sprues (gaps in the laser cutting process) in the pieces are cut so close that the parts almost just fall out.

I know that the weights and squares are overkill, but I just wanted to make sure that everything is gluing true and square.

jig01.jpg

jig02.jpg

jig03.jpg
 
Last edited:
Thank you all - well between Zoltan and the Admiral, it seems I didn't have a chance !!! Ha.

Well, so far so good. The jig is very nice. The Sprues (gaps in the laser cutting process) in the pieces are cut so close that the parts almost just fall out.

I know that the weights and squares are overkill, but I just wanted to make sure that everything is gluing true and square.

View attachment 281488

View attachment 281489

View attachment 281490
Always nice to have a selection of anvils around.......
 
Thank you all for following. Since Zoltan is also building this model, and probably others too - it is good to also review his build as well. I am sure that we will show things in the build process that might reveal things in a different way.
 
Good to see you start this nice kit. It is good you have others that are in work to check in on if needed.

So do you and other now need a group build to hold related ship builds?
 
The last part of the lower jig. Then I assembled one FRAME to see how the process goes. I show just one sample (at different angles) as the others will be basically the same.

jig04.jpg

EDIT: THIS IS A SEQUENCE SHOWING THE CORRECT ORDER OF THE FRAMES. THE INSTRUCTIONS CAN BE A LITTLE CONFUSING - IT WAS TO ME. HOWEVER, I DO BELIEVE THAT THIS IS THE PROPER METHOD.


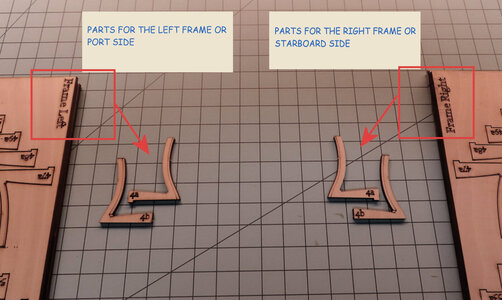
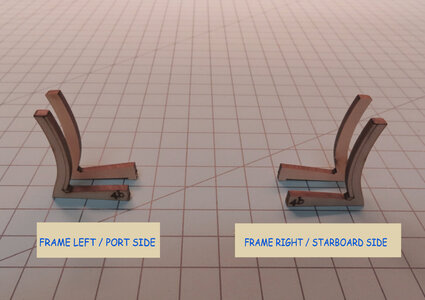
STEP 1: NOTICE FROM THE BOARDS THAT HAVE THE PARTS ARE LABLED FRAME LEFT AND FRAME RIGHT. THIS REALLY SHOULD BE LABLED AS PORT AND STARBOARD, BUT IT IS FOR A GENERAL AUDIENCE I AM SURE THAT MIGHT NOT KNOW NAUTICAL TERMS.

frame-positions-01.jpg


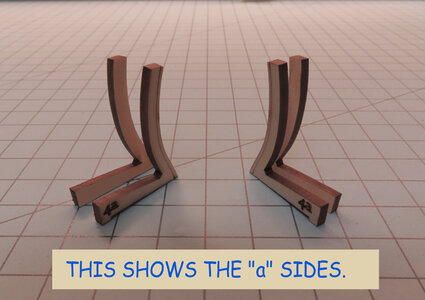
STEP #2: THE "b" SIDES ARE ON ONE SIDE FOR BOTH FRAMES AND THE "a" SIDES ARE ON ONE SIDE FOR BOTH FRAMES. IF YOU WERE AT MIDSHIP, YOU WOULD BE LOOKING TOWARDS THE BOW.

frame-positions-02.jpg


LASTLY, THIS JUST SHOWS THE FRAMES "TURNED AROUND" TO SHOW THE "a" SIDES. THESE TWO HALVES WILL BE GLUED TOGETHER JUST LIKE THEY ARE SHOWN. TAKE NOTE OF THE NOTCHES AS THEY ARE ONLY ON ONE SIDE.

frame-positions-03.jpg


frame-sample05.jpg
 
Last edited:
Phil,
I got those Anvils from Harbor Freight a long time ago. Unfortunately, I do not think they sell those anymore. I wish they did as it seems I did not buy enough - they were very inexpensive.
 
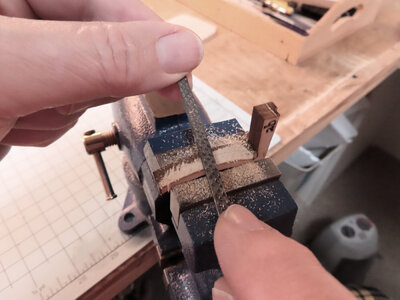
I have some files that I bought from Micro-Mark that are course rasp files ( I guess that is what you call them). They are very aggressive in cutting and do not take much pressure to cut. They are very good at removing a lot of material with much less effort.

frame-sample10.jpg
 
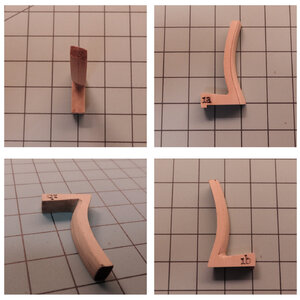
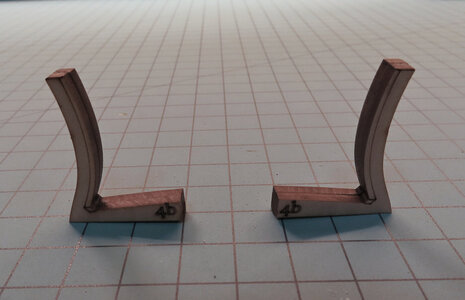
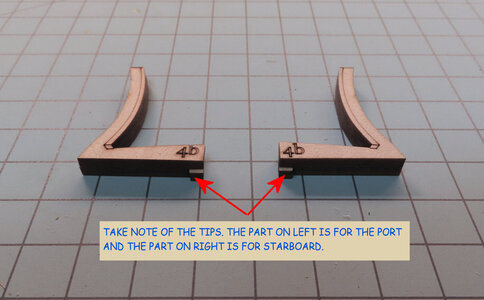
This image just shows the proper alignment after the parts are glued. Take notice of the tips protruding as they will fit into square openings in the jig. Next of course is shaping the parts to the "cut lines".

frame-positions-04.jpg


frame-positions-05.jpg
 
Back
Top