I vote for 'looks right.' Plus, what would you use to fill the caulking space that would look 'clean' as the planking seems a bit rough/irregular (???).
You are using an out of date browser. It may not display this or other websites correctly.
You should upgrade or use an alternative browser.
You should upgrade or use an alternative browser.
Amerigo Vespucci Mantua/Panart 1:84
- Thread starter Barcomad
- Start date
- Watchers 17
-
- Tags
- amerigo vespucci mantua panart
The proper scale planks will look better in my opinion, however, you will need to adjust the width\thikness of the caulking, On your test (the bottom one) the caulking is the same thickness as the above planks. Maybe use brown-red pencil, to represent caulking? Also, it might be an optical illusion or a bad angle, but the planks look different widths. The one in the middle look narrow then the sided ones.
Yes it was a quick test. The planks are not stuck down and I have to find a way to cut them a consistent width of I go that route.The proper scale planks will look better in my opinion, however, you will need to adjust the width\thikness of the caulking, On your test (the bottom one) the caulking is the same thickness as the above planks. Maybe use brown-red pencil, to represent caulking? Also, it might be an optical illusion or a bad angle, but the planks look different widths. The one in the middle look narrow then the sided ones.
Good morning. Whew…that is a big decision. There are very few models at this scale which get the deck planking to the correct scale. I agree with Paul if you choose to make these scale correct, the cutting and finish of each plank needs to be spot on. Cheers GrantBecause I have to plank the fire deck before I complete the hull planking I now have to decide how this is too be done. The kit provides 3mm planks for the decks which scale up to 250mm wide. The actual ship has 112mm decking with 15mm caulking. (See photos on the link in my previous post). So I should theoretically cut these strips in half.
Not sure that this will look right on such a large model. View attachment 389389
I would appreciate your views. To go with what is right or what looks right.
??
Hello BarcomadBecause I have to plank the fire deck before I complete the hull planking I now have to decide how this is too be done. The kit provides 3mm planks for the decks which scale up to 250mm wide. The actual ship has 112mm decking with 15mm caulking. (See photos on the link in my previous post). So I should theoretically cut these strips in half.
Not sure that this will look right on such a large model. View attachment 389389
I would appreciate your views. To go with what is right or what looks right.
??
The planks I have used are 8cm long and three apart
See below
Does this help?
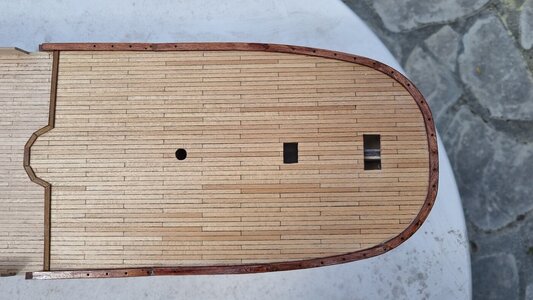
That looks good.Hello Barcomad
The planks I have used are 8cm long and three apart
See below
Does this help?
View attachment 389512
Perhaps I'm over thinking it. The decks of the finished model are so busy with fittings, boats, sail boxes etc I wonder if I should worry at all.
I'll look to see if I can buy 1.5 mm wide x 0 5 planks. Otherwise my equipment/skills are not up to producing planks of sufficient quality to look anything like good.
I think you are right. There is so much on the deck eventually it will hardly show.
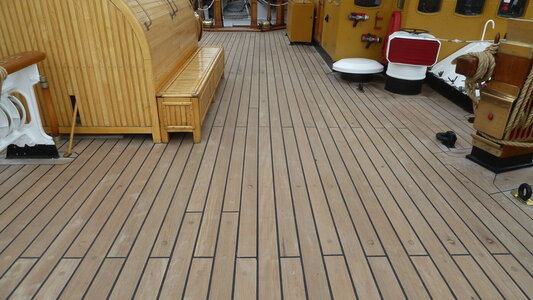
Thinking about the deck planking, I was starting to look ahead to the pattern that I would use so looked over the photos I took in Gran Canaria. the three main deck each have a different planking pattern, often determined by the fittings and furniture. No way I will be able to replicate that so I will go with the 3mm boards and do my best to follow the actual pattern(s). But all that is a way off yet. Finishing the first layer planking, sanding , filling, sanding and second layer yet to do before I get to the main decks.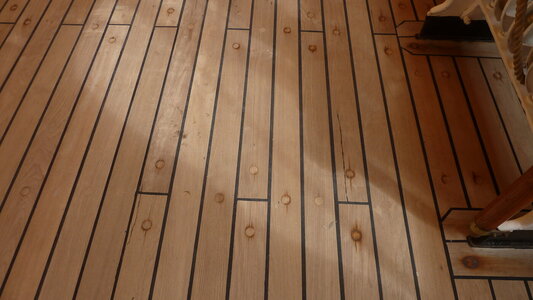


- Joined
- Oct 17, 2020
- Messages
- 1,336
- Points
- 393

Hi Barcomad,I'll put you has knowledge that the Vespucci is updated years in years so you have to see what year is the set up of the Kit you have compared to the moment.FranckThinking about the deck planking, I was starting to look ahead to the pattern that I would use so looked over the photos I took in Gran Canaria. the three main deck each have a different planking pattern, often determined by the fittings and furniture. No way I will be able to replicate that so I will go with the 3mm boards and do my best to follow the actual pattern(s). But all that is a way off yet. Finishing the first layer planking, sanding , filling, sanding and second layer yet to do before I get to the main decks.View attachment 389555View attachment 389557
Kurt Konrath
Kurt Konrath
I have been told if you multiply the hours you take to build by the ratio of the scale, you might be close to what the real world hours were on a specific task.Yep!
6 + hours for the first 14 planks...
In your case: 6 * 84 = 504 hours for place 14 planks, or about 36 hours per plank.
That is assuming the skilled workman and ladies in shipyards were efficient at the task at hand and not spending time like us modelers struggling to figure out how to do a single plank or mast.
Kurt Konrath
Kurt Konrath
To cut planks to a specific width, I have seen a temporary jig made of wood flat with block of finished wood and the user just marked width of plank and installed a single edge razor blade with tip stuck down hard in base. Then you slide the planks like working a table saw, and the razor blade cuts to width for planks less than 1.5MM thick.Yes it was a quick test. The planks are not stuck down and I have to find a way to cut them a consistent width of I go that route.
That could work but I have decided to go with the 3mm planks as supplied. Looking at Gilbert's photo and others' comments I'm happy to proceed s and not make life too difficult.To cut planks to a specific width, I have seen a temporary jig made of wood flat with block of finished wood and the user just marked width of plank and installed a single edge razor blade with tip stuck down hard in base. Then you slide the planks like working a table saw, and the razor blade cuts to width for planks less than 1.5MM thick.
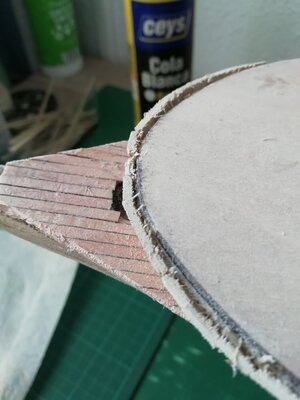
No progress for the last week or so.
I started sanding but this has to be done outside on my terrace and it is far too hot out there, up to 34 with a real feel of 39.
We are promised some cooler weather this coming week so maybe I'll be able to get back to it soon.
I started sanding but this has to be done outside on my terrace and it is far too hot out there, up to 34 with a real feel of 39.
We are promised some cooler weather this coming week so maybe I'll be able to get back to it soon.
Good afternoon. It’s good to see you back in your shipyard. She is a sexy looking ship. Cheers GrantIt's been a while.... Medical issues have kept me away from the man cave but they are eating a bit now so I've managed to get porros for the second layette planking. Just one or two shoots that rewire a bit more filler I notice but should get started over the weekend. View attachment 401391
Great to have you back on the shipyardIt's been a while.... Medical issues have kept me away from the man cave but they are eating a bit now so I've managed to get porros for the second layette planking. Just one or two shoots that rewire a bit more filler I notice but should get started over the weekend. View attachment 401391
Good luck with second planking
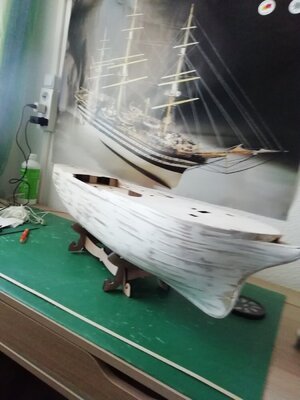
Looks niceI took a long time but finally I have completed the second layer of planking and stated to trim the bow and stern.
Next step is sanding and filler.View attachment 408293View attachment 408294
It has been a long slog that has tested my patience a fair bit but by not trying to do too much in one day I got there with mind and body intact.
Keep it up
DittoLooks nice
Keep it up
Thanks guys.
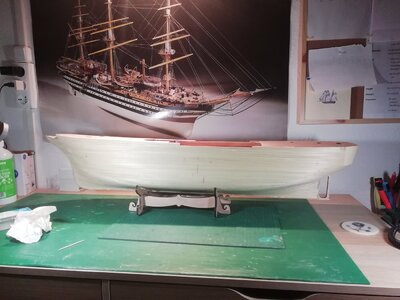
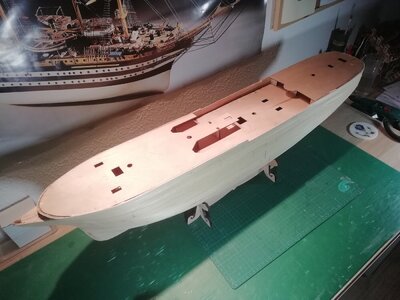
Now completed the sanding/filling/sanding.
Next step is to cover the hull with "modelspan paper" applied with dope. The paper was supplied with the kit and I have bought some dope. I have never used these materials before and the only examples I have found on YouTube are for aero modules where it's stretched over a frame like a drum.
Anyone out there with experience who can help me out with tips/advice?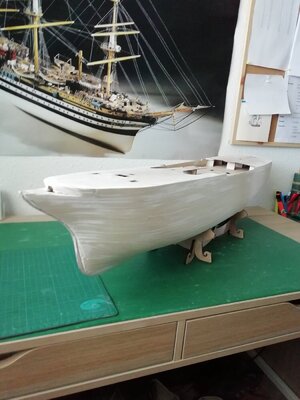


