ZHL Royal Caroline Kit, scale 1/30

No, it works just fine in England!

But somehow I don't see it happening. :angry-banghead:
 
Brian077 said:
hahaha... only an Australian will get that joke mate.


Yea I was driving down the road when my mate read that one out to me, I had to chuck a lefty and pull up, I was laughing so much.
 
Thanks guys for all the comments and laughs, your a great mob, and thank you Mustafa for dropping in,

best regards John.
 
200.jpg
Just had to attach some ring bolts to the back of the riding bitts.

202.jpg
Then the large belaying pins that go through the Riding bitts, this is how they are in the kit, but I wanted
them a bit darker so I slightly blackened them


203.jpg
After blackening.


204.jpg
In place on the bitts


205.jpg
another view,


.
 
Last edited:
G'day John
I'm so glad that you only stained. Painting would hide the grain of the Timber. The last photo shows how much better stain is over paint.
:handgestures-salute:
Those belay pins are anther fine example that's make the ZHL kit's miles ahead of the rest.
:text-woo:
Happymodelling
Greg
 
Thanks Greg, Gary for your nice remarks,I will put up a post about the blackening to explain it,

best regards John.
 
G'day Greg, thank you for your inquiry about the blackening,

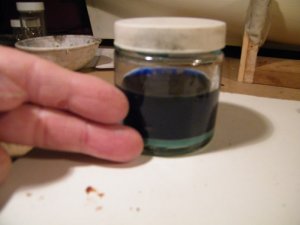
You can see the size of the jar compared against my two fingers, thats how much cloudy ammonia I put in the jar and I add two tea spoons of Copper Carbonate, give it a bit of a stir and drop your bits in, give it a little bit of a swirl now and then, the belaying pins and sheaves only took about 10 mins, I just put them in the way they were, you can if you want to get a darker cleaner look soak them in some vinegar or such like and then rinse them in cold water before putting them in the mixture, you might have to try a couple times to get the mixture right, if you are not pleased with the results just give them a bit longer, I have a a plastic kitchen sieve that I put over on old bowl and then I tip the contents of the jar into the sieve, then rinse your items under the cold water tap, the mixture that is now in the bowl you can put back in the jar it stays active for awhile and you can use it again, hope this helped you out,

best regards John.

PS I have a 100 odd cannon to blacken for my look alike 1/48 scale Royal William, so I will probably use
the vinegar to clean them, if someone knows a better way I would be interested to know, might get better results

221.jpg
 
Last edited:
206.jpg
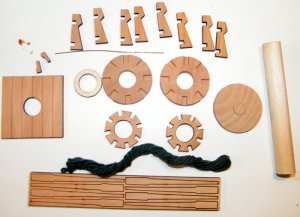
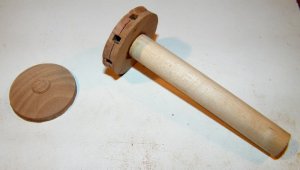
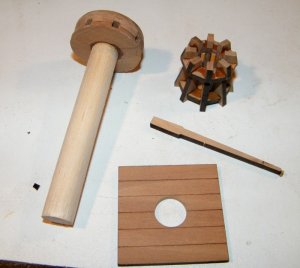
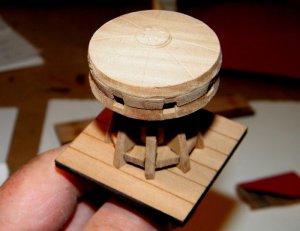
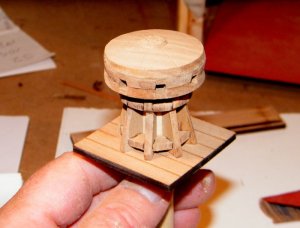
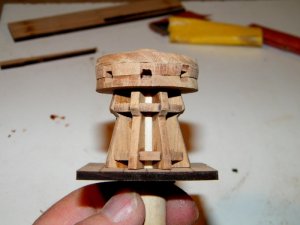
These are the parts that the capstan is made from
207.jpg
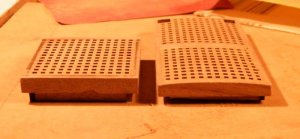
The gratings


209.jpg
A close up of the gratings


210.jpg
and the skylight for the quarter deck
 
Last edited:
211.jpg

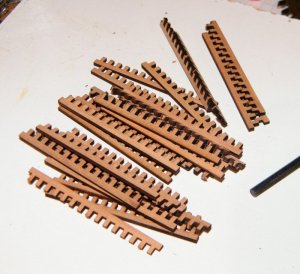
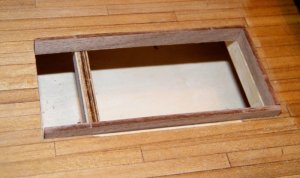
The gratings and the coamings all come laser cut,
this shows you the idea behind there construction, the first parts sit in the hole in the deck, there was no trimming needed
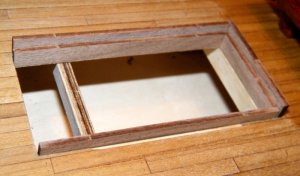
212.jpg
then the outer part of the coaming
sits against the inner, no trimming again, these guys are pretty precise.
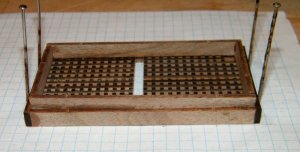

213.jpg
I decided to build them upside down, ( probably because I live in Australia ) on some graph paper,
I built the gratings then cut them to size, cutting out the corners for the cable to go down through. I then glued the outer coaming around them, then glued the inner coaming in place and left to dry
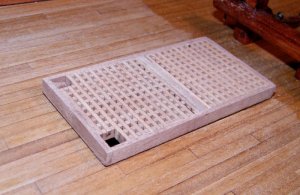


214.jpg
The gratings after drying, they now have to have the top curved to shape, they look pinker than they are, just the flash of the camera
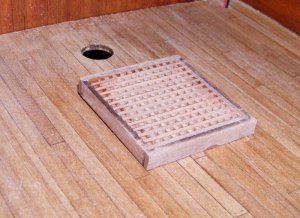

215.jpg
The second smaller grating


216.jpg
the round up on the large grating with the small one next, the small one has to to be turned when it is sanded so the grating battens go across the grating not length ways. I took these pics without flash as you could'nt see the round up properly, same in the next pic
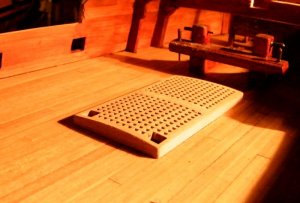


218.jpg
main grating in place


219.jpg
after making the gratings I still had enough left to make another small grating, it was the same with the planking, there was more than enough.
 
Last edited:
206.jpg

as show before these are the parts that the capstan is made up from


222.jpg
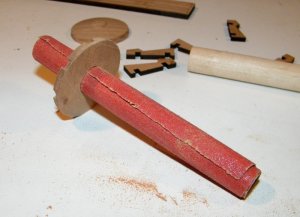
the parts were a just too tight to fit on the dowell, the dowell seems to be ramin, so I rolled some sand paper up and used this to sand out the holes till they just slipped nicely on the dowell.


223.jpg
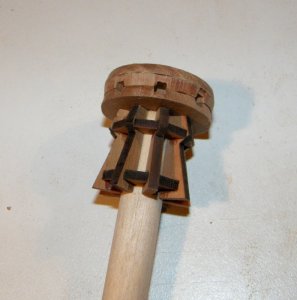
The two parts which will take the capstan bars are glued together and glued on to the dowell flush with the top of the dowell


224.jpg
The capstan top in place, and the whelps and chock assembly glued together, these just needed a bit of a sanding of the slots and then they just slipped together, in hind sight I should have sanded the char off before assembly.


225.jpg
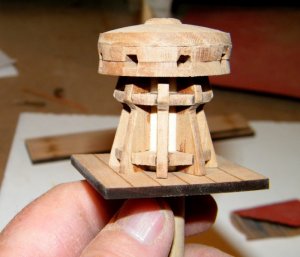
test fitting the whelps chock assembly in place, I will probably chuck it in the lathe and clean up around the capstan top, and also the holes for the capstan bars.


226.jpg
next few pics show the capstan assembly as it will sit on deck, after being varnished of course.

227.jpg


228.jpg


229.jpg
 
Last edited:
G'day John
Thanks for the very good explanation of blackening brass.
Where do you buy Copper Carbonate here in Australia?
Been looking at hobby shops for some forms of blackening, but can't find anything at all?
Regarding the decking timber/ What size do ZHL supply in the kit. L x D x W?
Havagoodone mate
Greg
 
I'm simply amazed at the high quality if this ķir. The capstan looks beautiful.
I liked the way you curved the gratings. That is what ì did on my Endeavour. Are you going to put a canvas covets over the gratings?
Did you get the covers in the kit? If not I can email you an excellent way to display the covers, so it looks like real canvas.
havagooday again mate
Greg
 
hi Peglegreg,
the truth of the matter is the high end ZHL kits are best in the world. The timber fittings like cannon carriages, etc... are solid cherry in my kit. None of this plywood rubbish you see in most other kits.
 
Back
Top