- Joined
- Dec 26, 2021
- Messages
- 88
- Points
- 68

Thanks Vick, have a good night.

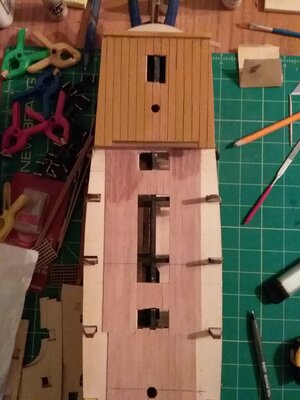
On my BP I stained the deck after installing it but before the hull planking was done. Take Vic's advice try lots of colours (off the ship) and go with the one you prefer, as it's a fictional ship there's no wrong choice.If I'm going to stain my deck and my hull should I stain it before I glue it down or after, I thought I read something to do with the glue but don't remember what it was, sure would be a lot easier after I glued it down.


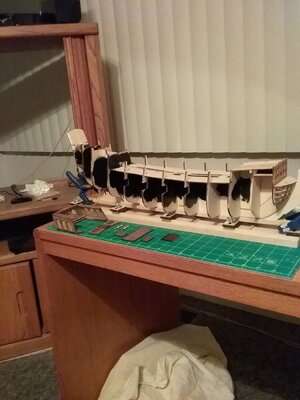
Looking at your build pics it appears that none of your planks do not appear to be tapered going to the stern post am I seeing that correctly, it becomes a bit confusing i know there is a lot of different methods to approach them one of the examples i was using was saying was your wale plank has no taper also the next one that is placed about half way down the hull either as well as the garbour pank that now divides your your planking into two sections thus being able to figure out how many planks you need for each section but all these planks will require some degree of tapering. As someone commented to pick one plan and stick with that one, although I haven't started the planking on my real BP I'm trying to make the planking project as easy as possible.Thanks Vick, have a good night.
Mine don't taper at the stern. Only in front. The stern tends to widen a bit, so I put in stealers where needed.Looking at your build pics it appears that none of your planks do not appear to be tapered going to the stern post am I seeing that correctly, it becomes a bit confusing i know there is a lot of different methods to approach them one of the examples i was using was saying was your wale plank has no taper also the next one that is placed about half way down the hull either as well as the garbour pank that now divides your your planking into two sections thus being able to figure out how many planks you need for each section but all these planks will require some degree of tapering. As someone commented to pick one plan and stick with that one, although I haven't started the planking on my real BP I'm trying to make the planking project as easy as possible.


Actually, what I'm saying is that it's your model. Enjoy the experience. This is my third model, and I'm still learning. On the Soleil Royal, I attempted to taper toward the bow. I'm not fully satisfied with the result. One source suggests never to taper more than half the width of the plank. I've never needed to taper the rear. There might be certain ships or boats where you would have to. I've learned a lot on this forum and by watching some videos at http://www.shipmodeling.ca/aaplandusite.html.So you are saying I can do the first planking the same as you did but my second planking will need to be tapered wherever it is necessary.

WelcomeThanks Vic
You'll definitely have to taper planks more at the bow less at the stern, you can see where I've added stealer planks on the stern on my BP.Looking at your build pics I noticed that none of your planks appear to have no tapering at least going to the stern post or am I just not seeing it?


