You are using an out of date browser. It may not display this or other websites correctly.
You should upgrade or use an alternative browser.
You should upgrade or use an alternative browser.
ZHL Black Pearl Golden Version by rickyboy66
- Thread starter rickyboy66
- Start date
- Watchers 11
-
- Tags
- black pearl golden version zhl
Sometimes it depends on the ship you’re building it seems.
- Joined
- Dec 26, 2021
- Messages
- 88
- Points
- 68

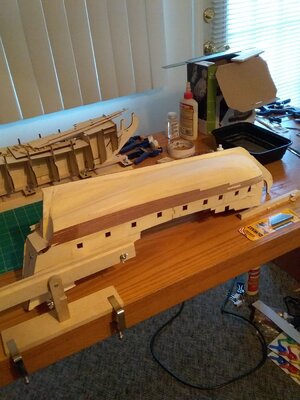
I guess, I don't see the benefit on the pearl I can just wash the end into the end of the keel or am I missing something? In the picture in my log does it look to high I really can't drop it any lower or I'll loose my straight line along the keel.
Again, different ships are done differently at different times. And different kit manufacturers approach it differently. Some are built with a large, flat deadwood area and some are not.
If I may give a couple of simple suggestions for better pictures. It appears that the main problem is camera shake during exposure. Cell phones are notorious for this due the way one has to press the shutter button on the screen. A couple of tips to help:my pictures suck, I'm going to take a better picture of the garbour plank if I can. View attachment 290244
1. Use more light on the subject. More light increases the camera's shutter speed so that shake is not so evident.
2. Brace yourself against something to help keep the camera steady. Something like putting your elbows on a table surface (or held against your body) instead held out away from your body.
- Joined
- Dec 26, 2021
- Messages
- 88
- Points
- 68

Thanks Jeff, I'm usually using my tablet so I will try your suggestions I did notice that I need to hold it more steady and the brighter lights will surely help.
Hi Rick if this was a single plank ship you would need to cut a rabbet in the keel ( a angled slot for the planks to fit into ) with a double plank kit it's not really necessary. On my BP the bottom planks finished at the bearding line and sanded flush to the keel.
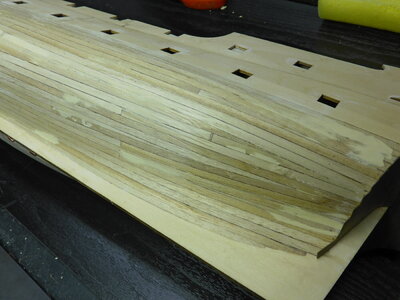
If you double plank to the end of the keel the thickness will be wrong when the rudder is attached.
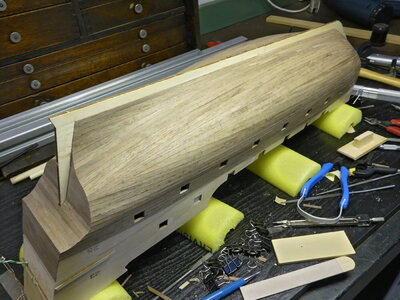
The other thing to watch out for is to make sure the frames are faired enough to ensure smooth curves for the hull.
- Joined
- Dec 26, 2021
- Messages
- 88
- Points
- 68

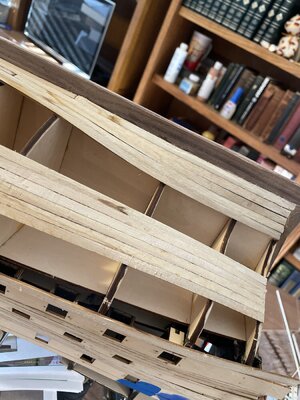
Keeping in mind this is my practice model, at least the 100 dollars I spent is allowing me to practice the planking step hopefully making few mistakes. The picture shows the beard line and end point for the planks but i have another question it appears in both of your plankings your garbour strake is single planks, by the way looks perfect. So I took a couple of pictures on the side where I made the garbour strake those arrows point to a hollowed spot where it looks like my garbour should have come down another plank width about 5mm at that point and at least i can change it when plank the real BP and help would be appreciated. And I know my midship plank needs to be corrected as I am running out of room, good thing I'm on the practice model. 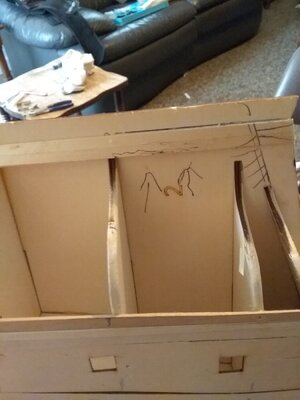
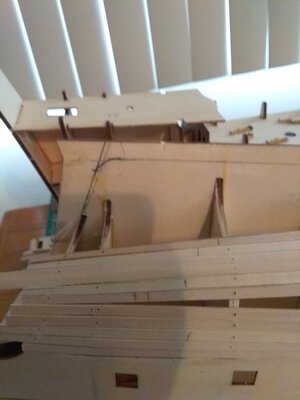


Yeah, I actually dug a little deeper and extended my first planking. I think I was supposed to stop at the last rib/bulkhead. It still worked fine. Most guys only have the top planking over the deadwood. You’re learning fast,there, Ricky Boy!
- Joined
- Dec 26, 2021
- Messages
- 88
- Points
- 68

I'm trying at least I don't have to tackle the BP, as it working out the 100 dollars i paid for the first model was a blessing in disguise. Talking to Tony when you have a double plank model you can pretty much stop it at the last rib and blend it flush to the keel. Thanks for your input and positive response.
Another suggestion that works for my phone. When taking closeups of small items my phone often won't get a good focus. I've found that if I move away a foot or two then zoom in it looks better. Also helps with the lighting-less shadow because I'm not blocking the light as much.If I may give a couple of simple suggestions for better pictures. It appears that the main problem is camera shake during exposure. Cell phones are notorious for this due the way one has to press the shutter button on the screen. A couple of tips to help:
1. Use more light on the subject. More light increases the camera's shutter speed so that shake is not so evident.
2. Brace yourself against something to help keep the camera steady. Something like putting your elbows on a table surface (or held against your body) instead held out away from your body.
- Joined
- Dec 26, 2021
- Messages
- 88
- Points
- 68

Thanks Jeff, I'll eventually get it down.
- Joined
- Dec 26, 2021
- Messages
- 88
- Points
- 68

- Joined
- Dec 26, 2021
- Messages
- 88
- Points
- 68

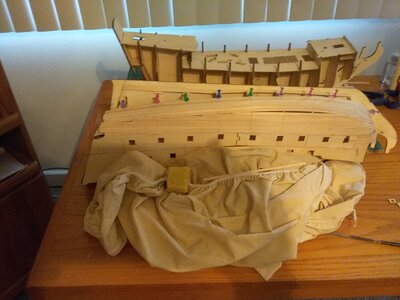
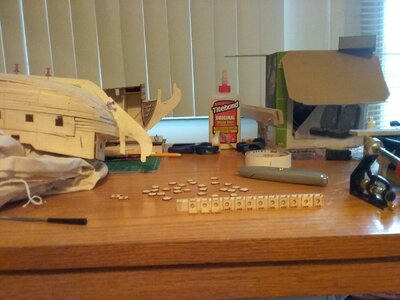
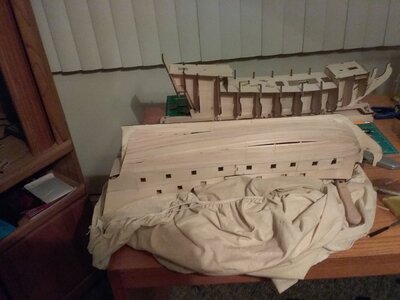
If my work shop looks weird that's because it's in my living room of my apartment. A lot of yours blow me away with all your tools and machines.
Mine's in my loft.If my work shop looks weird that's because it's in my living room of my apartment. A lot of yours blow me away with all your tools and machines.
- Joined
- Dec 26, 2021
- Messages
- 88
- Points
- 68

- Joined
- Dec 26, 2021
- Messages
- 88
- Points
- 68

If I'm going to stain my deck and my hull should I stain it before I glue it down or after, I thought I read something to do with the glue but don't remember what it was, sure would be a lot easier after I glued it down.
- Joined
- Dec 26, 2021
- Messages
- 88
- Points
- 68

- Joined
- Dec 26, 2021
- Messages
- 88
- Points
- 68

I was using a lot of different stains the beach wood i stained from natural the black walnut came with the kit it just needed something to look brighter, using the beach on the deck black walnut on the hull. Any comments? Wanted the deck color to be like a gold color like I seen on someone's log it looked really nice after the varathane. It was very hard to match. I ended up with colonial maple, any suggestions. 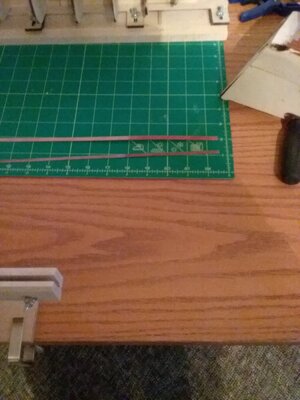

You’ll just have to experiment like we all do till you get the look you want. I usually just use polyurethane to enhance the natural color. I sand off any glue before staining or using poly. But if you use CA or super glue, it sometimes soaked into the wood. On this latest ship, I coated it with a thin coat of colored putty that was close in color to my wood. It filled in any cracks and the little holes I had drilled to simulate treenails. I sanded again and applied the finish. I was pleased with the results. There is no real right way. Experiment! See what you like! It’s always builder’s choice, anyway. I learn by doing. You’re doing fine. Enjoy the experience.I was using a lot of different stains the beach wood i stained from natural the black walnut came with the kit it just needed something to look brighter, using the beach on the deck black walnut on the hull. Any comments? Wanted the deck color to be like a gold color like I seen on someone's log it looked really nice after the varathane. It was very hard to match. I ended up with colonial maple, any suggestions. View attachment 291884


