- Joined
- Jul 8, 2018
- Messages
- 885
- Points
- 403

FiddlyThis is incredibly good work, Ron - I know exactly how small those little pedestals are. I am sure that this will enhance the looks of the Statenjacht accordingly; you can be very happy with those!

FiddlyThis is incredibly good work, Ron - I know exactly how small those little pedestals are. I am sure that this will enhance the looks of the Statenjacht accordingly; you can be very happy with those!

Mike,Ron, the balusters are a huge improvement over the resin ones supplied with the kit. What kind of mini lathe do you use? Nicely done, Magic Mike

Good morning Ron. You owned this. Cheers GrantFinally got around to grinding a tool bit for the railing balusters.
A little final sanding then assemble the railings.
View attachment 388446
Wow, those are good examples of working with the ”little fiddly” stuff. Nicely done.Finally got around to grinding a tool bit for the railing balusters.
A little final sanding then assemble the railings.
View attachment 388446

Good morning Ron. Resin is brittle, especially if cured properly. The good thing it is easy to sand/shape with needle files. As for bending…I think it depends to what degree you want to bend. Boiling water will help but the bend is limited. The other option is to shape the “inside “ to the hull using files.Try hot water first but be gentle. Cheers GrantKit supplied resin pieces for the outside of the hull. They require bending to conform to the curve of the hull.
Suggestions as to how to bend without snapping. Heat, hot water? I only have one shot at this.
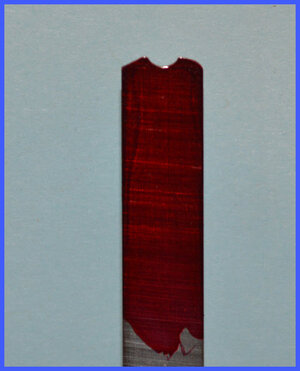
Sorry for the out of focus image but, you get the idea.
View attachment 388805

Great to hear that the bending process worked out OK.Couple of minutes in 180 degree (F) water seemed to do the trick. Right now they are in paint. I’ll grab a couple of pictures when dry.

Fortunately I did not have to bend very much to conform to the hull shape. I held my breath expecting to have one snap.Great to hear that the bending process worked out OK.
DittoGreat to hear that the bending process worked out OK.

Eyes wide closedBravely done, Ron!


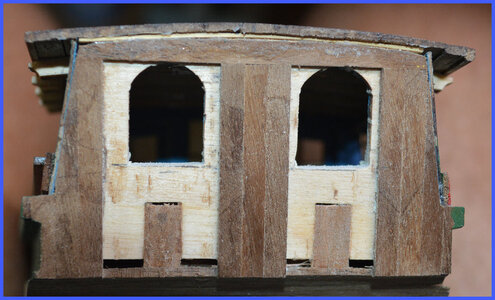
Not much wiggle room. Going to have to get them right...Looking at Piet's log I see that his rear windows are much lower in relationship to the side windows compared to what I have.
He either cut his different or my precut rear cabin wall is different.
Oh well, just a minor setback.
View attachment 391042
This is what the rear wall looks like with all the decorations.
View attachment 391041
Good morning Ron. Yep those redo’s….always a frustration until you have done the redo and the “ahh so much better “ is rewarding. I agree with Paul especially on top of the windows….going to be an interesting “wiggle” as Paul puts it. Cheers GrantNot much wiggle room. Going to have to get them right...

