Matthew 1497 1:48 scale by Mike 41 [COMPLETED BUILD]

Mikes work is really nice personally i like the open look of the timbering.

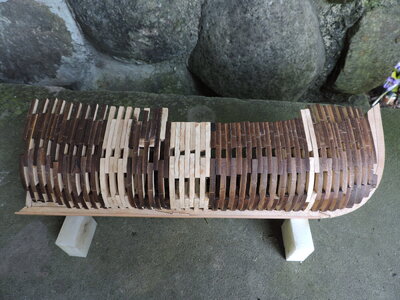
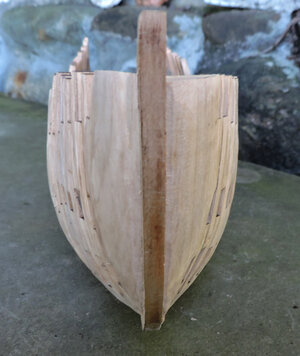
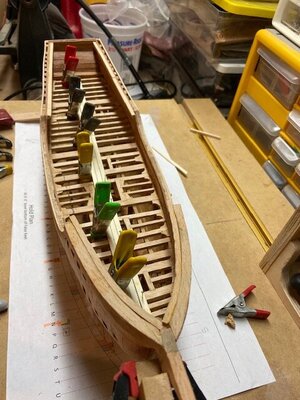
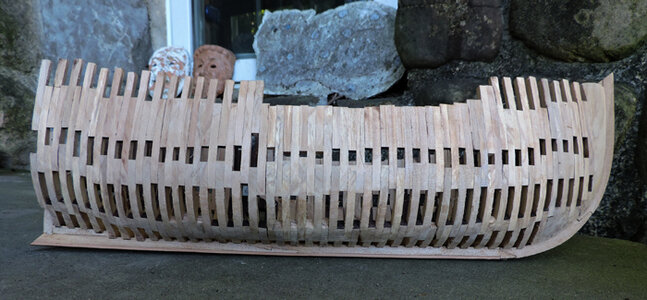
i finished all the frames and now have a hull

View attachment 322825

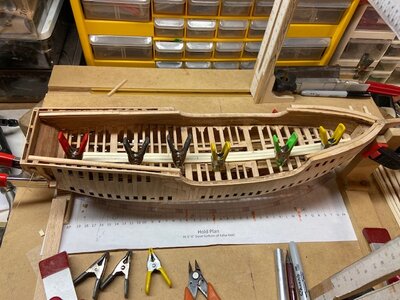
View attachment 322826


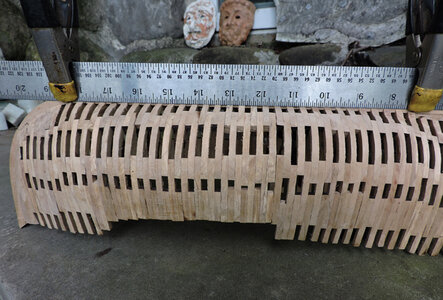
this build is about the building process of the hull. By building the hull i will say Mikes drawings are perfect with the laser cut parts from those drawings made a perfect shaped hull. See those bands of solid wood where the frames overlap. if your careful you can get a nice curve from the profile view.

View attachment 322827

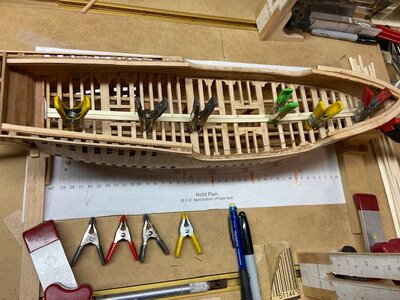
to get a good shape to the hull you have to pay attention to the drawings which i did not. The frame pieces with the yellow dot are in the wrong spot, they should have been shifted out

now i have to rip out 6 frames rebuild them and replace the ones i messed up.

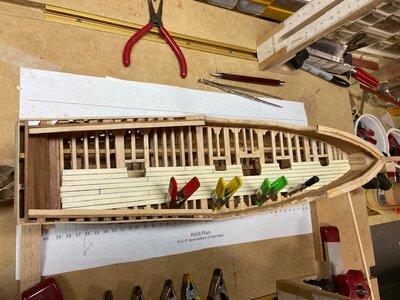
View attachment 322828

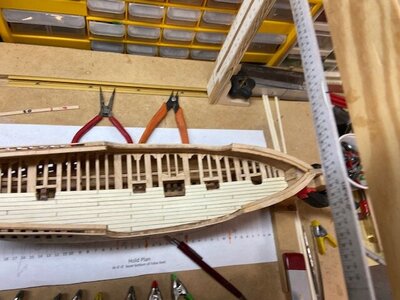
i lined the edges up i think the plan shows the timbers shifted. if i shift the yellow dot frames half way to the frame behind it i will get better results.

View attachment 322831
Congrats also to you reaching this working step in the construction.
I hope, that you have enough meat on the individual frames, beacuse we can recognize some steps (red lines along the keel) which are due to the not-use of a jig for the complete framing - I guess this could be the biggest cons for the chosen construction method
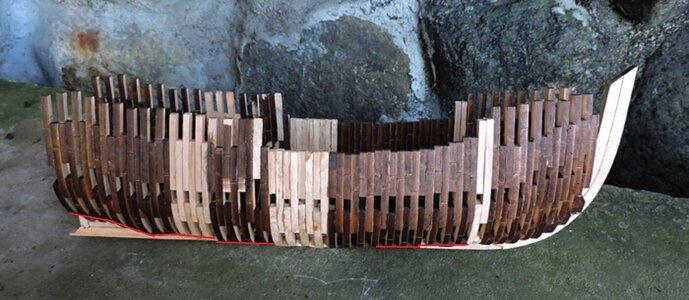
finish hull1.jpg
 
Congrats also to you reaching this working step in the construction.
I hope, that you have enough meat on the individual frames, beacuse we can recognize some steps (red lines along the keel) which are due to the not-use of a jig for the complete framing - I guess this could be the biggest cons for the chosen construction method
View attachment 322871

Hi Uwe, it looks like the camera angle is misleading on where the bottom of the frame is located on the keel, if the top of the midship frames was shown as a straight level line the bottom of the frames would appear higher on the keel. The bottom of the frames needs to be trimmed even with the top of the bearding line.
 
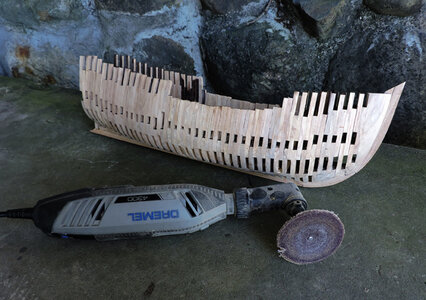
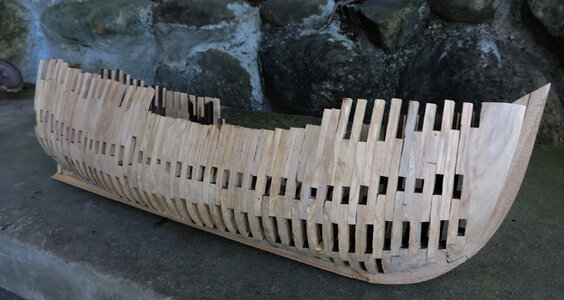
taking another look at the bow frames i decided i will go ahead and sand the hull with the original frames just to see what happens. Using a Dremel i got agressive with the sanding. I will say framing a hull this way makes a very strong hull and i was able to sand without any problems or breaking anything

finish hull5.jpg

as long as your careful building the hull there shouldn't be any major high or low spots and the hull will sand out nice and even.

finish hull6.jpg

if i were to build the hull again one thing i would do it make the solid band of overlaping wood even along the hull. But that is another level of building.

finish hull7.jpg
as for the bow to my surprise it worked out just fine.

finish hull8.jpg

i used a rough 60 grit sanding disk and it chewed down the hull in less than an hour. I need to hand sand the hull with a finer grit to get a smoother finish.
In conclusion i would say from the drawings to the laser parts you can build a hull, that is, as long as you take your time and built the frames accurate as you can to the drawings. Mike built a hull using a jig and gantery i used steel blocks and magnets both ways will give you an accurate hull.

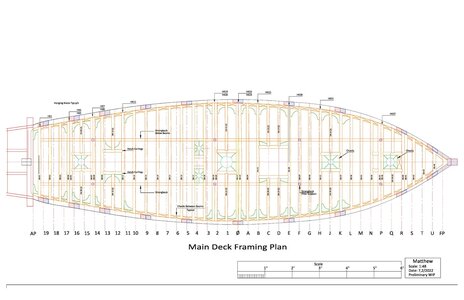
Next i have to take Mikes drawing of the deck and stern break them down into their parts, lay them out and create a laser cutting file. Then from the laser parts i will assemble the deck to make sure everything goes together.
For me it is back to the drawing board.
 
i need to take Mike's original deck structure drawing and break it down into laser cutting files, then laser cut the parts and from those parts build the deck to make sure everything fits back together.
Once i finish the deck that will complete the laser cutting set

Matt-1497-4 Main Deck Framing (1)-page-001.jpg
 
I hope, that you have enough meat on the individual frames, beacuse we can recognize some steps (red lines along the keel) which are due to the not-use of a jig for the complete framing

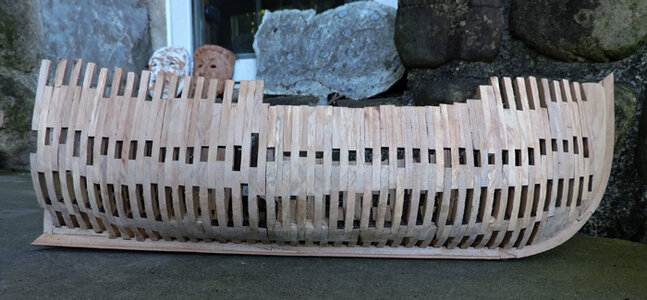
i put a straight edge along the floors to show they are even, i should have done this before i sanded the hull but thought of it to late. A camera will distort an image depending on the angle of the shot.

i used that little keel jig to assemble the frame blocks and as long as your using some sort of jig and placing the floor notch in the same spot everything will line up. it took very little sanding to shape the hull.

using a jig to build a hull is not something you have to use, i will say it helps a lot and it is more like a safty net used by high wire acrobats. you don't need the net to walk the wire but it sure is nice to have one. This hull did use jigs to build and assemble but not the type of jig like the Hahn type, but none the less i still jigged the assembly of the frames and hull.

finish hull9.jpg
 
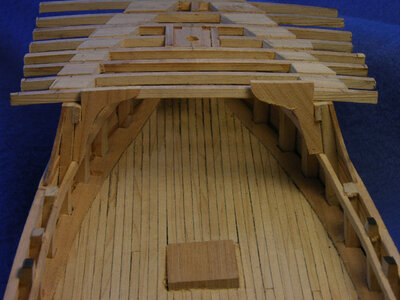
Main Deck Planking

The main deck is planked on the starboard side only to show the supporting structure. I started in the center and used a three-board shift. I used a pattern with twenty-foot max length boards with a four-foot shift.

The Canadian replica does not show waterways, I would like to add them, but they may not have been in use in 1493. Any suggestions?

I will be simulating the treenails and adding some deck items next.

Progress photos.

IMG_4128.jpgIMG_4129.jpgIMG_4130.jpgIMG_4131.jpgIMG_4132.jpg
 
The Canadian replica does not show waterways, I would like to add them, but they may not have been in use in 1493. Any suggestions?

i think scuppers were used if you had waterways the scuppers would have to be cut through of go under the waterway, These scuppers look level with the deck.


8 jul 015.jpg


scuppers were used on the Alva and a waterway was a plank along the edge of the deck

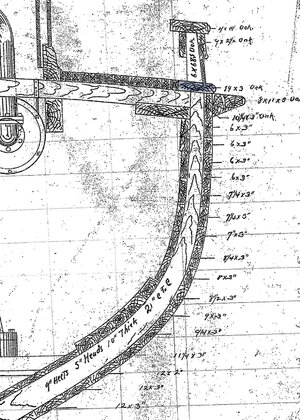
CrossSection frame.jpg
 
Thanks Dave, I did see the scuppers on the replica, they look a little different from the design drawing. Looks like they are half the length and twice as many as the drawing shows, I guess it does not matter.

I will save the waterways for another project.
 
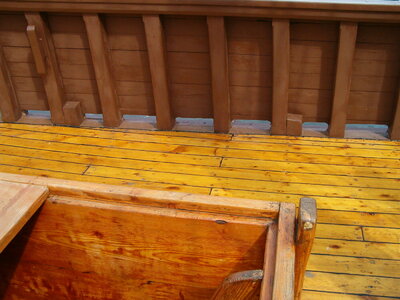
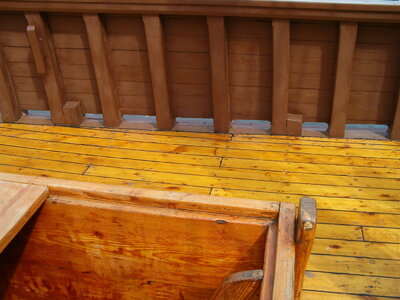
looking from the inside it looks like the waterway is a few inches above the deck.

you need some sort of waterway to cover the space between the frames.

i don't know if the waterway was one plank with notches cut into it or individual short planks fit between the top timbers. Looking at the last 2 to the left there looks like a seam
8 jul 021.jpg
8 jul 043.jpg
 
Last edited:
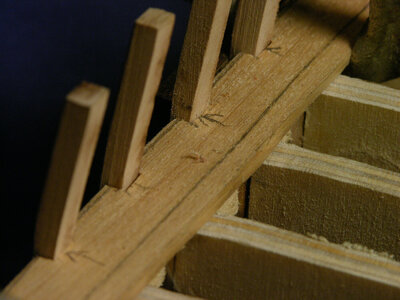
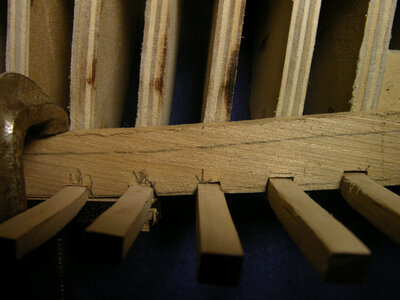
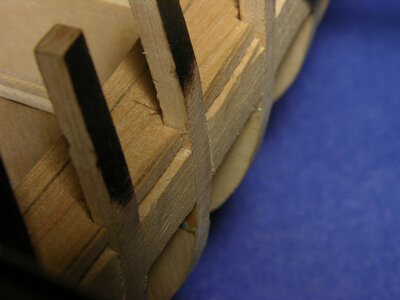
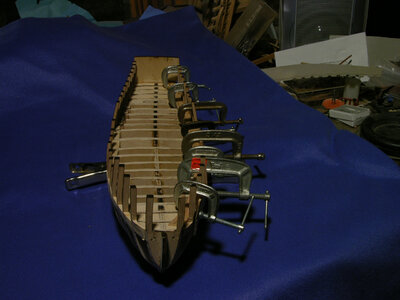
here is how i did the waterways
first i cut an over size piece to the curve of the hull, marked and cut the notches.

3781.jpg

this was a fit and adjust and keep testing the fit until all the notches fit the frame timbers.
3755.jpg3768.jpg

i kept adjusting the notches to get the outer edge to set even to the outer edge of the frames

3762.jpg


once i got a nice fit i clamped the waterway to the hull

3771.jpg

and finally a fit

5825.jpg
 
With the type of framing, we are using there is no space between frames at the deck line. So, if we used waterways they would not be notched, and the scuppers would be level with the top of them.
 
OK INFLATION SO IT IS NOW 25 CENTS THIS DISCUSSIONON THE JIG PROCESSING NO CRITSIMS OF MIKE OR DAVE LET US FACE IT THEY ARE SUPBERB CRAFTSMEN AND INOVATORS AND I AM MANY ARE NOT FOR MANY REASONS I HAVE BEEN LOOKING FOR A JIG THAT COULD WORK ON THIS, I THINK THE JIG THAT DA HAI CAME UP WITH WITH SLIGHT MODIFICATIONS CO BE MADE TO WORK JUST CHECK OUT MY LOG ON THE MINERVA IN A COUPLE OF DAYS LET US SEE. GOD BLESS STAY SAFE ALL DON
 
Hi Don, the question of whether to use a jig and what type is required would be easier to resolve after the two prototypes are built. As mentioned before There will be three different stages of the build, first a structural model showing only the framing, second a navel board model and third a complete build with rigging and sails. The last two stages will allow the builder to add or subtract components for example the navel board model stage could include full masting and standing rigging and the complete build does not need to include sails and their associated rigging. The model is finished when the builder says so. In each stage of the build different jigs or methods would be very useful, my hindsight is much better than my foresight. The is the reason behind my first statement.

Neither Dave nor I am familiar with DaHaimodel’s building jig, once we see how it works, we can make recommendations.
 
ok mike brain not tuned in do not remember the 3 stages, count me for NO 2 GOT IT TERRIFIC CONCEPT LOVE IT. GOD BLESS STAY SAFE YOU AND YOURS DON
 
Thanks Don, I think Number 2 will be the most popular, but the model will look nice with fully rigged sales. I have not decided on sails for my model.
 
With the type of framing, we are using there is no space between frames at the deck line. So, if we used waterways they would not be notched, and the scuppers would be level with the top of them.

good point Mike the example was a plank on bulkhead version i built awhile back.
 
oops!

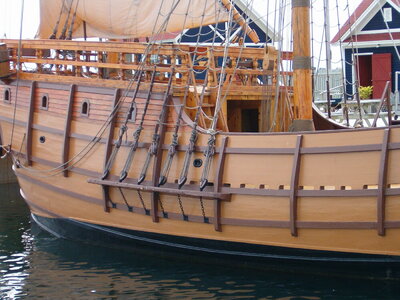
when i look at the Canadian replica every other frame is a stanchion

8 jul 021.jpg

i built the hull as a solid wall of timber which is a totally different framing system than the replica. The replica used modern system of framing we used the historic method. It is no big deal to cut out every other top timber above the deck level. Which i think i will do

finish hull7.jpg
 
If your framing is historically correct, why do you want to cut out every top timber to make the model more like the replica? Not a problem just curious.
 
oops!

when i look at the Canadian replica every other frame is a stanchion

View attachment 323677

i built the hull as a solid wall of timber which is a totally different framing system than the replica. The replica used modern system of framing we used the historic method. It is no big deal to cut out every other top timber above the deck level. Which i think i will do

View attachment 323678v
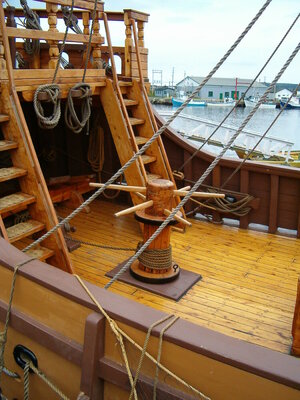
Good stuff Dave. On another note, do you know what wood was used for the replica's deck planking? I don't ever recall seeing a deck's wood so vibrantly yellow.
 
Back
Top