You are using an out of date browser. It may not display this or other websites correctly.
You should upgrade or use an alternative browser.
You should upgrade or use an alternative browser.
Matthew 1497 1:48 scale by Mike 41 [COMPLETED BUILD]
- Thread starter Mike41
- Start date
- Watchers 27
-
- Tags
- completed build matthew
She looks like a ship, no matter what. I like the way she looks! Good job, Mike.
- Joined
- Dec 1, 2016
- Messages
- 5,134
- Points
- 728

holy smokes do you work around the clock?
it is looking really good being a few steps behind your model really inspires me to keep moving on
it is looking really good being a few steps behind your model really inspires me to keep moving on
- Joined
- Aug 10, 2017
- Messages
- 1,646
- Points
- 538

Saint Michael never sleeps! Lol
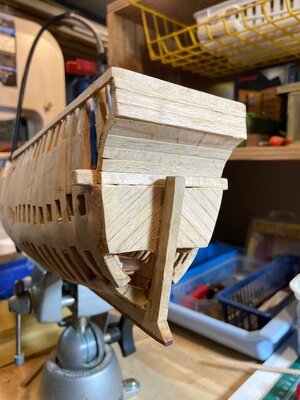
I changed my mind about the lower part of the stern, it looked a bit too Spanish for a Bristol boat. I will get something together tomorrow. Try to stay inspired I am anxious to start the next project.
I changed my mind about the lower part of the stern, it looked a bit too Spanish for a Bristol boat. I will get something together tomorrow. Try to stay inspired I am anxious to start the next project.
- Joined
- Aug 10, 2017
- Messages
- 1,646
- Points
- 538

- Joined
- Dec 1, 2016
- Messages
- 5,134
- Points
- 728

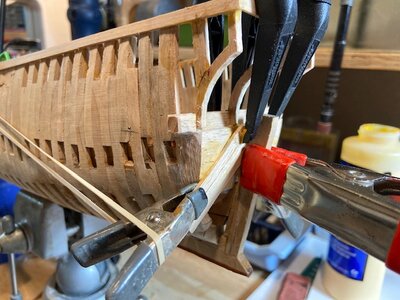
back on the framing i finished all the frames from 15 aft to P at the bow. All these frame notches sat even and square on the keel
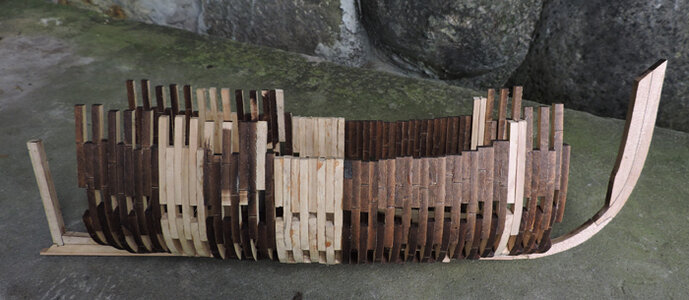
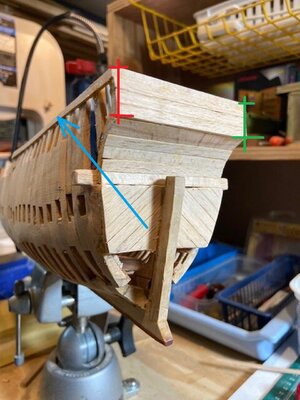
what makes these last bow and stern frame different is i have to adjust and angle of the notch frames 16 to 19 sit on the deadwood piece which is at an angle and in order for the bow frame to sit level i need to cut the floor notches on an angle.
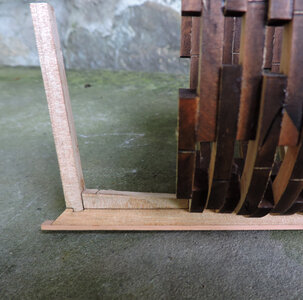
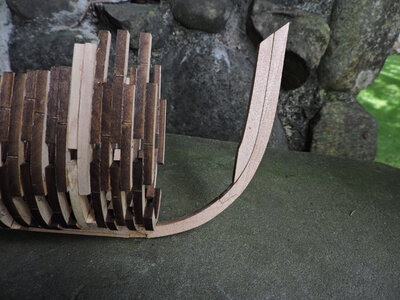

what makes these last bow and stern frame different is i have to adjust and angle of the notch frames 16 to 19 sit on the deadwood piece which is at an angle and in order for the bow frame to sit level i need to cut the floor notches on an angle.


- Joined
- Dec 1, 2016
- Messages
- 5,134
- Points
- 728

you see me over at the Alva B but the Matthew is right here next to my computers and i am drawing on the Alva and gluing in the last Matthew frames all at the same time.
- Joined
- Dec 1, 2016
- Messages
- 5,134
- Points
- 728

l
- Joined
- Apr 20, 2020
- Messages
- 5,149
- Points
- 738

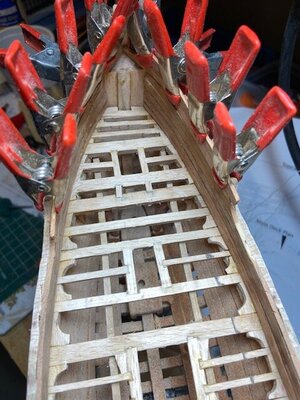
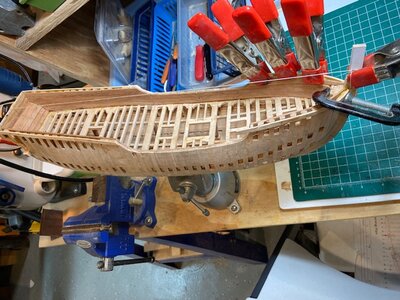
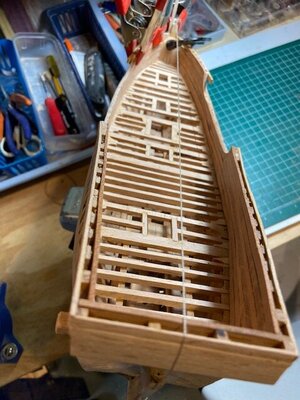
Dear MikeInterior Lining
I am using myrtle for the interior lining. This is a few progress photos.
I will start the main deck planking tomorrow.
View attachment 321918View attachment 321919View attachment 321920View attachment 321921View attachment 321922View attachment 321923View attachment 321924View attachment 321925View attachment 321926View attachment 321927
The myrtle has a beautiful and special shade, the combination with your work achieves beautiful results

- Joined
- Aug 10, 2017
- Messages
- 1,646
- Points
- 538

Top Castles Deck Clamps
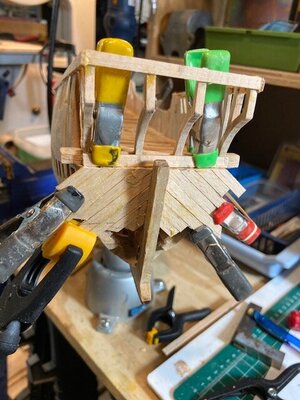
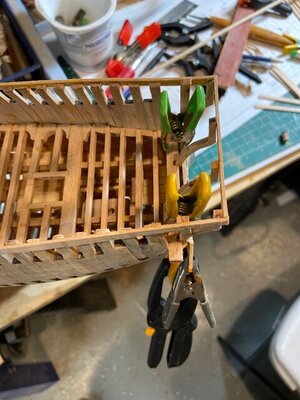
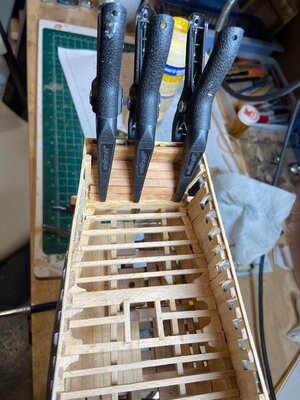
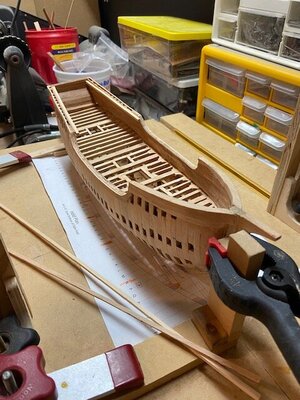
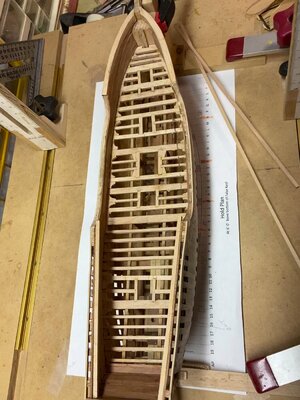
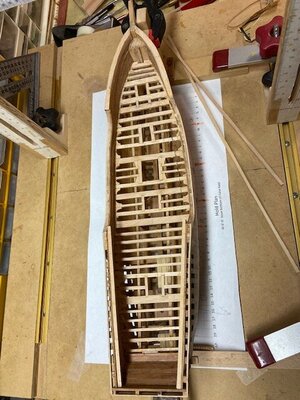
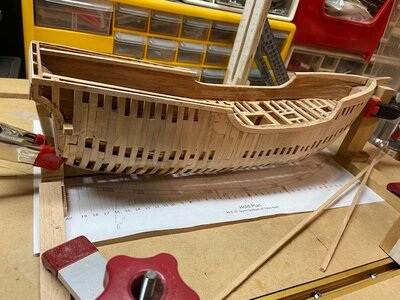
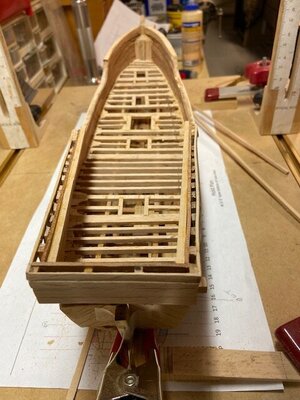
I spent the last few days doing clean-up work, I did get the deck clamps in place and added a little more height to the bow. I am planning on planking the starboard side of the main deck and adding the upper deck framing next, should be done by noon tomorrow, but may take a bit longer.
Progress photos


Really nice work, Mike!
great work mike and very quick too, i am convinced count me in for the kit. GOD BLESS STAY SAFE YOU AND YOURS DON
- Joined
- Aug 10, 2017
- Messages
- 1,646
- Points
- 538

Thanks Dave & Don, I am sure you have noticed most of the work in being done in a Panavise and gantry base. With the Panavise there is very good access to all parts of the hull and the base helps keep everything square and level. The build does require a jig. Dave is doing some interesting work with magnets; I will be using some shiny new ones on the next project lol.
- Joined
- Dec 1, 2016
- Messages
- 5,134
- Points
- 728

Mikes work is really nice personally i like the open look of the timbering.
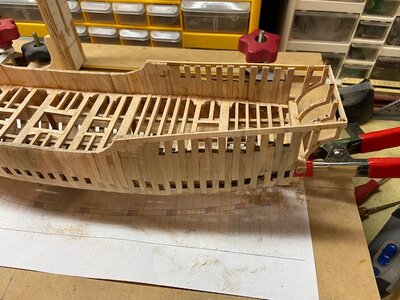
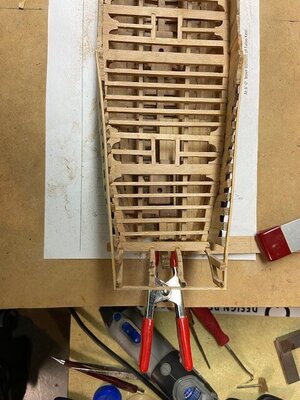
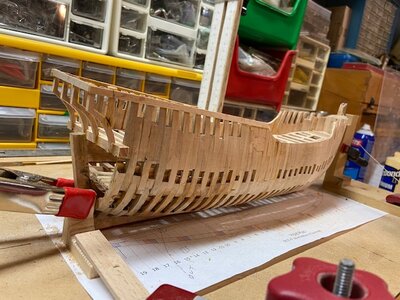
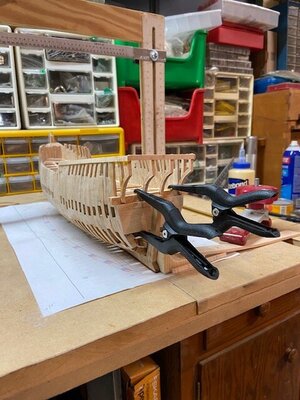
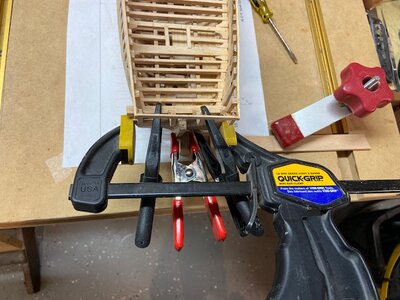
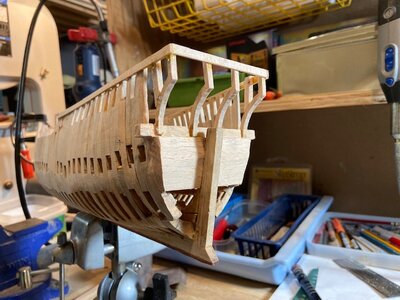
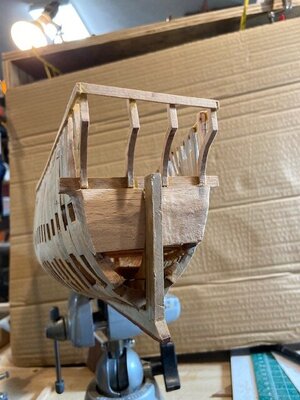
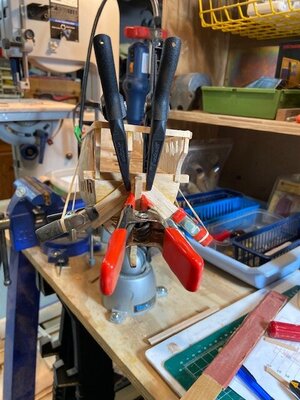
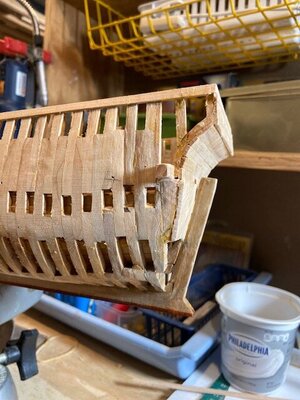
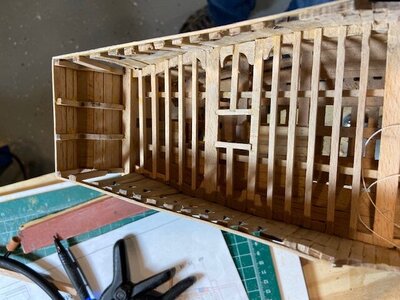
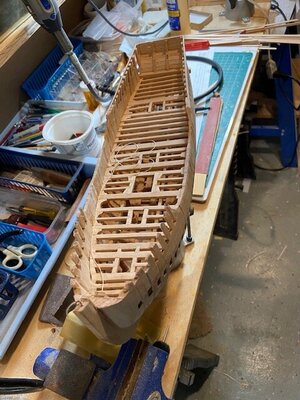
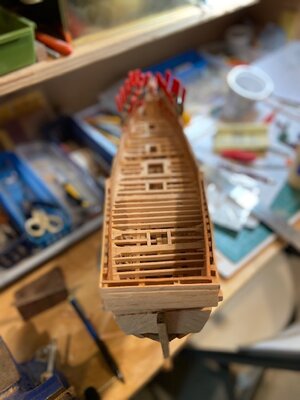
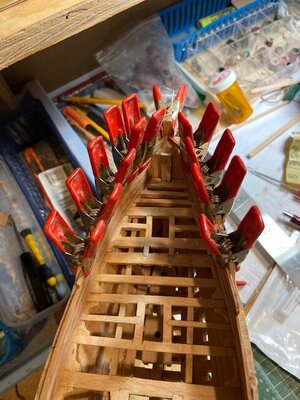
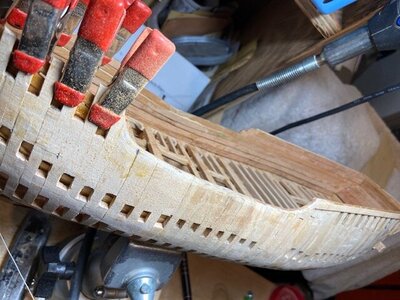
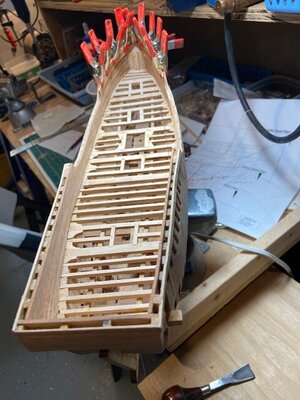
i finished all the frames and now have a hull
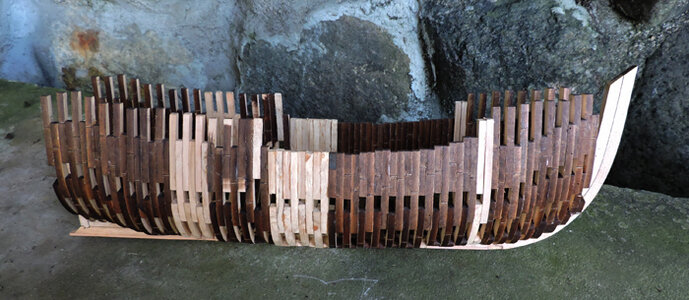
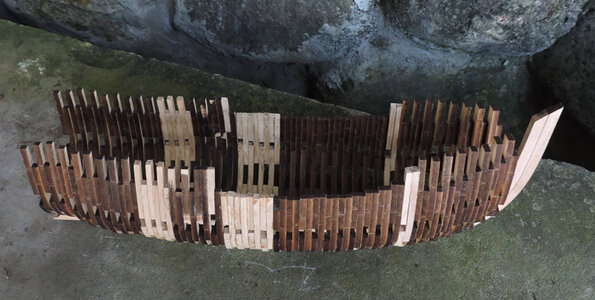
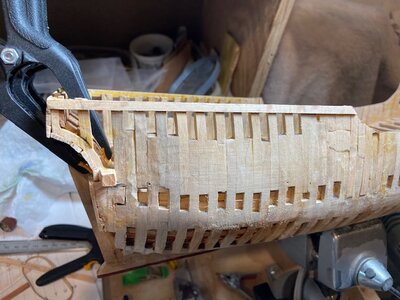
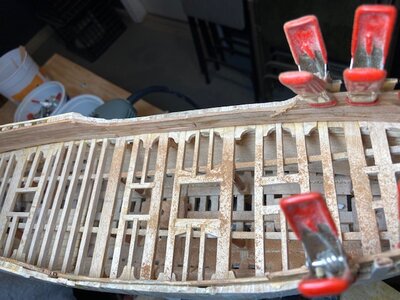
this build is about the building process of the hull. By building the hull i will say Mikes drawings are perfect with the laser cut parts from those drawings made a perfect shaped hull. See those bands of solid wood where the frames overlap. if your careful you can get a nice curve from the profile view.
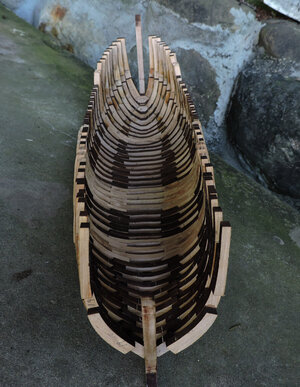
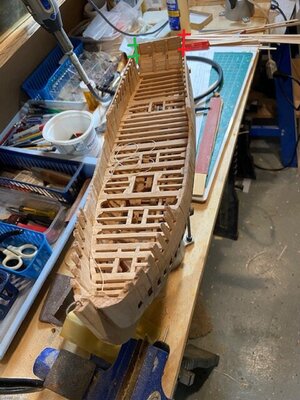
to get a good shape to the hull you have to pay attention to the drawings which i did not. The frame pieces with the yellow dot are in the wrong spot, they should have been shifted out
now i have to rip out 6 frames rebuild them and replace the ones i messed up.
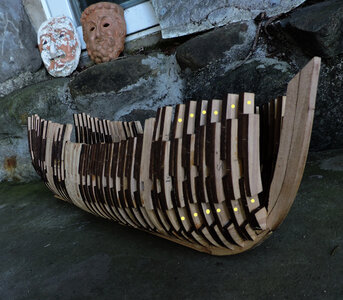
i lined the edges up i think the plan shows the timbers shifted. if i shift the yellow dot frames half way to the frame behind it i will get better results.
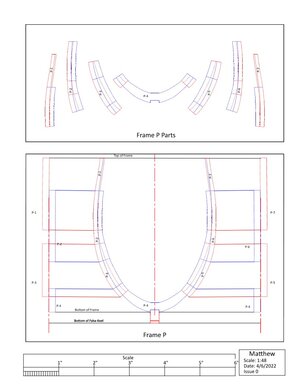
i finished all the frames and now have a hull


this build is about the building process of the hull. By building the hull i will say Mikes drawings are perfect with the laser cut parts from those drawings made a perfect shaped hull. See those bands of solid wood where the frames overlap. if your careful you can get a nice curve from the profile view.

to get a good shape to the hull you have to pay attention to the drawings which i did not. The frame pieces with the yellow dot are in the wrong spot, they should have been shifted out
now i have to rip out 6 frames rebuild them and replace the ones i messed up.

i lined the edges up i think the plan shows the timbers shifted. if i shift the yellow dot frames half way to the frame behind it i will get better results.


