You did not catch the patent number - 15952? Is that not your address on the letter in the photo?


Last edited:
You did not catch the patent number - 15952? Is that not your address on the letter in the photo?


I’ve had to do something similar.I couldn't fish them out. They are totally buried, the risk you take making complete guns on the lower decks. They were kept in place by the breeching lines and gun tackles, just like on a real ship. I had to apply PVA glue to the lower area of the front of the carriages with a wooden craft pick, wipe excess glue off the bottom of the gun port with a cotton swab, then clamp them in place with the levers made from wood strips and rubber bands and let them dry overnight. You have to be clever in devising a method of holding the guns in place, hence the long wood strips, pressing the guns to the deck. None of the gun carriages had broken breeching ropes that I could tell. The upper section of the hull was protected from damage by "Kitty Shield V1.0", the plywood cover i made to keep the cats from crunching the ladder railing and other deck gear. Damage recovery took a few hours. I really need to make Kitty Shield v2.0.
View attachment 354124
I love the new term!Very clever and so nicely done. Nigelesque...


Don't cover the ship, cover the cat instead...I'm not sure how to cover the ship. It will take more cost in the form of wood, and have to be large.
Sometimes that's not enough. Sometimes you need a burlap sack, a cinder block, and a lake.Don't cover the ship, cover the cat instead...

I’m certain he meant to cover the cat with dirt!Sometimes that's not enough. Sometimes you need a burlap sack, a cinder block, and a lake.
When I do, THIS is what happens:I’m certain he meant to cover the cat with dirt!
ps - Easiest solution is to have a hobby room with a door, and keep it closed!
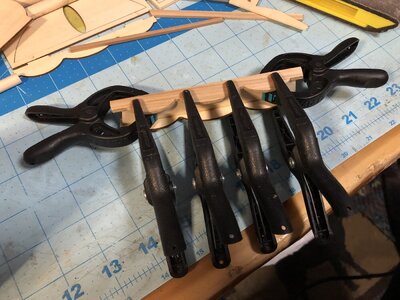
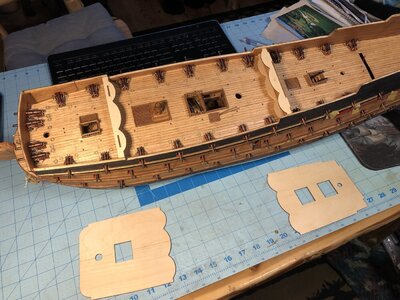
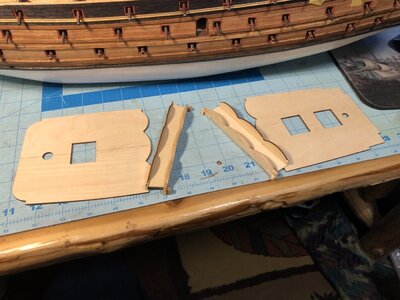
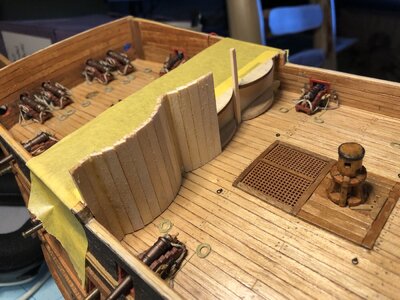
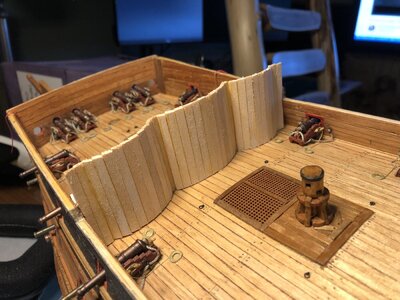
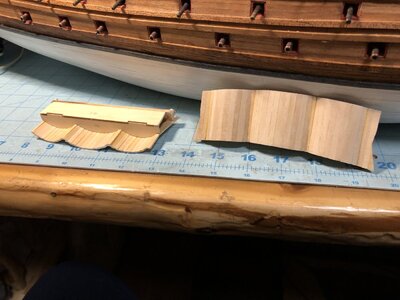
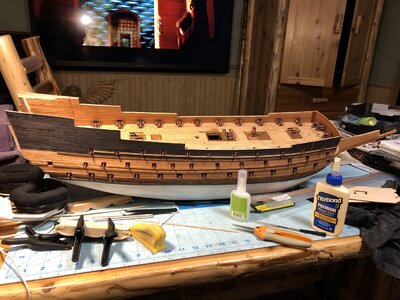
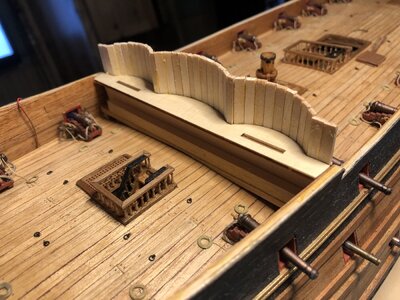
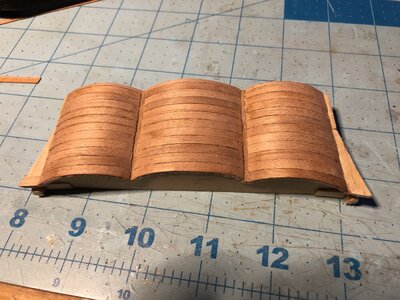
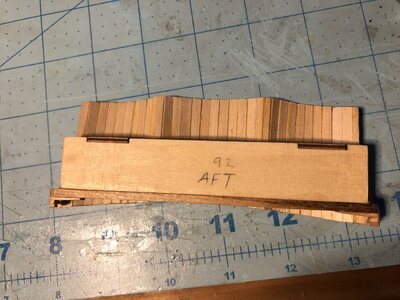
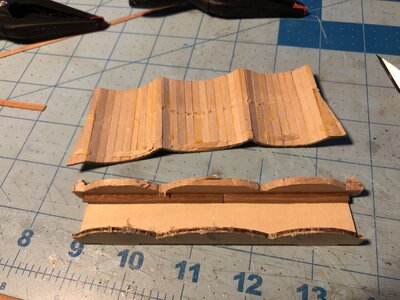
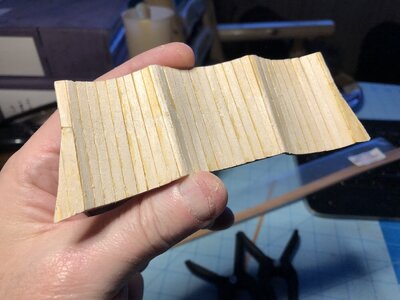
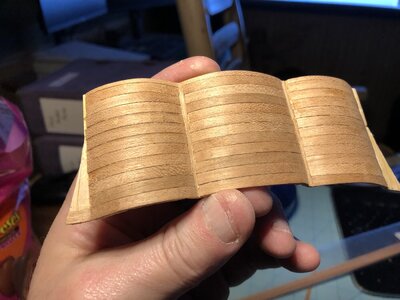
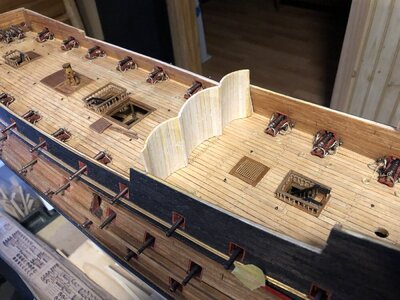
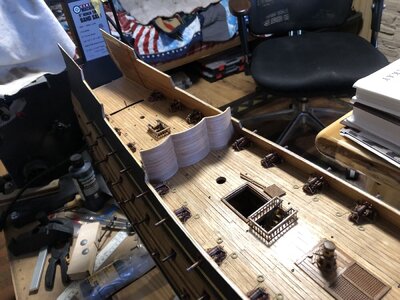
No, they separated easily enough. Most of the glue was joining the edges of the vertical slats. The spots of glue holding the parts together were easy to find and cut with a razor knife. The thing is, decorating the bulkheads will be much easier while they are not attached to the model. The problem is, I've only just started training myself on Blender to make the 3-D decorations, and I haven't even opened the box the 3-D printer came it. I need to start learning 3-D resin printing and modelling on Blender. That will delay much of the progress on the model. Once the decorations start getting made, then this model will give Nigel some hard to match competition for detail.Nicely made bulwarks, Kurt. I'm sure it was an anxious moment prying them away from the jig.
Ooh. Competitive model building! Maybe a cage match on the orlop deck? Semi-culverin drakes at 30 paces? Underwater ratline tying? My money is on Nigel if there are rules that have to be followed - Kurt if it's no holds-barred...No, they separated easily enough. Most of the glue was joining the edges of the vertical slats. The spots of glue holding the parts together were easy to find and cut with a razor knife. The thing is, decorating the bulkheads will be much easier while they are not attached to the model. The problem is, I've only just started training myself on Blender to make the 3-D decorations, and I haven't even opened the box the 3-D printer came it. I need to start learning 3-D resin printing and modelling on Blender. That will delay much of the progress on the model. Once the decorations start getting made, then this model will give Nigel some hard to match competition for detail.
Oh, this is exciting! I didn't realize you were going to design and print your own decor.No, they separated easily enough. Most of the glue was joining the edges of the vertical slats. The spots of glue holding the parts together were easy to find and cut with a razor knife. The thing is, decorating the bulkheads will be much easier while they are not attached to the model. The problem is, I've only just started training myself on Blender to make the 3-D decorations, and I haven't even opened the box the 3-D printer came it. I need to start learning 3-D resin printing and modelling on Blender. That will delay much of the progress on the model. Once the decorations start getting made, then this model will give Nigel some hard to match competition for detail.

Oh bugger… I hope you get this under control pretty soon.Bad news... I'm experiencing a kidney stone on my left side as I type this. Hurts a lot. Drank a quart of water to try and pass it. Ouch.
SORRY TO HEAR THAT. WHIT YOU WITH ALL MY HEART. I MY SELVES AM SUFFERING STRONG PINE IN BOTH MY KNEECAPS, AND THE WEATHER CONDITIONS RIGHT NOW DO NOT HELP EITHER.Bad news... I'm experiencing a kidney stone on my left side as I type this. Hurts a lot. Drank a quart of water to try and pass it. Ouch.
