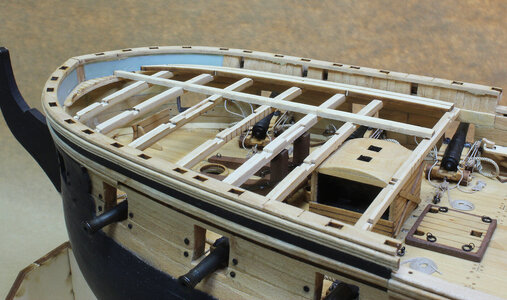
Belle Poule 1780 by Donnie

I might have to make these parts from scratch as they are almost non-usable - what a HUGE mistake and oversight on my part. I am in the process of removing these moldings and installing them in the correct place. It has taken over an hour just to remove one side as unfortunately, I used CA glue. It is a mess.


View attachment 322264


this is not too bad, but the planking is going to have to be "built up" some.

View attachment 322263
Hi Donnie,

A little trick I learned about super glue is that acetone will soften it up. I made similar mistakes on my Royal Caroline. Soaked the parts for 24 hours in acetone and they came right apart with no damage whatsoever. I let them dry out, gave them a light sanding and was good to go. Acetone will also work with white and yellow glues. For epoxy, heat the joint with a hot air gun like your wife's hair dryer.

After building model ships for over 34 years, you learn a thing or two. :)

Bob
 
Thank you for your valuable input Bob !!! Yes, you are correct (templates were showing the finished opening size). Now, I have to go back in my log to see what I did about it - ha - thats been almost a year ago !!!
 
Bob,
you can look at this post (maybe you have already

It is or was not that difficult to correct and yes, the cannon DO have enough clearance no matter what decision. I have not measured, but I think the cannons have about 3mm clearance all the way around on all sides. They do have enough swivel (up and down) for positional aspects. The drawings should have had a DASHED line around the ports showing the filler frames.
I think I have a solution to fix it without causing any major damage. I'll give it a try on one gunport on each side and see how it looks. I'm pretty sure what I've come up with will never be noticed as any kind of mistake, unless I mess up trying :)

Bob
 
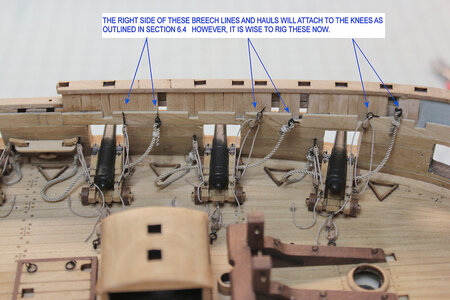
PLEASE NOTE:
Some cannons at the bow and some at the stern will have some tackles mounted to the KNEES. It is wise to go ahead and rig these anyway so it should be easier to attach to Knees when the time comes in SECTION 6.4
It is of course obvious to leave these to the side. I only arranged these like this to make a demonstration of the lines.

deck-items55.jpg
 
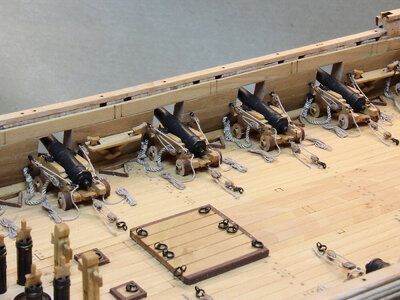
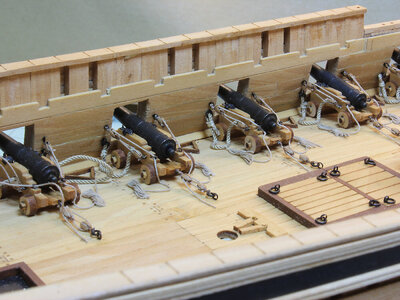
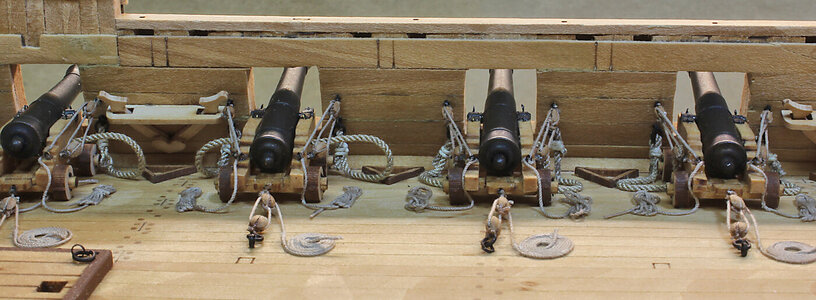
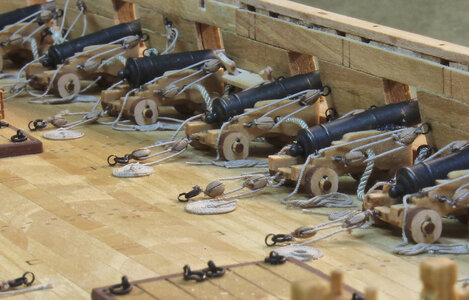
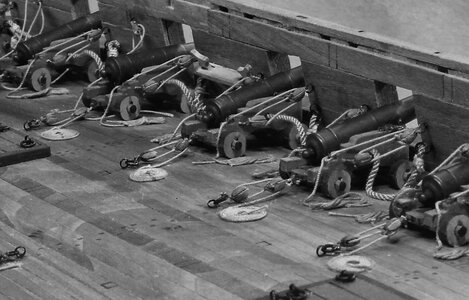
Thank you again for all the likes. This is the latest. Trying to make Haul Ropes lay flat. I am wrapping about 4 turns around the flat end of the tweezers, then removing the rope and giving it a twist. Glue on the deck and then place the rope. I am almost finished with all the lower-deck cannons.


deck-items56.jpg


deck-items57.jpg


deck-items58.jpg
 
Excellent work on those cannons. The layout is extremely realistic and business-like - just as it should be!
 
Thank you all for the kind words, It is greatly appreciated. Now, for the rope coils. After several trial runs, I think I might have a system down - not exactly too happy, but it will have to do. I have only done four so far. Wax-water-diluted white glue - back to water and wax again - using my homemade coil maker.

deck-items60.jpg

deck-items61.jpg

. . . and something a little different.
deck-items63.jpg
 
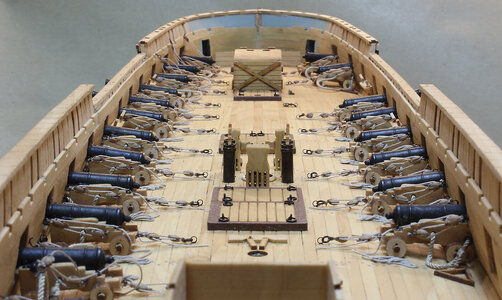
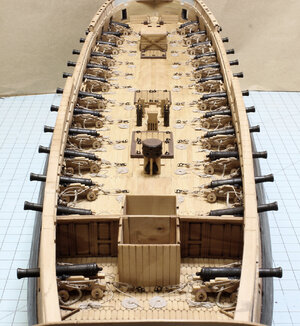
Thank you all for the kind words. I have finally completed the rope coils. Looking back (as I think we all do), I wish I had made the coils and rigging all in one line. Starting with the coils and one continuous line to continue to the blocks. I think it would have looked better than splicing the lines. I did my best to hide the splices, but it is what it is. The kit came with chrome cannon balls which I do not want to use, so, I ordered some from M.E. and will add that. When that is done, then the upper beams will be installed. The upper beams are already done.

deck-items64-final-01.jpg


deck-items64-final-02.jpg
 
Thank you all for the kind words. I have finally completed the rope coils. Looking back (as I think we all do), I wish I had made the coils and rigging all in one line. Starting with the coils and one continuous line to continue to the blocks. I think it would have looked better than splicing the lines. I did my best to hide the splices, but it is what it is. The kit came with chrome cannon balls which I do not want to use, so, I ordered some from M.E. and will add that. When that is done, then the upper beams will be installed. The upper beams are already done.


View attachment 358391
Good morning Donnie. Beautiful work. Cheers Grant
 
Back
Top