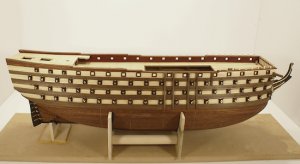
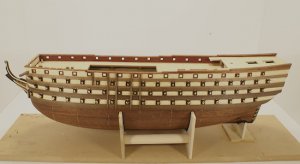
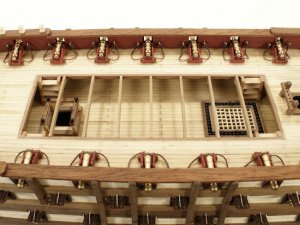
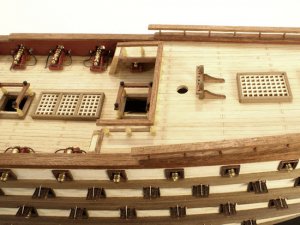
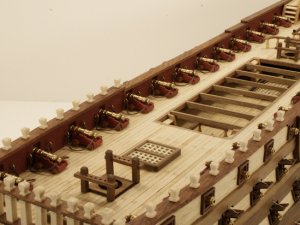
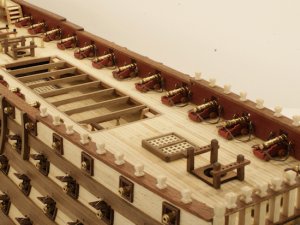
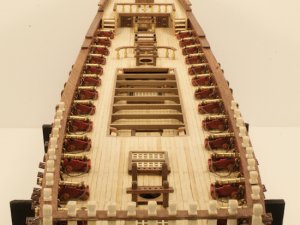
Santisima Trinidad - Occre Build Log [COMPLETED BUILD]

Re: OcCre Santisima Trinidad Build Log

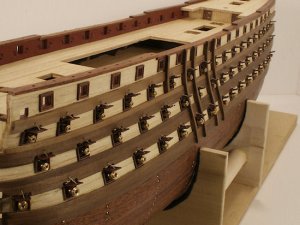
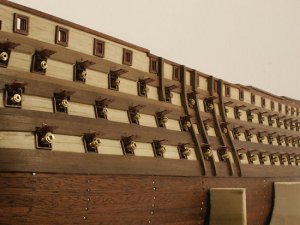
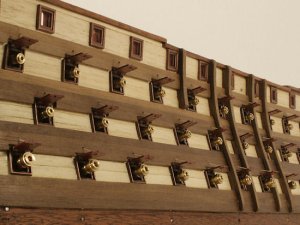
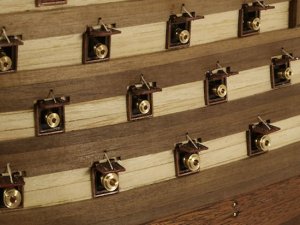
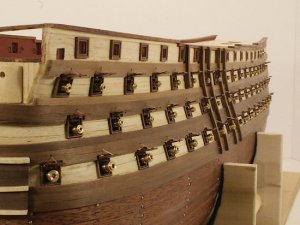
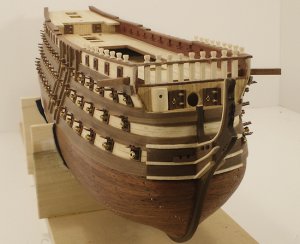
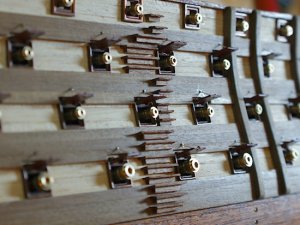
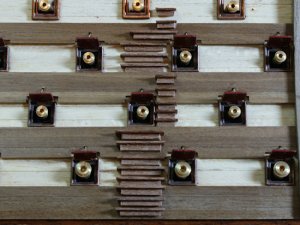
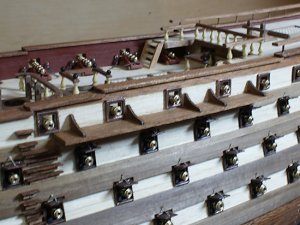
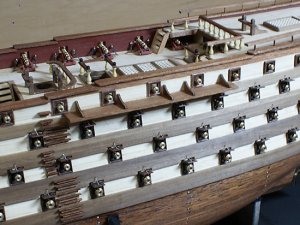
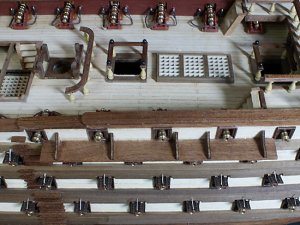
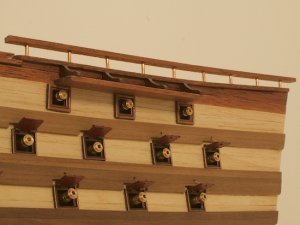
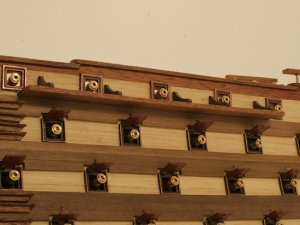
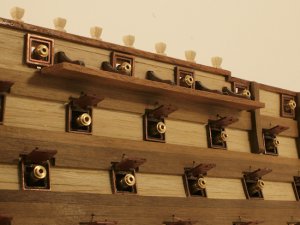
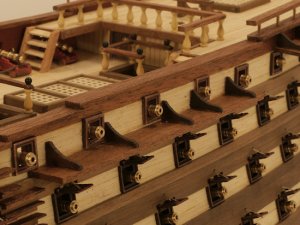
There is really not much to say here. The images pretty much speak for themselves. I am glad that I got this step done, however, it is only done on Port side for now. I will try to expound some. I decided to add more details to the ports by adding the "Span" rigging to each Lid. The Lids are glued in place via CA. I spent a considerable amount of time trying to figure out how to get the "Span" rigging to go thru the tiny opening thru the rubbing strakes. (those holes were made with a dremel tool). What I did was take a piece of .01 diam thread and put a drop of CA glue on the end of thread and pushed the thread into the hole. Just by either holding it place or taking a small needle and holding it there allowed for a good tight glue setting. The thread is pushed into the hole about 10mm. Next,Once the Lids are glued into position, then the rigging line was threaded thru the hole in the lid (of which was made earlier with Dremel tool). I was able to pull the rigging thread pretty hard and then added a drop of glue on the hole of the lid to secure the rigging of the "Span" onto the port lid. All in all, I am satisfied with it. I do not think that the lids will get in the way of the rest of the building process.

armament01.jpg

armament02.jpg

armament03.jpg

armament04.jpg

armament05.jpg
 
Last edited:
Re: OcCre Santisima Trinidad Build Log

Here is the latest work on the Samson Post & Catheads.

hull26.jpg

hull27.jpg

hull28.jpg

hull29.jpg

hull30.jpg
 
Last edited:
Re: OcCre Santisima Trinidad Build Log

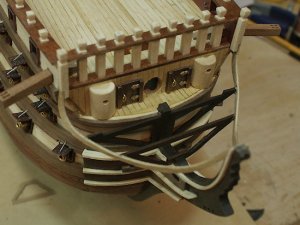
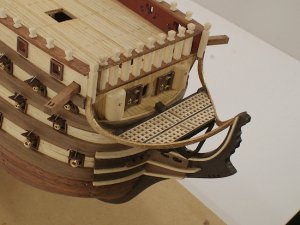
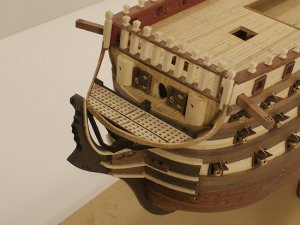
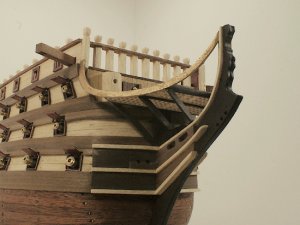
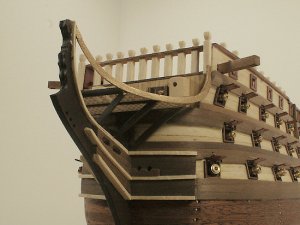
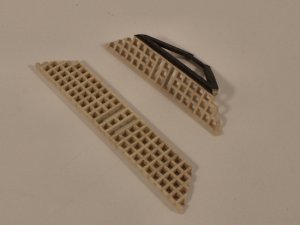
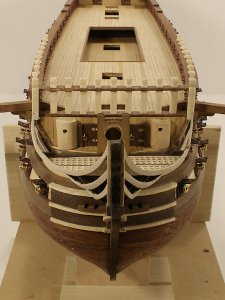
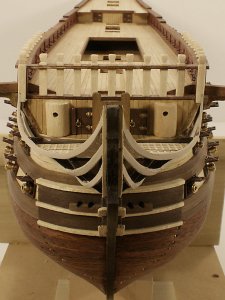
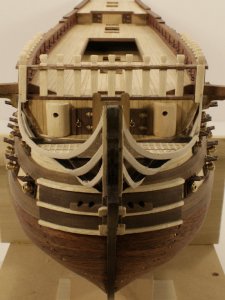
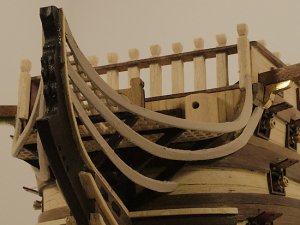
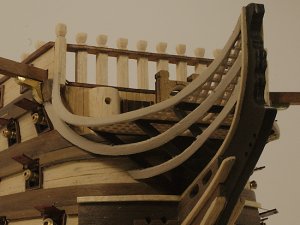
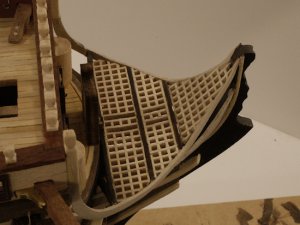
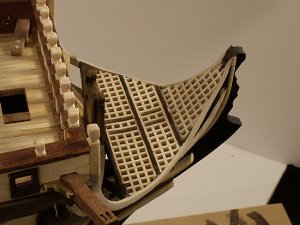
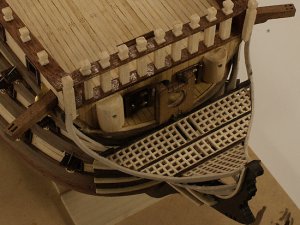
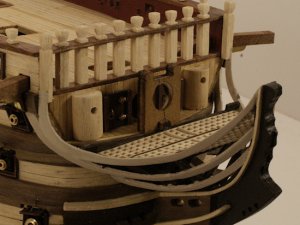
Working on the Head and Gratings. This task just like any other is just as tedious. I thought that Cannons were tedious. The took a little planning ahead to make sure that I got a good fit. It is not perfect, but I am happy with it. I am not completed with the Head. There is another section of gratings that will go near the very tip of the stem. Then there are more lower headrails to go in place. The upper headrail is painted gold. The Head Timbers are painted American walnut.

head01.jpg

head02.jpg

head03.jpg

head04.jpg

head05.jpg

gratings01.jpg

gratings02.jpg
 
Last edited:
Re: OcCre Santisima Trinidad Build Log

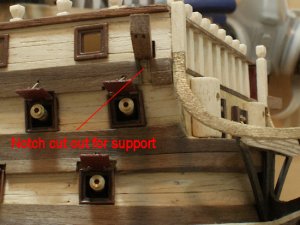
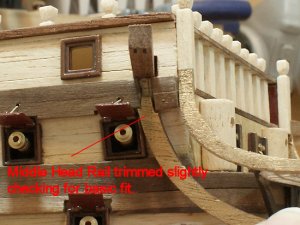
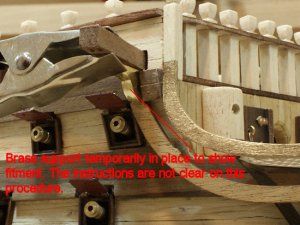
Looking back over the instructions, I see that I needed to add the Davit supports. They are made out of brass. I thought they were made of wood. The instruction photo and manual are not clear at all on this step. The photos in the manual are very hard to make out. I actually used the box art to try and figure out what is going on here. A lot of this is guesswork. I thought I would be more detailed on this procedure in case someone else has difficulty in understanding. I am not the expert on this step, but I try to make something good out of it. It is what it is.

davitsupport01.jpg

davitsupport02.jpg

davitsupport03.jpg

 
Last edited:
Re: OcCre Santisima Trinidad Build Log

I promise, I do not intend to be repetitive on my images. But, it is just easier to just post what I did instead of choosing which ones. I hope everyone does not mind nearly the same images. These show the details on the Head. In someways, I am not too happy with it, but I am ok with it. No matter how hard I tried to make it correct and right, it seemed to get even more difficult. Then I could not find nor could I decide on the color of the head rails. The natural wood that came with kit is least to be desired on this one. Staining it with clear would not have looked good either. Then I tried brass and gold. Then it looked fabricated and cheap looking. It still is not quite like what I want. The wood was a very thin plywood, and I mean very thin. Stuff was hard to work with. At any rate let the pics begin, for what ever it is worth to someone.


head06.jpg

head07.jpg

head08.jpg

head09.jpg

head10.jpg

head11.jpg

head12.jpg

head13.jpg

head14.jpg

head15.jpg
 
Last edited:
Re: OcCre Santisima Trinidad Build Log

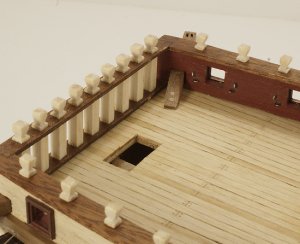
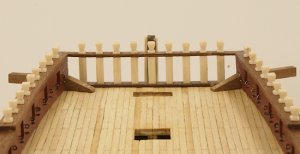
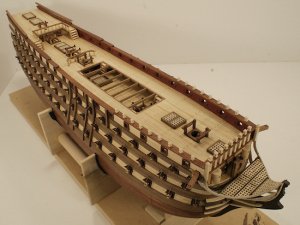
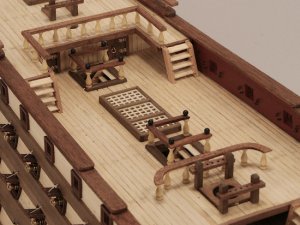
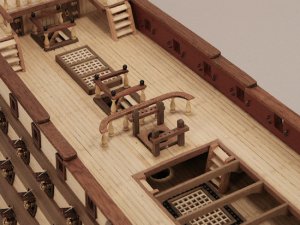
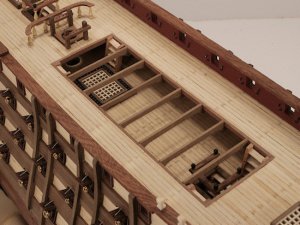
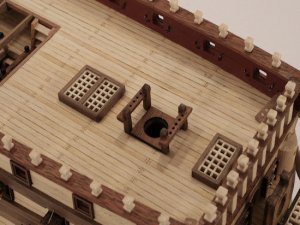
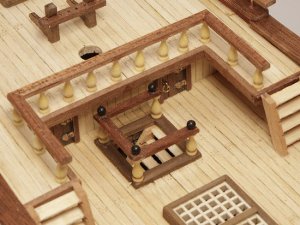
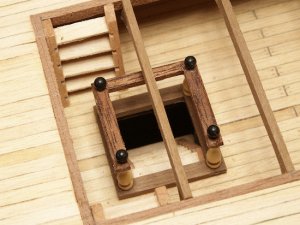
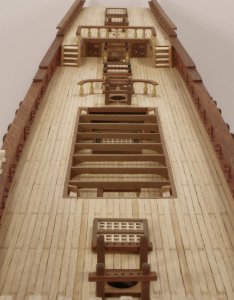
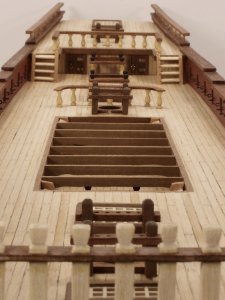
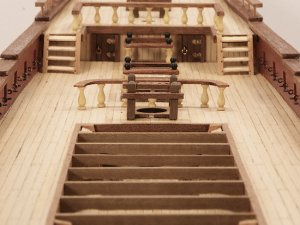
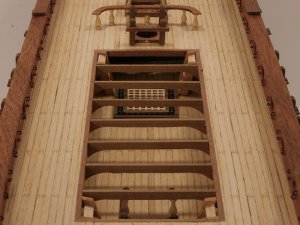
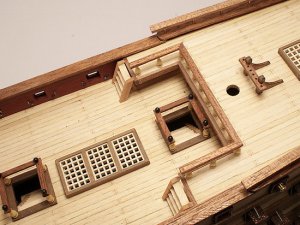
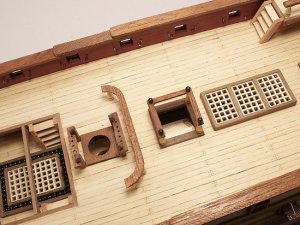
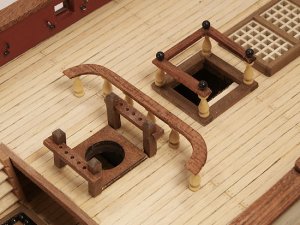
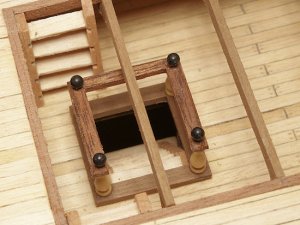
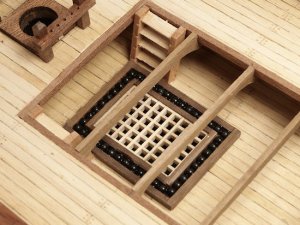
Well, after over a month, I am finally able to post some images of the deck furnishings. As someone said "it is all tedious". Well, there are some parts more challenging. I am not sure if to give a long version of what you are going to see or the short version. I think I shall stick to the short one as to not bore anyone.
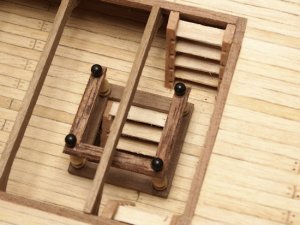
1) basically everything was straight forward. Just enough parts in the kit to make the stairs with really nothing left over.
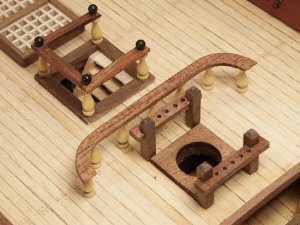
2) The Brass stanctions could have been replaced with something more decorative, but I am happy with what I did. Remember, I have a tendency to be lazy.
3) I dropped one of the stairs down into the hull - wife and I shook the hull upside down until the stairs came out.
4) The cannon balls in that little tray down on the lower deck. I had to order some 3mm cannon balls from Model Expo. The amount of cannons were not enough and besides ( no reflection on OcCre), I liked the Cannon balls that I got from ME. They were nice and smooth - ok so no jokes here. I am tempted but I shall not talk about the balls. Ok
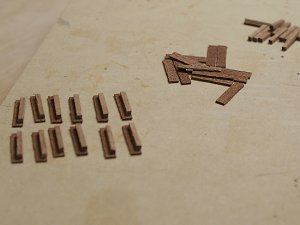
5)The most tedious of this was building the Samson Post Pin Racks. I do not like to notch things. Don't know why. I have to do it by hand I guess. No fancy equipment.
6) The Belaying Pins for the Samson Post Pin Racks are going to either have to be purchased or I am going to have to make them myself. The kit did not have any. Yes, they have just enough Brass Belaying Pins, but they are to be used against the inside bulwarks. I used my Dremel assembly with the drill press attachment and I can actually make a pretty good Belaying Pin, but heck, trying to get all them to look the same !
So anyway, without further delay, here are the pictures.


deckfurnishings01.jpg

deckfurnishings02.jpg

deckfurnishings03.jpg

deckfurnishings04.jpg

deckfurnishings05.jpg

deckfurnishings06.jpg

deckfurnishings07.jpg

deckfurnishings08.jpg

deckfurnishings09.jpg

deckfurnishings10.jpg

deckfurnishings11.jpg

deckfurnishings12.jpg

deckfurnishings13.jpg

deckfurnishings14.jpg

deckfurnishings15.jpg

deckfurnishings16.jpg

deckfurnishings17.jpg

deckfurnishings18.jpg
 
Last edited:
Re: OcCre Santisima Trinidad Build Log

It is to friends here that I have learned and still learning.
Hey, I have those nasty cannons (I mean enjoyable cannons now) to rig. that is the next step before the deck gets too crowded.
I realized now (the hard way) that I should have never mounted my Ring Bolts to the Bulwark. I could have rigged everything and then glued the carriage, ring bolts and all to the bulwark.
I think they call this "having experience" or being an expert to look ahead.
I thought I was doing the right thing by mounting those ring bolts to the bulwark ahead of time, but now - sigh - maybe not.

Donnie
 
Last edited:
Re: OcCre Santisima Trinidad Build Log

I do not want to show the image that I took of my first cannon/carriage rigging. It is awful. The rigging is neat. That is not the problem. It is just too crowded and looks messy. I am using the tiniest blocks which is really not a problem. Everything looks too crowded. I took a picture, but I am too embarrassed to even show it. It is pretty disgusting.

At any rate, I am just going to follow the kit suggestions and rig for Breech only. Now, I have ALL of those Ring bolts that I put on that I want to take off now. SIGH Oh Woe!

Donnie
 
Last edited:
Re: OcCre Santisima Trinidad Build Log

Relocated Breeching - Looks some better maybe. I think I might continue with this arrangement. I thought about painting carriages Red, but just don't know. I might leave as is.


cannon02.jpg

cannon03.jpg
 
Re: OcCre Santisima Trinidad Build Log

I first must say that I know it has been a few months or longer since I have posted. I think the Cannons made me have a burnout. There is another hobby that I have that has kinda taken a lot of energy from me as it is not turning out the best for now. That other hobby is astronomy. I had ordered a telescope as it came slightly damaged. I had to return it and this has caused me a lot of grief.

I am not sure what happened to my enthusiasm about the ST. I want to get back to it, but for some reason, I think the Cannons and the variables just was too much. I decided to simplify things. I am not going to used all the rigging. I am going to stay with the basics.

So, how do you get out of a rut?
 
Re: OcCre Santisima Trinidad Build Log

Started back on cannons after about 2 months or more. I decided on the simple approach. I admire those who put a lot of work into the cannons. I just not do it. Anyway. As always. Oh yea, yes, I pulled out the upper ring bolts and replaced them with the brass ones. The lower black ones, I left a lone.


cannon04.jpg
 
Re: OcCre Santisima Trinidad Build Log

More Cannons ! Forced my self to get out of burnout - I think that the cannons are winning - can't say for sure - will be glad to get this part done. I like cannons and armament - just don't like rigging them. For those that might be interested. I shot this with a lot of light - even though you might not can tell. I used MANUAL mode on my camera. The settings were f27 at 1/4 sec (the large f number like 20 and above and even up to around f30 gives you a very long depth of field which allows that everything is in focus from the most near to the most far - within reason of course) But, this is only for me - may not be applicable to all situations and taste.


cannon05.jpg

cannon06.jpg
 
Re: OcCre Santisima Trinidad Build Log

To all:

I hope that I do not receive a lesser enthusiasm from my peers such that I choose a simple approach to my cannons.

I really wanted to opt for a clean simple appearance. I know that there are some that put much more effort - and again, I must admire those that do. I would rather save my energy because there is much more of this build that will need much attention.
 
Re: OcCre Santisima Trinidad Build Log

I was caught up in a mess of decisions and trying things that was leaving me unsettled and could have turned into a mess for me. I was thinking, well, ok, once I make this decision, I am going to have to do this to all the cannons. This is one thing that is good for newcomers to think about (that almost got me) that when you are doing a task that is repeating itself, opt for simplicity. But, then again, that is just MHO.
 
Last edited:
Re: OcCre Santisima Trinidad Build Log
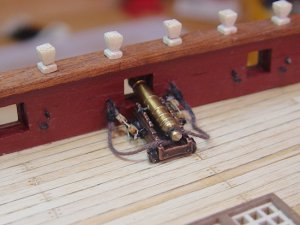
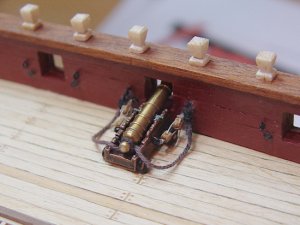
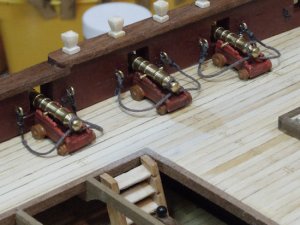
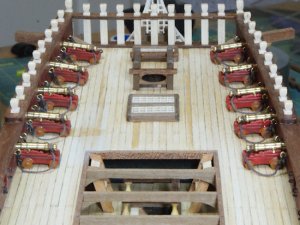
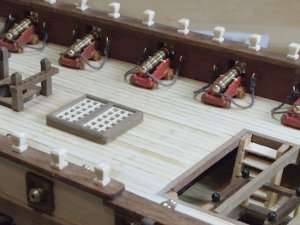
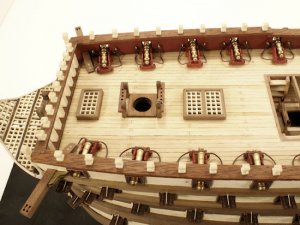
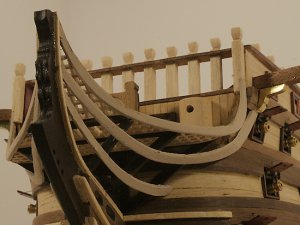
Finally, here are all the cannons on deck. It wasn't that bad after I finally made the decision to make it simple. This was done in a little more than one week. I spent over two months in burn out and fretting over it.

I was looking into the masting section. There are NO instructions. The images in the manual of the completed mast are shrouded in rigging line and is very hard to tell what is going on. The plans do not lend itself to much either. I am going to have a very hard time with this part. I can tell. I am near clueless on the mast building.


cannon07.jpg

cannon08.jpg

cannon09.jpg

cannon10.jpg

cannon11.jpg

cannon12.jpg
 
Re: OcCre Santisima Trinidad Build Log

Nothing major - just showing the beginning of the Ladder Rungs and bases. It is good to be finished with the Cannons.

ladder01.jpg
 
Re: OcCre Santisima Trinidad Build Log

Nothing spectacular - just some ladders.


ladder02.jpg

ladder03.jpg
 
Re: OcCre Santisima Trinidad Build Log

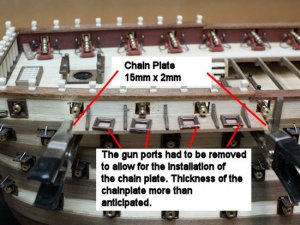
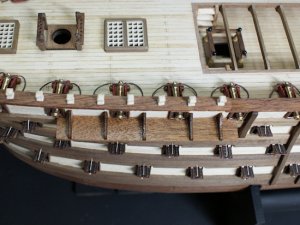
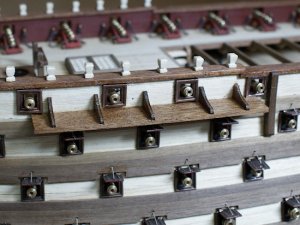
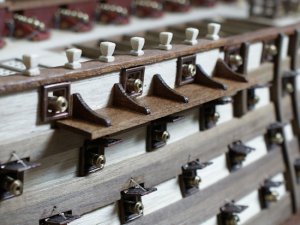
Begin to build the chainplates. Started to add one and found that I am going to have to move some port lids slightly higher to accommodate the thickness of the chainplate.

So, I removed the port lids as shown and will clean up around the area and reinstall the port lids after the chain-plate is installed.<br/>
The Port Lids only need to be mounted about .5mm higher. This is one example of not knowing until you get there. Some things I guess you can not catch ahead of time. Hey, this is what ship building is all about.

ps - Oh - that last port lid to the right got me this time. My exacto slipped when I was trying to pop it off - cut my thumb - thought I got blood all over the hull - but didn't. I guess thats part of it too Huh !!


chainplates01.jpg
 
Re: OcCre Santisima Trinidad Build Log

Oh yea, I forgot to mention, in the instructions Step # 88: it is time now to cut your hand. There are no parts in the kit for this step. If you already cut your hand in Step # 87, then proceed to Step #89.
 
Back
Top