Le Rochefort - 1787 Harbor Yacht 1:24 - build log by Nersch

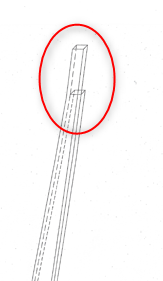
If I'm not wrong now, it must be these hoes at the rear
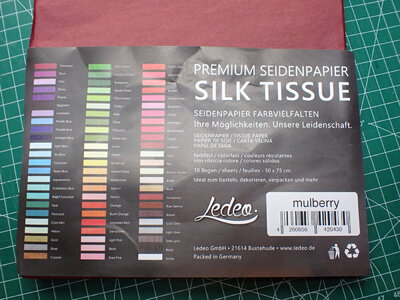
I checked the booklet again, and yes, these are the parts mentioned.

In the English booklet of the monograph on page 50 (Plan sheet 2: Axial framework), the reference to the sleepers should be to page 26 instead of page 30. I suspect that this is an artifact of the translation from French to English.
 
Here are some updates from the last few days.

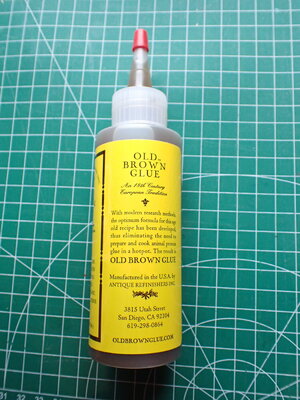
To show the tar on the axial structure, I used brown tissue paper and as glue this Old Brown Glue. This glue has the advantage that you can separate the pieces with heat if needed.
2023-05-12_Seidenpapier.JPG 2023-05-12_Kleber.JPG

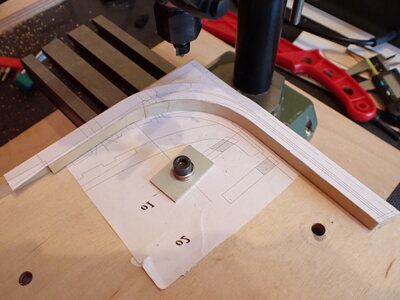
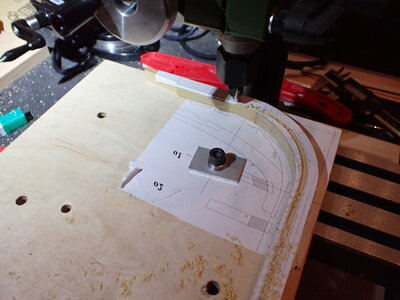
For the rabbet in the front foot and apron, I built this template. The template is attached to my X-Y table, but can still be rotated around the screw. I did the rest by hand with chisels.
2023-05-13_Rabbet_1.JPG 2023-05-13_Rabbet_2.JPG

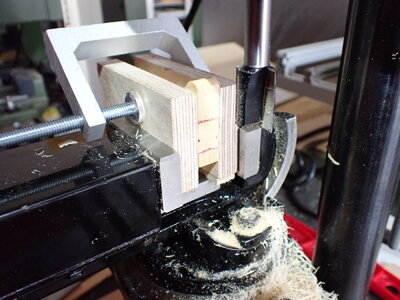
The section for the passage of the bowsprit was simply milled.
2023-05-15_Passage of the bowsprit.JPG

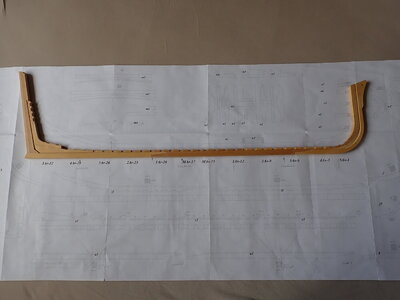
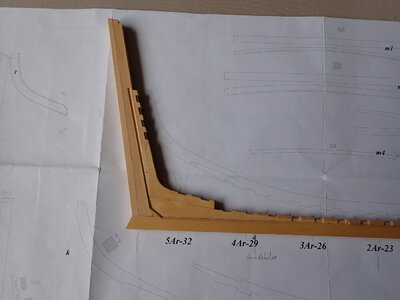
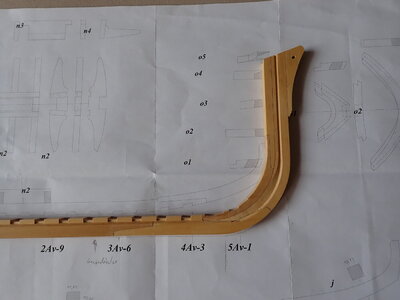
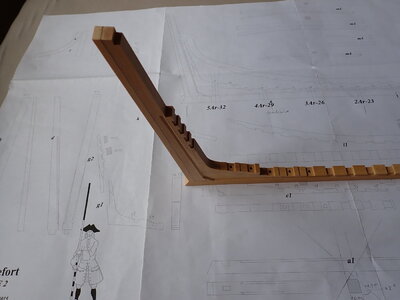
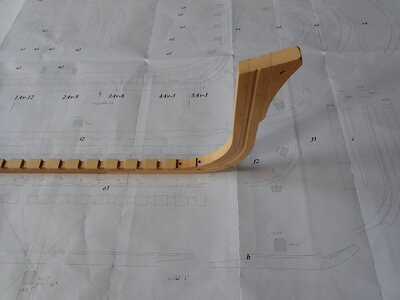
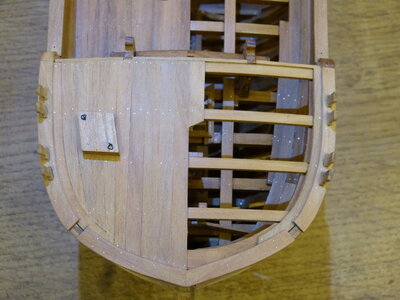
This is the final axial structure. It's not flawless, but I'm happy with the result. More adjustment will be done at the stem and stern after the frames are installed and when I have a better understanding of the angles.
2023-05-17_Axial Structure_1.JPG
2023-05-17_Axial Structure_2.JPG 2023-05-17_Axial Structure_3.JPG
2023-05-17_Axial Structure_5.JPG 2023-05-17_Axial Structure_4.JPG
 
Hello all,

I need again your advice.

I will be printing out all the templates for the frames soon and I have two types of paper: 80 g/m2 and 160 g/m2.

The 160 g/m2 is sturdier, so the longer shapes will hold their shape better when glued to the wood. When I made the keel I found that thin paper is easy to get out of shape when wet. So I think the thicker paper is advantageous to keep the shape.

The disadvantage is that the paper forms a burr, especially when sanding with the spindle sander, which hides all the lines near the sanding edge. This burr is easily removed with some sandpaper when using the 80 g/m2 paper by just stroking the edge once or twice. It is not so easy to remove with the thicker paper.

What is your advice? Have you also tried using different paper?

Thank you :)
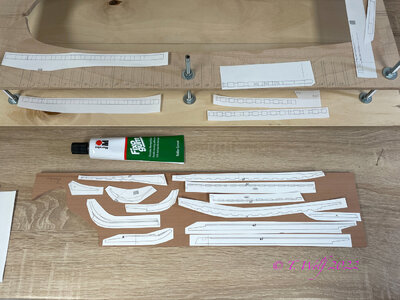
I use simple copy paper (in the US 20# bond paper) not sure how that translates to your paper weight. I also use a school room type glue stick to attach the templates and have not experienced any distortion when applying to the wood. Hope this helps.
 
Hello OlivierF,

I guess your 20 pound paper is about the same thickness as my 80 g/m2 paper. 80 g/m2 paper is the ordinary copy paper here in Europe.

I use Fixogum to glue the paper templates to the wood. Fixogum has the advantage of being easy to peel off the wood without leaving any residue.
Fixogum is based on natural rubber with organic solvent.

I think I'll use my thinner paper and be a little careful when gluing it to the wood to avoid any distortion.

Thank you for your comment, I have a better feeling now.
 
Hi Dieter, I used normal 80g paper and a higher quality paper. But I can't tell you which one until tomorrow afternoon, it has a refined surface. Coming to the glue what do you use, I'm totally hooked on Fixo GUM.

eZy Watermark_26-12-2022_03-03-14PM.jpeg

This glue is very easy to work with and can be removed without leaving any residue and it does not soak the paper.
 
When I make my frames I would leave them a few millimeters longer at the top and shorten them to the nominal dimension only when the hull is finished.
But with some frames, the futtocks of the two frame halves have a different length at the top (see picture). When the upper part is glued together, cutting to length becomes difficult.
Do you still do it this way or is there a trick?

2023-06-01_Spantenspitze.png
 
When I make my frames I would leave them a few millimeters longer at the top and shorten them to the nominal dimension only when the hull is finished.
But with some frames, the futtocks of the two frame halves have a different length at the top (see picture). When the upper part is glued together, cutting to length becomes difficult.
Do you still do it this way or is there a trick?

View attachment 377244
Hello Dieter in the link you can see the pictures of my construction, I built the smaller frame exactly as specified, but I'm not sure if anyone will ever see it if it is 1 or 2mm shorter because the upper area is covered.

p1210324.jpg
Image source: Le Rochefort by MichelM at 1/36
 
Hello and a nice Saturday evening to all :)

I have started preparing the frames.

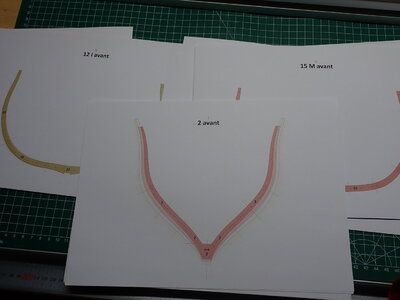
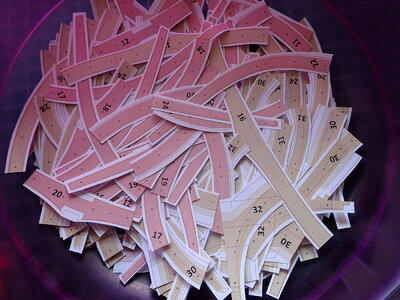
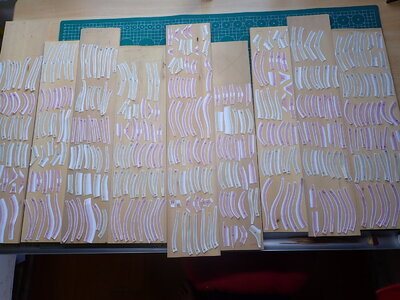
First I scanned all the frames and colored them on the laptop. I'm not sure if it was worth the effort, but at least I now have a detailed understanding of the plans of the 32 frames. By the way, there are 361 individual parts. Yes, I counted them. ROTF

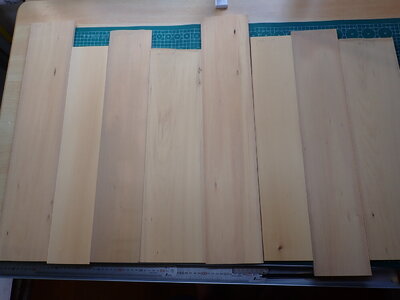
After cutting them with a cutter knife and scissors, I arranged them on 9 different boards. I tried to arrange them a bit randomly to get a mix of wood colors within each frame.

Do you think this arrangement makes sense? Would you do something different? Are the gaps okay? I will be cutting everything to size with my bandsaw. I would leave about 2 mm around the final shape.

2023-06-02_Templates Frames_1.JPG 2023-06-03_Templates Frames_1.JPG
2023-06-03_Boards.JPG 2023-06-03_Templates Frames_2.JPG
 
Back
Top