Le Rochefort - 1787 Harbor Yacht 1:24 - build log by Nersch

I started detailing the first parts. For me as a newbie it took some time and I also needed to make some of them 2 or 3 times :) until I was satisfied.
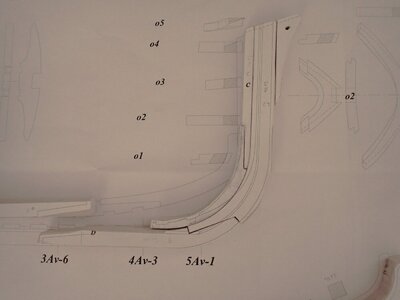
The next step is to continue with the outer shape of the different parts.
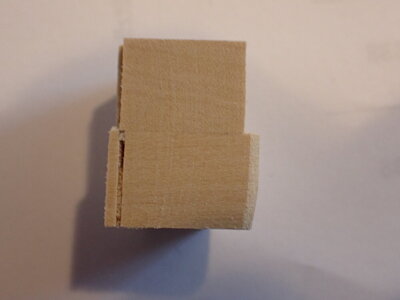
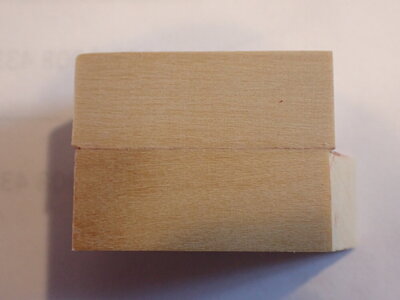
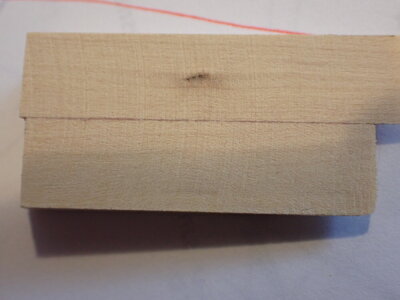
2023-04-23_Kielteile_2.JPG2023-04-23_Kielteile_3.JPG2023-04-23_Kielteile_6.JPG
2023-04-23_Kielteile_7.JPG

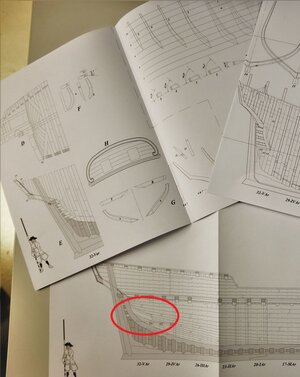
The next challenge after sanding the outer shape will be the rabbet. And I'm really scared about this task.
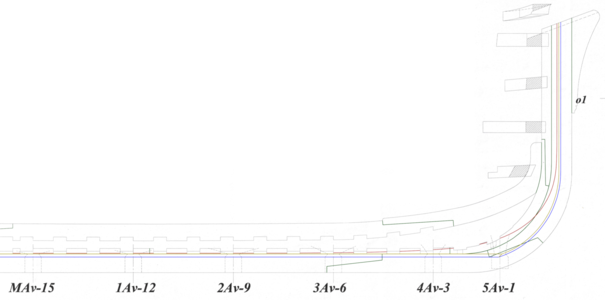
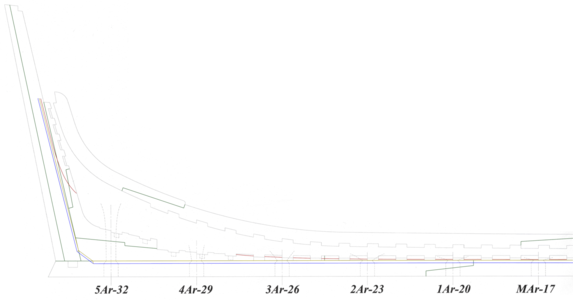
For a better understanding I marked the shape of the rabbet with three colors in the plan: Red, yellow and blue.
Green are the different parts of the keel.
At least I now understood the different lines :cool:
Rabbet_Stern.png

Rabbet_Stem.png
 
No fear necessary -
the good side of scratch building:
If you destroy a part - you can "easily" make a new one

If you destroy a part from a kit - you need a good after sale dealer.....

cut of the rabbet:
Several modelers are doing this with the mill, I personally like to make it by hand with the use of different chisels ........
Keep in mind, that only the outer later visible edge of the rabbet is important (I think your blue line),
the inner ones (red and yellow) will be covered later on by the planking and will be not visible
 
Hello Uwek,

The ability to easily rebuild destroyed parts is a valid point for a scratch build and I have already used it extensively for the first parts I built. ROTF

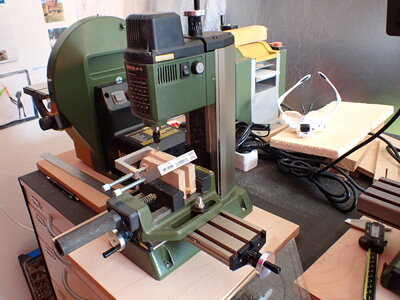
For the rabbet, I will use a combination of a milling machine and chisels. At least that is my plan.
I will use some scrap parts to do some initial testing. So we will see.

You are right that only the outer edge will be visible if you plank the entire hull. But I plan to leave some parts without planking, so the complete rabbet will be visible in those areas.

However, some imperfections can add to the charm of a model. ;)
 
I need your experience. I made some attempts with scrap parts to imitate the tar between the parts of the keel.
I used the same method as Tobias, mixing glue with wood stain.

Picture 1: Only glue w/o stain
2023-04-28_No caulking.JPG

Picture 2: Glue with a small amount of wood stain
2023-04-28_Small caulking.JPG

Picture 3: Glue with more wood stain
2023-04-28_Heavy caulking.JPG

Do you think this the last one is okay? Or shall I do something different to get it more visible?
 
Hello Dieter, I personally like variant 3 very much, I also like that you implemented GD Info and colored the glue brown.

FYI GD answered Dieter's question as follows:

the tar used is of vegetable origin, so it has a red-brown color. It is not mineral tar that is black.
 
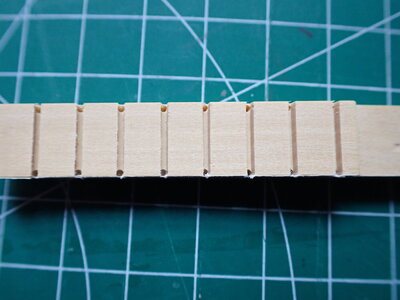
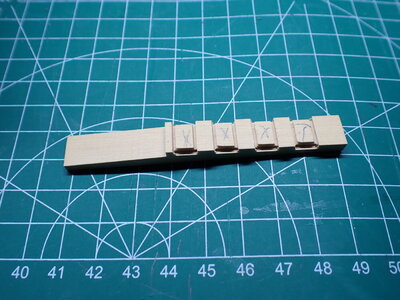
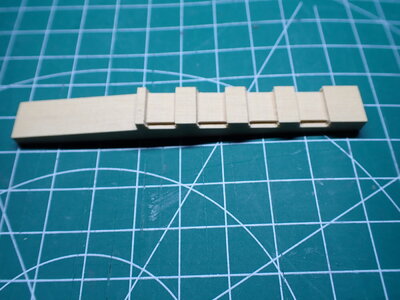
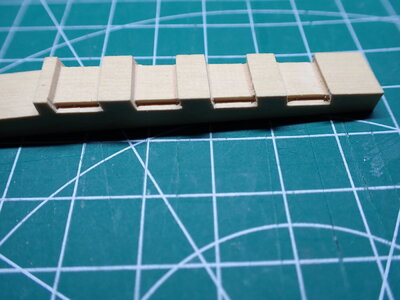
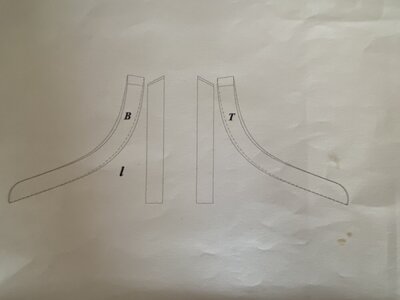
Today I made the sternson knee extension.

The first two attempts were for the trash can, but I'm happy with number 3.
At least it's the best I can do :)

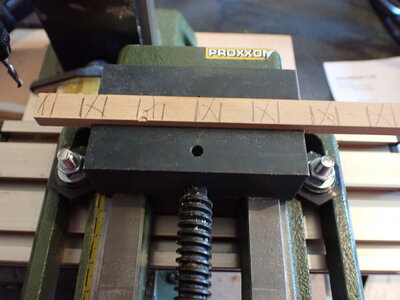
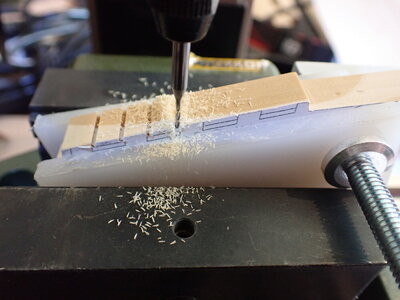
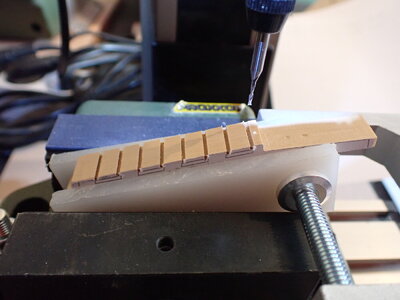
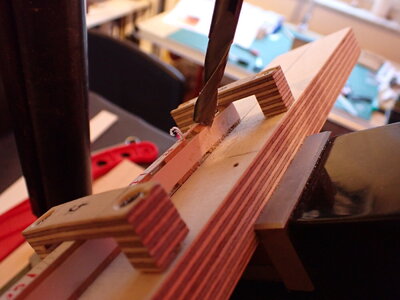
I used a 1 mm bit for my milling machine (Proxxon MF 70) and you can see the single steps in the following pictures.
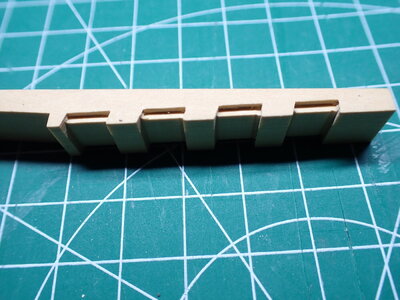
First I made some notches with the proper angle and drilled in the same step two holes at the ends to make the following step easier
Please ask in case of questions

2023-05-01_Stermson Knee Extension_1.JPG 2023-05-01_Stermson Knee Extension_2.JPG

2023-05-01_Stermson Knee Extension_3.JPG 2023-05-01_Stermson Knee Extension_4.JPG

2023-05-01_Stermson Knee Extension_6.JPG 2023-05-01_Stermson Knee Extension_7.JPG

2023-05-01_Stermson Knee Extension_8.JPG 2023-05-01_Stermson Knee Extension_9.JPG
 
Today I made the sternson knee extension.

The first two attempts were for the trash can, but I'm happy with number 3.
At least it's the best I can do :)

I used a 1 mm bit for my milling machine (Proxxon MF 70) and you can see the single steps in the following pictures.
First I made some notches with the proper angle and drilled in the same step two holes at the ends to make the following step easier
Please ask in case of questions

View attachment 372334 View attachment 372340

View attachment 372335 View attachment 372336

View attachment 372342 View attachment 372337

View attachment 372338 View attachment 372339
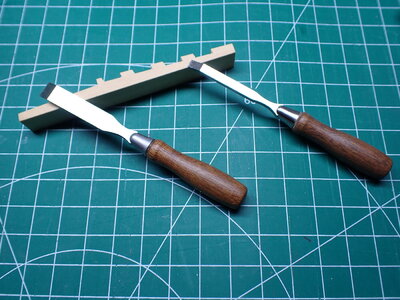
Lovely work Dieter. Can you share where you got the small chisels?
 
Lovely work Dieter. Can you share where you got the small chisels?

Hello OlivierF,

Thank you very much for your kind words.

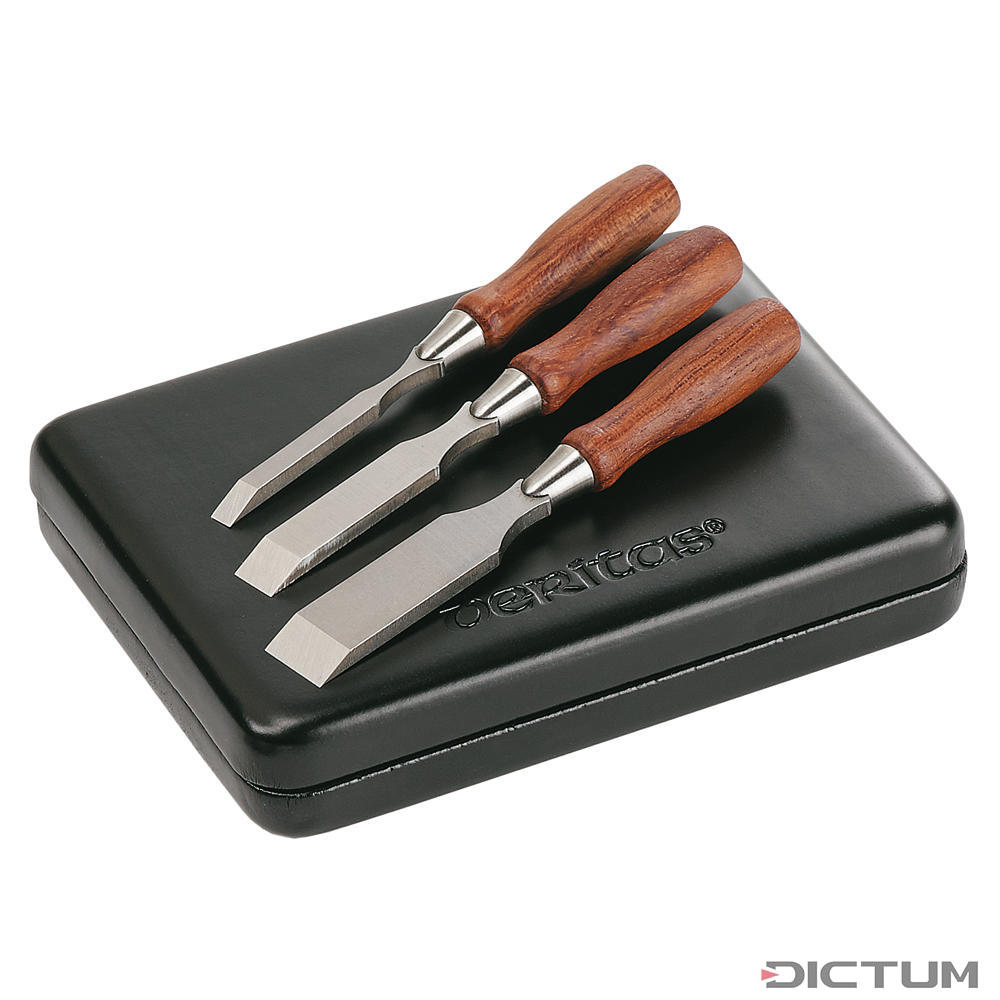
These are Veritas Miniature Chisels and I bought them from Dictum:

I guess there are also local dealers where you can order them in the US
 
Hello OlivierF,

Thank you very much for your kind words.

These are Veritas Miniature Chisels and I bought them from Dictum:

I guess there are also local dealers where you can order them in the US
Thank Dieter! Yes, Lee Valley Tools is the Veritas supplier for the US and Canada.
 
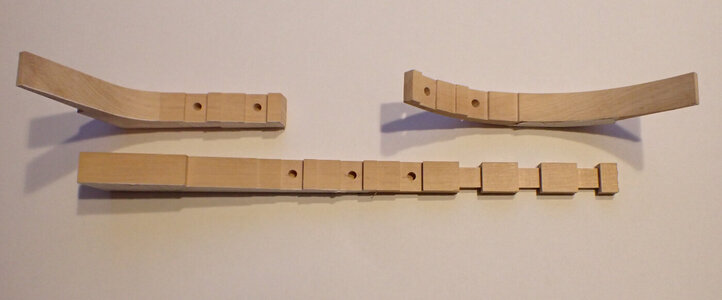
Today I spent some time in detailing the sternson knee and the apron.
Unfortunately, there are some small edge breakouts, but I guess they will be not noticeable at the end.
Up to now I only drilled the holes for the tenons. Not sure if I will square them and really make tenons at the bottom of the frames or if I will make there another hole and install some pins.

Next step will be the beveling of these parts for the rabbet.

2023-05-06_Inner Keel_2.JPG2023-05-06_Inner Keel_3.JPG2023-05-06_Sternson Knee & Apron_2.JPG
 
I'm still undecided on how to make the bevel on the inner keel, at the sternson knee and its extension and at the apron.
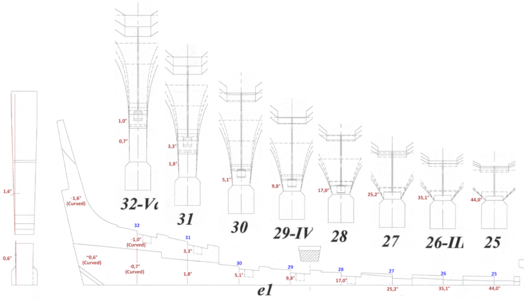
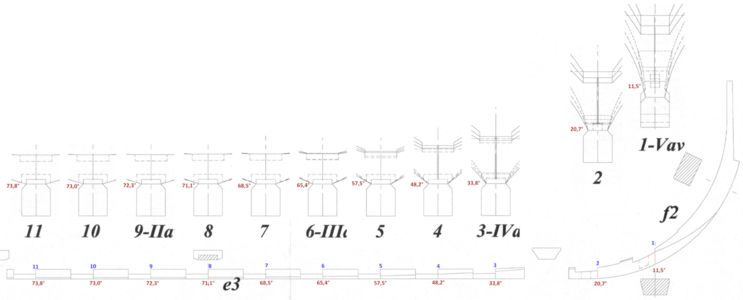
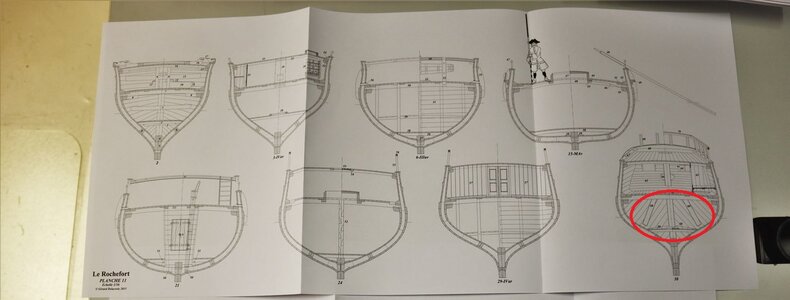
In preparation, I checked the various angles for these parts. To do this, I copied the foot parts of all the frames from plan 3 and 4 of the Le Rochefort plan set from A.N.C.R.E into plan 2 and measured all the angles. All angles are given against the vertical. On the far left of the sternson knee, it is not a straight angle, but a curve, so these angles are for orientation only.
Of course there are measurement errors, but I think it's pretty close to the plans.

My plan so far:
  • Inner keel e2 and e3: I don't think I will not do anything until the frames are installed. The bevels are very small and are related to the frames. So I will do them when I sand the frames
  • Rear piece of inner keel e1 and sternson knee g1 and its extension g2: Fortunately, I screwed up when I made my first parts, so I still have some scrap parts to make initial attempts ;). I'm going to mill the different angles as indicated below and do the final leveling by hand. Let's see how it works
  • apron f2: Same as for the rear piece of the inner keel. I also have some scrap parts here for first attempts :)

2023-05-08_SOS_Rabbet_1.png2023-05-08_SOS_Rabbet_2.png2023-05-08_SOS_Rabbet_3.png
 
Small update of my working progress for the inner keel and the stern knee.

2023-05-11_Sternson Knee fräsen_05.JPG
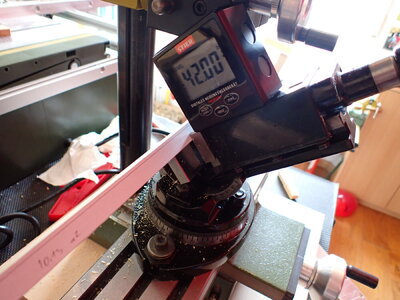
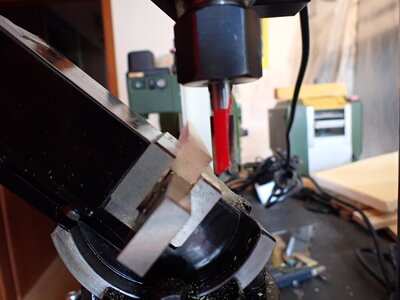
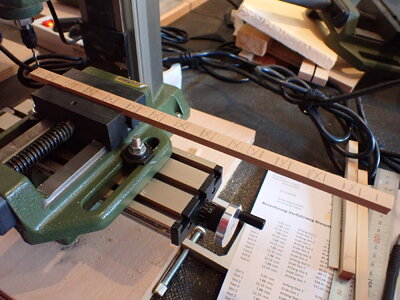
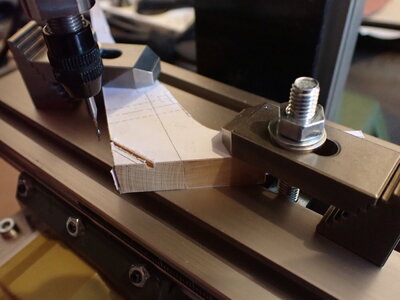
After gluing these two parts together, I started milling. First I made a small cut in the trailing edge.

2023-05-11_Sternson Knee fräsen_07.JPG
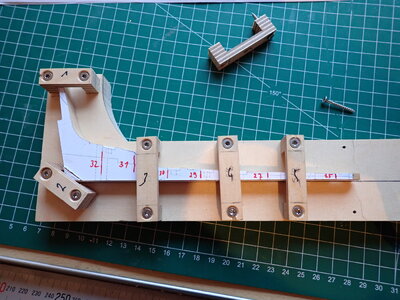
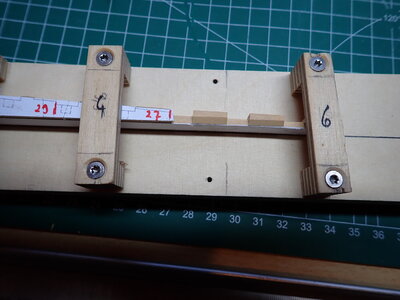
Then I prepared a small jig to hold the part in the vise of my larger milling machine (Proxxon FF 230).

2023-05-11_Sternson Knee fräsen_09.JPG 2023-05-11_Sternson Knee fräsen_08.JPG 2023-05-11_Sternson Knee fräsen_10.JPG
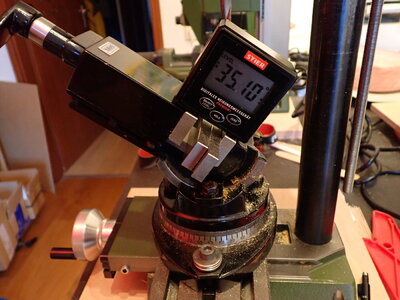
I set each angle and milled the appropriate area of the part until I reached the end.

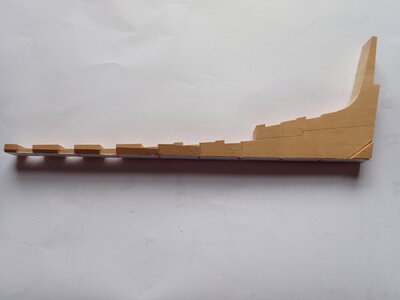
2023-05-12_Sternson Knee fräsen_1.JPG
This is the finished milled part

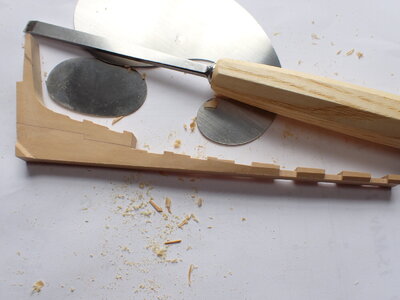
2023-05-12_Sternson Knee fräsen_2.JPG
Finally I smoothed everything with chisel and cardboard scraper
 
Back
Top