Hohenzollernmodell 1660-1670 Scale 1/75 POF build by Stephan Kertész (Steef66)

Hello Stephan,
it is admirable with which devotion you create this model ship in original construction.Just like the shipbuilders did centuries ago 1:1. This modeling philosophy is right up my alley and I love it.
I always try to empathize with the situation of the trades of the time.
Just great!
Thanks Johann for those kind words and visit to my log. Yes for sure, building in this way open up your creative mind and dream away to old times of the craftmenship these men had.
 
Hey Stephan,

Thanks for again an extensive reply to my post.
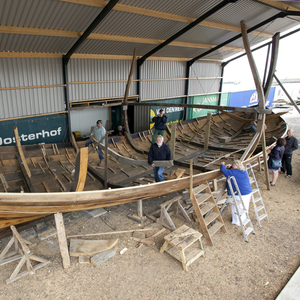
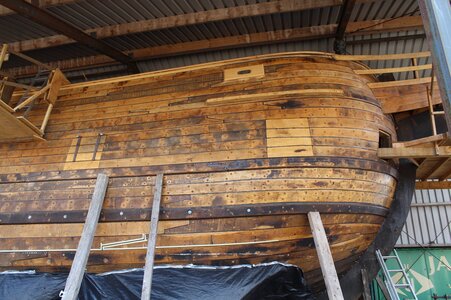
While reading your reply, I realized shipwright Willem Vos build a replica of the Batavia in Lelystad and I was hoping that build could shed some light on the shell-first build method on larger ships. Alas, I did find an interesting, albeit in Dutch, short documentary of the Batavia replica build, but, as far as I can discern, not a shell-first build: Batavia replica build.
Given the short video, not too many specific build details can be distinguished. Plank bending is shown, but that seems pretty straight forward, whereas I suspect some of the stem and stern planks would have been buggars to form, with a plank thickness of 100mm/4"...

Kind regards,

Johan
From what I know the construction of the replica of the WB by Gerald de Weerdt was done shell first,
 
From what I know the construction of the replica of the WB by Gerald de Weerdt was done shell first,
You're right, I checked some websites concerning it's build and reference is made to a shell-first build process. I couldn't find any pictorial evidence though.
 
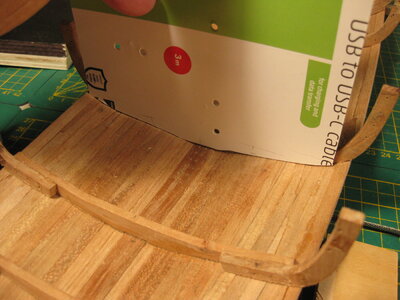
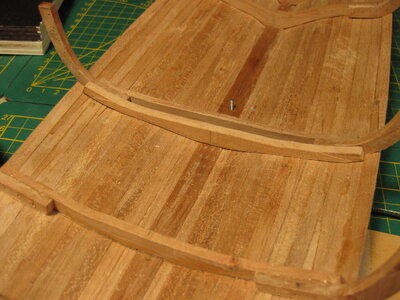
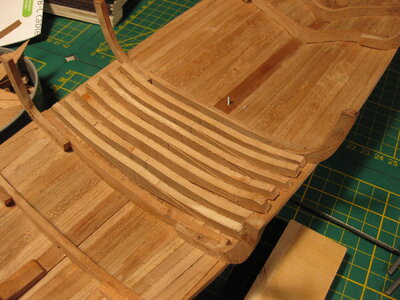
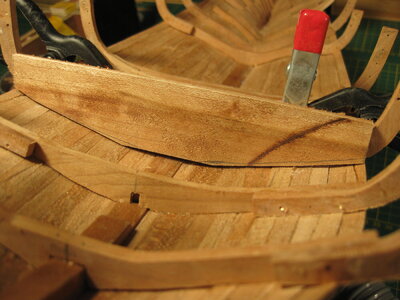
Everybody thanks again for your nice comments, I work a few days on the floortimbers. It is a lot of work because I need to paste and fit each part individually.
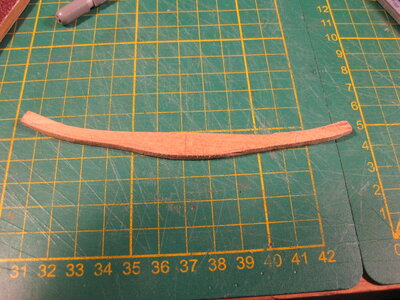
I start with a paper mould what I use to cut out the timber piece. I made a few of these pieces because there is just a small difference between them on that place of the hull. Just tiny adjustments each. But these adjustments are still a lot of paste and fitting before I can glue one in place.

IMG_3777.JPGIMG_3778.JPGIMG_3779.JPGIMG_3780.JPGIMG_3781.JPGIMG_3782.JPG

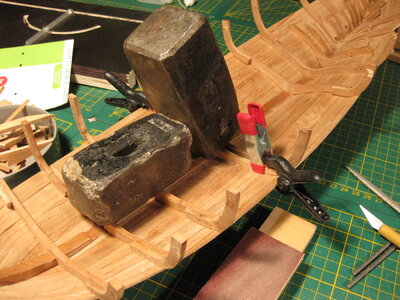
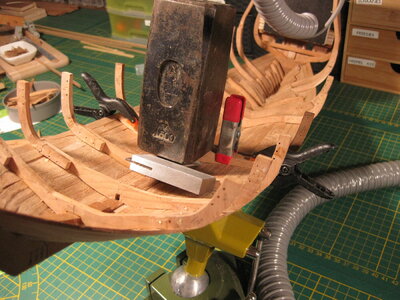
I use a heavy piece of scrap iron for pressure the wood in place.

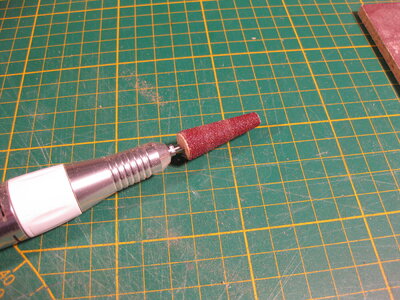
I also made a sanding bit for my little nail drill. The ones you can buy are useless, they last just a few minutes. Maybe thats why they sell them in packages of 100 pieces. On YouTube I noted a home-made sanding drill
I duplicated this and use a old drill bit for the axle.

IMG_3783.JPG

I use high quality sanding paper (not the one with paper on the back but the one with cotton) And it works perfect. I did with this one already 4 floortimbers and it is stil as sharp like the first time I used it. The cone shape makes different diameters. Just perfect.

While the glue is drying I start measuring the other floortimbers.

IMG_3784.JPG
This one is roughly cut and needs a lot of adjustment (paste, sanding, paste, sanding, paste, sanding, paste, sanding, paste, sanding, etc)
 
Everybody thanks again for your nice comments, I work a few days on the floortimbers. It is a lot of work because I need to paste and fit each part individually.
I start with a paper mould what I use to cut out the timber piece. I made a few of these pieces because there is just a small difference between them on that place of the hull. Just tiny adjustments each. But these adjustments are still a lot of paste and fitting before I can glue one in place.

View attachment 391342View attachment 391343View attachment 391344View attachment 391345View attachment 391346View attachment 391347

I use a heavy piece of scrap iron for pressure the wood in place.

I also made a sanding bit for my little nail drill. The ones you can buy are useless, they last just a few minutes. Maybe thats why they sell them in packages of 100 pieces. On YouTube I noted a home-made sanding drill
I duplicated this and use a old drill bit for the axle.

View attachment 391348

I use high quality sanding paper (not the one with paper on the back but the one with cotton) And it works perfect. I did with this one already 4 floortimbers and it is stil as sharp like the first time I used it. The cone shape makes different diameters. Just perfect.

While the glue is drying I start measuring the other floortimbers.

View attachment 391349
This one is roughly cut and needs a lot of adjustment (paste, sanding, paste, sanding, paste, sanding, paste, sanding, paste, sanding, etc)
This looks to me as an exceedingly time consuming process; you must have the patience of a saint.

I see you are basically determining each and every frame separately, using hard paper or cardboard as template material. I have also seen that drawings of the frames are glued to a piece of wood, sometimes to both sides, followed by pre-cutting the frames and fine tuning on the model. Is there a specific reason for applying this process?
 
Yes, I don't have drawings of all the frames, so I fabricate and adjust them every time when I need one. And the best way to do it is on the model itself. Just like back in the old days.
Ah, that actually makes a lot of sense. I guess I am used to all parts being drawn before starting to build.
 
Dear Stephan,
your model work becoming one of my favorite builds. The lines are accurate and your process is methodical and fascinating. I'm learning and enjoying from the build alot
 
Dear Stephan,
your model work becoming one of my favorite builds. The lines are accurate and your process is methodical and fascinating. I'm learning and enjoying from the build alot
Thanks my dear friend, your visit, interest and words are very value to me.
 
It's not only the build of this ship that is pretty spectaculair by itself, but also the self-made tools or upgrades that really makes this buildlog a gem on SOS. Wonderful job Steef, I'm enjoying every part of this topic like many others for sure!

Peter
 
It's not only the build of this ship that is pretty spectaculair by itself, but also the self-made tools or upgrades that really makes this buildlog a gem on SOS. Wonderful job Steef, I'm enjoying every part of this topic like many others for sure!

Peter
Thanks Peter and welcome back from your holiday. Did I mentioned how much fun a build like this is?
 
@all thanks for the comments, likes and visit to my log. At the moment I'm working on more things at the time. I decided to make the master Ribband (scheerstrook op zijn Nederlands).
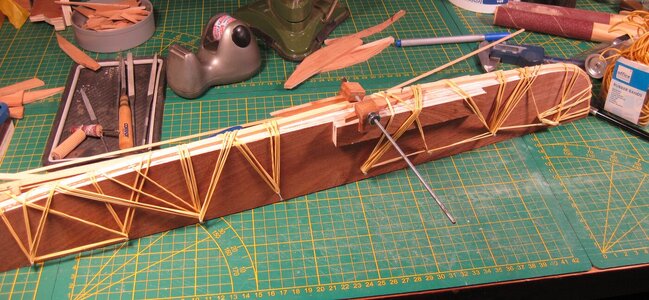
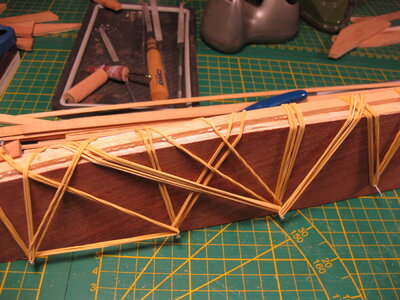
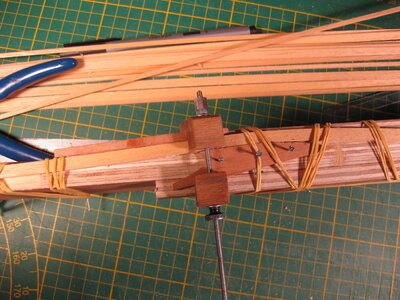
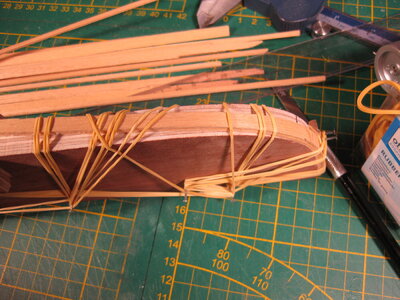
In my AutoCAD drawings the master ribband almost comes together with waterline 9. At the stern and stem a little above and at frame 17 a little below the waterline 9. Comparing to waterline 8 and 10, it seems that I can use waterline 9 to make a template where I can make the master ribband, only I need the sheer in it. That was also not difficult I could make it with measurements at the bow, stern and mid frame to ground level. So we started to make a mould out of a template. And glue 2 layers of abachi strips together and force them on the mould. The sheer I made with pieces of wood that forces the strips in place.
Hope you understand my English. So here a few pictures How I did it.

IMG_3803.JPGIMG_3804.JPGIMG_3805.JPGIMG_3806.JPGIMG_3807.JPG
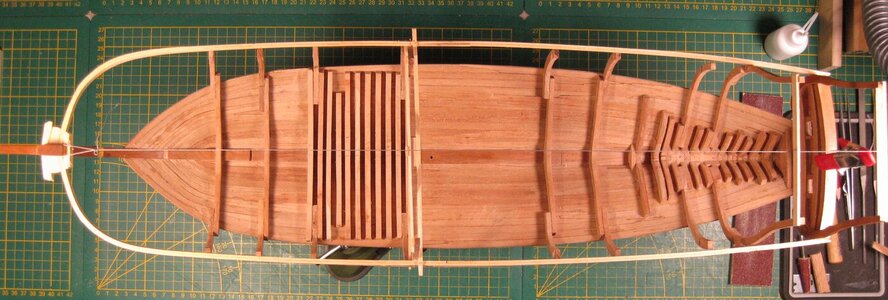
In the last picture from above you can see the sheer. I did this 2 times on the mould, I only needed to change the wooden pieces to get the sheer in the other direction.
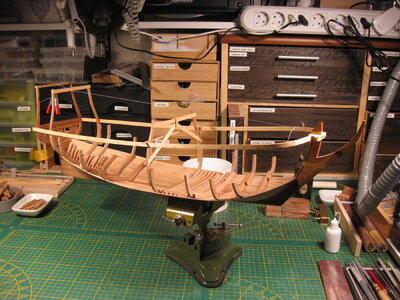
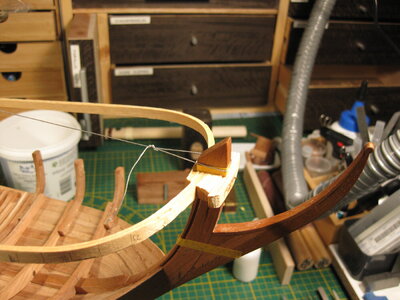
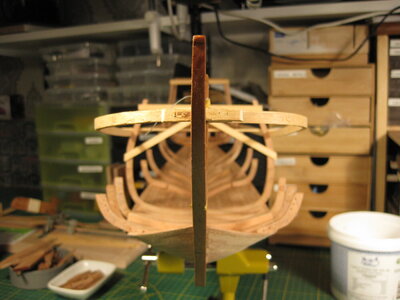
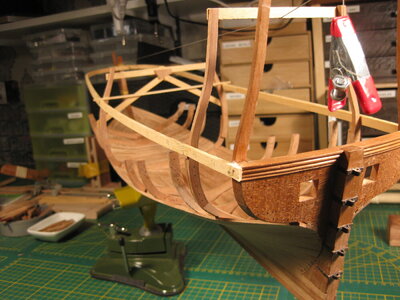
After a good drying of the glue I mounted the master ribband on my ship. In front I made a decent construction to hold it in place and the rest is nailed and glued in place.

IMG_3808.JPGIMG_3809.JPGIMG_3811.JPGIMG_3812.JPGIMG_3813.JPG

Thanks for watching, I can go one making the floor timber.
 
@all thanks for the comments, likes and visit to my log. At the moment I'm working on more things at the time. I decided to make the master Ribband (scheerstrook op zijn Nederlands).
In my AutoCAD drawings the master ribband almost comes together with waterline 9. At the stern and stem a little above and at frame 17 a little below the waterline 9. Comparing to waterline 8 and 10, it seems that I can use waterline 9 to make a template where I can make the master ribband, only I need the sheer in it. That was also not difficult I could make it with measurements at the bow, stern and mid frame to ground level. So we started to make a mould out of a template. And glue 2 layers of abachi strips together and force them on the mould. The sheer I made with pieces of wood that forces the strips in place.
Hope you understand my English. So here a few pictures How I did it.

View attachment 392159View attachment 392160View attachment 392161View attachment 392162View attachment 392163
In the last picture from above you can see the sheer. I did this 2 times on the mould, I only needed to change the wooden pieces to get the sheer in the other direction.
After a good drying of the glue I mounted the master ribband on my ship. In front I made a decent construction to hold it in place and the rest is nailed and glued in place.

View attachment 392164View attachment 392165View attachment 392166View attachment 392167View attachment 392168

Thanks for watching, I can go one making the floor timber.
I nice solution to build that band, Stephan. And on the model it gives a good impression of the shapes.
Regard, Peter
 
Back
Top