You are using an out of date browser. It may not display this or other websites correctly.
You should upgrade or use an alternative browser.
You should upgrade or use an alternative browser.
HMY Fubbs 1682 by Mike41 - Weasel Works – Stern Section – 1:24 [COMPLETED BUILD]
- Joined
- Aug 10, 2017
- Messages
- 1,646
- Points
- 538

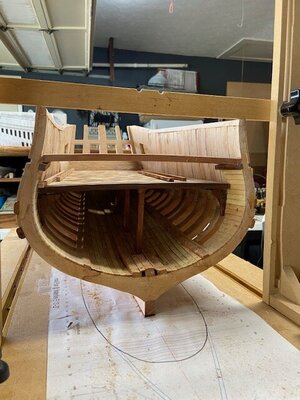
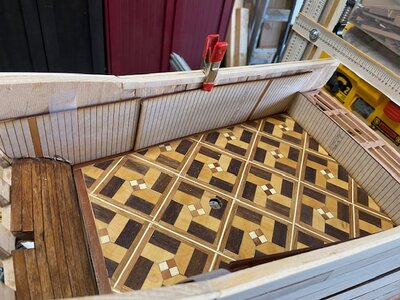
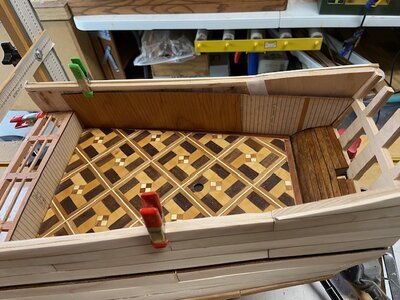
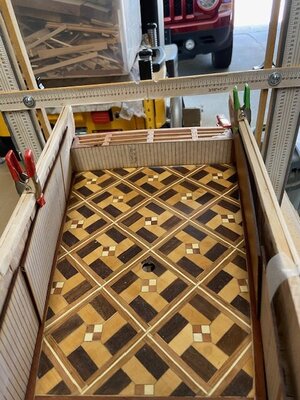
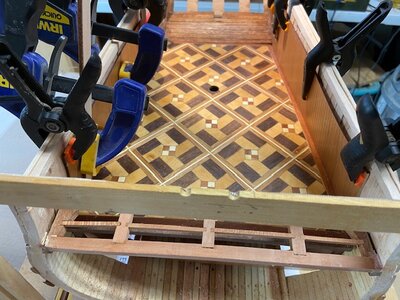
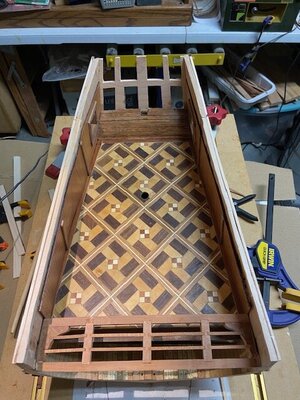
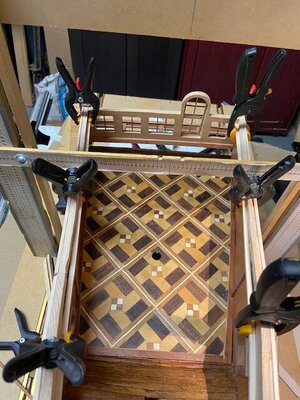
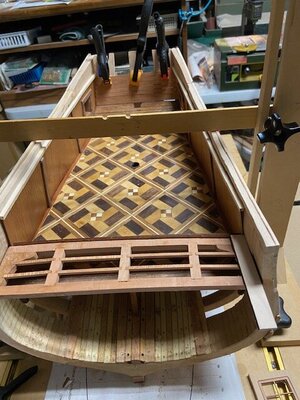
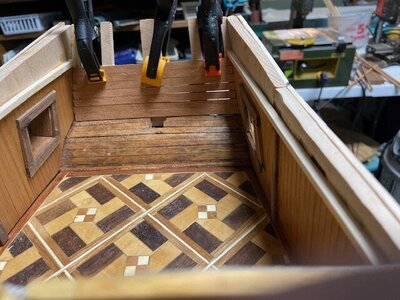
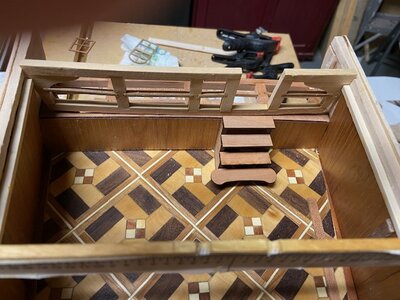
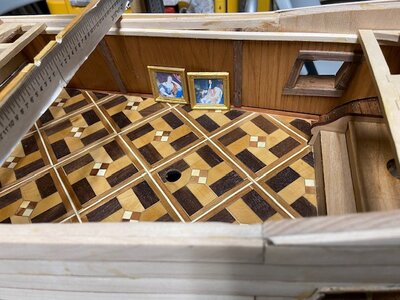
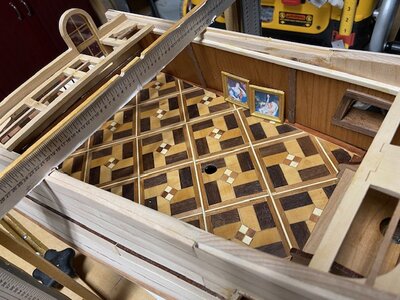
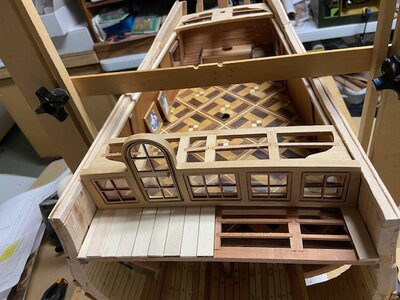
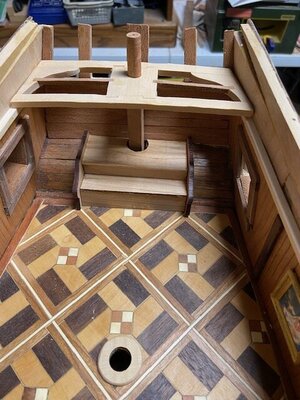
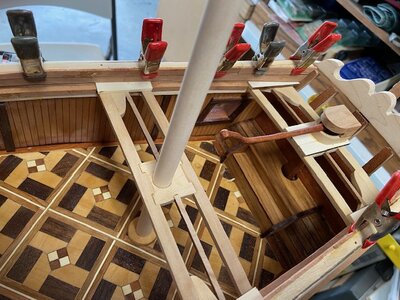
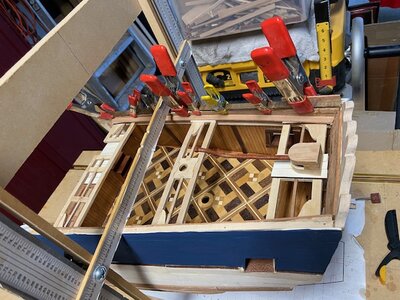
MikeS reminded me I should not have glued the floor in place before the exterior planking so it would not get dirty with sawdust. No damage was done, just some extra work.
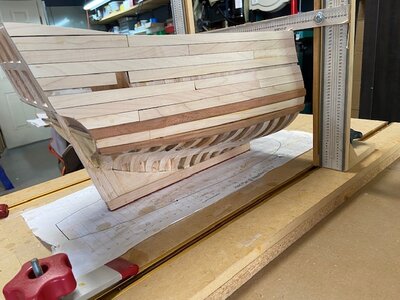
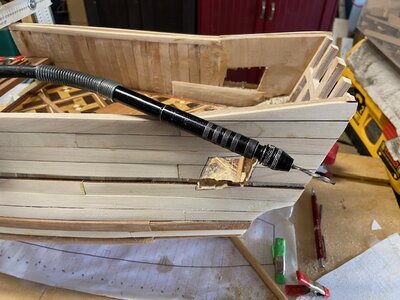
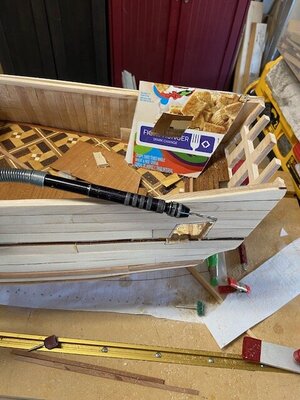
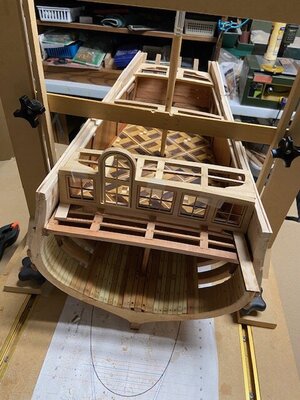
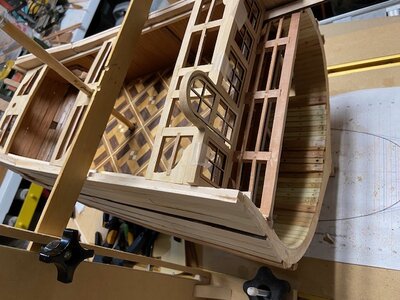
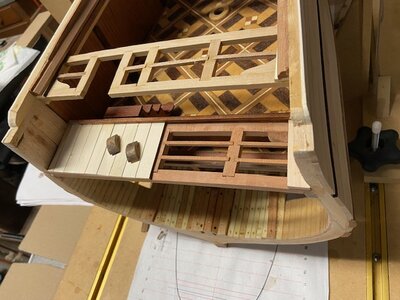
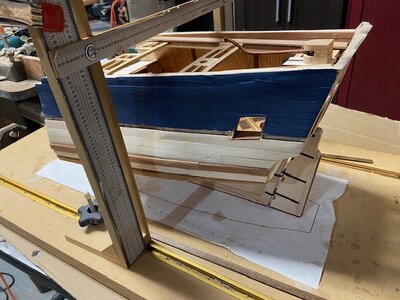
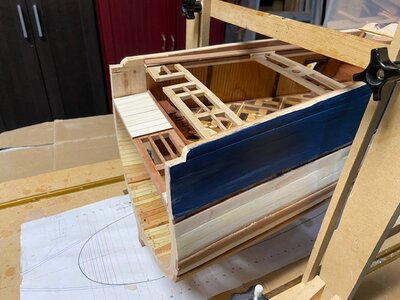
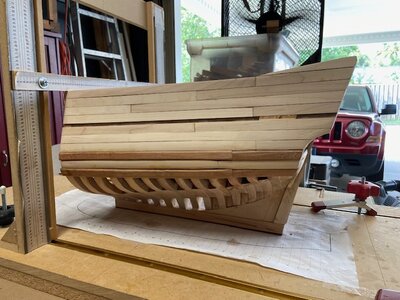
Exterior Planking
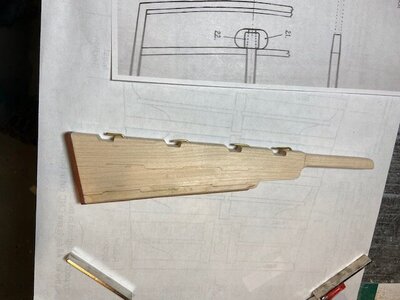
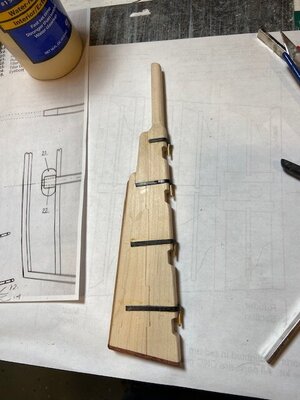
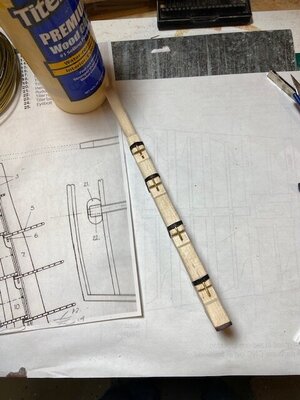
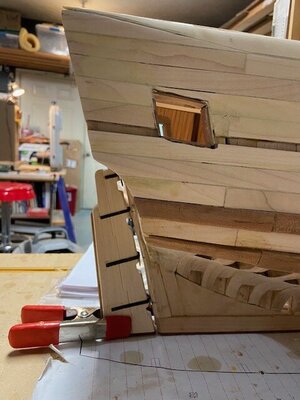
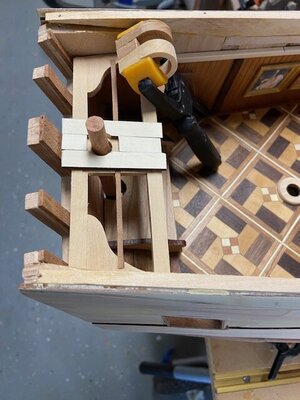
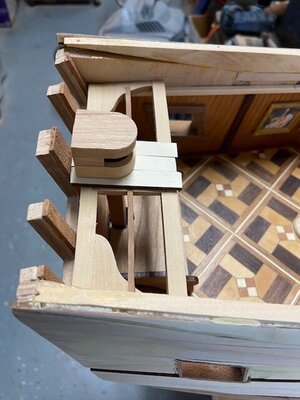
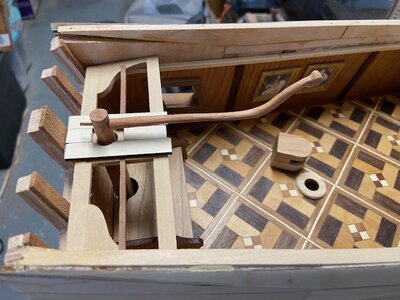
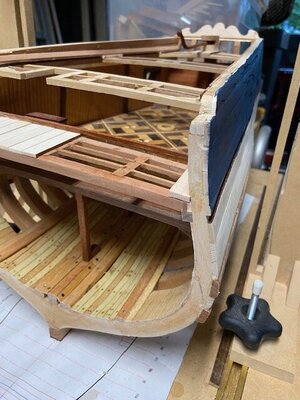
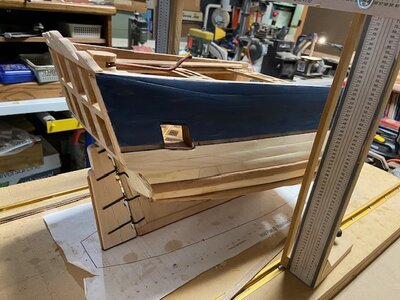
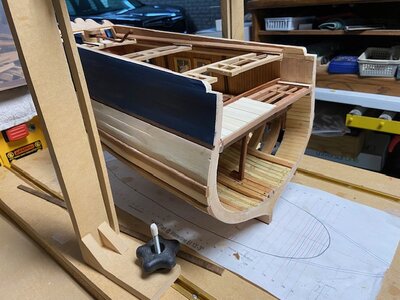
The exterior planking is typical with the exception of a slot for the main and mizzen masts channels. The planking is Maple, and the wales and channel filler pieces are Walnut which makes a nice contrast.
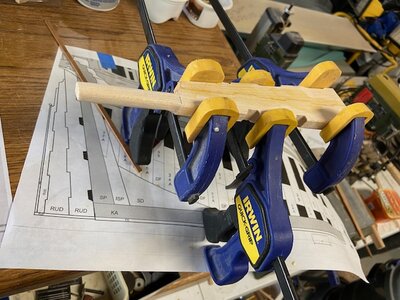
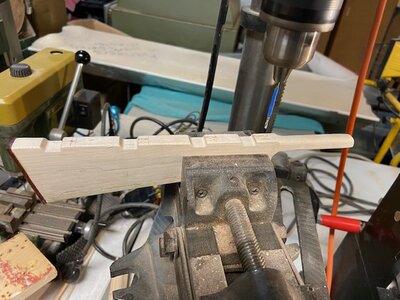
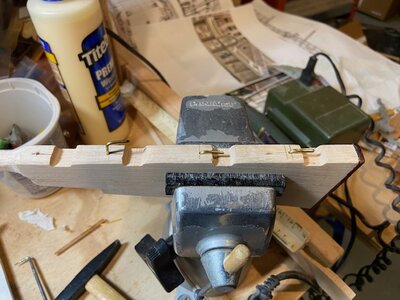
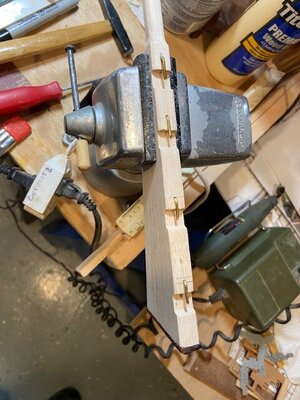
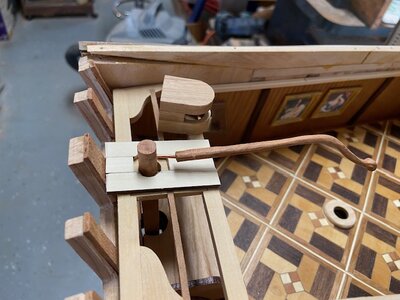
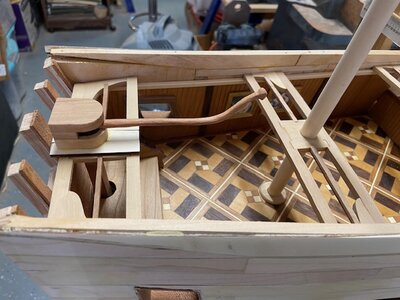
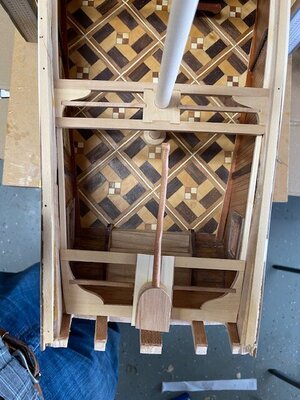
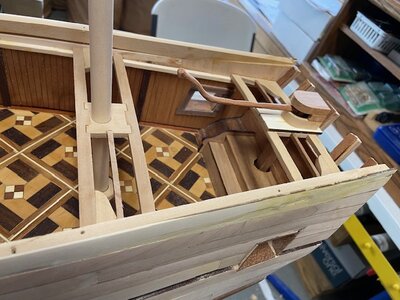
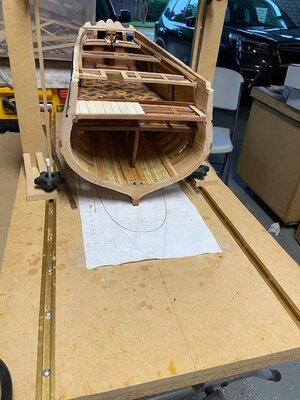
Progress photos.
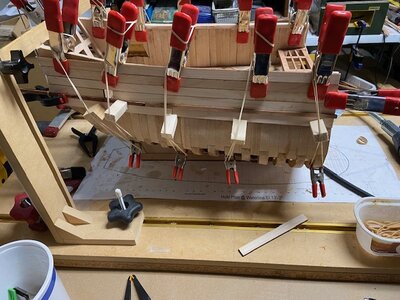
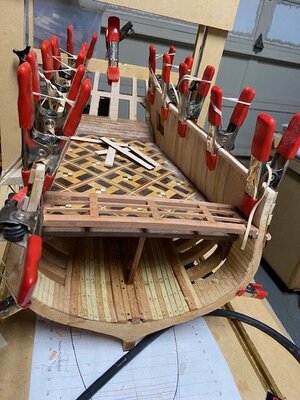
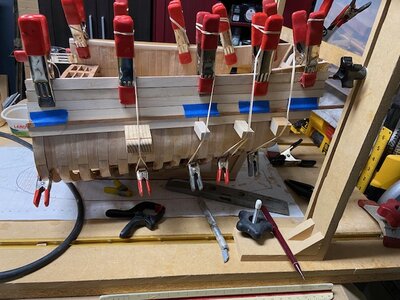
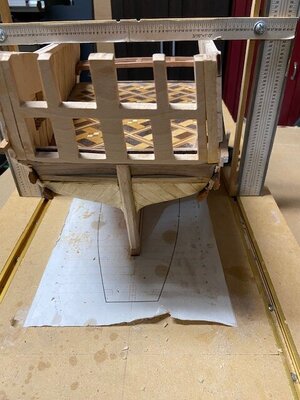
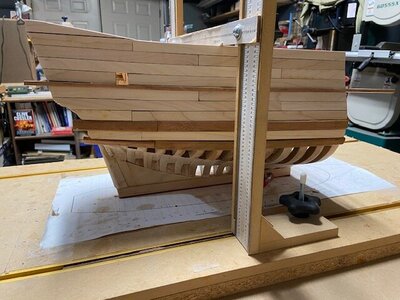
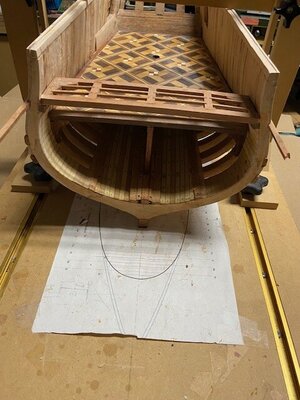
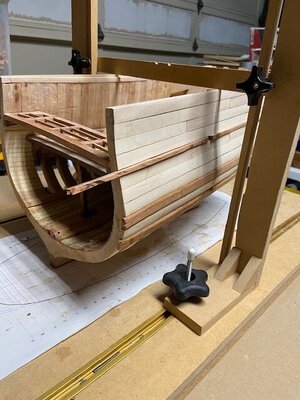
Exterior Planking
The exterior planking is typical with the exception of a slot for the main and mizzen masts channels. The planking is Maple, and the wales and channel filler pieces are Walnut which makes a nice contrast.
Progress photos.


Very nice pictures Mike !!! as well as the planking !!!. All looks very nice.
I am also doing the planking and I have learned a few thing from your pictures.
First I started from below, placing the wales first. That really created a problem as I didn't like the curvature I got. I unglue them and started again. Your way is better to define the wales position/curvature.
Second, I had a strong battle with the wales at the very end of the stern due to the hull curvature. Why I haven't done what you did, cut the wale. Probably because my brain is setup on how I built all my smaller ship kits. Just a full wale strip. With these thick wales I have learned my lesson.
Great job !!
Daniel
I am also doing the planking and I have learned a few thing from your pictures.
First I started from below, placing the wales first. That really created a problem as I didn't like the curvature I got. I unglue them and started again. Your way is better to define the wales position/curvature.
Second, I had a strong battle
Great job !!
Daniel
- Joined
- Aug 10, 2017
- Messages
- 1,646
- Points
- 538

- Joined
- Aug 10, 2017
- Messages
- 1,646
- Points
- 538

That’s going together beautifully Mike.
Sensational work.
Mike, I’m unpacking my Fubbs kit now. Will start my build log soon.
- Joined
- Aug 10, 2017
- Messages
- 1,646
- Points
- 538

Brian, it is fun to unpack the boxes and see all the parts and pieces. Mike did a fine job on the instructions, but you will find the most useful information in the prototype build log. Have fun and good luck with the build.
Mike
Mike
- Joined
- Aug 10, 2017
- Messages
- 1,646
- Points
- 538

You're making steady progress Mike. 


