Command Deck.- Mantua / Panart #709

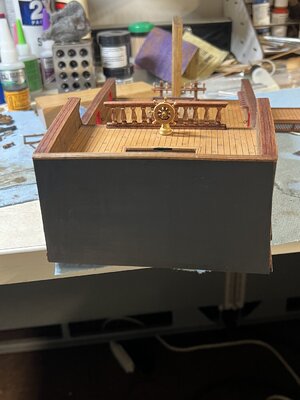
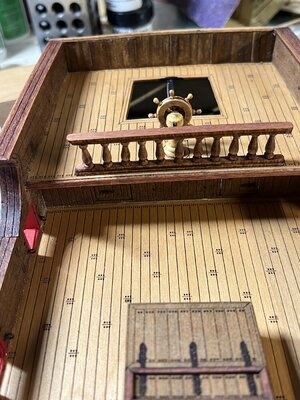
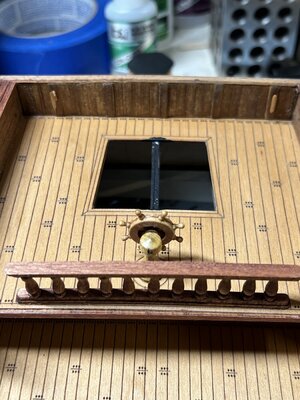
I also started on work to finish the back of top deck. I have thin sheet of basswood cut to fit and measured and cut some scrap strip wood up to line the inside of transom. When done I will add a cap rail to finish it off.
Good work on this kit - and a interesting kit
For me surprising is the way the developer of Mantua made the treenailing
3 treenails per joint on the deck and even 4 for the joints at the hullplanking, the location of joints are also wrong.
In principle a very good idea, but let say "questionable"
I totally agree about the engineer who designed this kit got many things wrong, treenails and gun carriage security were the main two.

I could have replaced all the planking, but just wanted to use what came and practice adding some more details to the kit.

If other companies designed a basic kit like this and just supplied the deck and side planking plain so the builder could finish as they wish it would sell as a good teaching and learning kit in my opinion.
 
Ok got some work done today but forgot my phone so no photos today!

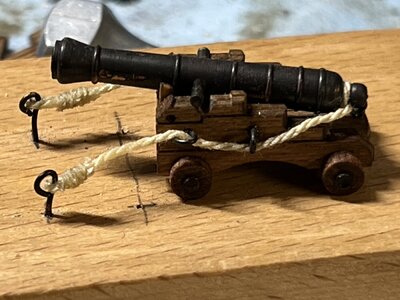
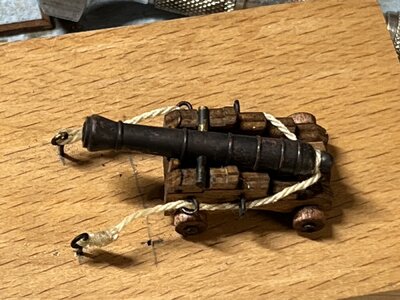
First off I pulled out my rope walk machine and loaded up some tan thread. I made some right hand rope and when done I cut the length in 1/3D and spoiled the new ropes up to make a bigger rope for cannon breech ropes. After a bit of trial and error I got a nice sized breech rope for the cannons.

Next I pulled a block of wood out and used it to set up a cannon rigging station. I have seen others do this before and thought I would try it.

First I drilled a small hole in carriage floor just behind front axle. Then I drilled a hole in block and inserted a pin firmly and cut it off long enough to come up thru the cannon carriage. Next I marked a line where I thought the inner bulkward would be and drilled two holes for eye rings for breaching rope to attach to. Then I took a premeasured length of the new breaching rope and made a simple knot and adjusted it down in size and centered in length. Then I slipped the know on end of cannon and pulled tight. After placing cannon on the carriage I slipped ropes through the two eye rings on carriage and into the two for bulkward. After some testing I managed to seize one side of the rope before bed time. Photos to come soon.

I am waiting on my supplies from Dry-Dock Co and then will rig out the run out ropes and tackle and get guns installed.
 
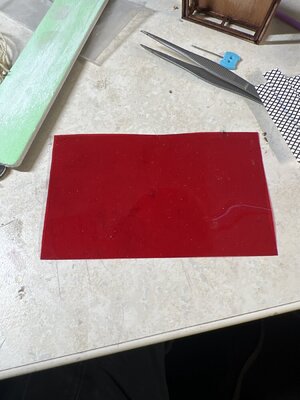
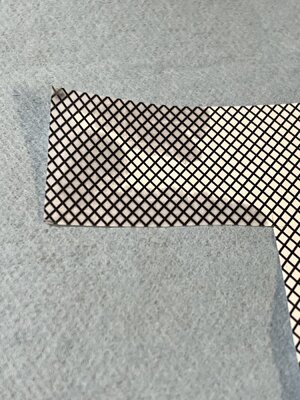
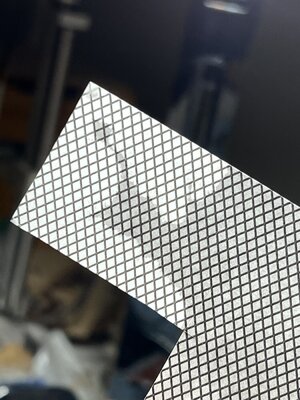
Ok a question for the members. This kit comes with red film to cover windows.

image.jpg

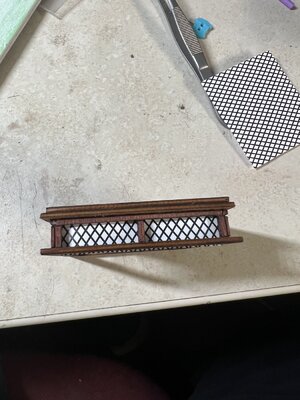
But I find it unrealistic for a ship. So I have made test prints of wire screen windows to install to give more ship like look. I have two sizes of x screen so which size looks best the small or larger size.

When I get some answers I will print on thin white paper, glue in place and then apply thin oil which gives translucent look to it so not looking like white paper.

Let me know please

Kurt

IMG_0323.jpegIMG_0324.jpeg
 
Oooh! A survey! I like the smaller one. But just for fun maybe look for window screen repair material at the local home improvement store and use that? I'm not sure of the scale of your model but it might work very well.
 
Oooh! A survey! I like the smaller one. But just for fun maybe look for window screen repair material at the local home improvement store and use that? I'm not sure of the scale of your model but it might work very well.
I thought of that, but I would still need a "glass" behind the screen.

I too like the smaller version.
 
but I would still need a "glass" behind the screen.
Perhaps. Or maybe not. Again, I'm not sure of the scale of this model.

Another idea: on the Vasa lantern I took a piece of clear plastic and scratched a 'hatched' pattern into it with the back of an XActo blade - then tinted the lines with black paint wiping off the excess leaving the paint only in the scratched in lines...
I like that idea. Now we are sharing trades of the craft!
 
How about a multi-light (french pane). Either microscope slide for glass or fill with liquid windows. And I thought you mentioned something about lighting - flicker LEDs in the cabin would be a nice effect!
Quite an interesting little kit to say the least. One could get crazy with the bashing! Nice work Kurt!
 
Ok some more work done tonight.

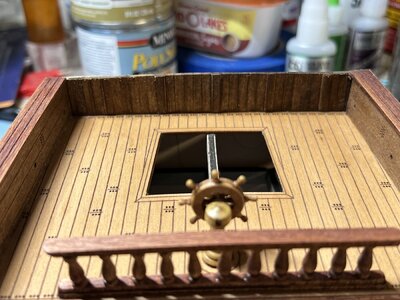
I made a stern wall from thin sheet stock but it looked plain. So I found some scraps about the same width as the deck planking and cut to length. I counted how many I had and was about 4 short of what was needed. I found another piece almost like them but slightly thicker. So I cut enough to fill the gap. What I did was start with a single thick plank in center and then added 5 thin ones on each side. Then I added a thick plank and 5 more thin planks and repeated till full width was filled.

After some filing I got them to fit just right and then stained the wood. When I finished I added some varnish on top and let dry. Then I glued the stern wall in place.

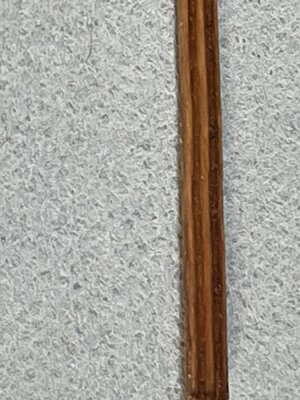
Next I used my shape scrapper on scrap trim and made a cap rail for the stern. Photo show test fit.

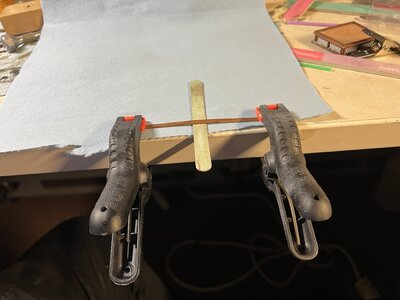
The rail had curve going wrong way so I placed a thin file under center and clamped ends down. This should help it curve the correct way.

Just have to wait a day and test fit and glue it in.

IMG_0338.jpegIMG_0339.jpegIMG_0341.jpeg
 
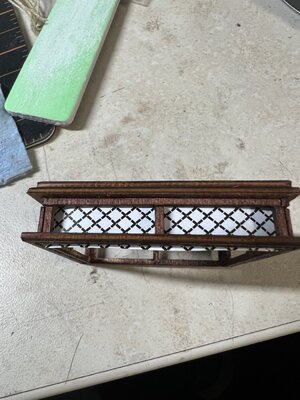
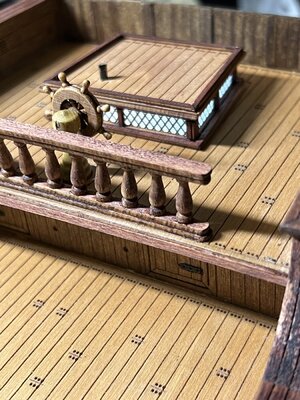
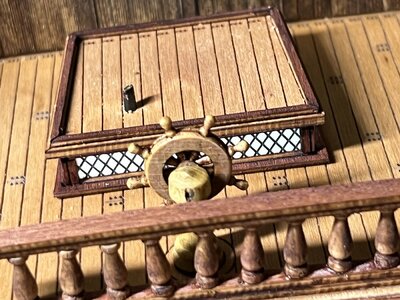
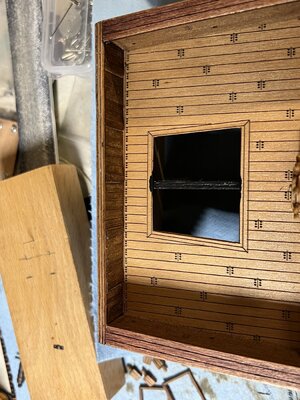
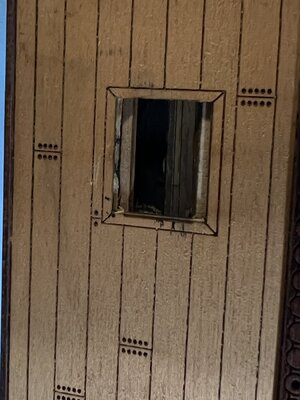
Also I used small pattern and cut paper to fit windows for cabin. Next I tested making a bit more translucent by dripping some thin CA on paper. First photo shows it in normal light. Second show it with light source behind it. Looks better than dry paper.

So I then added CA to back of window glass and let dry.

Photos show test with a small light under hull.

You can see start of smoke stack to be installed in skylight roof

I plan to find a dim yellow light to represent candle light in cabin.

IMG_0344.jpegIMG_0345.jpegIMG_0346.jpegIMG_0347.jpeg
 
Ok my new shipment from Dry Dock models came in with parts I ordered.

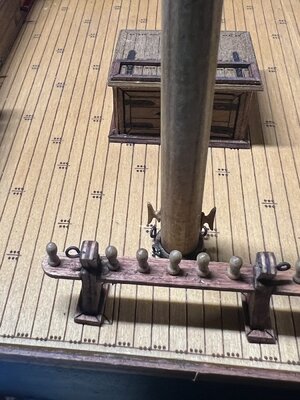
First up was the attaching of cleats on stern and two on the mast

IMG_0369.jpegIMG_0368.jpeg

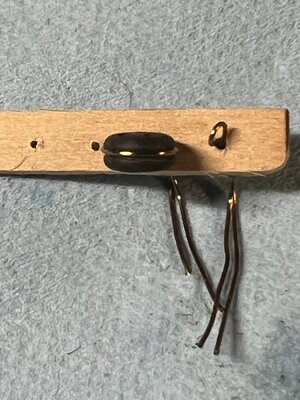
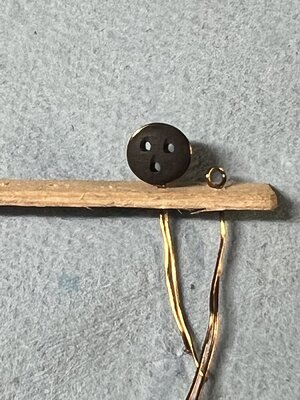
Next up I was working on channels and deadeyes. I plan to add four deadeyes and one eye pin

So I found some craft wire to make loops for deadeyes but the wire wouldn’t take attempts to blacken it. So do you think it’s to distracting as is?

IMG_0365.jpeg
IMG_0364.jpeg
 
Back
Top