Candelaria by Occre 1:85 - Firstbuil

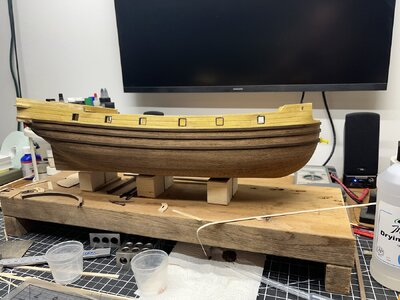
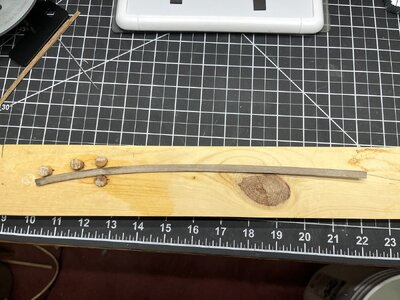
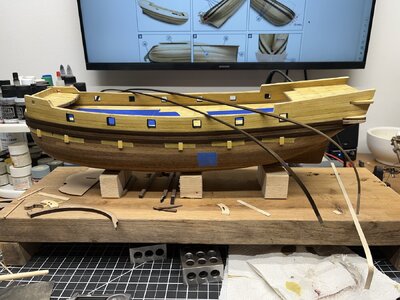
Got the next pair of wales bent & stained, just letting them dry before gluing.
IMG_1462.JPG


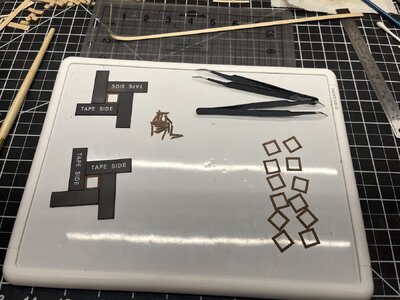
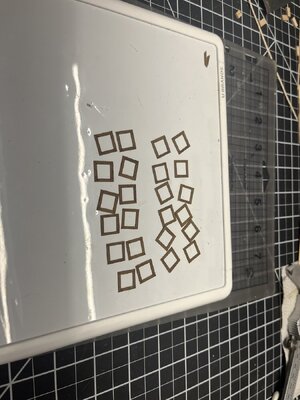
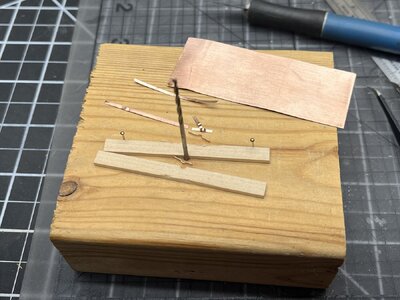
In the meantime, made up a little jig to do some capsquares. Used 0.1mm copper sheet, sanded both sides so it would accept blackening later, cut some 1mm wide strips and knocked out a couple dozen in less than an hour. I may try messing around with some rivet heads, but that's about as far as those will be going... IMO, this is too small of a scale to be worrying about hinges/pins.
IMG_E1457.JPG

IMG_1460a.jpg
 
It's been a minute, but I have been progressing...

Got the inside of the gun ports blacked out

View attachment 423735


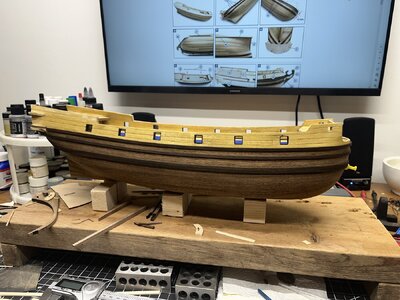
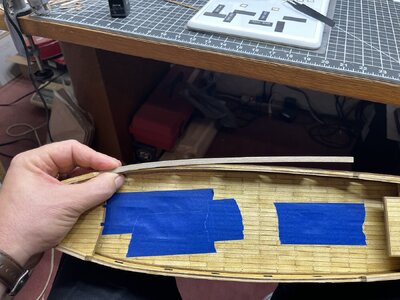
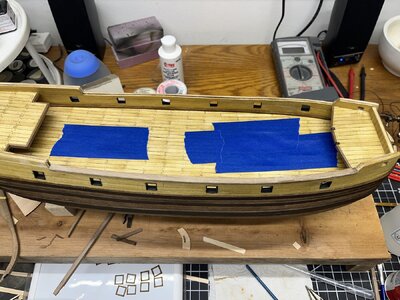
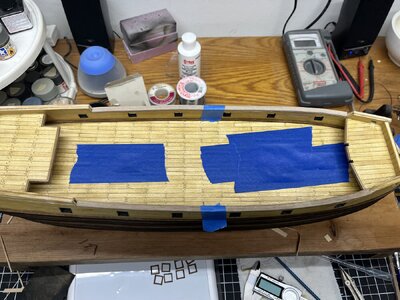
And the wales are a much bigger pain in the butt than I gave them credit for, but 4 down, 4 to go....

View attachment 423736

View attachment 423741

View attachment 423743

View attachment 423744

View attachment 423745

View attachment 423746


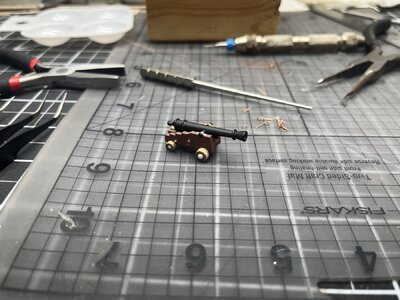
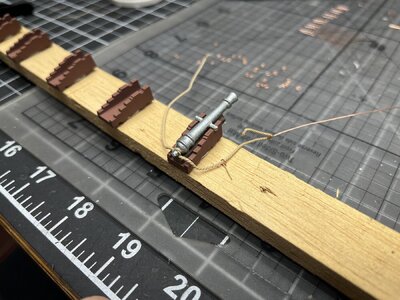
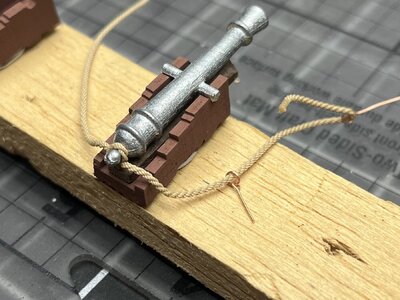
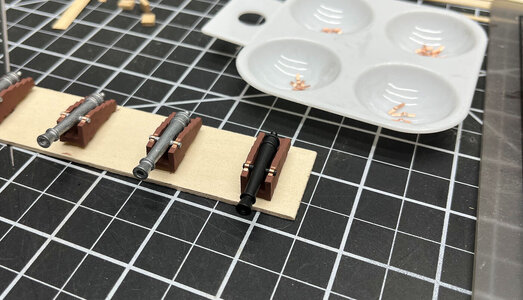
Also continuing some side work on the gun carriages. I was going to paint them red, but with the theme of this ship being wood tones, I thought that may be a little too eye-popping, so I settled on the saddle brown with a red tint to offer some contrast, but not be too loud.

View attachment 423747

View attachment 423748

View attachment 423749
Sorry it took so long for me to respond to your latest post. The wales were a pain to bend & shape but yours are looking good. Like your carriages also.
 
Sorry it took so long for me to respond to your latest post. The wales were a pain to bend & shape but yours are looking good. Like your carriages also.

They are a serious PITA! I'm not saying anything most of you here don't know, but I'm just learning that if they're not shaped perfectly to the hull, any gap will look horrible, and it's something that cannot be hidden. It's taking me about an hour to an hour and a half to shape each one... I'm sure some of that is down to my inexperience, but it's check, double, triple, and quadruple checking.

3rd pair down, one more pair to go:

IMG_1471.JPG


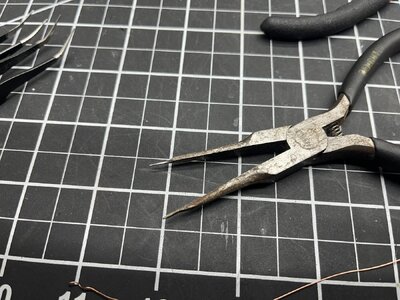
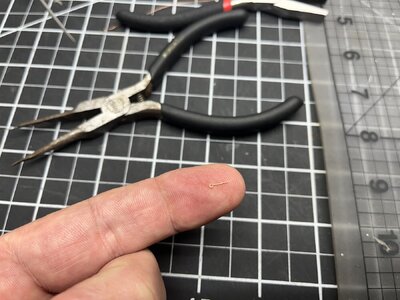
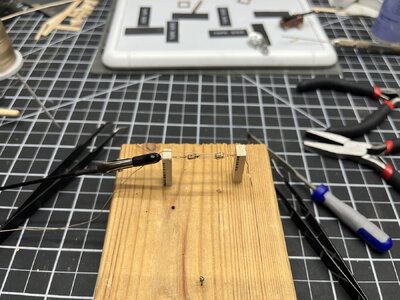
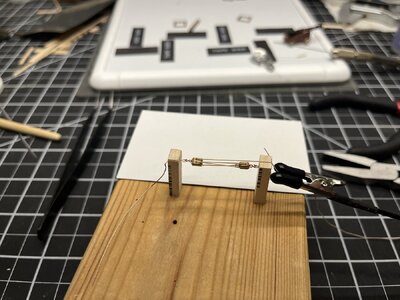
And many moons ago, I had made up a loop tool by grinding down an old pair of needle-nose because I needed some tiny loops for a scale model, and little did I know just how handy that would be again!!

IMG_E1469.JPG

IMG_1470.JPG

IMG_1465.JPG


And I made up a length of cable-laid rope just to check my scale & appearance. Came out to be 0.7mm, which in 1/85 comes out to just over 2 1/4" in full size. After I saw the pictures, I do see I tied it a bit too tight around the breech...

IMG_1473.JPG

IMG_E1473.JPG
 
They are a serious PITA! I'm not saying anything most of you here don't know, but I'm just learning that if they're not shaped perfectly to the hull, any gap will look horrible, and it's something that cannot be hidden. It's taking me about an hour to an hour and a half to shape each one... I'm sure some of that is down to my inexperience, but it's check, double, triple, and quadruple checking.

3rd pair down, one more pair to go:

View attachment 424868


And many moons ago, I had made up a loop tool by grinding down an old pair of needle-nose because I needed some tiny loops for a scale model, and little did I know just how handy that would be again!!

View attachment 424869

View attachment 424870

View attachment 424871


And I made up a length of cable-laid rope just to check my scale & appearance. Came out to be 0.7mm, which in 1/85 comes out to just over 2 1/4" in full size. After I saw the pictures, I do see I tied it a bit too tight around the breech...

View attachment 424872

View attachment 424873
Same here with the wales as far as the time it took. Love your brass work....very nice. I'm also working on the small details, mainly the rail & fire bucket shelve for the quarter deck. I'm foregoing attatching the rutter, catbean & it's supports for now until I get more of the interior parts in place. I'm concerned my sometimes clumsy nature will break these parts.
 
Same here with the wales as far as the time it took. Love your brass work....very nice. I'm also working on the small details, mainly the rail & fire bucket shelve for the quarter deck. I'm foregoing attatching the rutter, catbean & it's supports for now until I get more of the interior parts in place. I'm concerned my sometimes clumsy nature will break these parts.

Thank you for that, and thank you guys for the likes. I have enjoyed the build, and have already learned a lot, but honestly, the hull building is more a means to an end. All the wood bending is more of a push-through to get to the detail work that I more thoroughly enjoy.
And I get you on the external parts. Even after all these years in modeling, I have one of the worst cases of “bumpitis” you can imagine. In other words, I am a complete klutz. I plan on the same thing… no protruding parts like the rudder or cat heads until she’s ready to be set straight & level and not required to be manipulated.
And the more I think about it, the more I’m considering Philski’s use of a lift cart where you can drop it to work more down on the deck and also still be seated while doing upper-level rigging. At my bench’s elevation, I’ll have to be standing to do anything above the lower parts of the masts.
 
Last edited:
Very good work on the planking and the wales - looking very good
 
Finally, last set of wales installed.

View attachment 426019


And working on some cannon port frames

View attachment 426020
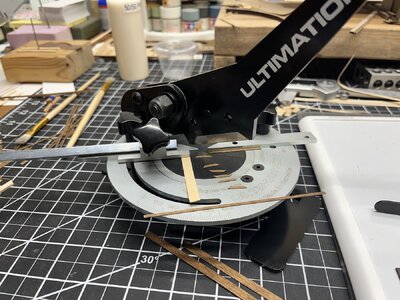
The fit & finish of your hull/bulwarks looks great Frank. Taking the time to make your own port frames will be a very nice touch. I thought about doing the same but will stick with the metal frames. What tool are you using to cut the 45 degree angles for the frames?
 
Very good work on the planking and the wales - looking very good
The fit & finish of your hull/bulwarks looks great Frank. Taking the time to make your own port frames will be a very nice touch. I thought about doing the same but will stick with the metal frames. What tool are you using to cut the 45 degree angles for the frames?

Thank you guys!

For the frames, I saved all my walnut planking scraps, sanded them down, cut them into 1.5mm strips, and mitered them on the Ultimation Slicer... I absolutely love this thing. Was great for doing the deck planks, and the miter cuts fit perfectly.

IMG_1480.JPG


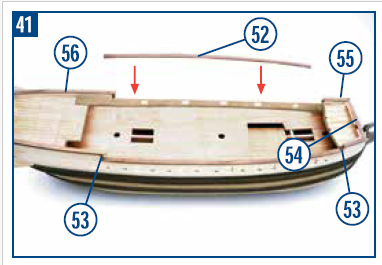
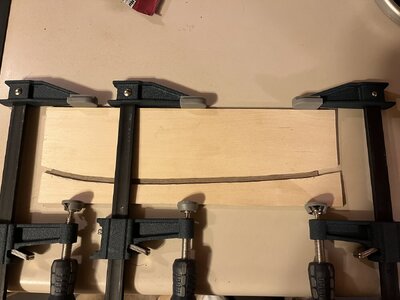
Now on to the top hand rails (part 52). I traced the curve out and transferred it to a 1/4" plank of basswood, then cut it out on the scroll saw.. I steamed it for a while (without pre-soaking), then clamped it into the frame overnight (last night). Today when I released it, it sprang back probably about 60%-70%. I dropped it in some water for a couple hours, steamed it longer without letting it dry, and have it clamped back up. Alan, I know you have yours done already... is this a matter of repeated steaming until it finally holds shape, or do you have any tips on the matter?? For anyone else who may read this, it is a 6mm wide x 2mm thick walnut strip that has to conform to a curve along the top of the bulwark, and has to be bent 6mm width-wise.

1707358959074.png

IMG_1479.JPG
 
Frank, I like your method for bending that top frame but maybe make a new jig with an over exaggerated bend especially toward the bow where it curves slightly more. I soaked mine in hot water for at least an hour then using my pin board (shown in my post) I hot ironed it to shape. It took a few times to get the curve just right.
I'll look into buying the Ultimation Slicer....thanks.

I popped it this morning, and a bit better success, but quite the opposite of what I expected. The heavier bend toward the bow took, but the more subtle bend toward the stern is actually the problem. I may try out a pin board.
There’s a user by the name of ir3 who has a slicer for sale for $50 off retail…

IMG_1481.jpeg
 
I popped it this morning, and a bit better success, but quite the opposite of what I expected. The heavier bend toward the bow took, but the more subtle bend toward the stern is actually the problem. I may try out a pin board.
There’s a user by the name of ir3 who has a slicer for sale for $50 off retail…

View attachment 426417
Very good Frank. Thanks for the info. on the slicer.
 
Hi Frank, I have found that heat is needed for the plank to be bent in the way you are attempting. And by heat I mean drying heat using either an iron or a heat gun (or a hot hair dryer). Give it a shot.

I am using a hot iron, but I think I might see what you’re getting at. I do have a heat gun that will easily cook skin if you’re not careful. I’ll try steaming the plank to soften the fibers, set it in the form, then cook it dry to “flash set” the fibers in place.? If that doesn’t do it, then I’ll try it in combination with Alan’s recommendation of a pin board where I can over-bend it a bit, then it rebounds to what I’m looking for.
I know it doesn’t have to be a “perfect” bend, but I want it to at least be close so there’s not too much tension on the glue where it may pop later down the road.
Thank you very much for the input!!!
 
Last edited:
Thought I posted last night… I guess it didn’t make it through.

Dockattner, the heat gun idea got me about 85% of the way there... definitely an improvement, thank you. Made up a pegboard and went to work for another hour with a bucket of water & the iron just to get that little bit more, scared to death of snapping the plank, but finally got it.


IMG_1483.JPG

IMG_1484.JPG


IMG_1485.JPG
 
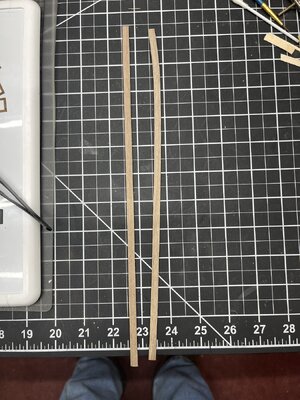
Got the second hand rail bent. Hallelujah, I am done with wood bending!!

IMG_1493.JPG


Got the rest of the gunport frames finished up...

IMG_1494.JPG


And started playing with gun tackle. At first I tried being too fancy and seizing loops for the hook, then stropping to the blocks, but that didn't come out too well... the length of material behind the blocks just didn't look right, plus one of the seizings popped off. I decided to tear everything apart and just strop the hook right to the block, and while maybe not appropriate, I think for scale it looks much better.

IMG_1487.JPG

IMG_1492.JPG
 
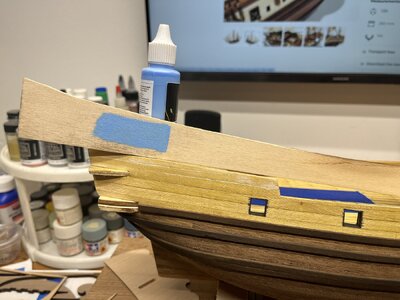
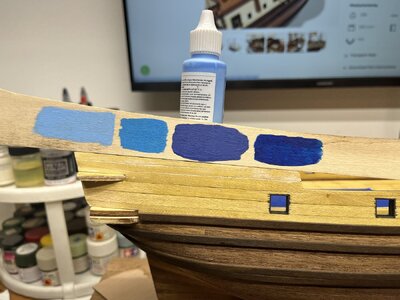
I plan on painting the "Cadillac Fins" before mounting the hand rails and wood trim aft so I don't have to worry about needing to be delicate with the brush later down the road. This is when I realized the paint provided with the kit set is much lighter than pictured on the photos on the box & site. I honestly don't think it would look bad at all, but I pulled a few other blues off my rack... I know taste is subjective, but any opinions are welcome.

1707968854358.png

IMG_1496.JPG


IMG_1497.JPG
 
Last edited:
Back
Top