You are using an out of date browser. It may not display this or other websites correctly.
You should upgrade or use an alternative browser.
You should upgrade or use an alternative browser.
Candelaria by Occre 1:85 - Firstbuil
- Thread starter FrankW
- Start date
- Watchers 16
-
- Tags
- 1:85 la candelaria occre
I just checked mine (8 strips total) & their all 2x2. You must have a dud in there .
.
Last edited:
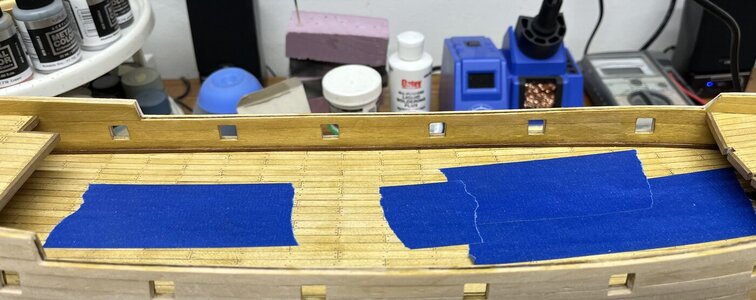
A little break from the build with the holiday weekend... had the son's family in from Lejeune with the new grandson (first one!).
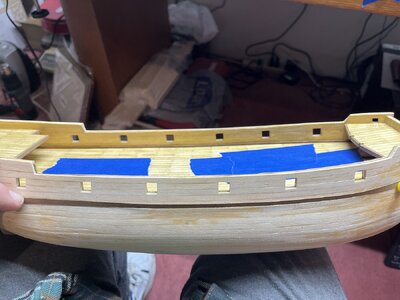
Got the interior planking finished up along with the waterways, stained & varnished. Later down the road, I plan on either framing in the gun ports or painting them black... not fond of seeing all the layers of wood.
And, since these logs are all about the good, the bad, and the ugly... everything's been going good so far, a little too good. Of course, the bad & the ugly both hit like a brick wall. I went to put on my first 2nd layer plank following John Aliprantis' method (using CA), and to say that was an unmitigated disaster would be the understatement of the year. The CA soaked right through the thin plank, and as I was trying to press it into place, my thumbs & fingers were sticking to the planks, and as I was trying to pull them off, chunks of wood were just coming right off stuck to my digits. As Ralphie would say... "In the heat of battle, I wove a tapestry of obscenities that, as far as we know, is still hanging in space over Dayton" I figured I had two choices at that moment... either it was hitting the wall, or I just start laughing my butt off.
So that's where it's at... I'm in the process of sanding that plank back down, dropping back, and punting. I'll either try contact cement, or make up a bunch of clamps & try PVA.
Hope everyone had a great Thanksgiving.

Congratulations Frank on becoming on granddad.
Sorry to hear about your bad luck with CA. I seen John's video of the CA glue mess & tested it myself on scrap walnut board. Sure enough it seeped through. I repeated the test with Titebond II with no seepage. I prefer using Titebond as much as possible due to the generous working time & easy clean up. I do use CA at areas such as the bow where I can't us clamps or pins. I'm talking about the 2nd. layer of planking.
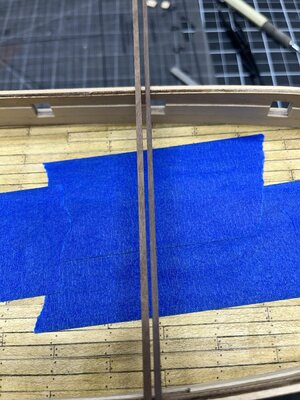
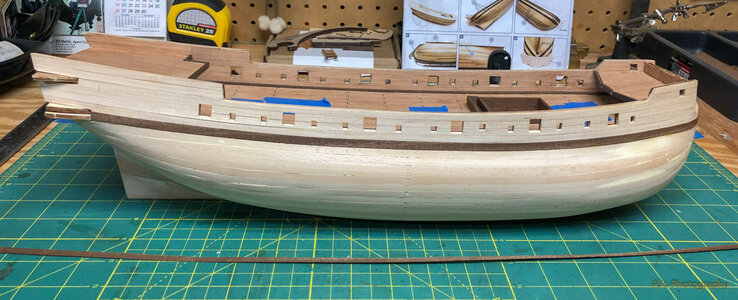
I've progressed to planking the bulwarks & 1st strip of walnut below that. First, I soaked the boards, clamped them flat in an arc & with cloths iron pressed them to hold said arc. I then bent the portion for the bow & glued (CA) in place. For the walnut strip I took a different approach & simply brushed on Titebond (which I do on all the boards), set it in place & used blue painters tape to hold it until dry. Being only .5mm wide it worked out well.
Now the hard part which I've been studying for the last week or so. How to CORRECTLY lay down the 2nd hull planks. I like Olha's method shown in her 2nd planking HMS Pegasus video. For me, the most informative & clear instructions is provided by Uwek in a PDF posted in my build log (post #81). I'm still calculating the placement of the hull planks & where I need to incorporate stealers & drop planks. Hopefully soon I'll start gluing the 2nd. layer.

Last edited:
John isn't one I would recommend you get factual information from by watching any of his videos. If you try to correct him or leave a comment questioning a process, he simply blocks you! His builds are only novice amateur and not a good source for accuracy!!!A little break from the build with the holiday weekend... had the son's family in from Lejeune with the new grandson (first one!).
Got the interior planking finished up along with the waterways, stained & varnished. Later down the road, I plan on either framing in the gun ports or painting them black... not fond of seeing all the layers of wood.
And, since these logs are all about the good, the bad, and the ugly... everything's been going good so far, a little too good. Of course, the bad & the ugly both hit like a brick wall. I went to put on my first 2nd layer plank following John Aliprantis' method (using CA), and to say that was an unmitigated disaster would be the understatement of the year. The CA soaked right through the thin plank, and as I was trying to press it into place, my thumbs & fingers were sticking to the planks, and as I was trying to pull them off, chunks of wood were just coming right off stuck to my digits. As Ralphie would say... "In the heat of battle, I wove a tapestry of obscenities that, as far as we know, is still hanging in space over Dayton" I figured I had two choices at that moment... either it was hitting the wall, or I just start laughing my butt off.
So that's where it's at... I'm in the process of sanding that plank back down, dropping back, and punting. I'll either try contact cement, or make up a bunch of clamps & try PVA.
Hope everyone had a great Thanksgiving.
View attachment 410560
John isn't one I would recommend you get factual information from by watching any of his videos. If you try to correct him or leave a comment questioning a process, he simply blocks you! His builds are only novice amateur and not a good source for accuracy!!!
Oh, I couldn’t agree more. I’ve just been using his build series on the Candelaria as a reference as to what to expect. Thought I’d try the CA route for planks, and my Lord what a joke. Plus, even as a total newb to ships who’s never done rigging, when I saw that he tied the main preventer stay directly to the crows foot euphroe, I knew I was in the wrong place for “technical” advice.
Anyway, I have been back to work on the second layer planking. While I commend Alan for taking the time to steam every full length plank to shape, I wasn’t feeling quite that ambitious… I’ve been cutting them down into shorter planks with offsetting joints using contact cement, and I have to say I am quite pleased with the results. I’ll upload a few pics in the next couple of days.
Last edited:
Watching John's videos of the La Candelaria I find some techniques that I would not do. With that said their still a helpful reference for some steps for me because it's the same ship I'm building.
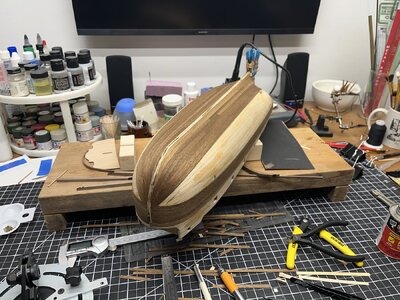
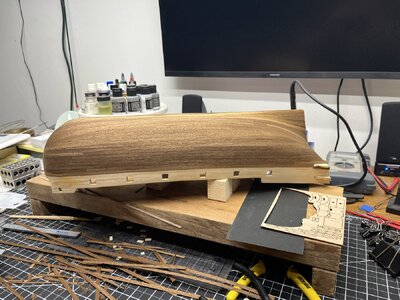
Build update: With the Holidays, haven't been on it much, but now that I am on two weeks vacation, I'm hoping to get the second layer planking punched out.
Since the strakes were not laying right... not sure if it was my shaping of the first layer, but when you laid the planks flat, they wanted to take a completely different direction than they were supposed to, and bringing it up just brought on some very bad buckling...
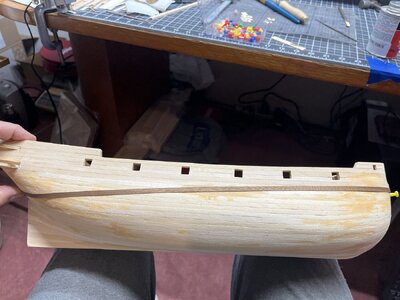
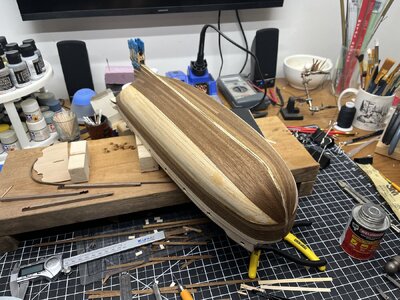
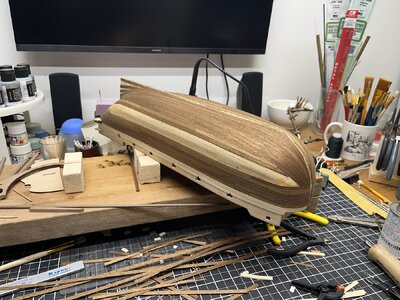
I really didn't have the gumption to attempt to steam each one into place, so I just decided to plank them. So far going great... got the belt-lines done and starting to work up from the keel. This time using contact cement instead of CA, and considering it's the first time I've ever used it, I'm pretty happy with the results. I did have a few very off-color planks in my batch, so they went in the bottom so they won't stand out as bad. The false keel isn't glued... it's just in for fitment.
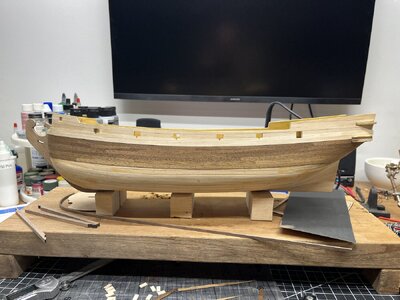
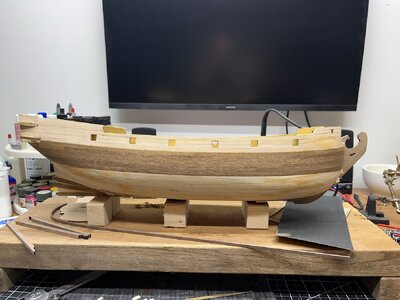
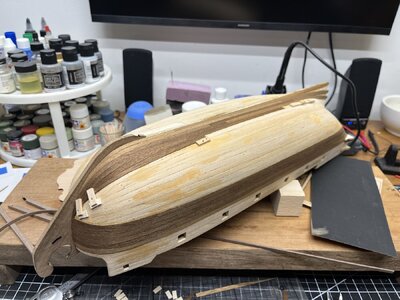
Since the strakes were not laying right... not sure if it was my shaping of the first layer, but when you laid the planks flat, they wanted to take a completely different direction than they were supposed to, and bringing it up just brought on some very bad buckling...


I really didn't have the gumption to attempt to steam each one into place, so I just decided to plank them. So far going great... got the belt-lines done and starting to work up from the keel. This time using contact cement instead of CA, and considering it's the first time I've ever used it, I'm pretty happy with the results. I did have a few very off-color planks in my batch, so they went in the bottom so they won't stand out as bad. The false keel isn't glued... it's just in for fitment.


Looking really good Frank. I like the look of the individual planks. I never thought of using contact cement but it's a good alternative to CA.
Looking really good Frank.
And success... Goal was to get the walnut portion of the hull done while on vacation, and I just made it. I still have the bulwarks to finish up, but that will be gravy compared to this. Coincidentally, this evening's session just crossed over the 200-hour mark for total build time. When I started, I had figured in my head around 800 hours, and be done by Christmas of '24... I'm thinking both of those may require some serious revision.
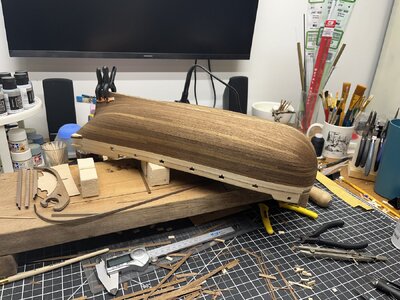

Congratulations Frank....looking good. I have the keel installed & am working on the top walnut trim for the bulwarks. I'll post when that's completed.
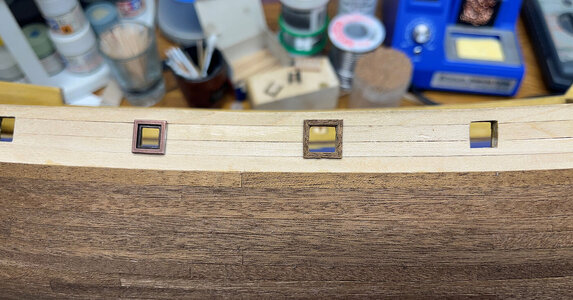
Was just cleaning up a bit from all the walnut planking, and in general just putzing around the bench, when I had the thought that I had plenty of walnut leftover... so I cut a strip, mitered it on the slicer and made up a quick gun port frame to see what it would look like vs the metal supplied with the kit. And I think I have a winner.
I may line the interior of the ports with thin planking so you can't see the multiple layer of wood, then reduce the size of the frame slightly to cover the edges of the planks, along with framing the interior of the ports, which the kit doesn't call for.
The bulwark isn't final-planked yet, that's still the first layer.

Last edited:
It's funny that all this time I've been thinking about making walnut frames for the ports not realizing that they came in the kit . You did a fine job with the walnut frames & I'll do the same.
It's been a minute, but I have been progressing...
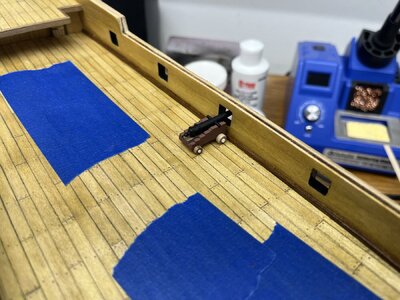
Got the inside of the gun ports blacked out
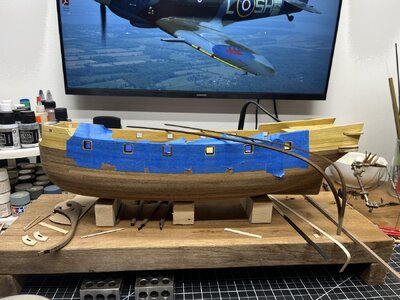
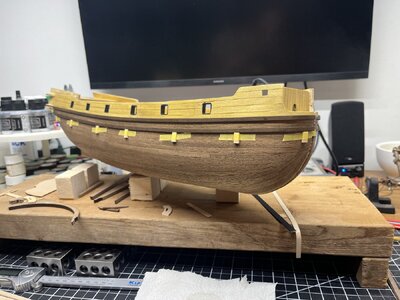
And the wales are a much bigger pain in the butt than I gave them credit for, but 4 down, 4 to go....
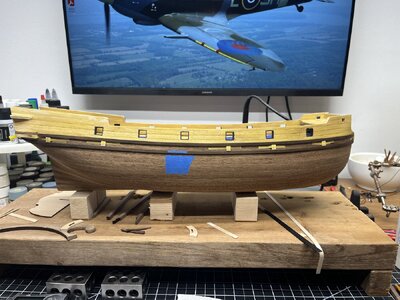
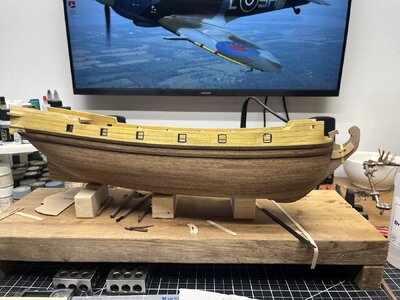
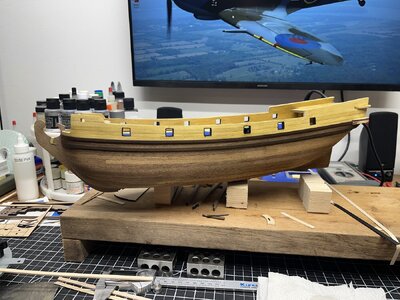
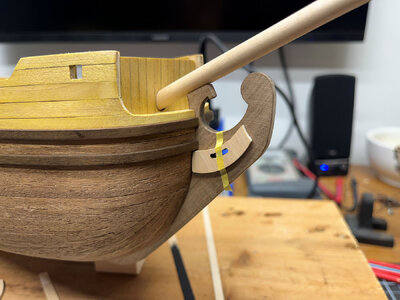
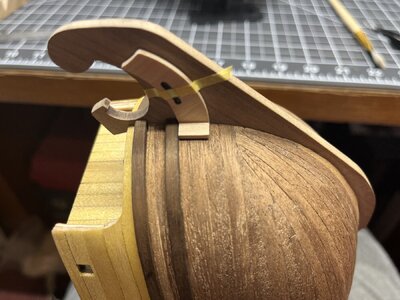
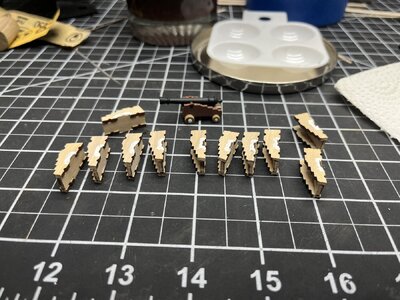
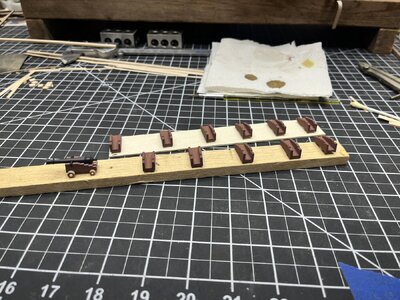
Also continuing some side work on the gun carriages. I was going to paint them red, but with the theme of this ship being wood tones, I thought that may be a little too eye-popping, so I settled on the saddle brown with a red tint to offer some contrast, but not be too loud.
Got the inside of the gun ports blacked out

And the wales are a much bigger pain in the butt than I gave them credit for, but 4 down, 4 to go....


Also continuing some side work on the gun carriages. I was going to paint them red, but with the theme of this ship being wood tones, I thought that may be a little too eye-popping, so I settled on the saddle brown with a red tint to offer some contrast, but not be too loud.


Good evening Frank. Lovely work. Your planking looks awesome BTW. Cheers GrantIt's been a minute, but I have been progressing...
Got the inside of the gun ports blacked out
View attachment 423735
And the wales are a much bigger pain in the butt than I gave them credit for, but 4 down, 4 to go....
View attachment 423736
View attachment 423741
View attachment 423743
View attachment 423744
View attachment 423745
View attachment 423746
Also continuing some side work on the gun carriages. I was going to paint them red, but with the theme of this ship being wood tones, I thought that may be a little too eye-popping, so I settled on the saddle brown with a red tint to offer some contrast, but not be too loud.
View attachment 423747
View attachment 423748
View attachment 423749


