You are using an out of date browser. It may not display this or other websites correctly.
You should upgrade or use an alternative browser.
You should upgrade or use an alternative browser.
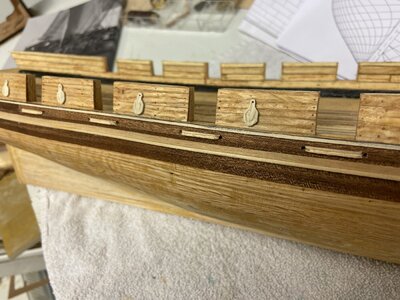
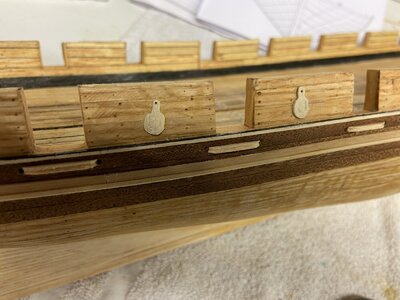
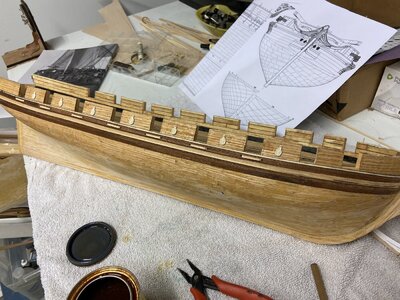
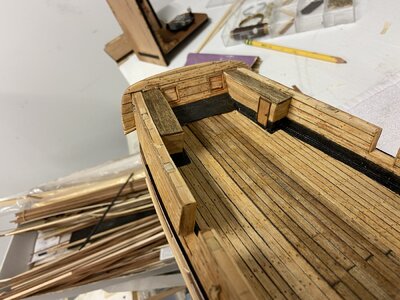
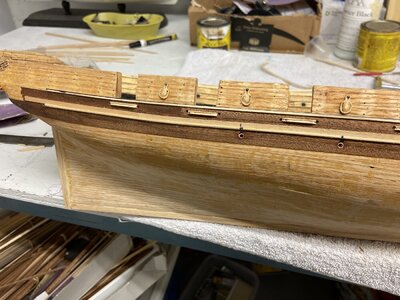
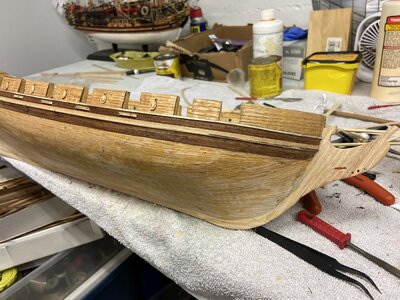
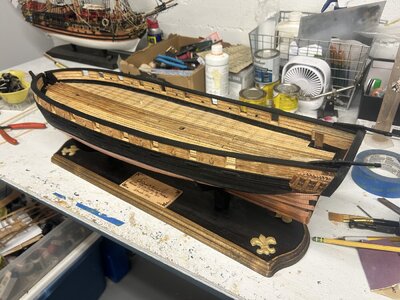
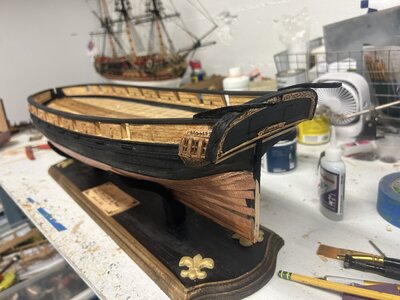
Wonderful! Looking like a ship!
- Joined
- Jun 17, 2021
- Messages
- 1,654
- Points
- 488

She sure is coming together and shaping up. Very inspiring! 
Pete

Pete
- Joined
- Jun 17, 2021
- Messages
- 1,654
- Points
- 488

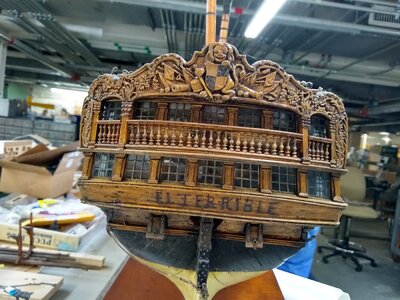
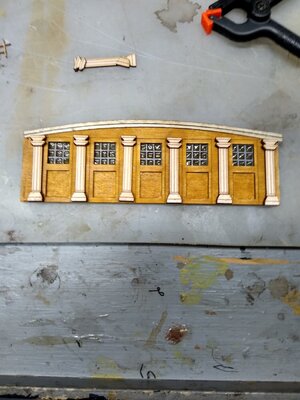
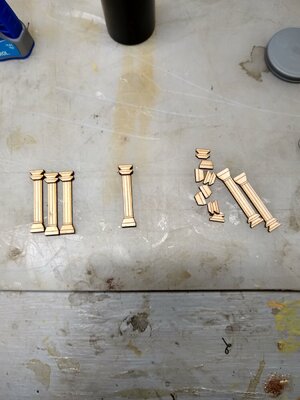
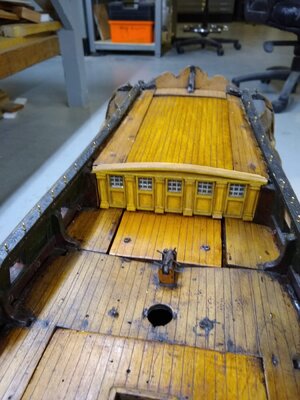
Those Pilasters are hard to carve. I had the good fortune of having a laser cutter at the USNA to cut out the basic parts: the column, plinth and capitol, and laser incised lines to follow in cutting the flutes. I believe Bluejacket provides this service, if you provide them with a plan. I will go back and find pictures of the process in the restoration of the 74 gun 18th c. Spanish model of the El Terrible that I did this for and attatch them.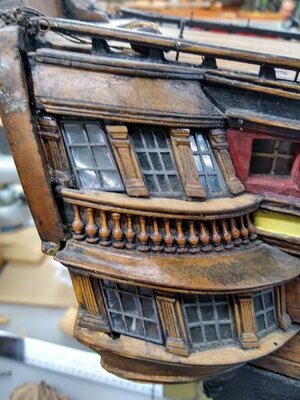


Last edited:
- Joined
- Jun 17, 2021
- Messages
- 1,654
- Points
- 488

After the parts are cut out the detailing can be done with small gouges and/or jeweler's files after they are assembled. The smaller capitol and plinth pieces are glued in place right on top their matching counterparts of the one-piece pilaster. The images are lasered there as a guide.
The acanthus leaf capitols on the Corinthian style pilasters on the stern gallery, of course, require more planning, parts and steps in assembling the completed pilaster. I hope this may be of use to you or anyone else confronted with the same issue as one of probably many solutions.
We just used basswood sheet, colored and finished to match.
On the quarter and stern galleries some of the pilasters are original and some are not.
Pete
Last edited:
LaserThose Pilasters are hard to carve. I had the good fortune of having a laser cutter at the USNA to cut out the basic parts: the column, plinth and capitol, and laser incised lines to follow in cutting the flutes. I believe Bluejacket provides this service, if you provide them with a plan. I will go back and find pictures of the process in the restoration of the 74 gun 18th c. Spanish model of the El Terrible that I did this for and attatch them.View attachment 390953View attachment 390954View attachment 390955View attachment 390956View attachment 390957
Laser cutting is definitely a nice option. We continue to try and improve basic tech. The size was the issue, a little bit bigger and I could have carved instead. Thanks for the heads up, will keep option for future.Those Pilasters are hard to carve. I had the good fortune of having a laser cutter at the USNA to cut out the basic parts: the column, plinth and capitol, and laser incised lines to follow in cutting the flutes. I believe Bluejacket provides this service, if you provide them with a plan. I will go back and find pictures of the process in the restoration of the 74 gun 18th c. Spanish model of the El Terrible that I did this for and attatch them.View attachment 390953View attachment 390954View attachment 390955View attachment 390956View attachment 390957
I think I will use burn carving to complete the fine leaf work, carve for larger stern ordainments. We will see how it turns out. For larger items life the bow figurehead I am going to use molding clay and carving. It will be painted gold either way.After the parts are cut out the detailing can be done with small gouges and/or jeweler's files after they are assembled. The smaller capitol and plinth pieces are glued in place right on top their matching counterparts of the one-piece pilaster. The images are lasered there as a guide.
The acanthus leaf capitols on the Corinthian style pilasters on the stern gallery, of course, require more planning, parts and steps in assembling the completed pilaster. I hope this may be of use to you or anyone else confronted with the same issue as one of probably many solutions.
We just used basswood sheet, colored and finished to match.
On the quarter and stern galleries some of the pilasters are original and some are not.
Pete
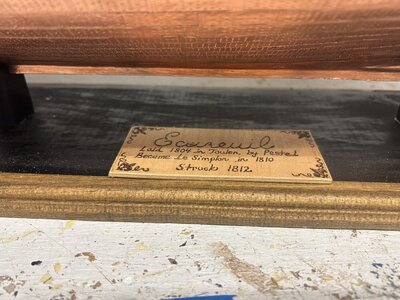
I think I am going with the L'Ecureuil instead of L'cygne for this brig. Le Cygne has more of a history, but I am going with the lesser known Le Ecureuil. Figurehead will be a squirrel, and ordainments and decorations will be nature based and maybe an acorn on the stern.
- Joined
- Jun 17, 2021
- Messages
- 1,654
- Points
- 488

I also had the good fortune of being in a place with all the expensive laser equipment and the people who know how to operate it. Not everybody has this option.
As I mentioned, the BlueJacket Ship Crafters in Maine has this service, but you will need to send a plan on a zip drive or accurate drawing. They are very pleasant, helpful and easy to talk with over the phone: 800-448-5567, and eager to help. (I have no skin in the game). This technology does help make such fussy projects a little more accessible.
As for modeling/carving figureheads and other decorative elements, I'm working on my first one for the "Flying Cloud", I'm documenting the effort, but won't post anything until I have a fait accompli. That way I can screw it up as many times as happens, but only have to present the project as though it was a piece of cake. I'm on my second try,
 carving it in boxwood. So far, it's excruciatingly difficult.
 . At first, I thought I'd try Sculpy, which still may prove the better option. You can always gild or paint that, and it's additive, which is more user friendly and facilitates correcting mistakes.
Good luck with your squirrel! Franz's salamander and sea horse, carved from boxwood, are awesome! 3D printing is probably useful for this, but that's waaaay out of my ballpark!
Pete
As I mentioned, the BlueJacket Ship Crafters in Maine has this service, but you will need to send a plan on a zip drive or accurate drawing. They are very pleasant, helpful and easy to talk with over the phone: 800-448-5567, and eager to help. (I have no skin in the game). This technology does help make such fussy projects a little more accessible.
As for modeling/carving figureheads and other decorative elements, I'm working on my first one for the "Flying Cloud", I'm documenting the effort, but won't post anything until I have a fait accompli. That way I can screw it up as many times as happens, but only have to present the project as though it was a piece of cake.
 I'm on my second try,
 . At first, I thought I'd try Sculpy, which still may prove the better option. You can always gild or paint that, and it's additive, which is more user friendly and facilitates correcting mistakes.
Good luck with your squirrel! Franz's salamander and sea horse, carved from boxwood, are awesome! 3D printing is probably useful for this, but that's waaaay out of my ballpark!
Pete
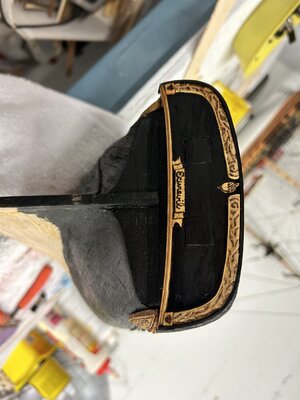
I used a mixture of burn etching and carving with a dremal tool with some good attachments. So far so good, I like the results. The burn etching worked perfectly for finer details and carving for larger.
Even better is the black dye stain, used to use paint but this stuff works great. Keeps wood surface.
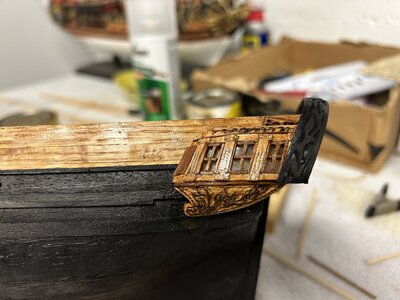
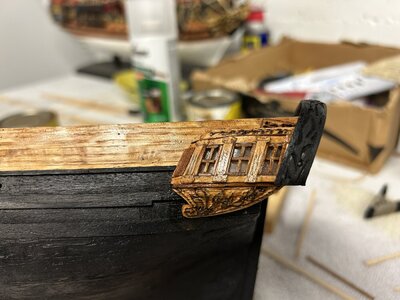
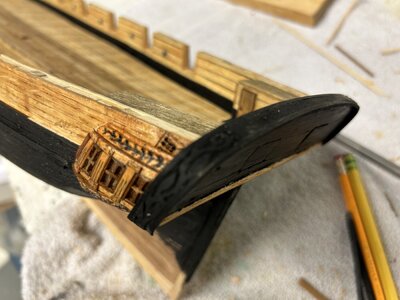
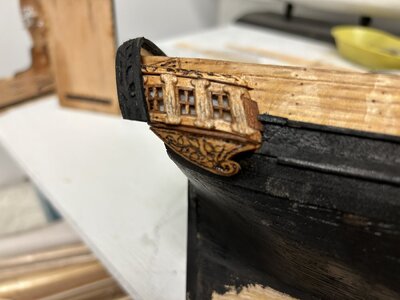
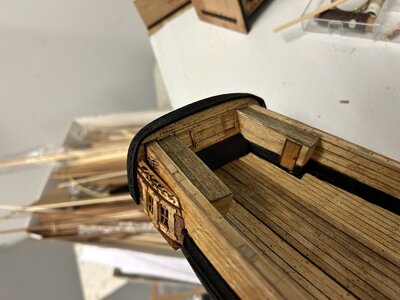
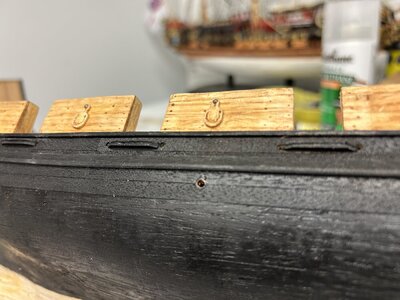
Even better is the black dye stain, used to use paint but this stuff works great. Keeps wood surface.


- Joined
- Jun 17, 2021
- Messages
- 1,654
- Points
- 488

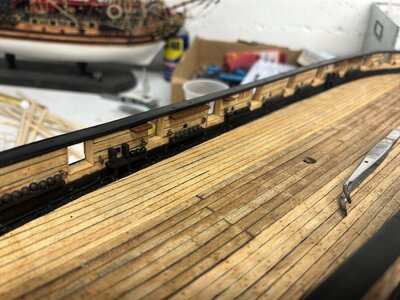
I particularly like the carving in the taffrail! Do you have an iron with wood burning tips? That's a whole other skill set I've pondered. I may even have a set of unused wood burning tips around my shop somewhere, along with all the other Round Tuits I've never gotten to. 
Ship's looking good. Can't wait to see the Squirrel!

Pete
Ship's looking good. Can't wait to see the Squirrel!

Pete
Using both iron and dremel toolI particularly like the carving in the taffrail! Do you have an iron with wood burning tips? That's a whole other skill set I've pondered. I may even have a set of unused wood burning tips around my shop somewhere, along with all the other Round Tuits I've never gotten to.
Ship's looking good. Can't wait to see the Squirrel!
Pete
- Joined
- Oct 29, 2019
- Messages
- 91
- Points
- 58

anytime !! happy to help !!!Thanks Clipper Randy! I'm working on "Flying Cloud" now and your post is most timely and will prove very helpful fairly soon. Plus thanks for enlightening me as per the"nibbing strake", as opposed to the waterway. and the following details. I'm using the Mamoli kit with Horace Boucher ( Bluejacket) and Scott Bradner plans and details that I found online. Modifying the Mamoli bulkheads to accommodate the changes has been challenging as are the overall changes to the design of the hull. Measure and ponder exhaustively before cutting once!
I gather by your handle that you are a clipper fan. Any further enlightenment you can pass my way is most welcome! Thanks, PeteView attachment 389033View attachment 389034
- Joined
- Jun 17, 2021
- Messages
- 1,654
- Points
- 488

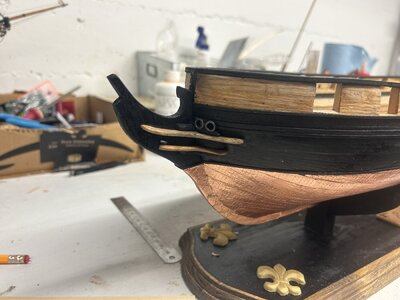
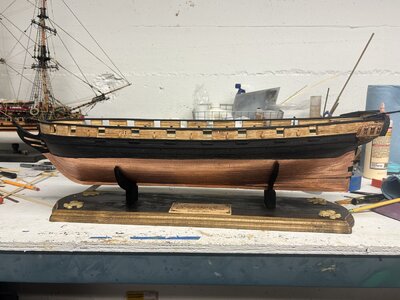
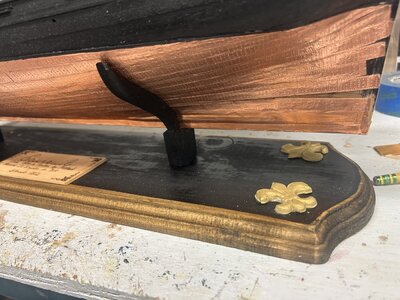
Oooh! I like it better every time I see it! Especially now with the contrast of the black portions of the hull. The coppering thus far looks great! Something I've been struggling with so far myself to find a solution I'm happy with. Would you discuss yours? and do you have more pictures of your coppering in progress?
Keep up the good work! I find it encouraging.

Pete
Keep up the good work! I find it encouraging.

Pete
Planning on coppering and using salt vinegar solution to slightly patinaOooh! I like it better every time I see it! Especially now with the contrast of the black portions of the hull. The coppering thus far looks great! Something I've been struggling with so far myself to find a solution I'm happy with. Would you discuss yours? and do you have more pictures of your coppering in progress?
Keep up the good work! I find it encouraging.
Pete
- Joined
- Jun 17, 2021
- Messages
- 1,654
- Points
- 488

What proportions of salt to vinegar? (Or if this is like s French recipe, a pinch to a dollop?)Planning on coppering and using salt vinegar solution to slightly patina

