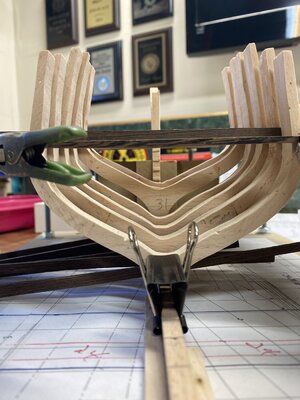
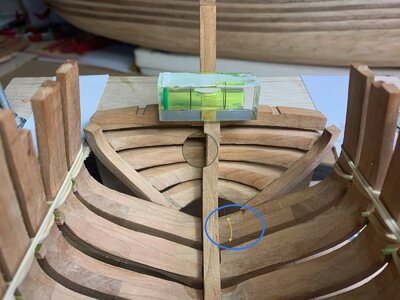
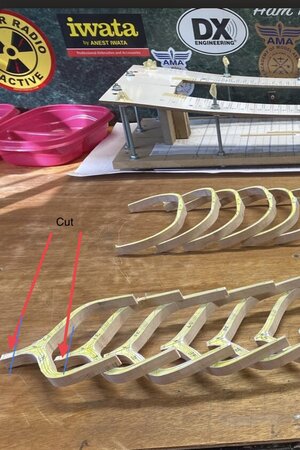
Looking good. I had to adjust the shape of my bow a little. Mine was also looking a little too sharp. I’m wondering if your bow is indeed also too sharp? I also found the sanding of the fairing was done once the frames were fixed and taken out of the jig.
You are using an out of date browser. It may not display this or other websites correctly.
You should upgrade or use an alternative browser.
You should upgrade or use an alternative browser.
Le Rochefort 1:36 build by Tony P
- Thread starter Tony P
- Start date
- Watchers 21
-
- Tags
- ancre group build le rochefort
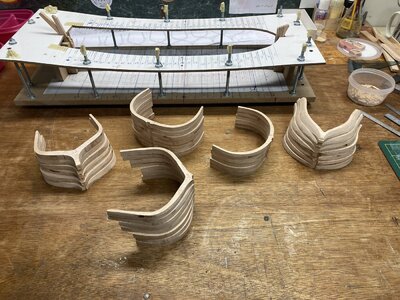
I pre sanded the frames hoping I haven't gone too deep. So far it looks ok. I'm in the process now of setting the frames with temporary spacers in the jig to make sure they all fit where they should. Next step will be the nails and cutting the slight grooves for the actual spacers then making up all the spacers for the frames. A lot of work.Looking good. I had to adjust the shape of my bow a little. Mine was also looking a little too sharp. I’m wondering if your bow is indeed also too sharp? I also found the sanding of the fairing was done once the frames were fixed and taken out of the jig.
I found since I used 7/32 lumber which is 5.5mm instead of 5.3mm for the frames that the frames were thicker than they should be. I’ve been running the frames through the sander to get the thickness down. I’m getting there slowly but surely. Today I’ll have them set correctly. Then on to nailing all the frames and making the three types of actual spacers.
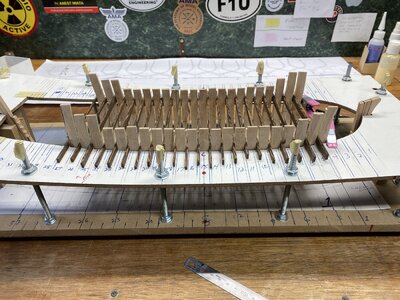
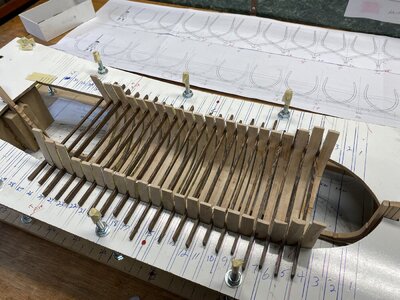


Good progress Tony
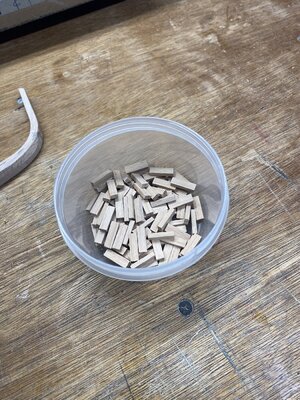
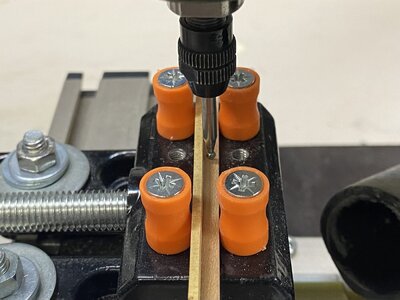
Meanwhile I did some more frame fitting. Between these photos and now I shaped the bow and stern frames, cut the buttons to fit the rising wood, drilled holes for the tenons which I made from simple wood dowel. I milled the floor timber spacers too.Tobias, do you recommend keeping the frames as they are and not shaping or sanding any further until they’re set and fastened ? Also the floor spacers. Do they. Red to be cut individually to fit the space after the frames are set since there maybe discrepancies in the distance between frames ?? Thanks.
Taking another break from the ship for more aircraft work for a little while.
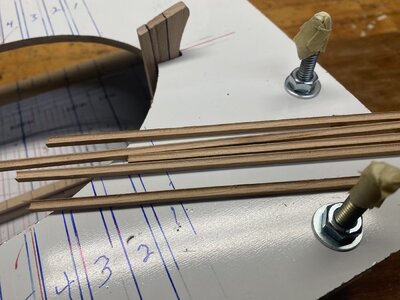
Taking another break from the ship for more aircraft work for a little while.


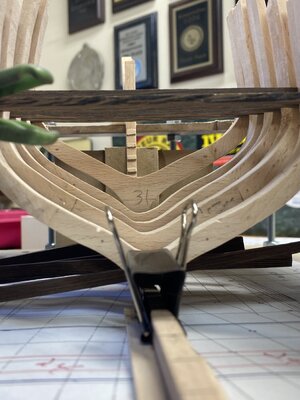
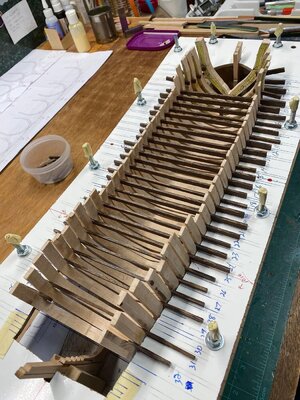
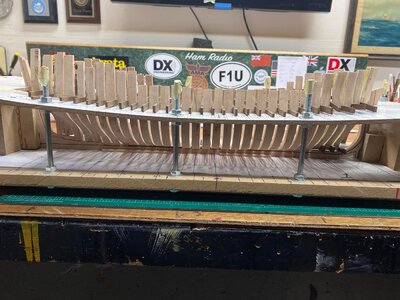
Ok back on my build. I put the frames back in the jig. I’m having a hard time to get them at least to me exactly where they should be. I’m concerned about the spacing and trying to get it exact as possible. Since I used the Hahn framing method to a point and ended up making a second keel I don’t have any slots in the keel for the frames. It was an oversight on my part partly because of using the Hahn method. My goal was to make cutting the frames easier, and it was much easier but I see now I’m running into problems because of it. The goal now is to make 100% certain I can continue as I am without running into any more issues. The fore and aft frames need notching at the bottoms then I’ll know how the final fit will be. I’ve been known to just scrap a project in the past in my other modeling ventures so I’m trying my best to stay level headed with this one. It can be salvaged I know it. The question is with work starting again in two weeks and the warm weather coming do I want the stress ? We’ll see !
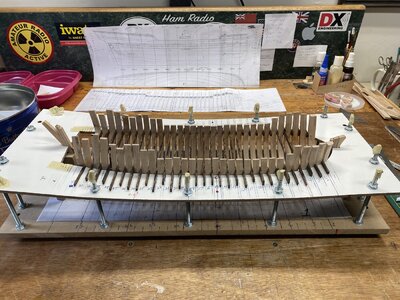
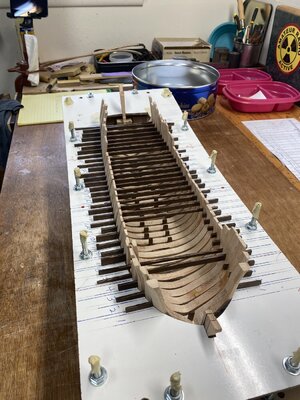


Tony, I feel your pain/stress. I keep looking at the parts I’ve made so far and comparing them against Tobias’ (very bad idea as I don’t think I’ll ever get to his level) and can’t decide whether I feed them to the fire and start over or keep pressing ahead and see where I end up… I think I’ll keep doing ratlines on my other project and let the decision simmer… good luck on your decision which ever way you go.Ok back on my build. I put the frames back in the jig. I’m having a hard time to get them at least to me exactly where they should be. I’m concerned about the spacing and trying to get it exact as possible. Since I used the Hahn framing method to a point and ended up making a second keel I don’t have any slots in the keel for the frames. It was an oversight on my part partly because of using the Hahn method. My goal was to make cutting the frames easier, and it was much easier but I see now I’m running into problems because of it. The goal now is to make 100% certain I can continue as I am without running into any more issues. The fore and aft frames need notching at the bottoms then I’ll know how the final fit will be. I’ve been known to just scrap a project in the past in my other modeling ventures so I’m trying my best to stay level headed with this one. It can be salvaged I know it. The question is with work starting again in two weeks and the warm weather coming do I want the stress ? We’ll see !
View attachment 364883
View attachment 364884
Hello Tony, Hello Oliver and the rest of our assembly. I think you're both doing a good job, never throwing in the towel. I make mistakes too and you can ask @Uwek , he saw my frame which I threw away. @shota70 , who I also know personally, makes mistakes and as you can see in his ALERT build report he pushes through and keeps getting better, that's because of the experience and his learning process. So guys fight, parts you aren't happy with just rebuild, @Splinter who joined us has started all over again and I think with a great result. One to the jig you are using, please don't forget that, you cut it to the correct size, but your frames are oversized so you naturally squeeze the frames into shape. The edge of your jig can be 2-3mm larger. Tony, it is very important for you that you now measure the height of your frame to counteract the missing latching in the keel, not that you have problems with the overall height. When you have assembled everything later and take Le Rochefort out of the mold to sand, you can still make some corrections. Planking also hides some unsightly spots and so on. @OlivierF , if it's not going well at the moment then give yourself a break and do something else. I would like to remind you that we are not on the run, so everything is calm and with enough time, Johann @archjofo has been building his model since 2011, so for 12 years now. Finally, I personally think that I will need about 3-5 years for the construction of Le Rochefort, I think that is absolutely realistic. So cheer up guys, pinch your ass cheeks together and continue modeling, together we can do it.
Thanks Tobias. Yes I know it will take years to complete this model. That’s not a problem I knew that before starting. I agree yes adjustments can be made later on and yes indeed planking will hide some sins ! No, now my frames fit fine they’re not tight at all. Once I install the tenons and get the fore and aft frames to sit as they should I’ll have a better idea where I stand. Yes sir it’s all a learning process. Slow and steady. Tobias One thing I remember I had an issue with on my Blandford section is the height and how to accurately measure it. How can I make certain my height is ok ?
Oh yes it’s frustrating but we did know that going in ! I don’t mind mistakes that’s part of it but I hate mistakes that haunt me later on ! I’m going to keep going. I have to get to the point that the frames are all installed and then I’ll know for sure if there’s fatal mistakes or I can continue.Tony, I feel your pain/stress. I keep looking at the parts I’ve made so far and comparing them against Tobias’ (very bad idea as I don’t think I’ll ever get to his level) and can’t decide whether I feed them to the fire and start over or keep pressing ahead and see where I end up… I think I’ll keep doing ratlines on my other project and let the decision simmer… good luck on your decision which ever way you go.
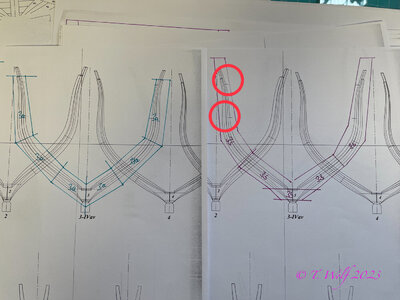
Ok yes. Thanks. I’m making a new frame 31 as I cut the bottom too short. Hopefully this is the only one. Another question. When all the frames are in the jig what datum do we use to cut the tops ? I remember my Blandford really had me confused about this. I don’t want to make any move unless I’m 100% sure.Here is the plan that is helpful with the red circles I marked, there are small lines everywhere that you can transfer to your frame. You can use these markings to check the height.
View attachment 364925
I wouldn't cut until I've done all the work on the fuselage
Yes yes agreed. I’m just asking as things come to my mind !I wouldn't cut until I've done all the work on the fuselage
- Joined
- Nov 23, 2021
- Messages
- 79
- Points
- 113

No they’re not beveled yet but no matter how much beveling would be done there’s still air space. That cant be made up in any way. Each frame must meet somewhere so they’re faired together.


