- Home
- Forums
- Ships of Scale Build Logs
- Super Detailing Static Models / Other Genres
- Historical Trailways, Guns, Aircraft, and Cars
You are using an out of date browser. It may not display this or other websites correctly.
You should upgrade or use an alternative browser.
You should upgrade or use an alternative browser.
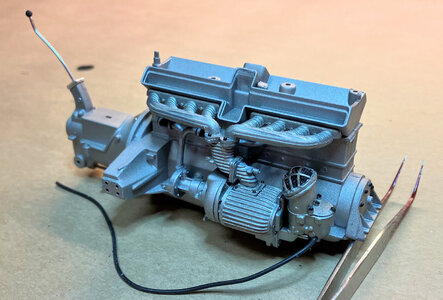
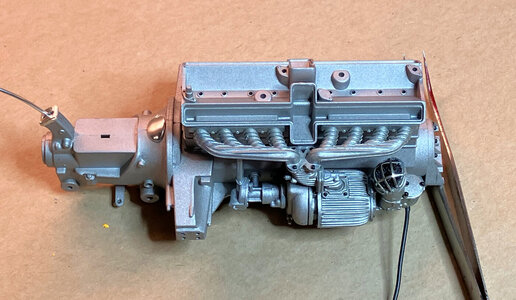
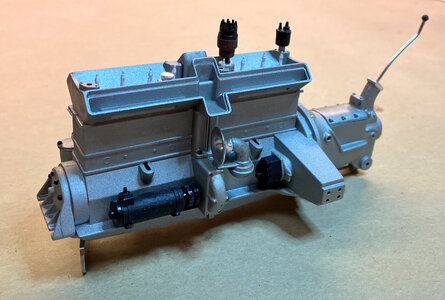
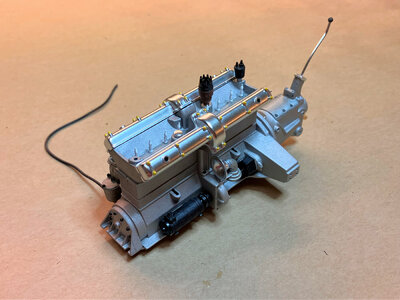
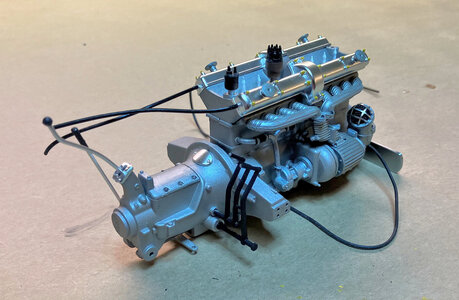
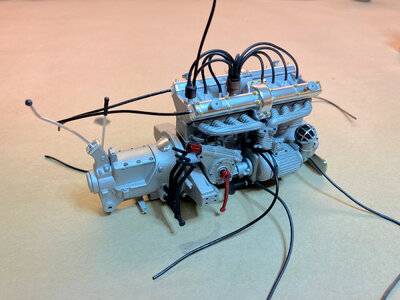
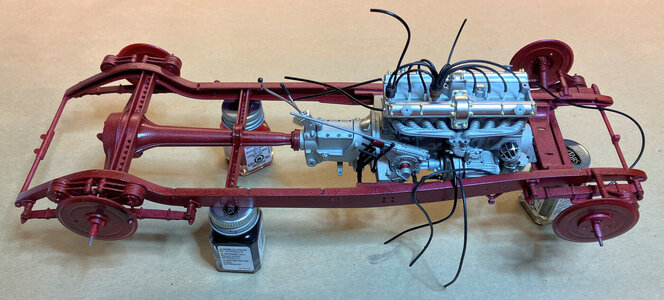
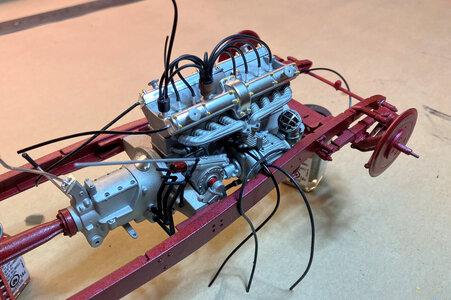
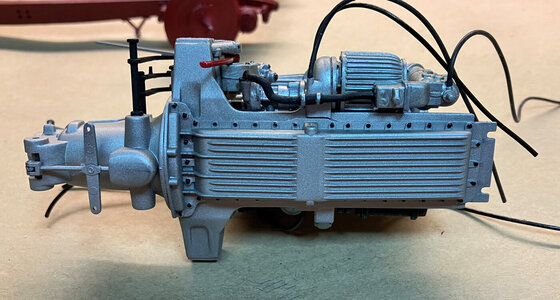
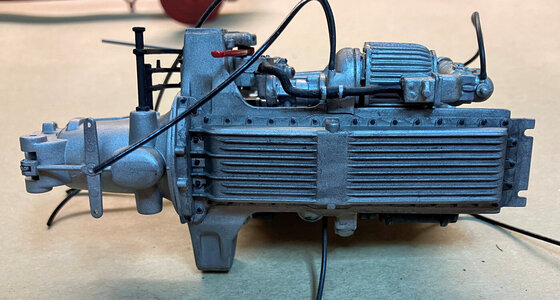
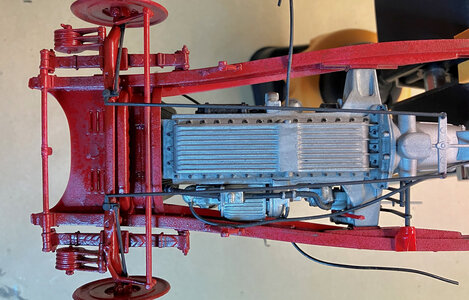
By every step and adding more details, the engine is looking more realistic, Donnie.
Regard, Peter
Last edited:
Very nice Don, it is a very fun model.
Looks like you're really enjoying this build Donnie!
Hi Paul and Jim,
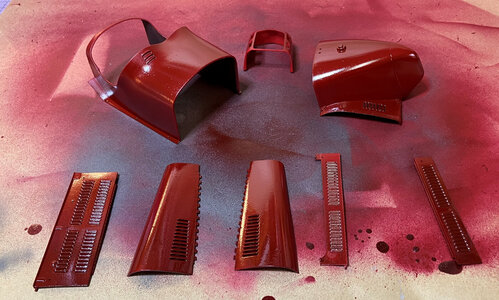
yes, I am enjoying it. I just hope when I get to the main body of the car, I will not mess up the paint job. The airbrush in most cases is necessary to get a smooth finish. Tiny parts are using a regular small paintbrush. This is my first project using an Airbrush. I have found, at least for me, that using Testors Enamel right out of the bottle can cause the airbrush to splatter paint. Therefore, I read to use a little thinner or lacquer (or liquor LOL ) to help with a smooth finish.
yes, I am enjoying it. I just hope when I get to the main body of the car, I will not mess up the paint job. The airbrush in most cases is necessary to get a smooth finish. Tiny parts are using a regular small paintbrush. This is my first project using an Airbrush. I have found, at least for me, that using Testors Enamel right out of the bottle can cause the airbrush to splatter paint. Therefore, I read to use a little thinner or lacquer (or liquor LOL
Thank you again for all the likes and those that are following.
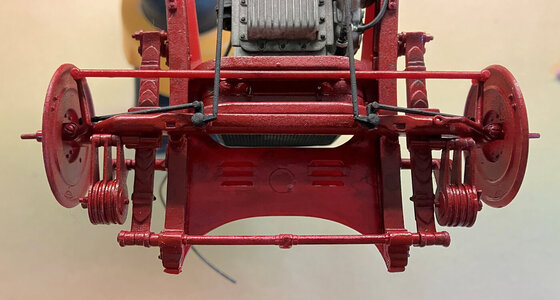
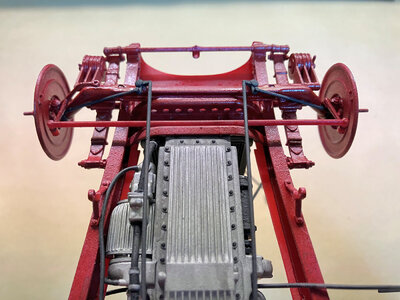
I had a heck of a time trying to get the Steering Mechanism to work. It was rebuilt 3 times !!!
This was due to different parts (gears) getting stuck, breaking, etc. The lower swing arm broke and I had to make a new one out of brass - which consumed a few evenings. Then the shaft of the main gear that passes through the gearbox broke and had to fabricate that, then other small details continued to be against me.
However, I was determined that the Steering was going to work. So, I think that I have finally got it done and somewhat built rugged enough. It might not be a pretty site, but it works. All the bushings and joints had to be made out of scrap plastic.
Then after all that, the wheel hub on the steering side A-Frame arm broke - I had to remove the entire hubs on both sides including all of the front swing and tie arms.
Finally got it all put back together and got it working and here is a video of it.
Enjoy !!!


The steering sounds complex. Glad you worked it out.
- Joined
- Apr 11, 2015
- Messages
- 92
- Points
- 103

I am glad it worked out for you. Stunning model and kit. I am a huge Alfa fan, I have owned a few Alfas over the years, so I am definitely considering this kit.
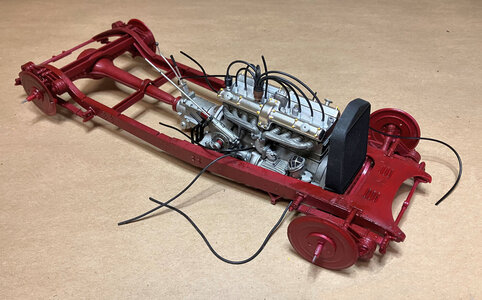
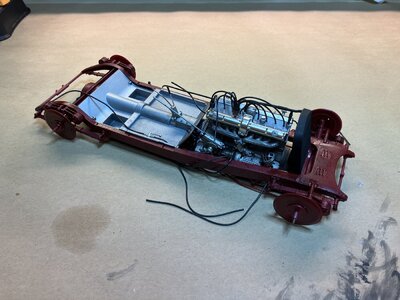
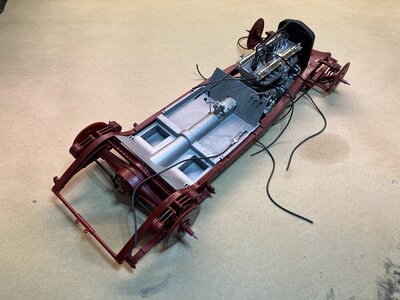
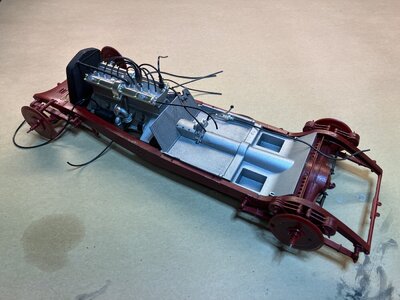
I should point out though, that the shade of red on your Alfa looks a little dark. I viewed it on my calibrated monitor that I use for editing photos just to be sure. Alfa red is different to Ferrari red - the former is a darker red (but a shade lighter than yours), and the latter a more orange red. A bit like blood vs. ripe tomatoes. What paint are you using?
I should point out though, that the shade of red on your Alfa looks a little dark. I viewed it on my calibrated monitor that I use for editing photos just to be sure. Alfa red is different to Ferrari red - the former is a darker red (but a shade lighter than yours), and the latter a more orange red. A bit like blood vs. ripe tomatoes. What paint are you using?
Hi Keith,
I am using Testors "Dark Red" which is really not that dark. What is making the Frame so dark is that I used a slight black wash (acrylic) to give it more of an aged look, but I might have overdone it. There is a big difference in the basic Testors Dark Red without the black wash. I am probably not going to use the black wash on the main body.
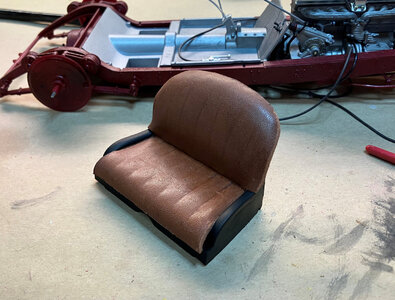
Also, I will be trying to find a very thin brown leather to cover the seat with. Also, the lighting is not the best in the shop too. I had ordered the paint that Italeari suggested from Poland from a place called supper-hobby (if I can remember) - it never arrived as I supposed that it got banned in customs. That was close to a year ago. I have not (so far) been able to find another company that I can get the Italeri true paint from.
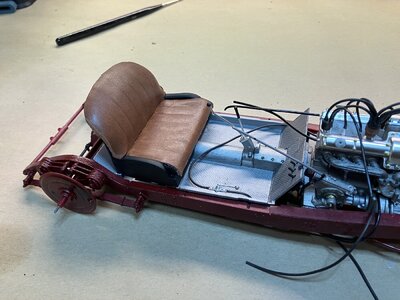
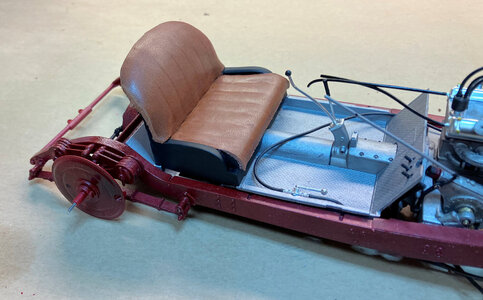
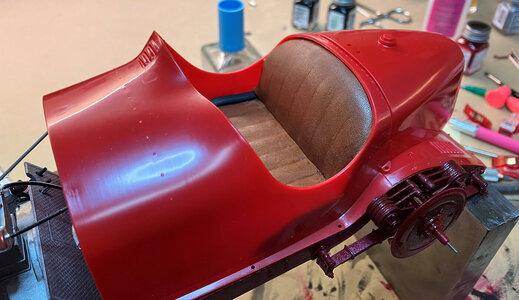
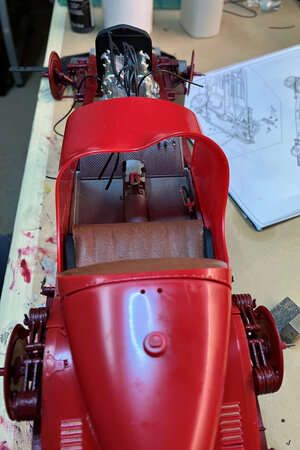
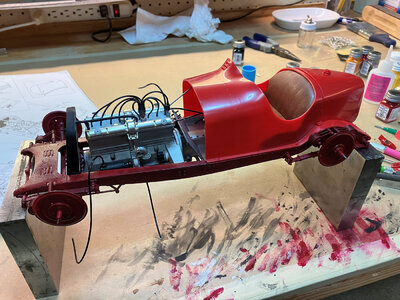
Picked up a small sheet of tan leather - yes, it seems rather authentic from the local hobby-lobby. I used two part epoxy and some thick CA on the corners or difficult areas to stick.
Now, since the seat was covered in leather, it is obvious that the overall thickness and especially the height of the seat was not going to fit within the body rear shroud. So, I slightly modified the bottom of the plastic seating to reduce the height about 3mm. Therefore, it was just a guess and it all seems to fit rather well.
The body parts are not glued but just sitting in place - so I was fortunate to get it right. As you can tell, the original RED plastic parts. The frame does look rather very dark and that is mostly due to poor lighting also the frame has a black wash on it.


Wow Donnie! That seat turned out amazing!
That is a very luxury and comfortable seat, Donnie.Picked up a small sheet of tan leather - yes, it seems rather authentic from the local hobby-lobby. I used two part epoxy and some thick CA on the corners or difficult areas to stick.
Now, since the seat was covered in leather, it is obvious that the overall thickness and especially the height of the seat was not going to fit within the body rear shroud. So, I slightly modified the bottom of the plastic seating to reduce the height about 3mm. Therefore, it was just a guess and it all seems to fit rather well.
The body parts are not glued but just sitting in place - so I was fortunate to get it right. As you can tell, the original RED plastic parts. The frame does look rather very dark and that is mostly due to poor lighting also the frame has a black wash on it.
View attachment 401673
View attachment 401674
View attachment 401675
View attachment 401676
View attachment 401677
View attachment 401678
Regards, Peter


