Alpha Romeo 8C 2300 Monza - Italeri [COMPLETED BUILD]

Donnie

Administrator
Staff member
Administrator
Forum Moderator
Joined
Aug 21, 2011
Messages
5,118
Points
738

Location
Madison, MS
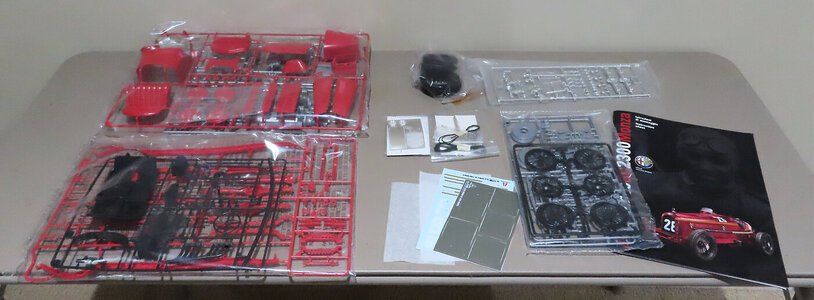
I just got this from Model Expo and upon opening the shipping box, I was surprised at how big the model box is. I am not sure when I will start this Build Log, but there is a possibility it might start soon at some point. I just do not have enough working bench room unless I move some stuff around. We will see what happens.
I also ordered the Italeri paint set that is recommended. I had to buy that paint from super-hobby.com which my order is coming from Poland.

Paints:

NAMEITALERI DESIGNATIONFEDERAL STANDARD DESIGNATION
MF Aluminium4677APF.S. 37178
G Black4695APF.S. 17038
MF Gun Meta4681APF.S. 37200
F Leather4674APF.S. 30100
F Medium Brown4306APF.S. 30111
G Red4605APF.S. 11302
G White4696APF.S. 17875


The Alfa Romeo 8C can readily be considered as one of the most famous sports cars of the 1930’s. The 8C designation reference was derived its engine, which was an 8-cylinder in-line supercharged engine with a displacement of 2336 cc. The Alfa Romeo was considered to be ‘state of the art’ at the time for its use of technology, innovative solutions and overall performance. Characterized by solid reliability and drive-ability the 8C won many international racing car competitions of the period. Its name is inexorably linked with the famous Italian racing driver Tazio Nuvolari who won many competitions in the car, including the Targa Florio race in Sicily and the prestigious Italian Grand Prix at Monza. This latter victory gave the “Monza” name to the twin seater GP car. Arising out of the racing version a production batch of almost 200 vehicles was manufactured for general sales.
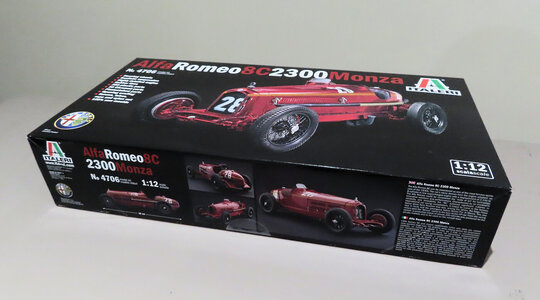
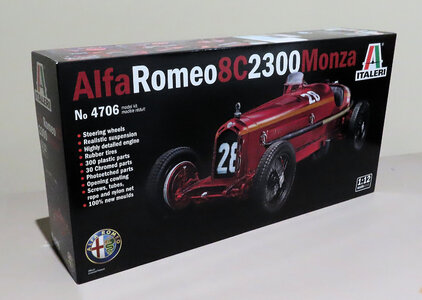
box01.jpg


box02.jpg
 
Last edited:
Hallo Donnie,
I am looking forward to see the content and your work on this big model.
I was in the past a very big fan of the 1:8 Pocher model kits, they had also the Alfa Romeo 8C in several versions in the programm (in the good old time)
 
Thank you all for following. I am really excited about this build as it is a big departure from ships. I just hope I can do it justice. Therefore, here are some open box pictures. My paint is going to be Italeri brand, however, which I had to purchase from Poland. It has not arrived yet. I also have to re learn how to use an airbrush. I only used it a few times. I will have to practice this.

I ran out of room so for the time, I could not lay out all the parts. It has about 330 + parts and Photoetch.

box03.jpg
 
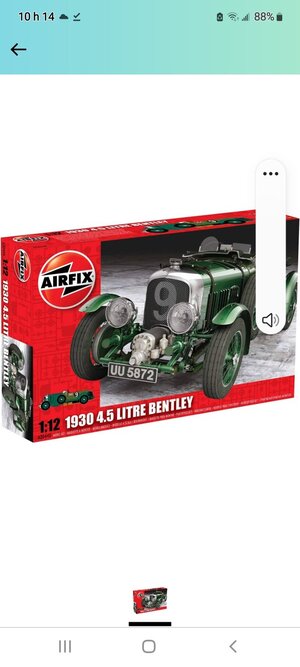
Don, I was looking at the exact same kit or the Fiat 806 grand prix. Another interresting kit l'm looking at is the Airfix 1/12 bentley. There are many good build logs out there with some great modifications done to the original kit, real wired wheels, more accurate control linkage... The Airfix kit dates back to the 1970's. As anyone done this kit? Some of these mods could probably be done on the Italeri kit also. I'm almost finished with my Fokker plane build so l'll be looking into this soon. Looking forward to see your Alpha Romeo log!!
Screenshot_20220917-101410_Amazon Shopping.jpg
 
Thank you for the info - so, that Bently looks awesome. I love those older cars. I would like to see that one built too. I think I am just going to go with the out-of-the-box routine on the Monza.
 
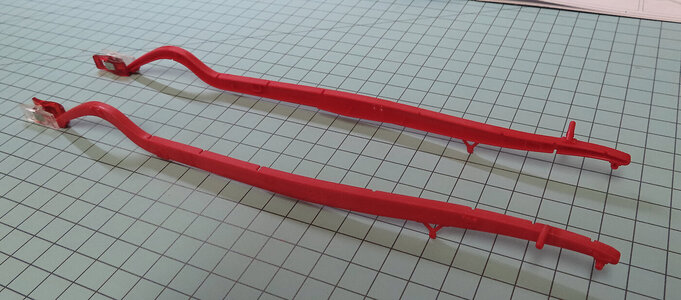
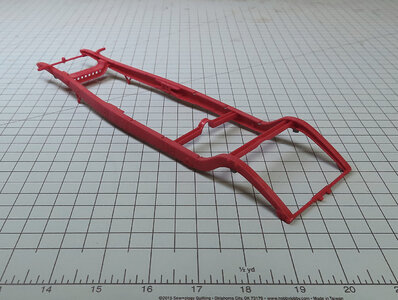
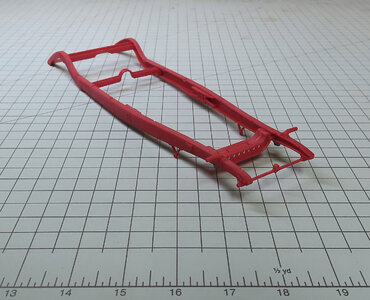
Well, a very lowly start. Removing the main frame from the tree and lightly sanding it down with a sanding stick. I am still waiting for my paint from Italeri (shipped from Poland) - it is hung up at the ICS in NY City.

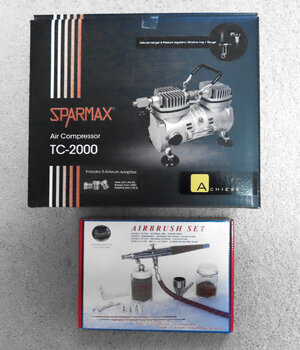
When the parts of the Frame are gathered, I will spray with MF Gun Metal (4681AP) for a base, and then G Red (4605AP). So, this will be the first time for me to use an Airbrush tool. The instrument is a Pasche VL-SET and a TC-2000 both represented here.

airbrush-compressor.jpg

-----------------------------------------------------------------------------------------------------

Now, onward to the lowly first start !!!

frame01.jpg

frame02.jpg
 
Hi Donnie. Looking with great interest to this build. I almost brought that kit 2 years ago, but could resist ;).Truly a kit to fully indulge yourself. Let the air-brush run its course.
Regards, Peter
 
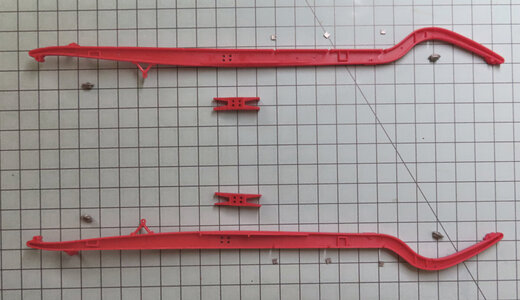
First, thank you all for tuning in. Now, I would like to have a little opinion. What I am asking for is this. Is this (picture) level of detail mundane or is this good? It just shows the parts layout for a particular step. I thought it would be more educational to show pre-glue up. Also, these parts need to be either on a black or a white background - the grid mat seems to be too distracting.

frame03.jpg
 
First, thank you all for tuning in. Now, I would like to have a little opinion. What I am asking for is this. Is this (picture) level of detail mundane or is this good? It just shows the parts layout for a particular step. I thought it would be more educational to show pre-glue up. Also, these parts need to be either on a black or a white background - the grid mat seems to be too distracting.

View attachment 329128
For me it’s ok, Donnie. I also collected and showed the parts by my Ducati build. It give a nice overview for those who are not familiar with the kit. The grid is not disturbing me and I can zoom in a lot.
Regards, Peter
 
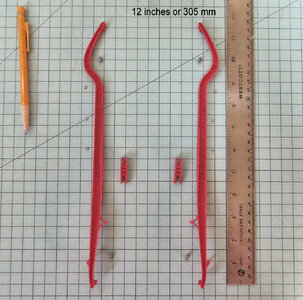
What could be nice is to have an idea of the scale, we know it's a 1/12 kit but instead of the standard ruler pictured along with the parts like many of us do, you could simply add a few markers on your grid be it in inches or mm and always use the same grid througthout the build.
 
By the way, I've found a few build logs of this kit (and other similar Italeri kits) that are simply amazing, with many mods done to it. I hesitate to give the link because they can be very intimidating (they are to me), althougt they provide a ton of inspiration. I don't know yours level of craftmanship but looking at your previous builds, it doesn't seem like you would be intimidated too much!! Let me know if you would like them.
 
shipper - let me think on that - I guess a little intimidation won't hurt.

So, perhaps this is a little better - the ruler is not perfectly aligned, but the point is that the Frame is right at 12 inches or 305 mm.


frame04.jpg
 
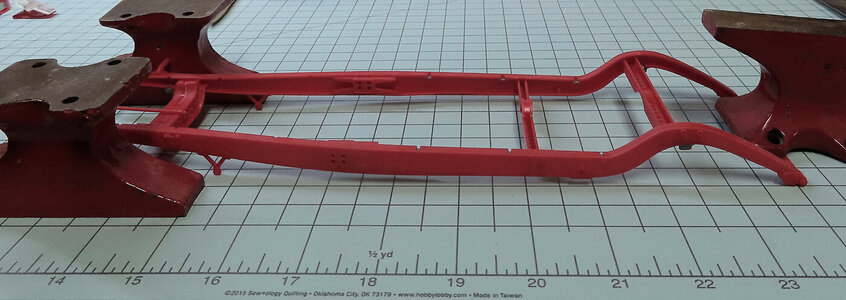
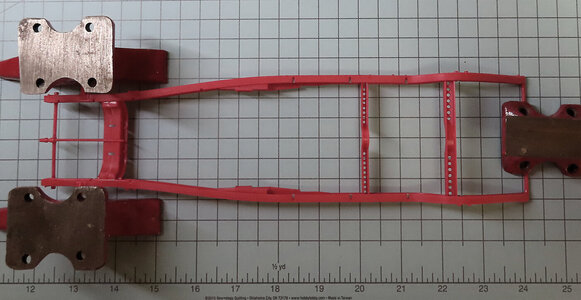
So, now, some glue-ups. As with anything like this, alignment is crucial. I am using liquid glue that when the parts are assembled, the glue brushes on.

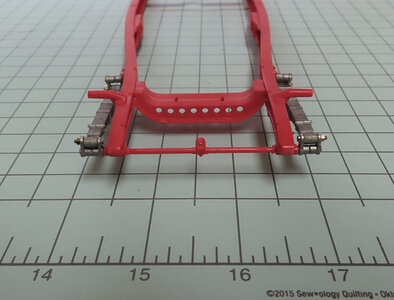
NOTE: The front stabilizing bar has this extrusion that has a hole in it. There will be a shaft that runs through that. It is important to orient that stabilizing bar so the larger hole faces the front and the smaller hole faces the back. I had to take a needle round file to make the hole a little larger so the shaft will fit all the way in. This part of the manual does not address this, but I saw the instruction further into the manual.

frame05.jpg

frame06.jpg

frame07.jpg

frame08.jpg
 
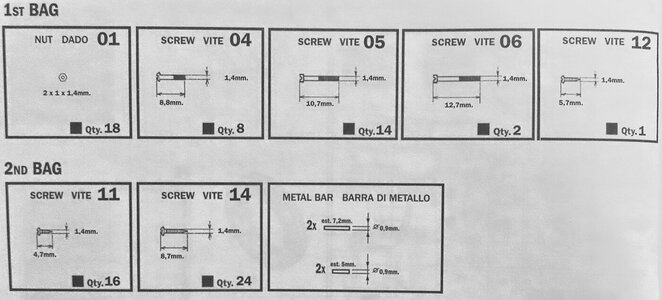
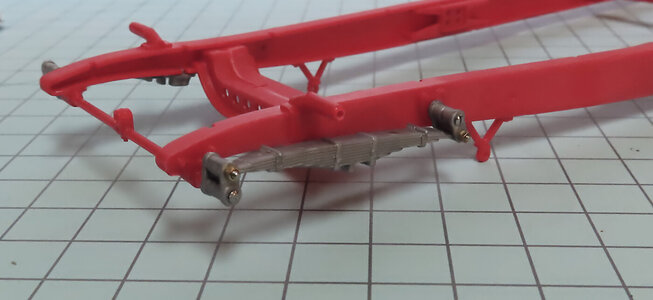
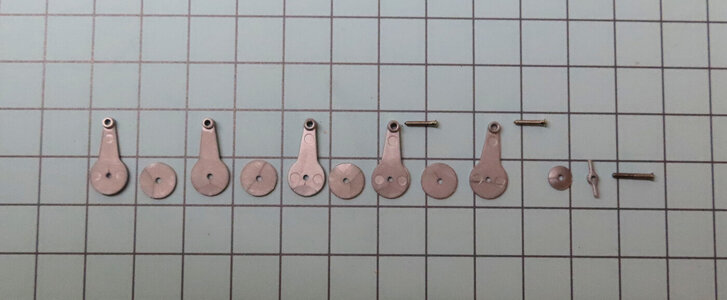
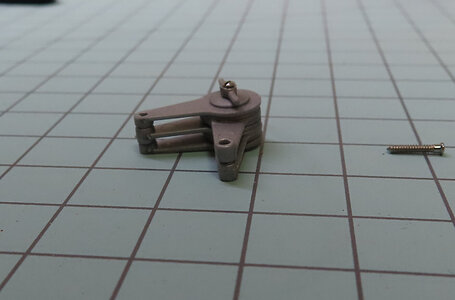
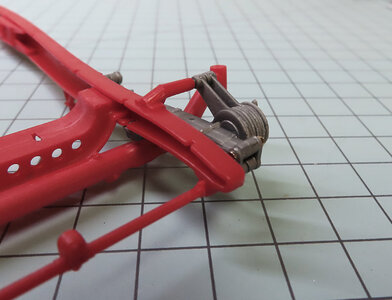
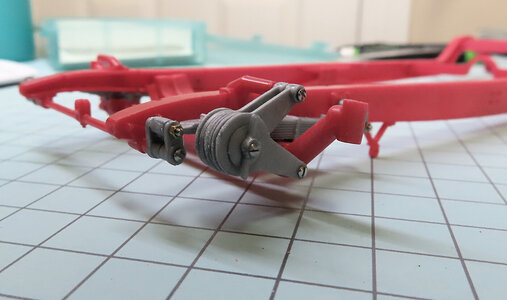
Thank you all for the likes and following. I hope that I am making this worth your while to stop and visit. The next step is very tedious. The "Leaf Spring" and "brackets" are installed using screw #04 and screw #14 along with a #01 Nut.
ps. For some reason, my camera continues to make pasty or waxy-looking photos - I have explored all the settings. Might be time for another camera.

I included a picture that shows the screw assortment sizes here.

frame10.jpg


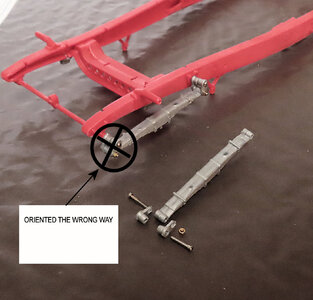
There are several things to mention here:
1) The Leaf Springs and Bracket parts have been cleaned a lot using a file.
2) In the openings of the parts, I used a 1.5mm drill in a pin vise to clean up the holes in the parts.
3) It is clearly obvious that a jewelers type screwdriver set is required. I used a Harbor Freight "Pittsburg" Set that has a flat head bit WIHA 0.25 x 1.5
4) These parts are dry fit for now. This will be taken apart and painted (Leaf Spring Gloss Black), Brackets (Gloss Red).
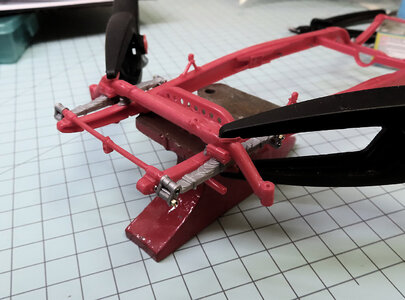
5) to help aid in screwing these parts into the frame, you might consider clamping the frame in a soft vise.
6) Lastly, you see the somewhat completed stage and the exploded view of the parts laid out.

EDIT: CORRECTION: THE LEAF SPRING IN FRONT IS REVERSED AND WILL BE CORRECTED -


frame09.jpg
 
Last edited:
Last edited:
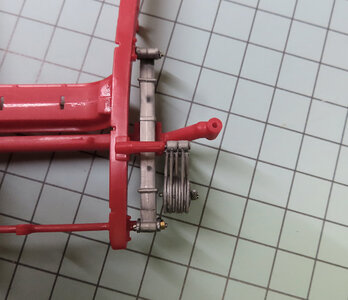
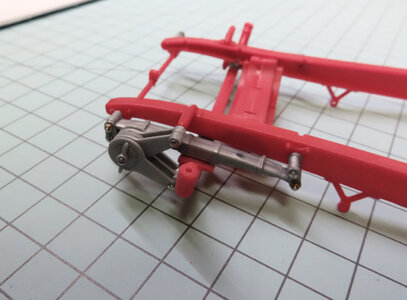
The next installment is what I am calling a front suspension cross member that attaches to the front leaf springs - gee I wish I knew the names of this stuff. I just spent a while googling (front suspension car parts and names, etc.) and came up with nothing.

Unfortunately, I forgot to take a picture of the parts before the assembly. But the cross members come in two halves that are glued together and then the member glues right on the leaf springs. A better picture will come when I take those clamps off. The reason for the clamps is that the Liquid Glue was not able to go into this particular joint. So, I used the old-fashioned red tube of Testors Plastic Cement.

frame13.jpg
 
So, I have no idea what this part is other than it must have something to do with the suspension. Once Frame is completed, it will be painted a darker red.

View attachment 330361View attachment 330362View attachment 330363View attachment 330364View attachment 330365View attachment 330366
Nice work with all those details, Donnie.

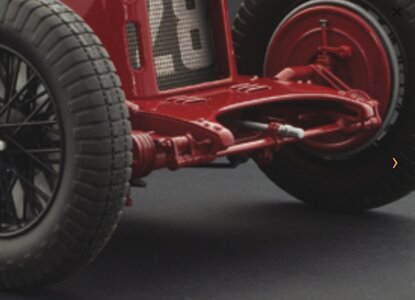
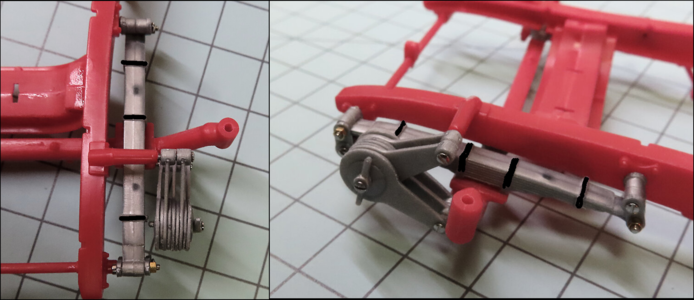
Perhaps you can expose those leave springs a bit more with a little paint. Like this. It are the camps around the leaves.
1664038256899.png
Special because these feathers remain permanently in view.
But maybe you already had that in mind, as with those parts of your latest post.
Regards, Peter
 
Back
Top