ZEEHAEN 1639, 1:37.5, Dutch fluit from Dutch Explorer Abel J. Tasman by Marcus

49
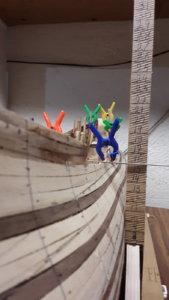
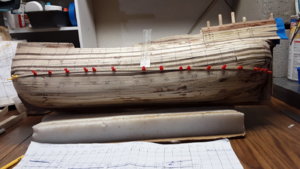
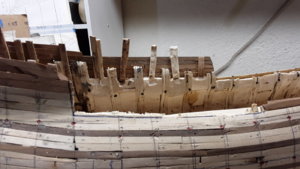
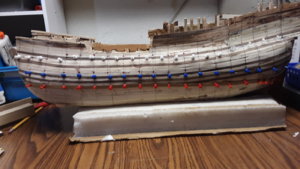
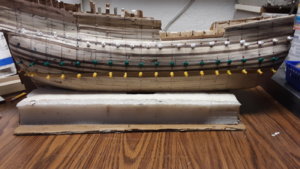
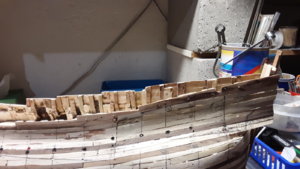
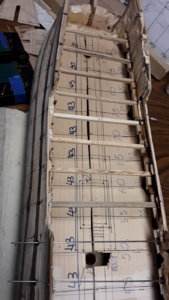
Slowly planking up and after the hips the planks go straight up.
133 Fluit, Zeehaen re-do.jpg
134 Fluit, Zeehaen re-do.jpg


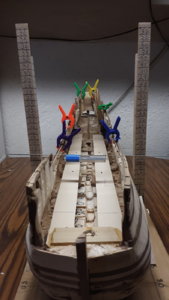
Again, she looks much better and the planks come together in a point behind the taffrail.
135 Fluit, Zeehaen re-do.jpg
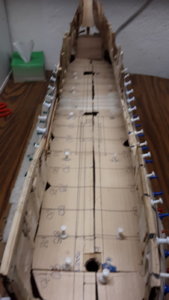
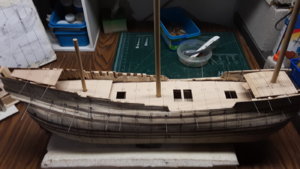
Top view
136 Fluit, Zeehaen re-do.jpg

137 Fluit, Zeehaen re-do.jpg
Marcus
 
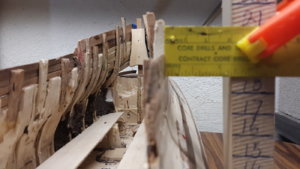
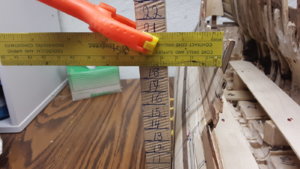
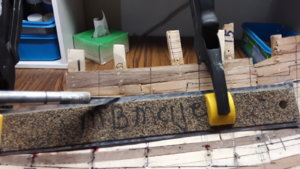
This jig measures the height and checks if both sides are level. Both sides have to be even.

139 Fluit, Zeehaen meas.hgt.jpg
138 Fluit, Zeehaen meas.hgt.jpg

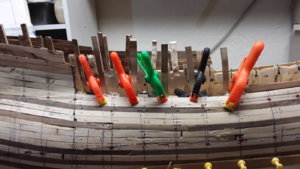
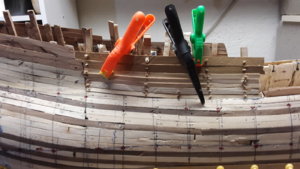
Besides measuring the height of both sides, I also draw the waterline on the hull and with pushpins attach planks to the edge of the waterline.
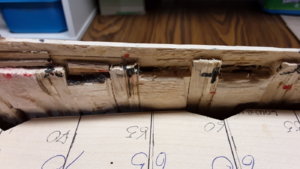
From the plans I measure the distance from the waterline to the top of the railing. Then I transfer that figure to the ship.
140 Fluit, Zeehaen hgt of railing.jpg
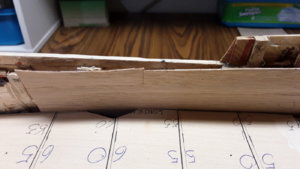
Lets me know how much wood I need to remove or add.

When I am facing the ship with the taffrail/stern in front of me, on the left side from frame 50 to the taffrail the upper planking goes straight up.
146 Fluit, Zeehaen L straight up .jpg

Facing the taffrail/stern again, on the right side. From frame 50 to frame 20 the top planking is at an angle and from frame 20 to the taffrail the planking goes straight up.
147 Fluit, Zeehaen R angled.jpg
Question: Do I need to do a drastic removal from the area on the right side from frame 50 to 20 and reinstall new frames, so when I plank that area the planks will go straight up?

I am tempted to do this as it is easy to execute and doesn't take up a lot of time.

On the pictures uploaded here, you can't really tell the angled planks to the straight up planks.

On several pictures in the Merchant book it looks that way, not angled but straight up.

Thanks for the suggestions in advance,
Marcus
 
Last edited:
Marcus,
Seems to me that at least you should try to get both sides equal. The truth is in the draught...
Ab
 
This morning I did the radical re-do without any problems.
Removed the necessary planks and frames.
148 Fluit, Zeehaen radical re-do.jpg
Sanded everything and glued in the frames.
149 Fluit, Zeehaen radical re-do.jpg
Glued in the planking and for extra strength, drilled hole through plank and frame and hammered in a toothpick.
150 Fluit, Zeehaen radical re-do.jpg
Tomorrow I will sand lightly on the outside, add some more frames to the area and make sure there are no more drastic re-do's.
Marcus
 
Measured many times the heights of the different decks.
Meaning of the colorful push pins:
Yellow and red is for the waterline.
Green and blue is for the lower deck
which will not be visible.
White and clear is for the main deck, and decks I don't know the names for.
151 Fluit, Zeehaen color coded deck.jpg
152 Fluit, Zeehaen color coded deck.jpg
153 Fluit, Zeehaen invisible deck.jpg


This is the lower deck that will be completely hidden. I have put it in anyway because I will use it as a guide for the beams for the main deck and other small deck.

What is the deck called under the poop deck (where does that name originate from?).
Does the forecastle deck have a focsle on top of it?

Please feel free to set me straight or steer me to a location where all decks are defined on any ship. I have books that have some explanation of decks but they are not complete.
Thanks

Marcus
 
The interior and the decks and their naming are dependent of the sort of fluit. As you know the type was extremely versatile and the internal devision varies just as much. In the case of the Zeehaen, a VOC fluit, it is very much like the usual devision.
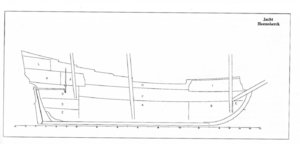
_Scan.thumb.jpeg.d4386d60e2979f5655bc76b3dbbc452e_3268744376556980702.jpeg
A - Hold
B - Cable tier
C - Hell (small compartment used as detention space)
D - Cheese and bread room
E - Powder room
F - Lower deck (in Dutch: overloop. comp.: orlop)
G - Gun room (In Dutch: konstabelskamer)
H - Upper deck (in Dutch: verdek)
I - Forecastle (in Dutch: bak) covered by the 'bakdek'.
J - Steering stand (in Dutch: schans or stuurplecht) covered by the 'halfdek'
K - Captain's cabin (in Dutch: kajuit)
L - Upper cabin (in Dutch: hut) covered by the 'campagnedek'.

For the simple mostly smaller cargo variant the lower deck was called 'koebrug'. It was only used for storage of goods which have to be kept dry and was not accessible for the crew. The crew's quarters are behind the koebrug and behind that is the cabin, which was used by the whole crew. The skipper used the upper cabin above. On such ships discipline was much different from men-of-war or East-India-men. The crew was small (about 12 men), of which most of them were very familiar, originating from the same village or region. Food was better too and not rationed.
I hope this explains it a bit.

Edited February 7 by Ab Hoving
 
So I cut away excess wood from the railings.
200 Fluit, Zeehaen adjust railing.jpg
200a Fluit, Zeehaen railings shaped.jpg
Still need to remove the wood to where the tiller goes into the ship. It is curved.

Dry placed the decks on stainless steel rods.
199 Fluit, Zeehaen deck, mast.jpg
Through carefully sanding the inside of the hull the bulkheads have been thinned in thickness.

My present dilemma is with what do I need to dress up the inside of the ship?
201 Fluit, Zeehaen inside hull.jpg
As is.

202 Fluit, Zeehaen inside w. veneer.jpg
Veneer.

204 Fluit, Zeehaen inside veneer w. spaced dowel.jpg
Veneer with spaced dowels.

205 Fluit, Zeehaen inside veneer, planking, dowel.jpg
Layer of veneer with 0.5mm thick planking on top of that and spaced dowels on top of the planking. The last option seems like the best option.

Marcus
 

Attachments

  • 203 Fluit, Zeehaen inside veneer w. planking.jpg
    203 Fluit, Zeehaen inside veneer w. planking.jpg
    185 KB · Views: 0
Created little deckbeam holders and glued the with a combo of glue and sawdust to the inside of the hull.
207 Fluit, Zeehaen deckbeam process.jpg
208 Fluit, Zeehaen deckbeam process.jpg

206 Fluit, Zeehaen deckbeam process.jpg

The beams are dry fitted in the slots.
209 Fluit, Zeehaen deckbeam process.jpg
You won't see any of this when the main deck is in.

Once this is completed I will start on dressing up the inside of the hull. It is the area that is exposed.
Marcus
 
I am stuck. I have difficulty visualizing the transom/stern area (maybe it's me).


I do have help from a Dutchman on modelbouwforum.nl who has built the Zeehaen in a smaller scale and his looks really good.
230 Fluit, Zeehaen stuck.jpg
I'll just go back to his build and stare at his pictures from the stetn area

Marcus
 
Seems to me that the operation was a success. Maybe you should try to get the opening a bit rounder, so that it can be finished with carvings. Not really complicated.
Well done, Marcus
Ab
 
Thanks for the help, Ab.
Will make the opening a bit rounder and have started on the carvings. It is the one exercise I am not very good at. So I make many of the same items and pick the best. I have 9 samples of the fish.
Marcus
 
The following question has probably been asked numerous times.

If my ship is in X scale what is the max legth and width of my hull and deck planks?

I have looked in numerous books i possess, went to several ship model sites and read several articles. There is not a clear cut answer or math formula available.

In "Planking techniques for model ship builders" by "Donald Dressel" on pages 70 to 81 there is a discussion about some basic information.

Example.
On an 1/8th inch scale model planks should not exceed 3 inches.
On a 1/4 inch scale model the planks are 6 inches in length.

Also in general planks were between 4.6 mtr to 6.1 mtr (15' to 20') in real life.

So if my model is in a scale of 1 cm - 37.5 cm, what will the length of my planks be for the model?

Thank you in advance.
Marcus
 
Excellent question Marcus,
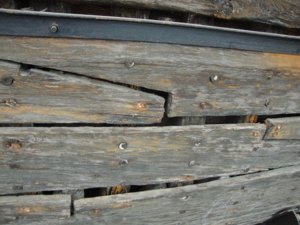
In Witsen's book there is list of parts needed to build a 120 feet long fluit. He specifies the planking needed as 4 1/2 for every strake for this length. That means that every plank is about 27 feet, which is roughly 7,50 m. I don't see any reason why that should be different for deck planks. Don't forget that the butts of the planks overlap each other for the width of three frames, which is more than a meter.

Here is a picture of the butts. It is from a 90 feet long wreck (E81) from 1660.
_1887426421_DSC00967kopie.JPG.e3030738554bde575d716b78ca76dbf1_8617323498349089259.JPG

Ab
 
Ab,
I will look in Witsen's book and thank you for the suggested numbers.

I am a bit embarrassed by the next question (and I should not be),
What is the length of my planks in centimeters or inches for my model if the scale is 1:37.5?

Do I divide 37.5 into something?

Thanks
Marcus
 
Marcus,
If your planks are going to be 7,5 meters in a scale of 1/37,5 you have to divide 750 cm by 37,5, which is 20 cm. The butts should be a littler bit over 2,5 cm long.
It's elementary, my dear Watson...:)

By the way, the list of ship's parts I was referring to is only in the Dutch version of my book (page 296), not in the English one.
Ab

Edited Sunday at 01:13 AM by Ab Hoving
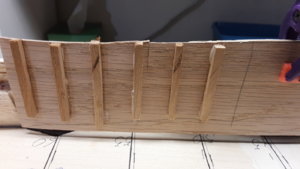
 
Ab,
Been reading about Dutch measurements on Wikipedia https://en.m.wikipedia.org/wiki/Dutch_units_of_measurement#Voet
and have two questions.

You said and I quote "He specifies the planking needed as 4 1/2 for every strake for this length. That means that every plank is about 27 feet, which is roughly 7,50 m."

1. 4 1/2 what?
2. What formula did you use to get 7,50 meter from 27 feet?

Thank you
Marcus
 
Marcus,
Not really complicated. The ship is 120 feet. Over that distance 4 1/2 planks are needed to go from fore to aft (of course you get away with shorter planks because you don't have to cover the entire 120 feet, but that is all marginal). So 120 divided bij 4 1/2 is 26, 6 feet, which equals 7,75 meters. Of course these are not specific measurements, just estimations with a wide margin.
Clear?
Ab
 
Observation.
My Zeehaen needs 4 - 20 cm planks to cover one strake from stem to stern.
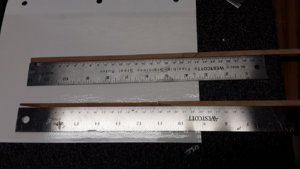
If you plank with straight butts, top ruler, then 4 planks of 20cm long would cover 1 strake.
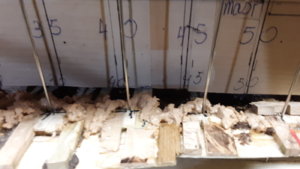
194 Fluit, Zeehaen create joints.jpg
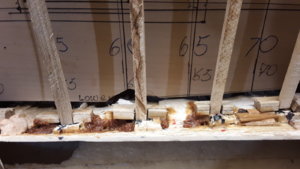
If you plank with with Dutch version of butts, bottom ruler, then 4 planks will not cover 1 strake. You need more.
That would be 4 - 1/2 planks.
If a plank is 20 cm long and your Dutch butts are 2.5 cm each end, the full width of the plank is less then 20 cm long

Now if the plank is 20 cm long and the 2 butts are 2.5 cm long then 2 x 2.5 + 20 = 25 cm long plank. This is wrong.

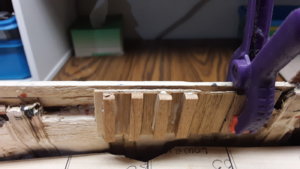
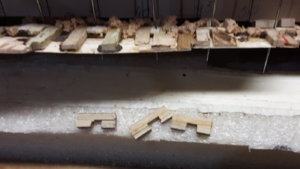
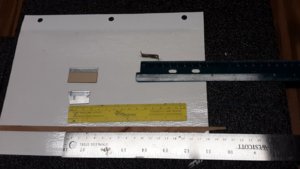
Below I made various templates to form the butts. Top right a rectangular piece of brass of 2.5 cm long and two 90 degree edges on each end. Will need to sharpen one long edge so it is easier to cut the wood.
193 Fluit, Zeehaen create joints.jpg
Top left razor blade cut from 4 cm to 2.5 cm. On the hull I would overlap 2 pieces and make the cut so the butts would fit well. Bottom ruler just shows how the butts fit.
Non of my models have all the same looking butts. I tried several kinds. On the fluit I will do all Dutch versions of butts
Is there another word for the butts?

Marcus

NOTE: Everything from this built has been updated to the present.
 
Last edited:
Back
Top