Xebec. An Amati model

Joined
Apr 9, 2023
Messages
16
Points
58

Location
Lisbon, Portugal
Hello!
I'm new to this Forum and to wooden ship modeling. I once (many years ago) built cars and ships plastic kits, in between which the Passat tall ship from Heller.
Now I decided to turn to modeling and to try wood kits.
It happens that my firs kit is this Xebec from Amati.
That is how I came across this Forum, which is very, very intersting for me, and a source of knowledge.
A very nice built.
This Amati kit is not without flaws. Some of them hard to solve. At least by a new comer such as me.
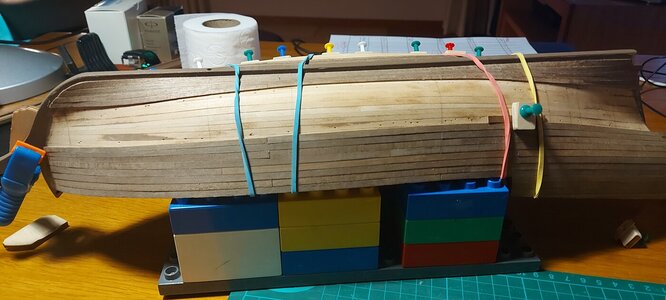
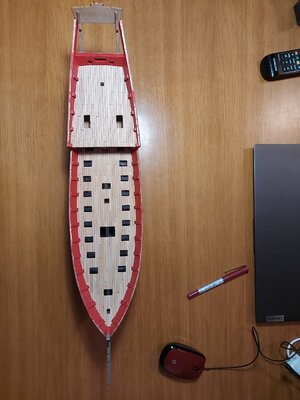
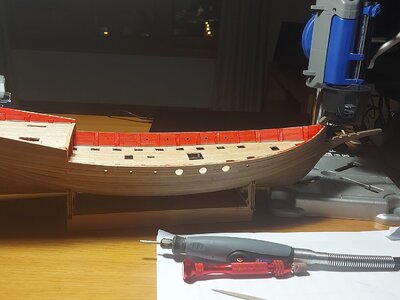
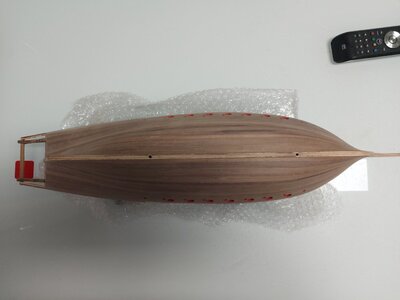
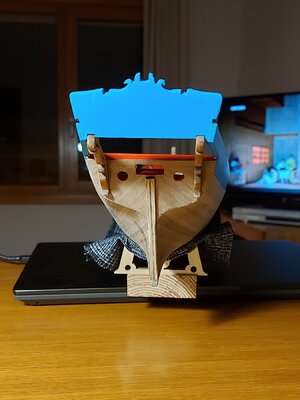
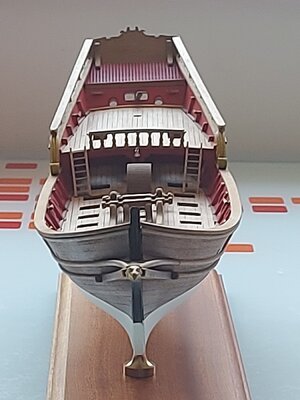
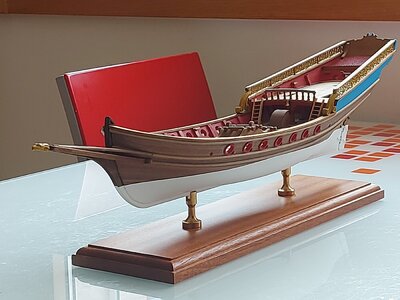
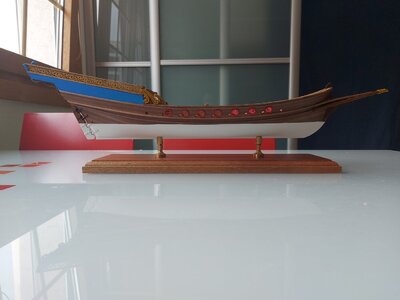
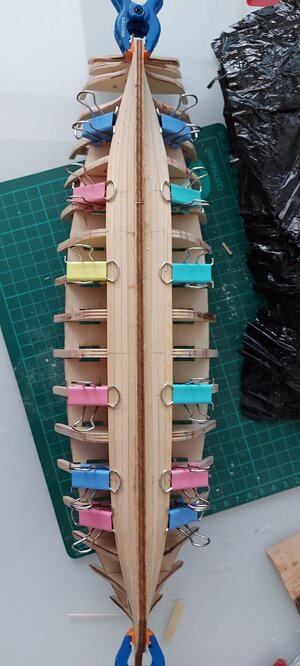
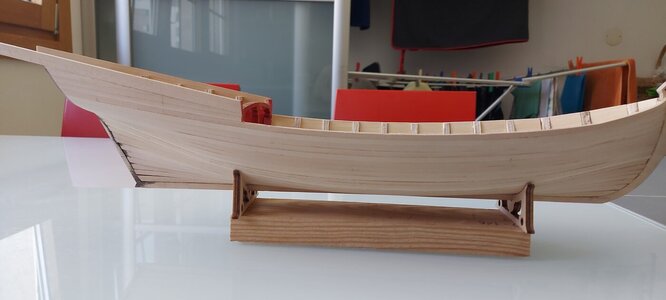
I attach a few photos of my built as it is now. Still far away from completion.
Best regards
José Catela Pequeno
Lisbon, Portugal
20220826_182455.jpg

20221002_125037.jpg

20221031_225905.jpg

20221225_234704.jpg

20221229_233232.jpg

20230115_174958.jpg

20230129_234700.jpg

20230325_181444.jpg

20230409_153357.jpg

20230409_160509.jpg
 
also from my side a warm welcome here on board of our forum
good work on this model Thumbsup
 
Thanks very much for your warm welcome and supportive comments of my project.
Apologies Mike for invading your log with the pictures of my ship.
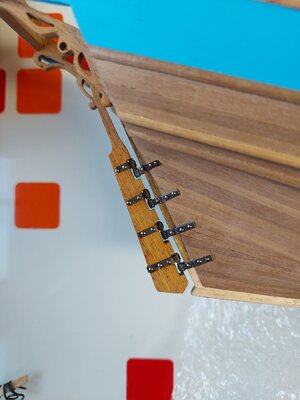
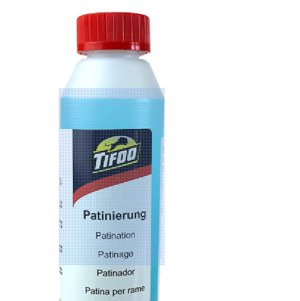
I have one question: Are you acquainted with brass darkening solutions? I don't like the bright yellow brass color for nails, rudder hinges, etc and tryed Tifod patination solution

1681295911413.png.


It did not go well! Brass develps a black layer after some time deeped in the solution, but the layer is a dust that is removed by just sligthly rubbing the surface.
In the end I bought black hinges and nails from Amati and used them instead of the original ones.
Any idea why the solution did not wrok properly? What am I doing wrong?
 
Thanks very much for your warm welcome and supportive comments of my project.
Apologies Mike for invading your log with the pictures of my ship.
I have one question: Are you acquainted with brass darkening solutions? I don't like the bright yellow brass color for nails, rudder hinges, etc and tryed Tifod patination solution

View attachment 368739.


It did not go well! Brass develps a black layer after some time deeped in the solution, but the layer is a dust that is removed by just sligthly rubbing the surface.
In the end I bought black hinges and nails from Amati and used them instead of the original ones.
Any idea why the solution did not wrok properly? What am I doing wrong?
Don't leave the brass in the for a long period of time. instead, go through more short term exposures. Just like not trying to do spray paint in one coat, but a number of lighter coats. :)
See how that works.

Jeff
 
Hello!
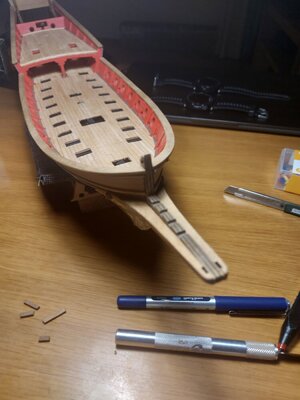
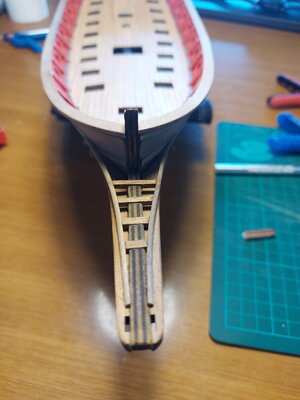
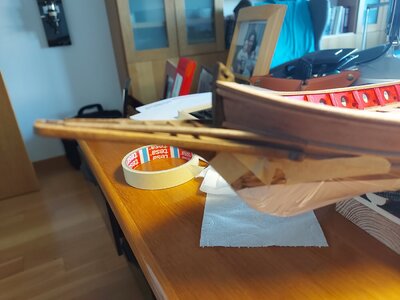
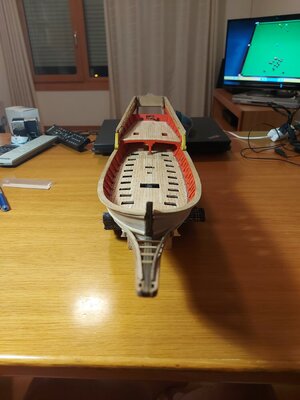
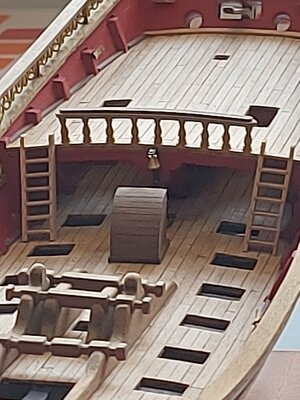
After some time I am publishing a few photos with the evolution of my Xebec.
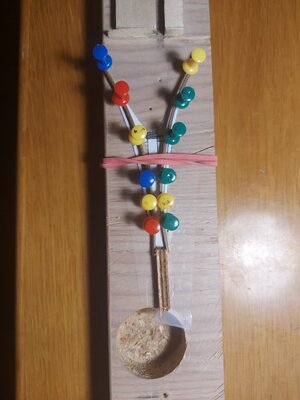
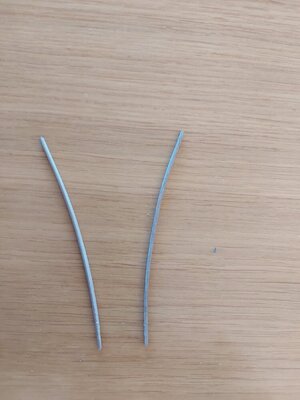
Some illustrate the way I manage to get some things done (shaping of the two half round pieces of the prow).
Progress is slow. Some steps required a some thinking on how to do it, how to work around some shortcomings of Amati's kit, or situations that do not seem to go the way the instructions show.
Deck pieces such as ladders are not yet glued. Just positioned for the photo.
Hope you like the photos

@jeff thanks for the tip about the use of brass blackening solution. It does work when we follow the instructions correctly: dilute the original solution, guarantee the brass or copper pieces are degreased and deep them in the liquid several times for shorter periods. In between it seems to be a good idea to rinse and dry the pieces.

20230414_221535.jpg

20230414_221540.jpg

20230415_172326.jpg

20230415_190611.jpg

20230415_190640.jpg

20230501_215643.jpg

20230513_231218.jpg

20230521_135002.jpg

20230521_135033.jpg

20230521_135432.jpg

20230521_134824.jpg
 
Hello!
After some time I am publishing a few photos with the evolution of my Xebec.
Some illustrate the way I manage to get some things done (shaping of the two half round pieces of the prow).
Progress is slow. Some steps required a some thinking on how to do it, how to work around some shortcomings of Amati's kit, or situations that do not seem to go the way the instructions show.
Deck pieces such as ladders are not yet glued. Just positioned for the photo.
Hope you like the photos

@jeff thanks for the tip about the use of brass blackening solution. It does work when we follow the instructions correctly: dilute the original solution, guarantee the brass or copper pieces are degreased and deep them in the liquid several times for shorter periods. In between it seems to be a good idea to rinse and dry the pieces.

View attachment 375874

View attachment 375875

View attachment 375876

View attachment 375877

View attachment 375878

View attachment 375880

View attachment 375882

View attachment 375884

View attachment 375885

View attachment 375886

View attachment 375887
Wonderful job !
 
Hello!
After some time I am publishing a few photos with the evolution of my Xebec.
Some illustrate the way I manage to get some things done (shaping of the two half round pieces of the prow).
Progress is slow. Some steps required a some thinking on how to do it, how to work around some shortcomings of Amati's kit, or situations that do not seem to go the way the instructions show.
Deck pieces such as ladders are not yet glued. Just positioned for the photo.
Hope you like the photos

@jeff thanks for the tip about the use of brass blackening solution. It does work when we follow the instructions correctly: dilute the original solution, guarantee the brass or copper pieces are degreased and deep them in the liquid several times for shorter periods. In between it seems to be a good idea to rinse and dry the pieces.

View attachment 375874

View attachment 375875

View attachment 375876

View attachment 375877

View attachment 375878

View attachment 375880

View attachment 375882

View attachment 375884

View attachment 375885

View attachment 375886

View attachment 375887
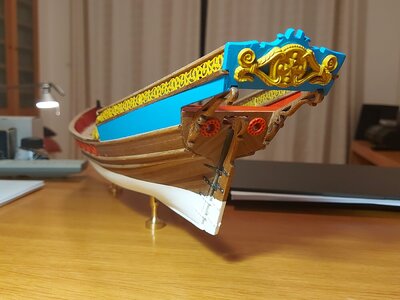
Good morning Jose. It is so good to see another Xebec being built. Yours is looking stunning. I love the white and blue look on the hull and your wood work on the stairs and deck fittings is awesome. Welcome to SOS. Cheers Grant
 
As a first wooden shipmodel, this is great work. Your planking job looks as good as I've seen with very experienced modelers, and it's looking clean and tidy. Like the rest of the build as well. Great job so far and welcome to SOS! :)
 
As a first wooden shipmodel, this is great work. Your planking job looks as good as I've seen with very experienced modelers, and it's looking clean and tidy. Like the rest of the build as well. Great job so far and welcome to SOS! :)
Well I am afraid the pictures do no show all the defects.
It looks better in the pictures than it does in reality.
But thanks very much for your comments.
 
Good to know. In which point is your construcion. Do you have any pictures?
Good Afternoon Jose. I have a build log of “Grants Xebec”. A Pretty much a modified self designed version of the Cazador. I am doing the bowsprit at the moment and the hull and structure is done but needs finishing. Peter (@Pter ) also has a log of the Cazador Xebec. It is a beautiful rendition of a Xebec and worth checking out. Both our builds are on this forum. Cheers Grant
 
Hello!
My Xebec is slowly progressing.
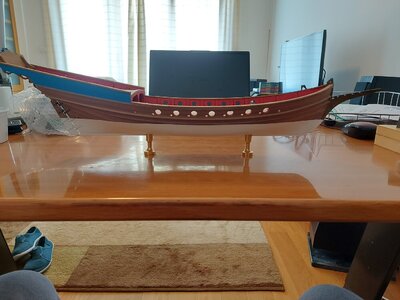
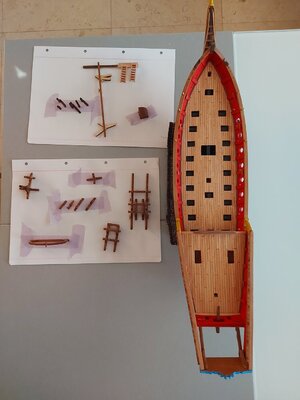
I finally finished the "furniture" to be installed on the deck. All parts are now varnished, as well as the deck itself.
Next step will be to glue and nail them in place.
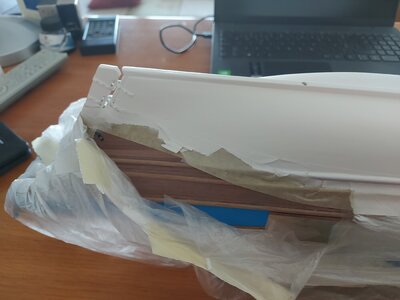
I am also building a showcase, which has been taking some time. I want it to be ready before the deck becomes crowded with pieces difficult to clean.
20230625_203213.jpg
But I have a question:
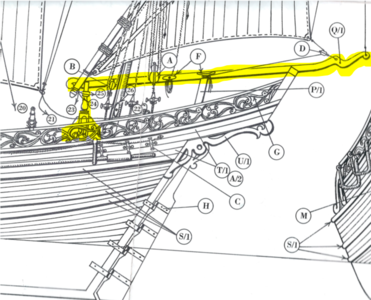
How is the boom yard secured (I think this is the correct name; it is marked in yellow in the picture below)?
According to AMATI's instructions (and those from OCCRE are the same) the yard should simply be placed on top of the stern mirror and of a prop/pedestal, but not attached to either one. It doesn't seem right/complete to me.
It must be fixed somewhere to the ship's quarterdeck in order to guarantee that the mizen sail is stretched. Probably to the pedestal.
1687730565856.png

Can any of you enlighten me about this?
Thanks in advance.
Catela
 
Hello!
My Xebec is slowly progressing.
I finally finished the "furniture" to be installed on the deck. All parts are now varnished, as well as the deck itself.
Next step will be to glue and nail them in place.
I am also building a showcase, which has been taking some time. I want it to be ready before the deck becomes crowded with pieces difficult to clean.
View attachment 381433
But I have a question:
How is the boom yard secured (I think this is the correct name; it is marked in yellow in the picture below)?
According to AMATI's instructions (and those from OCCRE are the same) the yard should simply be placed on top of the stern mirror and of a prop/pedestal, but not attached to either one. It doesn't seem right/complete to me.
It must be fixed somewhere to the ship's quarterdeck in order to guarantee that the mizen sail is stretched. Probably to the pedestal.
View attachment 381432

Can any of you enlighten me about this?
Thanks in advance.
Catela
Good morning Jose. So Good. I like the Amati shape of the Xebec. The way Amati has included “ pattern” in the main mast assembly and fore mast support/bracket is so cool. Awesome job. As for the boom this is a mystery to me. There is little research material I can find other than the Ancre monogram for the Le Requin and most of these models do it the same way as Ocrre and Amati. I have seen one where there are two “bolts” running through the yard pedastal and stern strake to secure this. I’m not sure if this is accurate tho. Cheers Grant
 
Back
Top