Great Job Adi!No problem you are welcome, it is also very interesting for me to see your wiring. Very neat work.
- Home
- Forums
- Ships of Scale Build Logs
- Super Detailing Static Models / Other Genres
- Dioramas and tools you might need
You are using an out of date browser. It may not display this or other websites correctly.
You should upgrade or use an alternative browser.
You should upgrade or use an alternative browser.
The 4 Railroads Project. (4-Bahnen Projekt)
- Thread starter pianoforte
- Start date
- Watchers 12
Simply Incredible job keeping everything organized.Indeed there is a lot of wiring regardless of scale. With my large scale layout I have most my wiring terminated at the rear of the layout. For convenience I use Peg board (no holes to drill) for my wiring backboards. I’ve attached a couple photos.
View attachment 352534
The above photo shows the major voltage feeds. The photo below is a large diode matrix that controls switch, signal, uncoupler motors and voltage to many LED’s.
View attachment 352535
The photo below shows the wiring of my master control panel.
View attachment 352536
All my wiring is color coded and backed up by a multipage spreadsheet. On the many occasions that Mr. Murphy and his pals the Gremlins have shown up, it’s been pretty easy to troubleshoot wiring problems.
@pianoforte , sorry I don’t mean to bugger up your log. Kurt got me thinking about all the colored wires that most visitors won’t see.
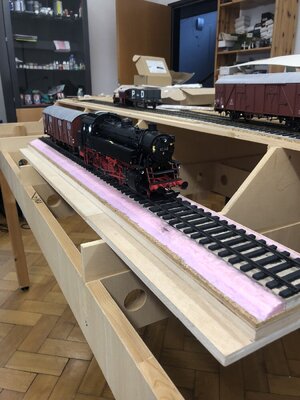
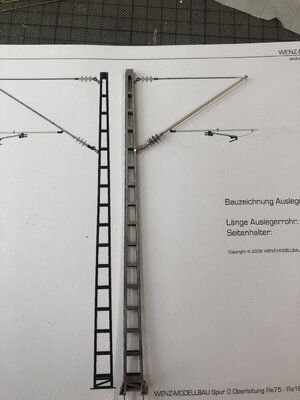
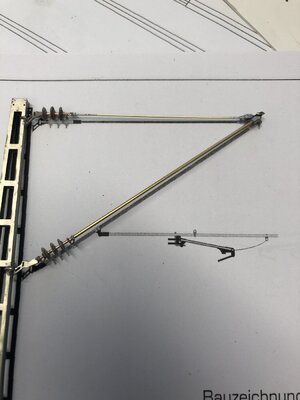
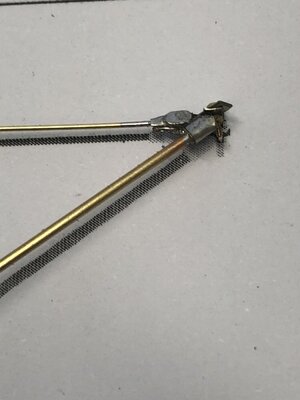
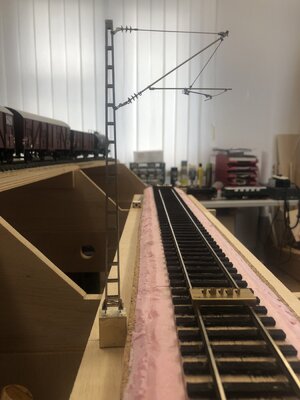
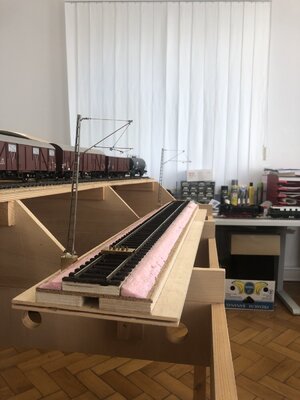
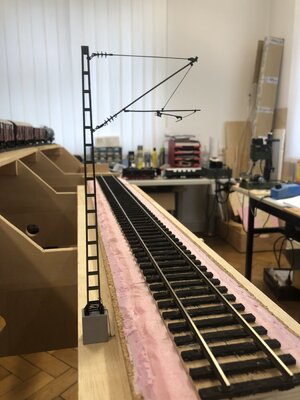
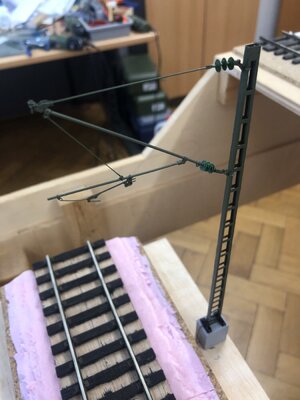
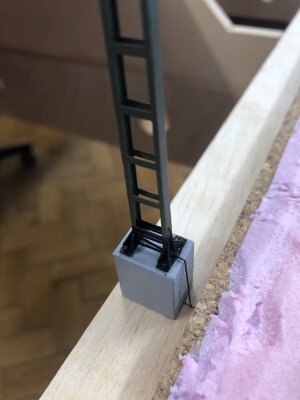
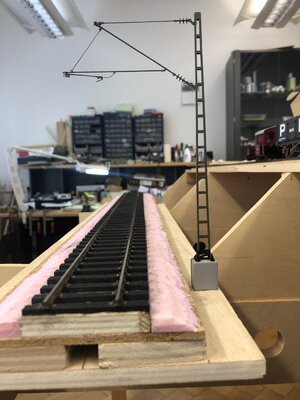
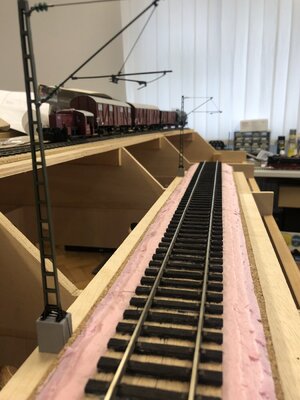
Thank you for the likes. Befor ballasting the tracks and building the terrain, the pylons for the catenary still have to be manufactured and set. Since the catenary should look as realistic as possible, I decided a selfconstruction solution of the company Wenz from Germany.
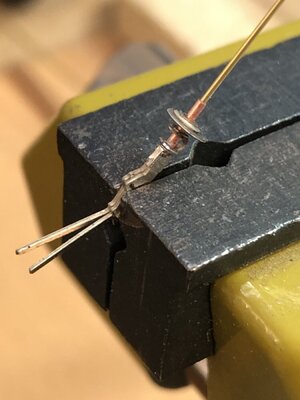
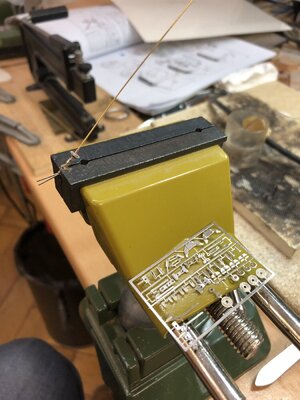
First, the location of the poles and the overhead wire run must be determined in order to be able to determine the exact length of booms.
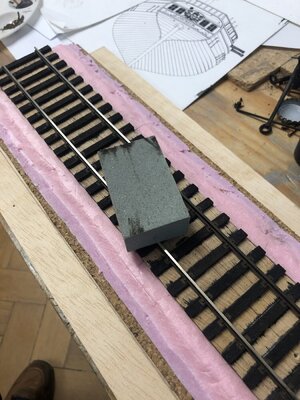
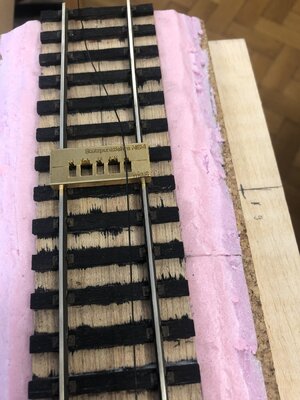
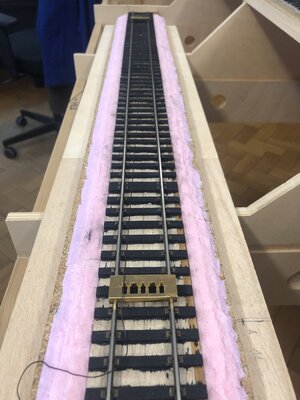
Gauge and thread are used to define the zigzag of overhead wire and thus the mast cantilevers.
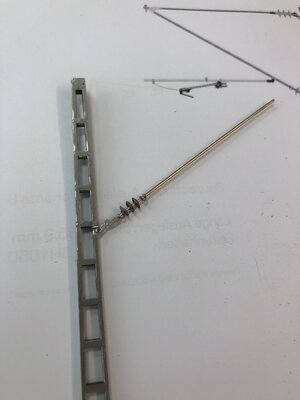
I will choose the following 2 lengths.
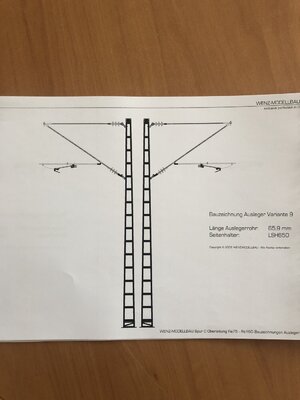
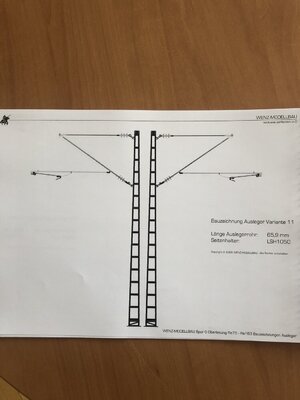
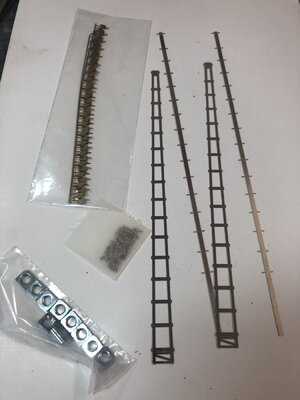
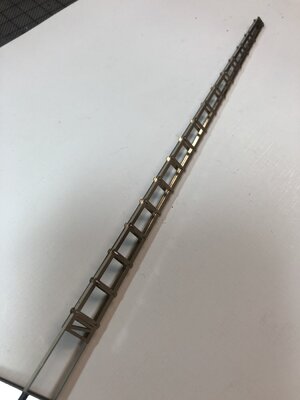
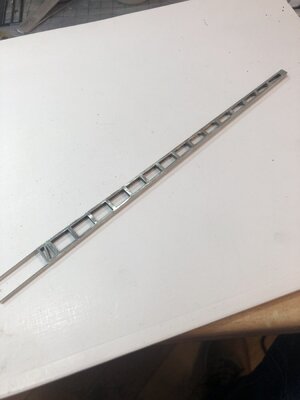
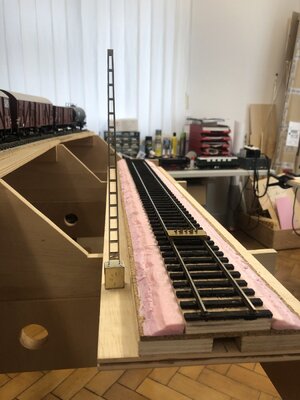
to be continued.
First, the location of the poles and the overhead wire run must be determined in order to be able to determine the exact length of booms.


Gauge and thread are used to define the zigzag of overhead wire and thus the mast cantilevers.
I will choose the following 2 lengths.


to be continued.
That catenary looks great. Very interesting construction. Looks much better than the commercial G scale catenary on my layout.
That catenary will look superb. Will you have an engine displayed beneath it?
Exactly, that is ultimately the goal.That catenary will look superb. Will you have an engine displayed beneath it?
Your build, Adi, is details oriented. Those poles look realistic. 


- Joined
- Apr 20, 2020
- Messages
- 5,180
- Points
- 738

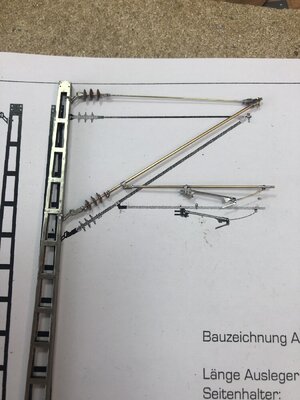
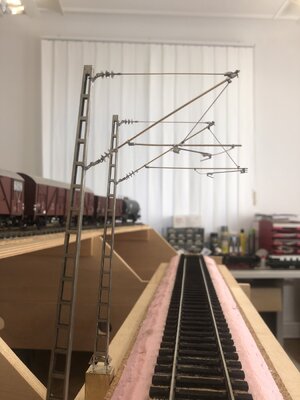
you are doing wonderful work on the Railroads Project , my friendThanks for likes and comment. The 2 catenary poles has been completed. Here you can see the differences of the booms well. Next the whole thing will be painted and installed on the board.
View attachment 356487
View attachment 356488
to be continued.
Very good work Adi! Have you joined the OGR Forum yet? If so, this would be a great topic on that forum as there are many modelers there that build centenary's that are live.
This is looking great!
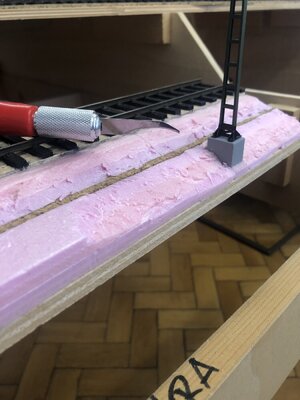
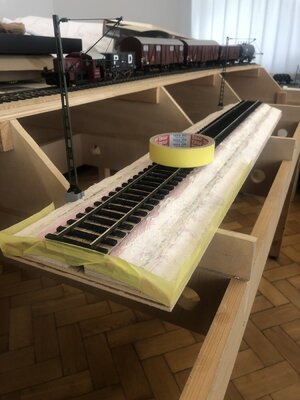
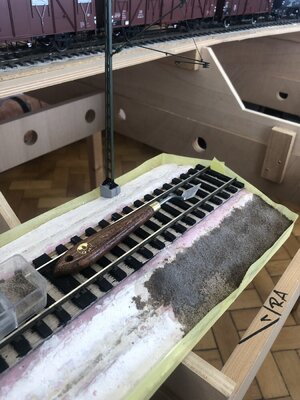
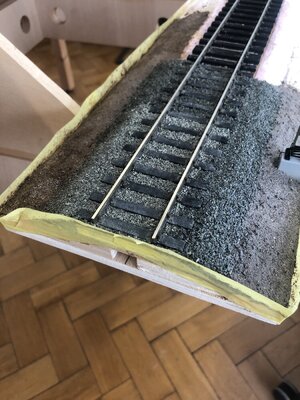
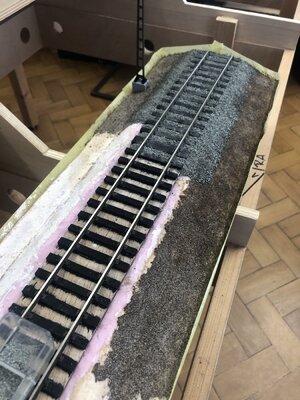
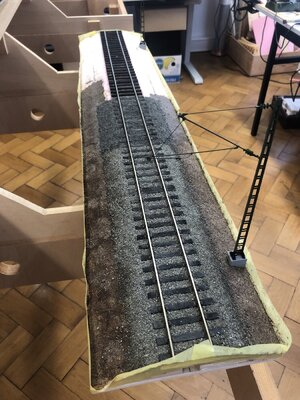
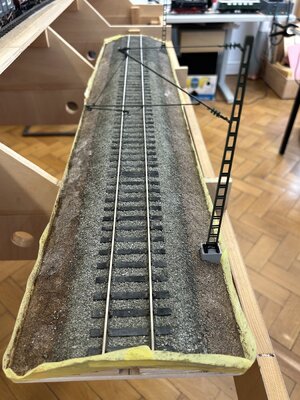
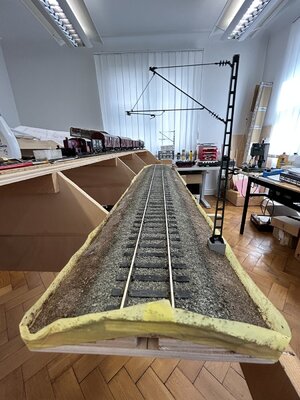
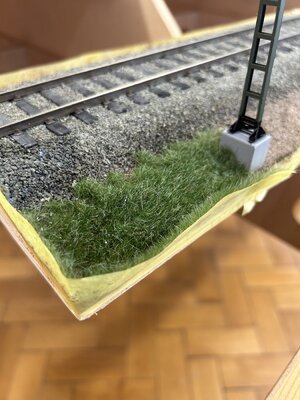
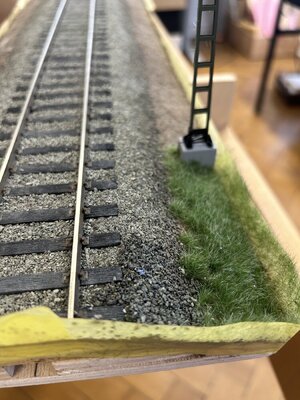
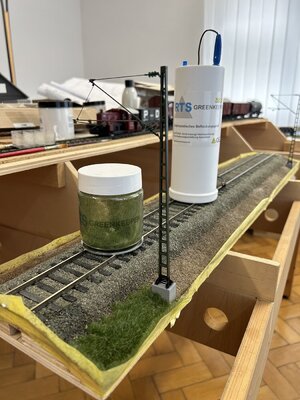
Nice job ballasting.
This is a very ballasting look! Great work, Adi!
- Joined
- Sep 28, 2020
- Messages
- 279
- Points
- 168

Modellbau vom Feinsten, super Adi!
LG Christian
LG Christian


