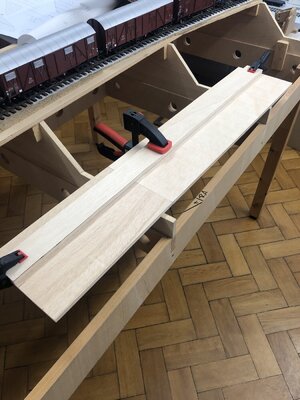
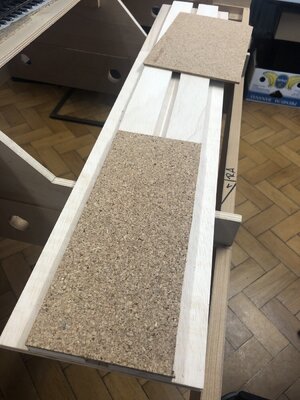
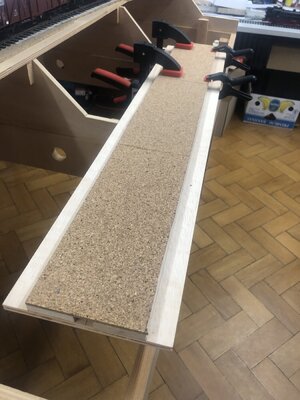
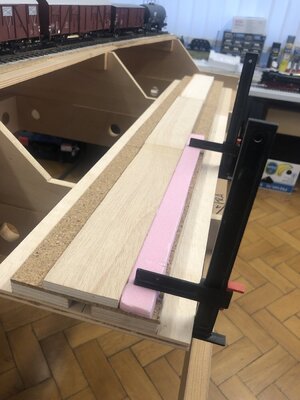
The 4 Railroads Project. (4-Bahnen Projekt)

Joined
Sep 22, 2020
Messages
1,808
Points
453

Location
Ehingen a.d. Donau Germany
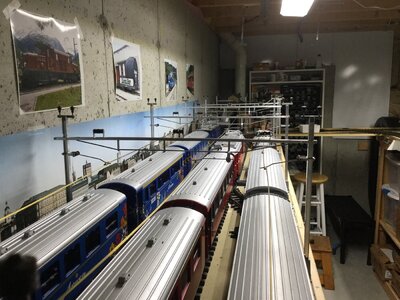
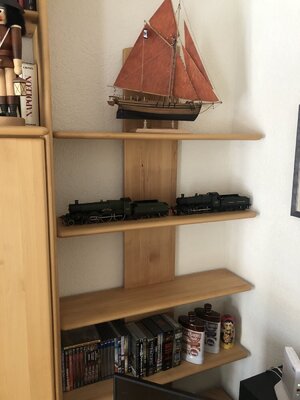
Without losing the main focus on my Le Coureur, I would like to introduce you to one of my other modeling hobbies, 0 gauge railroading. During the Christmas holidays I was cleaning out my extensive DVD collection and realized that the 4 shelves that become free could be perfect for displaying railroad models.
4-Bahnen_20221220_1.jpg

Since I have nestled 4 different railroads in my long modelling life, I would like to introduce each of them on a shelf.
German Federal Railroad DB Epoche 3 (approx. 1950 to 1966), Rhaetian Railway RhB (Switzerland, 90s), Great Western Railway GWR (England, 30s) and Rio Grande narrow gauge D&RGW / RGS (USA, 40s).
I don't want to just put the models on the shelf, I want them to stand on appropriate tracks and get some scenery around them.

So I'll start with the Deutsche Bundesbahn. SInce I have not only steam locomotives but also electric locomotives, an overhead line is also installed.
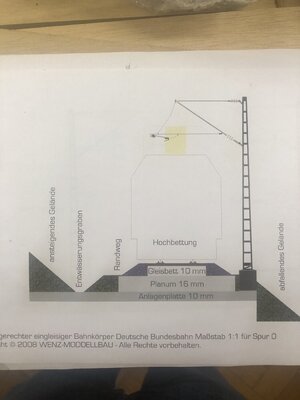
4-Bahnen_20230111_1.jpg

According to this specification I would like to build the whole thing.
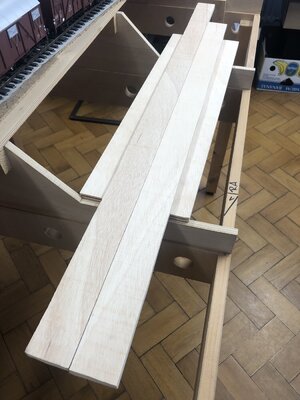
4-Bahnen_20221220_2.jpg

4-Bahnen_20221220_3.jpg

4-Bahnen_20230110_1.jpg

4-Bahnen_20230111_2.jpg

4-Bahnen_20230112_1.jpg

to be continued.
 
Last edited:
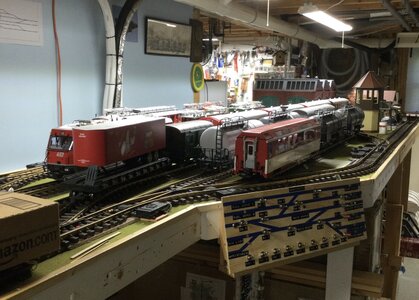
I have Catenary in my staging yard and I'm working to install it on the rest of the layout. This is a lot like ship building, finishing one part leads to the start of the next. What you don't see is the spaghetti factory of wire under the layout.
 
Looks great, this is a really big scale.
It is a big scale. I tried HO, N and O. When we moved to our current home I took advantage of the full sized basement and switched to this scale, I'm absolutely delighted with it since at my young age I can still see the details without bi-focal glasses.

My staging Area Catenary.

99B2680E-A714-44A0-9711-E78CA19D2854.jpeg

This size scale needs a lot more room for scenery. I don't have much other than a few structures. The running stock and track are all LGB and are almost twenty to thirty years old. I enjoy switching and have build the layout to reflect that. The staging yard is a super sized "Allen Timesaver" and there are two "Inglenook" switching sections on the main layout.

Jan
 
Last edited:
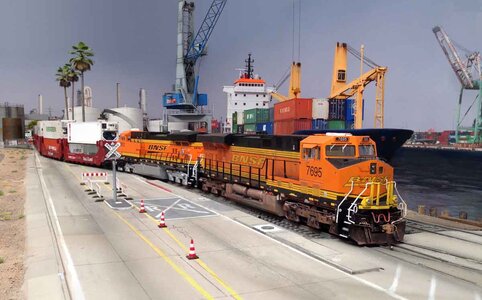
I too enjoy the rail-marine interface. I’ve built several model railroads and dioramas with rail-marine themes. One was a modern (circa 2015) break bulk terminal. My current layout has a large (about 14 feet long) steam-sail wharf ser in 1863.

4309DB10-6D6C-4BE6-8B1B-F056D0A9E9FE.jpeg

38CC822E-B413-40F9-B0A3-0FFD175FC580.jpeg
 
I too enjoy the rail-marine interface. I’ve built several model railroads and dioramas with rail-marine themes. One was a modern (circa 2015) break bulk terminal. My current layout has a large (about 14 feet long) steam-sail wharf ser in 1863.

View attachment 351261

View attachment 351262
Very nice themes for your dioramas, beautifully executed, a real feast for the eyes.Thumbsup
 
Hello Adi and fellow model railroaders!

I'm also into O Gauge railroading, especially the C&O - hence the source of my screen name.
It's a great hobby to be involved with.

As you can imagine there are a number of websites wrt to O Gauge railroading.
One of the best is: https://ogrforum.ogaugerr.com/
There is a vast wealth of information on this site along with a very nice group of members willing to help you with any question you may have.
Check them out - as you won't be disappointed.

1673737872041.jpeg
 
Hello Adi and fellow model railroaders!

I'm also into O Gauge railroading, especially the C&O - hence the source of my screen name.
It's a great hobby to be involved with.

As you can imagine there are a number of websites wrt to O Gauge railroading.
One of the best is: https://ogrforum.ogaugerr.com/
There is a vast wealth of information on this site along with a very nice group of members willing to help you with any question you may have.
Check them out - as you won't be disappointed.

View attachment 351383
Thanks for the information, I will look into it.
 
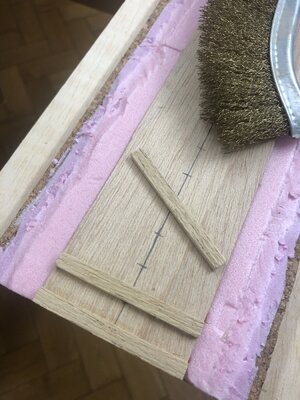
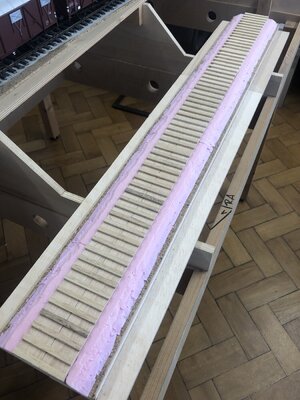
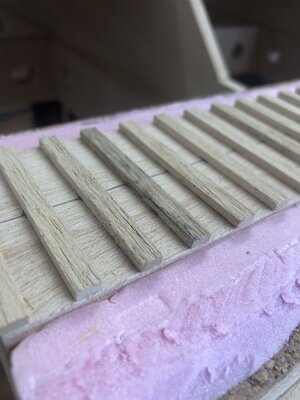
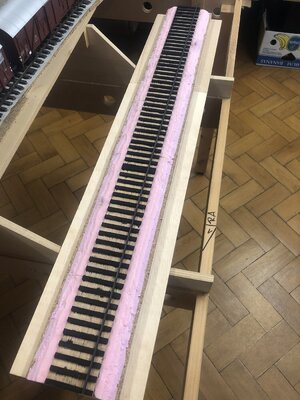
Thanks for your likes and comments. I have decided to use a self-build track with wooden sleepers for the track construction. To give the ties a slightly weathered look, I treated them with a brass wire brush.

4-Bahnen_20230113_1.jpg

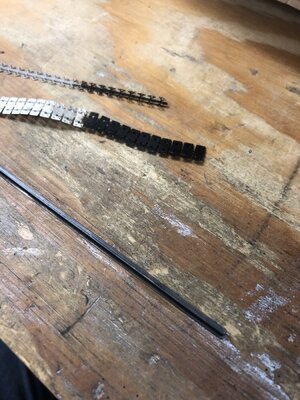
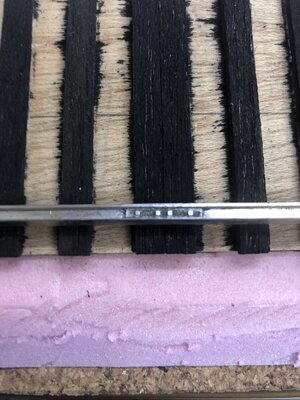
Since the rails are lashed every 15m in the original (346,4mm in model, 24 sleeper), there is adouble sleeper at this point.

4-Bahnen_20230113_2.jpg

4-Bahnen_20230113_3.jpg

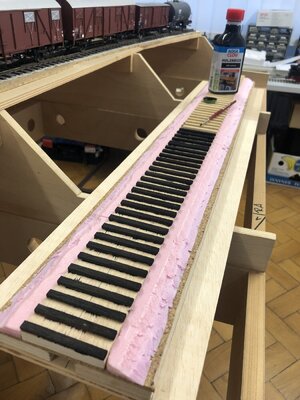
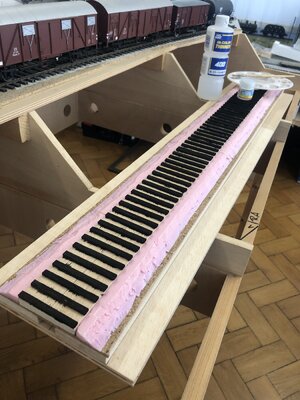
Now I have treated the sleepers with black wood stain and thensealed them with matt varnish so that the stain wouldn't rub off during later ballasting.

4-Bahnen_20230116_1.jpg

4-Bahnen_20230117_1.jpg

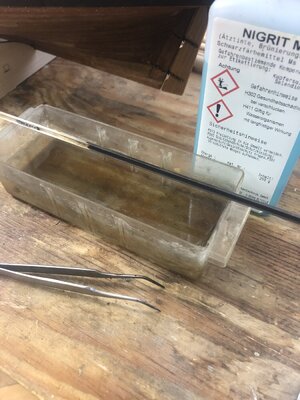
Then the small iron and rails are burnished, so the later rust color holds better. The lashes are soldered onto to the rail sides in the right places before burnishing.

4-Bahnen_20230117_2.jpg

4-Bahnen_20230119_1.jpg

4-Bahnen_20230120_1.jpg

4-Bahnen_20230120_2.jpg

to be continued.
 
Those who complain about how rigging of large ship is a problem and not always documented will would not want to deal with all the wiring and hardware to wire up a large model railroad. Surprisingly the smaller scales take more wiring as you can put more track and model scenes into the same area and wiring is the same size regardless of scale of the model railroad.
 
Those who complain about how rigging of large ship is a problem and not always documented will would not want to deal with all the wiring and hardware to wire up a large model railroad. Surprisingly the smaller scales take more wiring as you can put more track and model scenes into the same area and wiring is the same size regardless of scale of the model railroad.
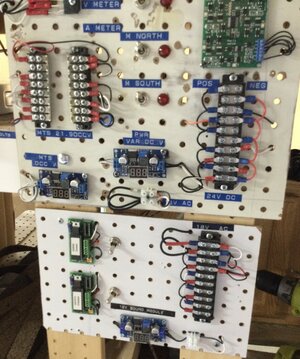
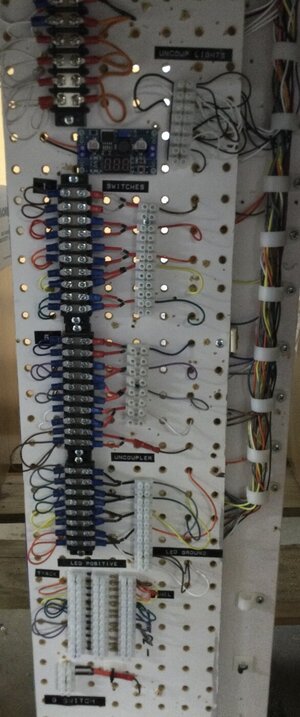
Indeed there is a lot of wiring regardless of scale. With my large scale layout I have most my wiring terminated at the rear of the layout. For convenience I use Peg board (no holes to drill) for my wiring backboards. I’ve attached a couple photos.

BE92CAE8-2DC4-4D45-8940-835729442904.jpeg

The above photo shows the major voltage feeds. The photo below is a large diode matrix that controls switch, signal, uncoupler motors and voltage to many LED’s.

B879C356-B816-43BA-A682-9D589B0D7D1C.jpeg

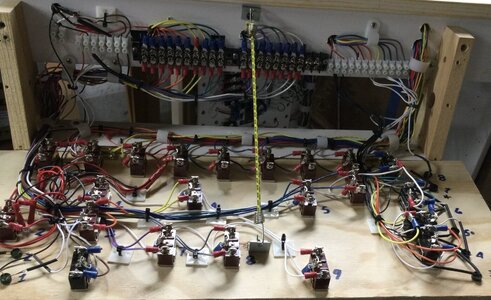
The photo below shows the wiring of my master control panel.

F9EB2BA9-C42D-4902-9EF8-04FD625F4135.jpeg

All my wiring is color coded and backed up by a multipage spreadsheet. On the many occasions that Mr. Murphy and his pals the Gremlins have shown up, it’s been pretty easy to troubleshoot wiring problems.

@pianoforte , sorry I don’t mean to bugger up your log. Kurt got me thinking about all the colored wires that most visitors won’t see.
 
Indeed there is a lot of wiring regardless of scale. With my large scale layout I have most my wiring terminated at the rear of the layout. For convenience I use Peg board (no holes to drill) for my wiring backboards. I’ve attached a couple photos.

View attachment 352534

The above photo shows the major voltage feeds. The photo below is a large diode matrix that controls switch, signal, uncoupler motors and voltage to many LED’s.

View attachment 352535

The photo below shows the wiring of my master control panel.

View attachment 352536

All my wiring is color coded and backed up by a multipage spreadsheet. On the many occasions that Mr. Murphy and his pals the Gremlins have shown up, it’s been pretty easy to troubleshoot wiring problems.

@pianoforte , sorry I don’t mean to bugger up your log. Kurt got me thinking about all the colored wires that most visitors won’t see.

No problem you are welcome, it is also very interesting for me to see your wiring. Very neat work.
 
Back
Top