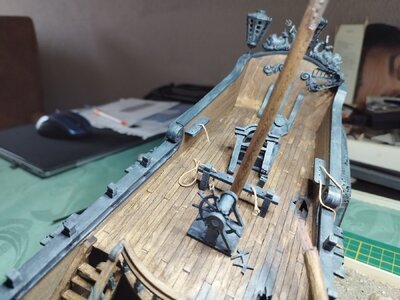
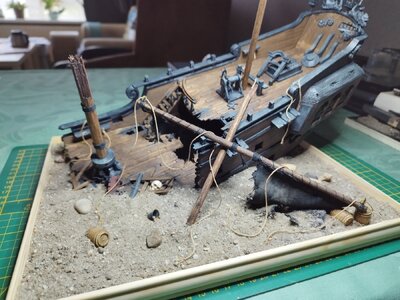
Sunken black pearl unboxing (Shicheng model)

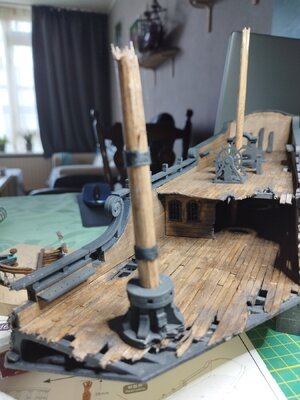
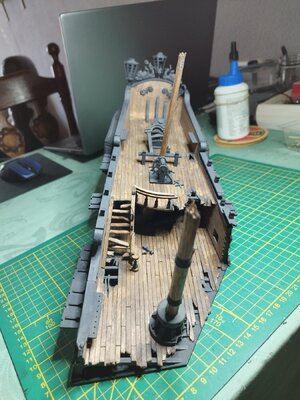
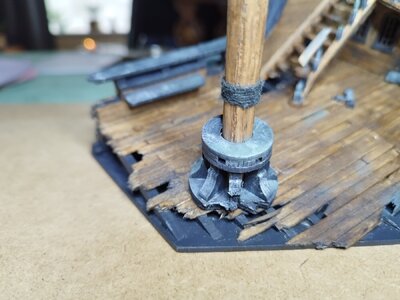
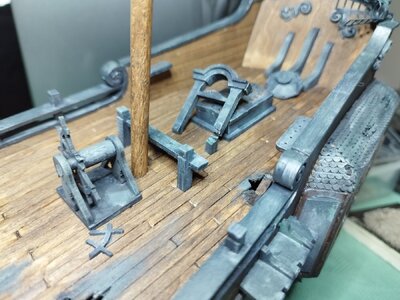
Making the masts is simple.
Measure a little and break off the spar at the measuring point for the mast.
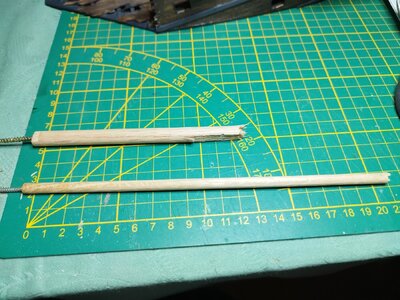
IMG_20240112_105339.jpg
I painted the mast the same color as the deck.
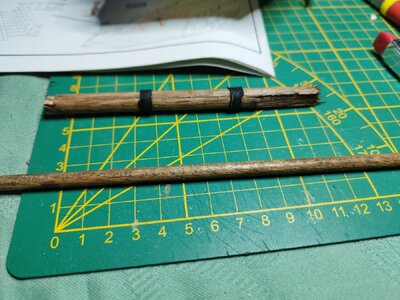
IMG_20240115_110038.jpgIMG_20240115_110145.jpg

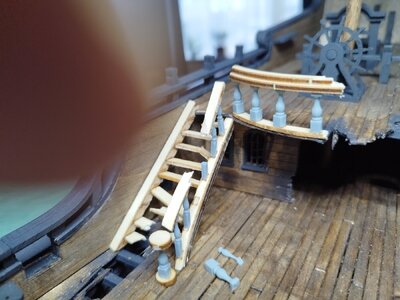
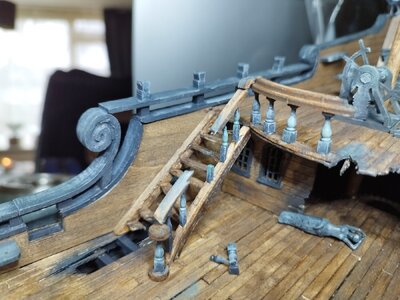
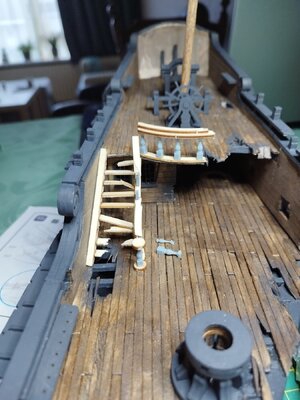
After this we started making the stairs.
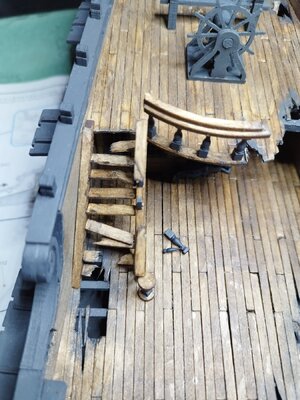
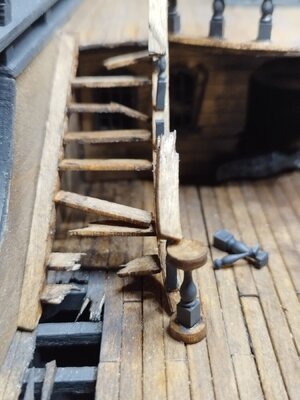
I had made 1 steps as if broken.
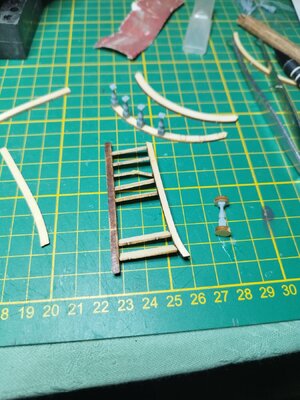
IMG_20240114_091733.jpg

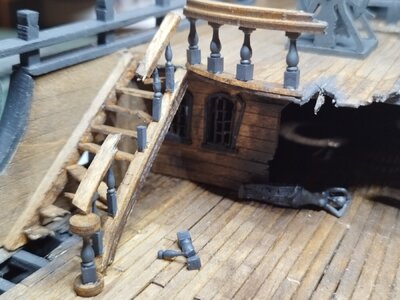
The stair railing is made of wood and resin parts.
The resin is super fragile. so pay attention.
When done i broke a few parts on purpose.
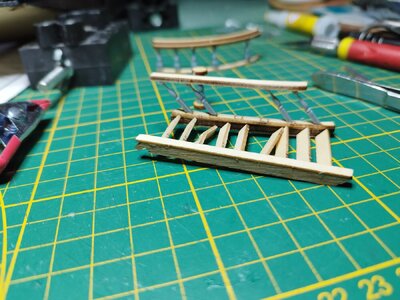
IMG_20240114_163145.jpg

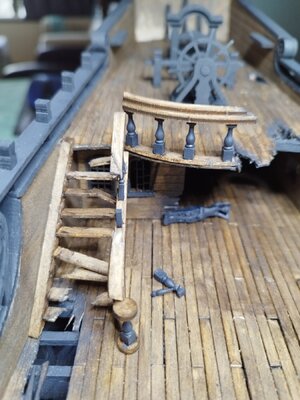
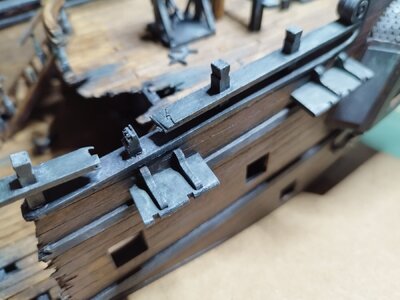
I also made the railing for the top deck.
This also consists of wood and resin parts.
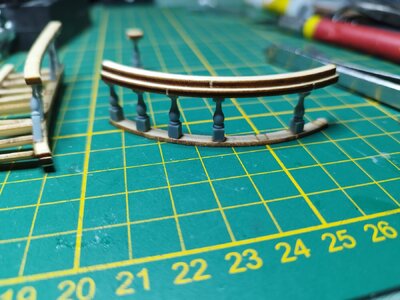
IMG_20240114_163134.jpg
I don't have enough resin parts with the model. Guess it needs to be this way, the damages.

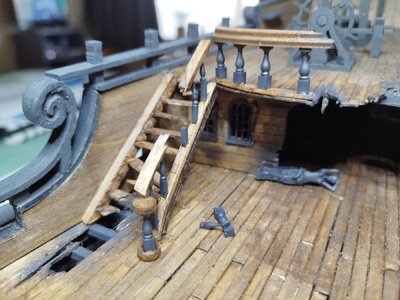
When i finished the stairs and the railing i dry fit it.
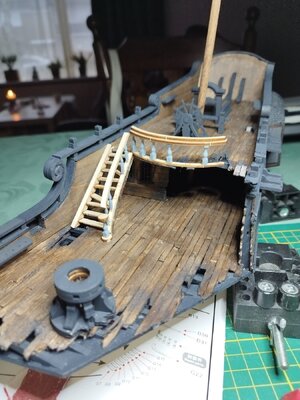
IMG_20240114_163105.jpg
I need to sand it a bit so it fits better and i also saw where i need to damage the railing and the stairs.
So carefully i make the damages on both and dry fit it again before i paint it and glue it on the decks.
IMG_20240115_103753.jpgIMG_20240115_103800.jpg
Time to paint them and let it dry.

Tomorrow i hope to place them
 
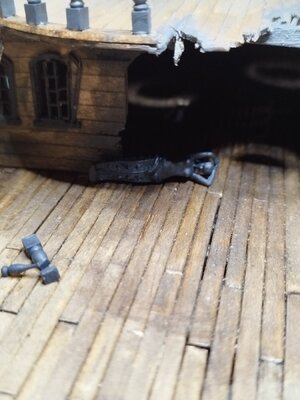
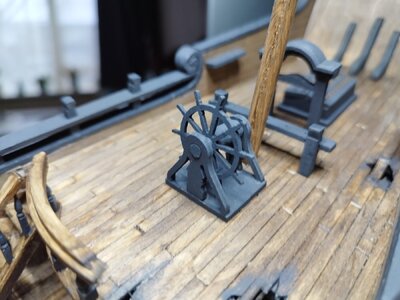
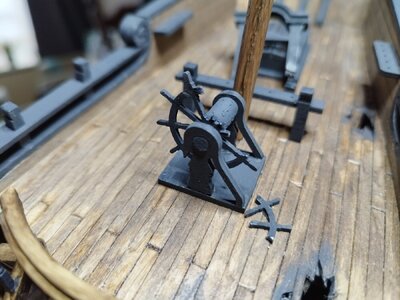
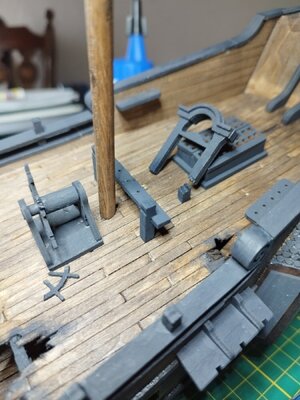
I noticed that nothing was broken on the top deck.
IMG_20240116_092659.jpg
Compared to the rest of the ship, that appearance is wrong.
So I damaged the rudder wheel and the bell tower.
IMG_20240116_094702.jpgIMG_20240116_101828.jpg

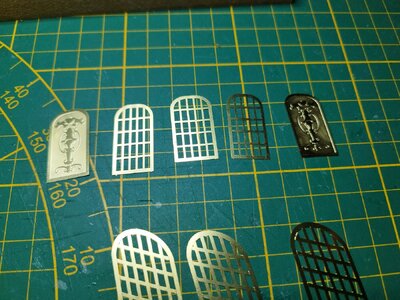
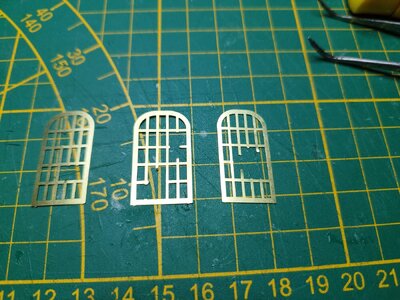
After this we started on the windows.
These are on an etsy sheet.
IMG_20240116_090619.jpg

Because they have to be placed on the inside, it would have been better to place them before you put on the roof !!
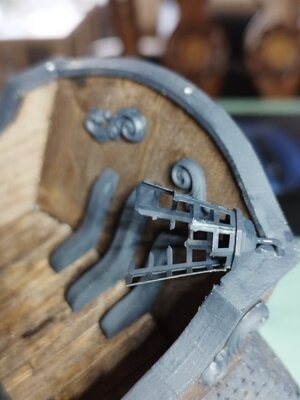
First I cut them loose and made some damage here and there.
IMG_20240116_131752.jpg
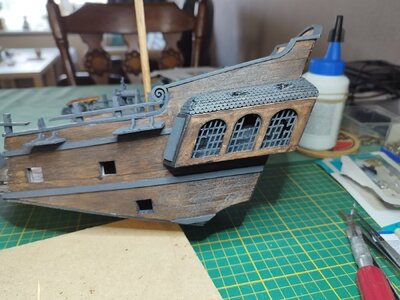
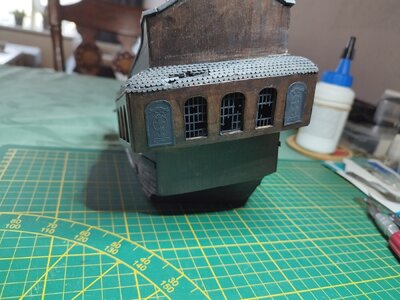
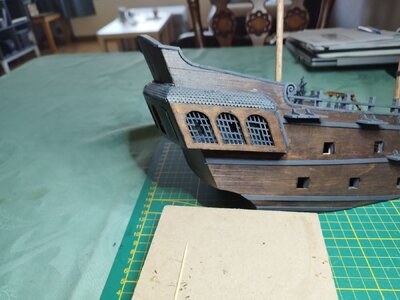
After this they were painted German gray again and installed.
IMG_20240116_131646.jpgIMG_20240116_131711.jpgIMG_20240116_131700.jpg
I needed to repaint some pieces after placing them. Think the paint wasn't dried enough.
Its difficult to place them on the inside but we managed
 
I noticed that nothing was broken on the top deck.
View attachment 421601
Compared to the rest of the ship, that appearance is wrong.
So I damaged the rudder wheel and the bell tower.
View attachment 421602View attachment 421603

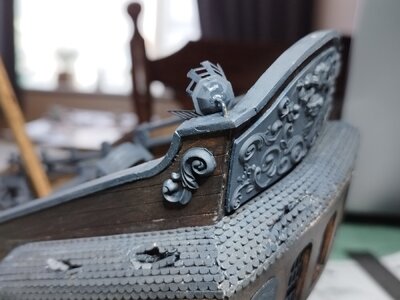
After this we started on the windows.
These are on an etsy sheet.
View attachment 421605

Because they have to be placed on the inside, it would have been better to place them before you put on the roof !!
First I cut them loose and made some damage here and there.
View attachment 421604
After this they were painted German gray again and installed.
View attachment 421606View attachment 421607View attachment 421608
I needed to repaint some pieces after placing them. Think the paint wasn't dried enough.
Its difficult to place them on the inside but we managed
Good afternoon. What a fun project. I like the way you have added additional damage to your wreck. Looks really good. Cheers Grant
 
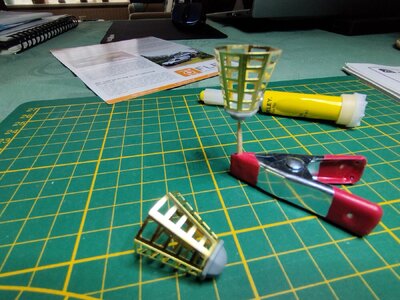
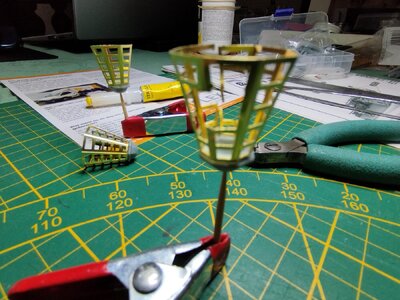
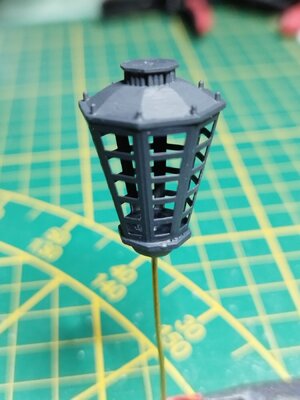
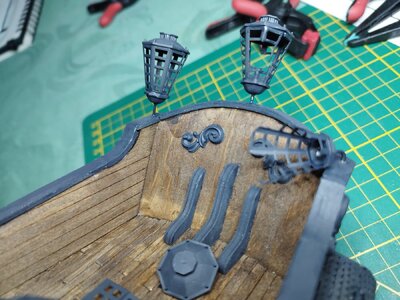
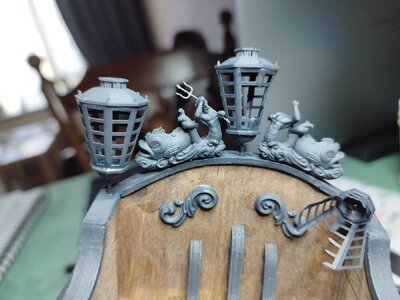
Next i started to make the big lanterns. The are from resin and a part from the etsy sheet.
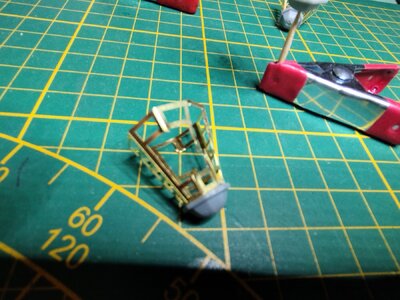
First i took the underside and bend the messing part around it.
IMG_20240117_112121.jpg
I also cut out some pieces so it looked damaged.
IMG_20240117_112029.jpgIMG_20240117_112159.jpgIMG_20240117_112554.jpg
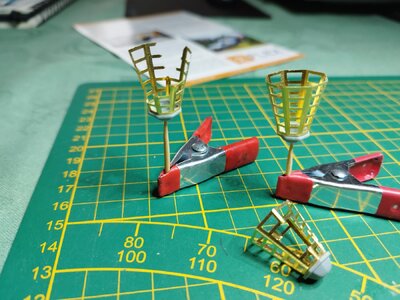
Next i painted them German grey in and outside .
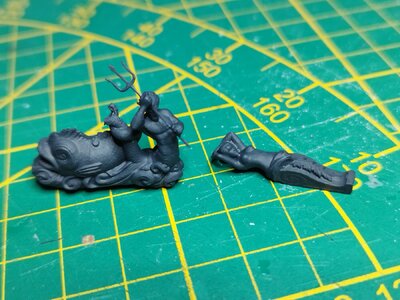
I also paint all sculptures at once.
IMG_20240118_105453.jpg
Sadly the big one for the backside is broken.
When the paint is dry i put on the lanterns the top cover and put some messing wire on the underside.
This makes it easier to place the on the model and looks more realistic.
IMG_20240118_104536.jpg
Next i drilled 3 holes in the back of the model and placed the small decorations first. Also the big one on the back.

I saw the back isn't everywhere the same hight. Shamefully i didn't see it before but the broken ornament shows it good. I only looked at the top when i glued it on. I think it even moved a little bit when i placed clamps on it to keep it in place.
And the glue was already dry when i saw it.
So i couldn't take it off. It will break in more pieces...

17055730859168503920057219985693.jpg

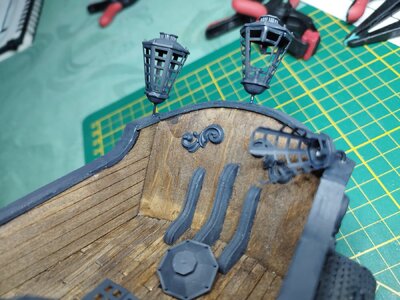
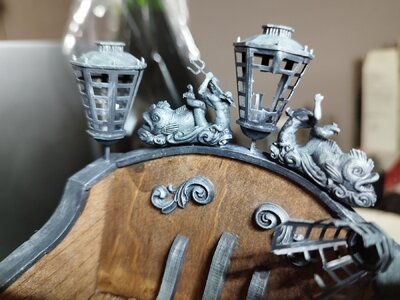
Next the lanterns go in the drilled holes.
And paint the messing wire also german grey.
IMG_20240118_104550.jpgIMG_20240118_104641.jpgIMG_20240118_105746.jpg
Then i place the aquarius on the top. 1 was also damaged, missing his head and arm but this is no problem on a broken ship
IMG_20240118_105935.jpg

IMG_20240118_105746.jpg
 
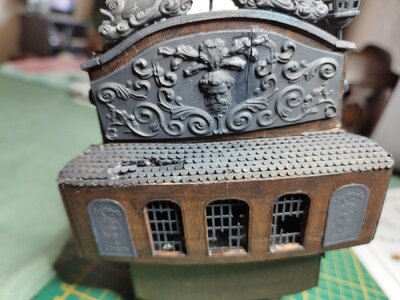
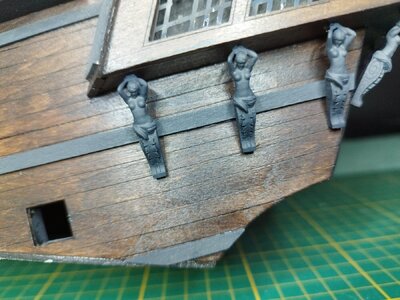
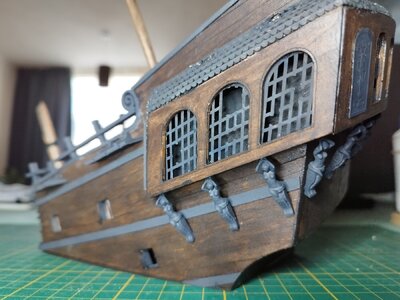
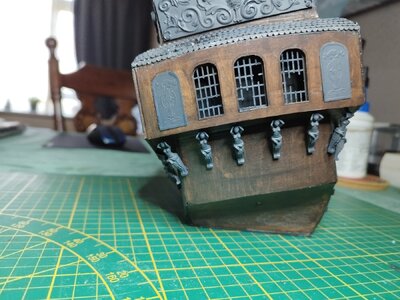
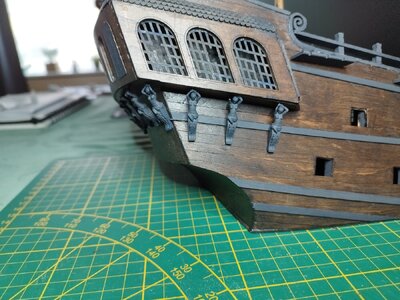
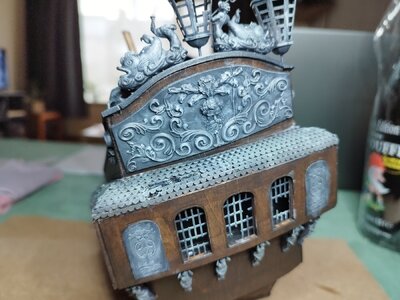
Last part is placing the ornaments under the captains cabin.
17055746643126185312569277816093.jpgIMG_20240118_114213.jpgIMG_20240118_114201.jpgIMG_20240118_114155.jpg
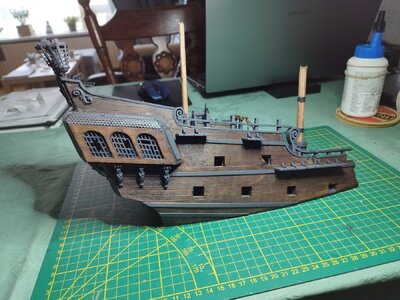
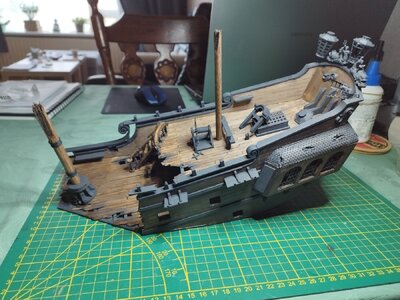
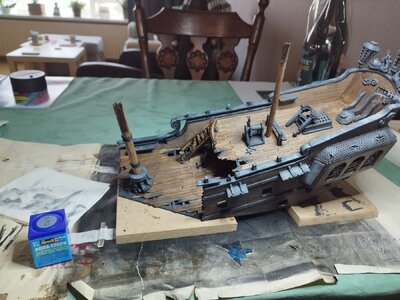
The model is done.
Now i need to make a diorama or so to place it on and some weathering effects need to be paint on to it
But that needs some thinking and research on the internet how to make that.
When i go working on that then this blog will go farther.

For now this is how he looks.
IMG_20240118_114242.jpgIMG_20240118_114252.jpgIMG_20240118_114309.jpg
 
A very good "basis" for such a diorama - congratulations for reaching of the finishing of the "basis"-model
 
Because i can't get upstairs to my workspace to go on working on the Granado ( waiting for a operation on my spine) i bought myself a small schip model.
Found it at Shicheng model and it's totally new to me. Never heard of this model shop before.

It's a sunken black pearl model.
In the box are the next items :
View attachment 412630View attachment 412631View attachment 412632View attachment 412633View attachment 412634
And off course a few resin ornaments.
View attachment 412636
It is a lot bigger than i expected actually. But still i guess it will be fun to make.

The description isn't much but the drawings are good.

View attachment 412637View attachment 412638View attachment 412639View attachment 412640View attachment 412641
If i look to the description i can't help it but i think it looks like the descriptions you get when you make a plastic model.
Still it's a wooden model.
1 wooden model i never have seen before.
So i will try to make a building log of it.
(after 12th December)
Hallo @Nietslim
we wish you all the BEST and a HAPPY BIRTHDAY
Birthday-Cake
Enjoy your special day
 
For a diorama i need to experiment some because i never made one.
So i really hope this works.
I place this while i experiment and i don't know how it will look at the end.

First started with dry brushing. A few different colors of gray and green were applied to the german gray.

I think the result is good.
IMG_20240129_125508.jpg
IMG_20240131_103118.jpgIMG_20240131_103156.jpgIMG_20240131_103202.jpgIMG_20240131_103224.jpgIMG_20240131_103238.jpgIMG_20240131_103339.jpg

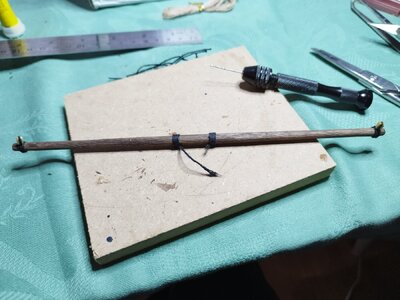
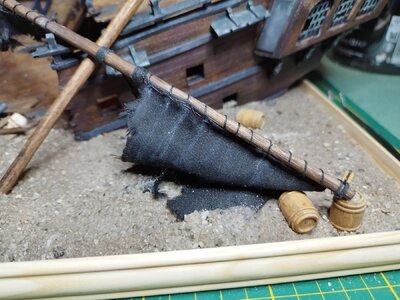
Next i took some piece's of the mast i broke to use again.
IMG_20240130_130507.jpgIMG_20240131_113226.jpg

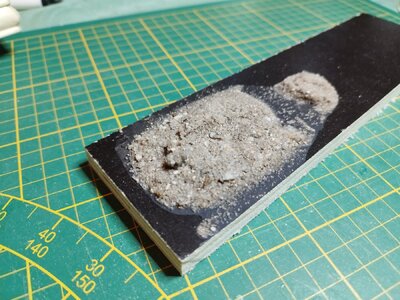
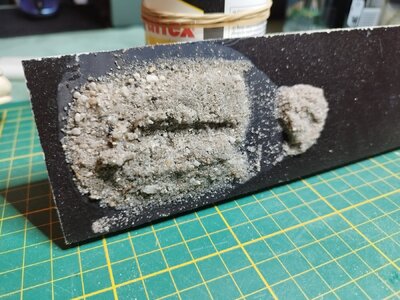
After some experimenting with white wood glue, water and a drop of dishwasher liquid and sand, I got the seabed to my liking.
I think it looks like wet sand like this and it becomes rock hard.
IMG_20240205_085305.jpgIMG_20240205_085319.jpg

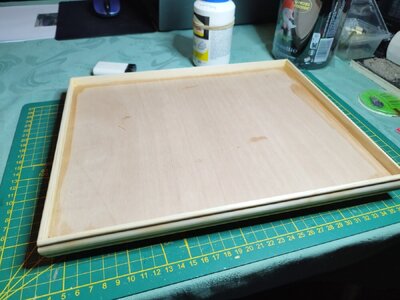
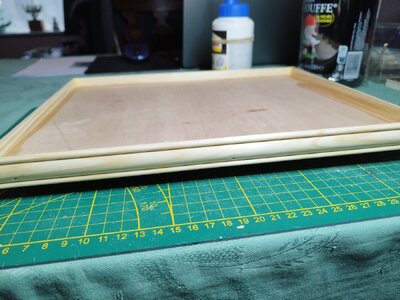
I then took a piece of wood and placed a decorative edge on it. I place this with a edge 1cm above the piece of wood on the inside. Because i want to fill it with sand.
IMG_20240205_085346.jpgIMG_20240205_085358.jpg

It will look something like this
IMG_20240205_085433.jpg

Im thinking i need to make some cannons and some barrels or so too.
To place in the sand also it will fill it a little bit more.
 
I found 1 cannon pressies the right size so I made the car from this, and it was a little damaged.
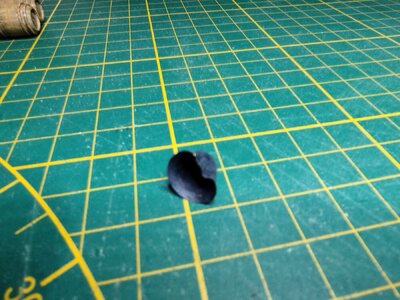
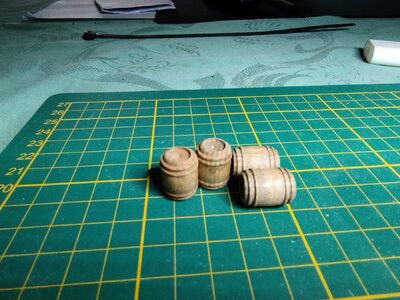
I also found an old ship's bell that I had lying around and a 4 little barrels.
In the bell i made a dent.

I painted the cannon cart red and the cannon and bell first German gray.
After this, I applied the same dry brush with different types of gray as before on the rest of the model.

I only use dark brown on the cart and some on the barrels.
IMG_20240207_104953.jpgIMG_20240207_104957.jpgIMG_20240207_104959.jpg

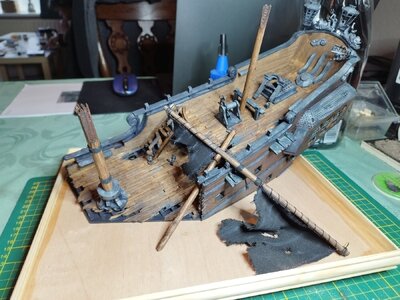
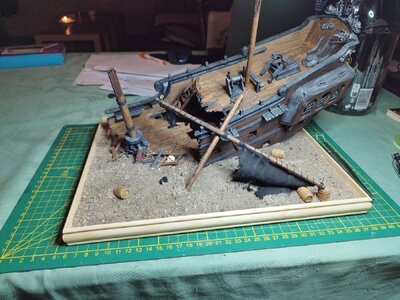
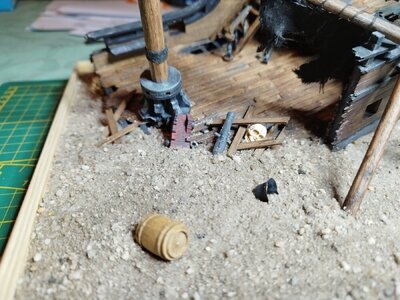
Next i placed the model on the plateau and the broken mast.
Glued it in place to be sure.

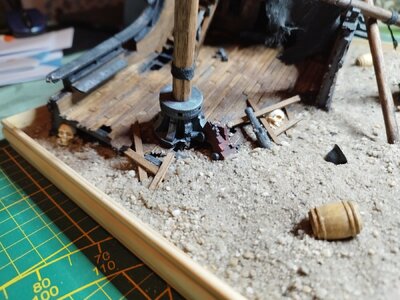
Then mixed sand, water, white wood glue and a drop of dish soap and carefully poured this mixture everywhere.

Immediately afterwards the barrels, cannon, etc. were placed in the sand.
IMG_20240207_144840.jpg
This should settle naturally as it dries.

I also found 2 skulls that I immediately added. I know these are actually a bit too big.
IMG_20240207_144844.jpgIMG_20240207_144847.jpgIMG_20240207_144851.jpg

Now first let the sandy bottom dry thoroughly. this will certainly take a few days.

I want to pour some epoxy on it afterwards so that it looks like there is really water on it.
And some rope's still need to be placed here and there.
 
Man, oh man, did I now enjoy reading this build log! I think you have made a superb diorama which is something really new and innovative in the model shipbuilding world. You need not have feared the quality of the kit - Shicheng is one of the "Big Three" in China - if you want to do yourself a favor; go and have a look at their 1:50 model of the Ingermanland - stunning!
 
One thing I noticed among all the wreckage was neat empty pin rails at the mast and side of ship.

Might consider placing a few wayward pins covered with a tangle of rope hanks and lines laying on the deck as if they broke off up high and fell down.

Just an extra touch to make it better.
 
One thing I noticed among all the wreckage was neat empty pin rails at the mast and side of ship.

Might consider placing a few wayward pins covered with a tangle of rope hanks and lines laying on the deck as if they broke off up high and fell down.

Just an extra touch to make it better.
Thank you for the advice. I know i still need to do some rope work to make it more realistic, but i see what you mean.
Like the idea
 
Still waiting to place epoxy on the bottom of the model. But i need to be sure the sand is 100% dry otherwise it will not work.

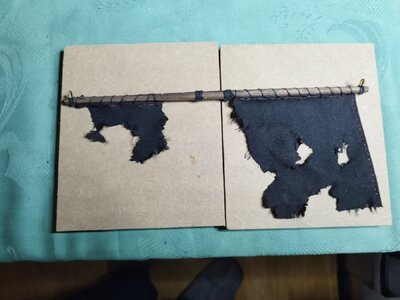
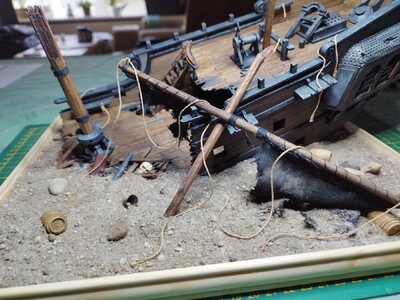
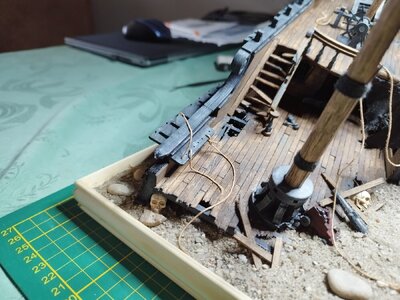
But i placed some broken rope on the model.
I think i won't place anything more on it.
Before it's too much.

IMG_20240213_094647.jpgIMG_20240213_094644.jpgIMG_20240213_094640.jpgIMG_20240213_094626.jpg
 
I think you have built an excellent model - very different from all of the other run-of-the-mill subjects, and beautifully executed. I would be well-pleased with that!
 
Back
Top