You are using an out of date browser. It may not display this or other websites correctly.
You should upgrade or use an alternative browser.
You should upgrade or use an alternative browser.
"Start-up Conversations" and "Build Support-Tips, Advice" here.
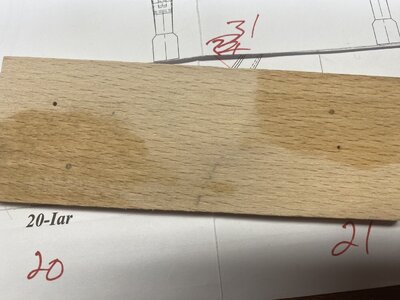
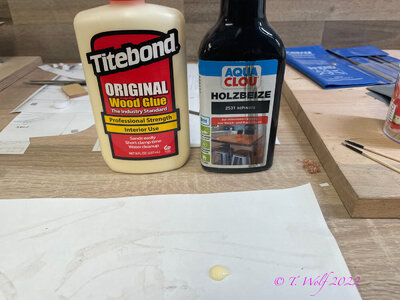
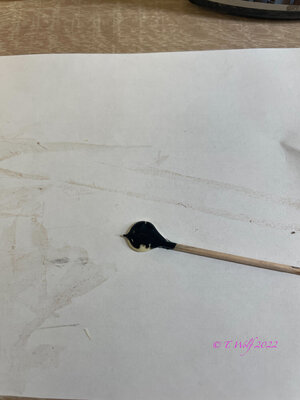
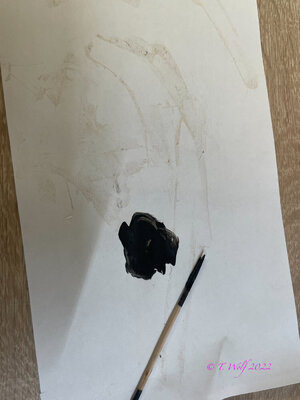
Hello Tony and Donnie in the French forum I read the following: it is not advisable to use untreated iron or steel because it oxidizes over time due to the residual moisture in the wood and over time it results in ugly exploitation. When brass is properly blackened, only the copper in the brass reacts and is a type of surface finish. It is important that you apply the browning liquid with a brush, once or twice, then wash it off with clear water and rub off the excess with a cloth. Repeat the process if necessary, the result is not deep black but rather has a metallic shimmer, like untreated steel. You can also oil it a little bit and then there shouldn't be any bleeding into the wood. Treating a nail that is already in the wood is a real challenge, I described it in my La Palme construction diary. Post #149.

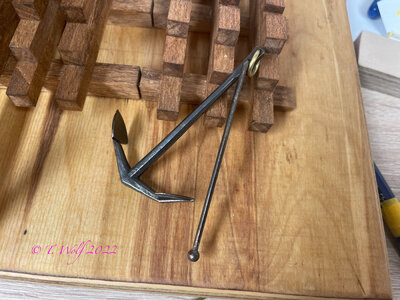


Tobias, thank you for this as I thought I was doing something wrong after reading the earlier posts. I’ve been using BC Brass Black for many years (not on model boats) and never experienced any bleeding. As you say, dip the brass into the solution (I’ve never had much luck with brushing) then rinse under water, dry off the piece and then buff off the dust. you are also correct that the result is not a deep black rather a burnished “iron” look.Hello Tony and Donnie in the French forum I read the following: it is not advisable to use untreated iron or steel because it oxidizes over time due to the residual moisture in the wood and over time it results in ugly exploitation. When brass is properly blackened, only the copper in the brass reacts and is a type of surface finish. It is important that you apply the browning liquid with a brush, once or twice, then wash it off with clear water and rub off the excess with a cloth. Repeat the process if necessary, the result is not deep black but rather has a metallic shimmer, like untreated steel. You can also oil it a little bit and then there shouldn't be any bleeding into the wood. Treating a nail that is already in the wood is a real challenge, I described it in my La Palme construction diary. Post #149.
View attachment 346993
View attachment 346994
"Build Support: Questions, Tips, and Advice, etc". AND "LE ROCHEFORT: Start-up conversations" will be merged together here to help consolidate threads.
Yes I used the brass black on Blandford. It works ok but to blacken just the ends of brass ? Not sure I want to do it. I may use bare brass as it will be an actual mechanical connection or just use the toothpicks.,
Last edited:
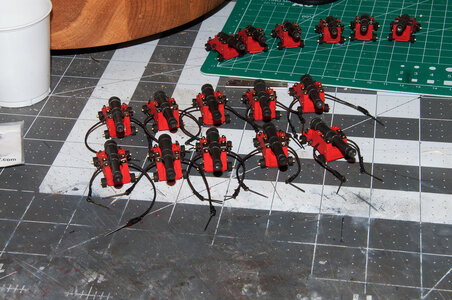
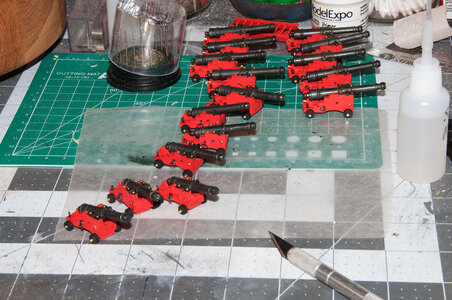
I also use Casey's Brass Black for treating the armament. I found that dipping for a minute or so then rising with water, followed by buffing with a old t-shirt gives a nice patina.Tobias, thank you for this as I thought I was doing something wrong after reading the earlier posts. I’ve been using BC Brass Black for many years (not on model boats) and never experienced any bleeding. As you say, dip the brass into the solution (I’ve never had much luck with brushing) then rinse under water, dry off the piece and then buff off the dust. you are also correct that the result is not a deep black rather a burnished “iron” look.
I noticed that on page 23 of the Sorolla book he did not obtain the wood that was "exact" thickness, but rather chose a thickness "thicker" and then ran each piece longitudinally through a table saw to get the exact 5.3 mm. His boards are 6mm thick.
Also, I have a micro mark thickness sander (which I am not fond of). It leaves "dips" in the board as you are trying to feed it through - even though I have tried many adjustments - - so, I have to find another method - that is why I like the idea that Sorolla uses on page 23. That alone would solve a lot of problems for me. I do have a micro mark table saw that is (okay), but I think the Byrnes model is much better.
Sometimes, I don't know where my mind goes - well, for one thing, I am very distracted by a lot of stuff such as work, life, and home and it seems that I need to settle down to think these things through.
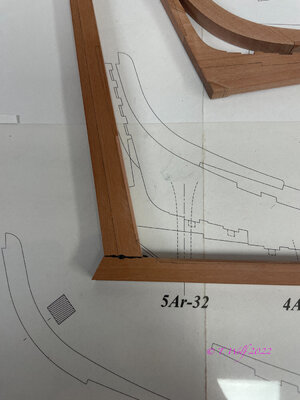
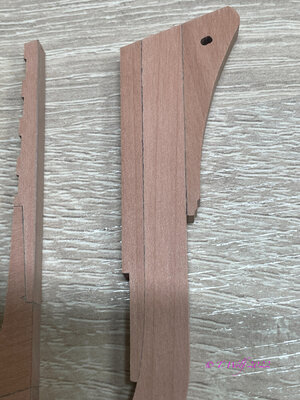
So, I must ask about the Hahn Method. If I am understanding that correctly, using that method, you would build the frame slats (blanks) - glue them, and then lay the ENTIRE frame to be cut out on that. Therefore, that eliminates the JOINTS as found on the original plans. Dave has the write-up that shows Hahn's "JIG" that he uses to make each frame piece exactly the same - and it seems that ALL of them are the same size - this is so that all the frames even though they are different sizes, will still FIT on those slats (blanks). However, this method will hide all the original frame "joints" - and I guess that is of no big concern. I am trying to understand and learn here. I am not against this at all - I see this method could be more time efficient in some ways.
Below is the Jig
Donnie.
It’s just easier to get wood milled to your thickness. Why spend all the time milling your own wood when it’s not necessary ? Dave can mill to 7/32 like he did mine or a few mm either way I’m sure. It’s close enough and the frames will need a final sanding to make them flat anyway. If Dave can’t do it for you Ocooch can. Thickness sanders can’t take down wood as well as planers. Seems the best on the market is the Proxxon for small work like ours. It’s costly but it’s a good machine.
As for the Hahn frames mine are far from exactly the same. I used 4 different blanks and even the ones in the same group are not exact at all. They’re all close. It really doesn’t matter becuase as you said the joints are no where near where they should be. Unless you work out every blank pattern to match the actual plan joints which you can do.
I’m doing the Hahn method as it saves a huge amount of time. I usually don’t care about time but when it’s a project like this it counts. I also wanted to see how it works out. Remember I’m not doing the full Hahn building method I’m just making the frames this way.
The one concern I have is will these glued frames hold up to the scroll saw ? I used yellow wood glue for the blanks but I’m still worried. If not I’ll go by my daughter’s and use my son in laws bandsaw.
I understand what you’re saying believe me it does take a huge amount of reading and research even though we have the monograph and Adrian’s book. Im semi retired and we don’t work in the winter so now through April is my time to make headway. I work here in the shop every day all day. I know if working full time it’s not easy at all to find enough time for this kind of building.
The Hahn method. When I made my frame blanks I went ahead and made different blanks for the "yellow" floor side and "pink" half floor side. I did it so that my joints are "somewhat" accurate (though I didn't but a lot of effort into it) and won't be the same on each coupled twin frame. I would think that this work can be eliminated and just make the blanks the same for the (fore and aft) sides of the frame. Just something to think about if anyone uses the Hahn frame building method. One thing I have no doubt about is the huge time saving this frame building gives the modeler.
I've done a lot of woodworking over the last 60 years and think there is an easier answer to making repeatable cuts using a tablesaw. The hahn jig is useable but to me, a bit clunky. I'd prefer other methods. And as far as milling your own wood, it can get a bit spendy if you go the machine route. One thing to consider is 'set-up' time and repeatability. Once you have a machine set-up for a cutting, you can then run a lot of material to create quite the stockpile. Plan ahead if you can to produce parts you'll later use in our builds.
I cut my blank parts rough on the scroll saw and used the disc sander to square them up that’s why they’re not very accurate but if we’re not following the plans joint layout on the frames it really doesn’t matter. I’m sure you could make them all the same with the joints in the right places, maybe the Hahn jig does that but I just didn’t want to go through that work. Milling wood isn’t that big of a project but if we’re ordering wood from a supplier and they can supply us with the right thicknesses then why bother ? The milling we do have to do is cutting the very thin pieces we need from the lumber.
I’m curious… I know “Ancre” in French translates to “anchor” in english but the ANCRE web site treats the word as an acronym; A.N.C.R.E. Nowhere on their web site have I found what that acronym stands for. Any ideas?
ARCHITECTURE NAVALE CLASSIQUE RECHERCHES EDITIONSI’m curious… I know “Ancre” in French translates to “anchor” in english but the ANCRE web site treats the word as an acronym; A.N.C.R.E. Nowhere on their web site have I found what that acronym stands for. Any ideas?
Questions for the group…
Based on following your other builds as well as Tony and Tobias on their good start on Le Rochefort your expertise is way above mine. Thanks for being defacto mentors.
1. When making copies of the plans to cut up for laying out frames etc, did you take them to a copy center like FedEx Office and plot them or just use home printer? How do verify that the scale doesn’t change from the original plans?
2. For the assembly frame, do you make a new one for each model or construct a universal jig and make new top frame for each build?
3. I’m vacillating between the Hahn method for making the frames versus laying out the pieces as Sorola shows in his book. What is the consensus is one method more suited to a beginner?
I’m probably overthinking on a lot of this but it is a bit scary jumping into the pool…
Are your original printed plans 1:1? Are they printed on B-sized (11" x17") or metric equivalent sized sheets ? Do you have a home printer that can handle lsrge format or will you have to tile the prints? You may want to go to a copy center. And measure your prints to make sure they remain 1:1 if that's what the originals are.Questions for the group…
Based on following your other builds as well as Tony and Tobias on their good start on Le Rochefort your expertise is way above mine. Thanks for being defacto mentors.
1. When making copies of the plans to cut up for laying out frames etc, did you take them to a copy center like FedEx Office and plot them or just use home printer? How do verify that the scale doesn’t change from the original plans?
2. For the assembly frame, do you make a new one for each model or construct a universal jig and make new top frame for each build?
3. I’m vacillating between the Hahn method for making the frames versus laying out the pieces as Sorola shows in his book. What is the consensus is one method more suited to a beginner?
I’m probably overthinking on a lot of this but it is a bit scary jumping into the pool…
Thanks Phil. Yes, the prints are 1:1. They are quad folded and measure 12.25” x 34” I can print 11x17 at home but sold my plotter when I retired. I’m leaning toward taking them to a copy center. It’s just that the nearest one is a 60 mile round trip. I’ll play with options…Are your original printed plans 1:1? Are they printed on B-sized (11" x17") or metric equivalent sized sheets ? Do you have a home printer that can handle lsrge format or will you have to tile the prints? You may want to go to a copy center. And measure your prints to make sure they remain 1:1 if that's what the originals are.
Hi Olivier,
you can just take the original (which is LONG) and just place it on the copy machine (at your home) and move the Original Plan around on the copier of the one or two frames that you want at that moment. This might be a lot of extra work since you will have to keep track of how you are moving the plan around to obtain a copy of each frame - that can be aggravating, to say the least. However, I personally might just take the LONG plan sheet to a store and ask them to make perhaps 4 copies - and the reason is that you know the frames "overlap" each other - I assume naturally that you will need to cut out EACH frame to glue the paper onto wood or whatever method you wish. The extra copies would take care of any redundancy that you might run into. I hope what I am saying makes sense.
you can just take the original (which is LONG) and just place it on the copy machine (at your home) and move the Original Plan around on the copier of the one or two frames that you want at that moment. This might be a lot of extra work since you will have to keep track of how you are moving the plan around to obtain a copy of each frame - that can be aggravating, to say the least. However, I personally might just take the LONG plan sheet to a store and ask them to make perhaps 4 copies - and the reason is that you know the frames "overlap" each other - I assume naturally that you will need to cut out EACH frame to glue the paper onto wood or whatever method you wish. The extra copies would take care of any redundancy that you might run into. I hope what I am saying makes sense.
However, I have also heard that copy machines are set up that they do not make a precise 100% copy - you would have to take some dividers to measure to see any discrepancies.
Thanks Donnie and that is true. However I would hope that a blueprint plotter/copier would reproduce at 1:1 but I will certainly check….However, I have also heard that copy machines are set up that they do not make a precise 100% copy - you would have to take some dividers to measure to see any discrepancies.


