Santa Maria produced by Pavel Nikitin

Joined
Aug 11, 2023
Messages
89
Points
88

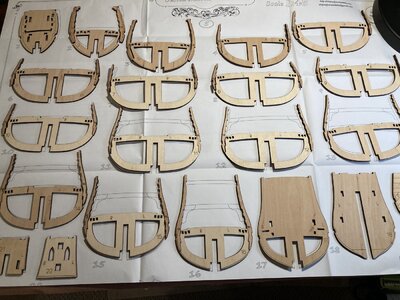
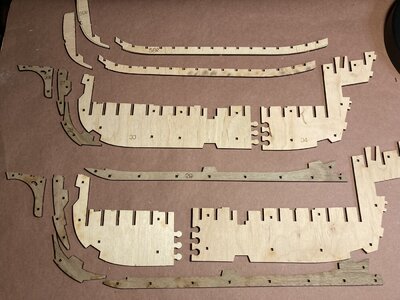
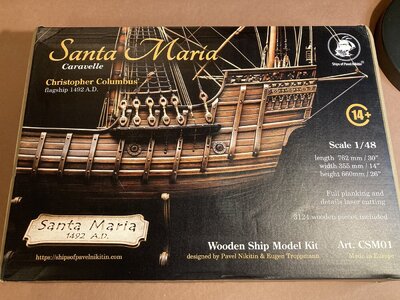
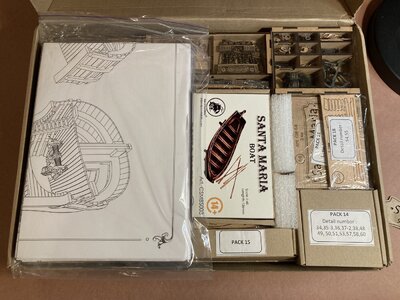
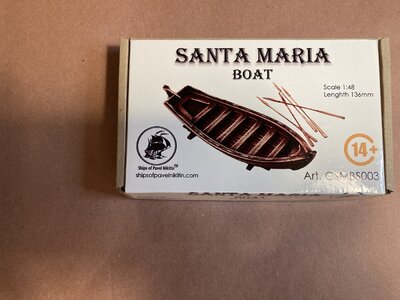
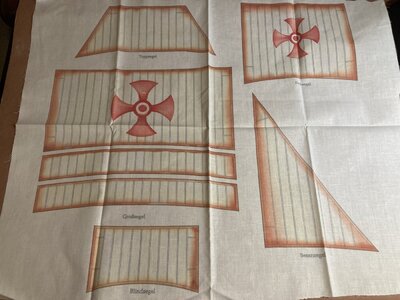
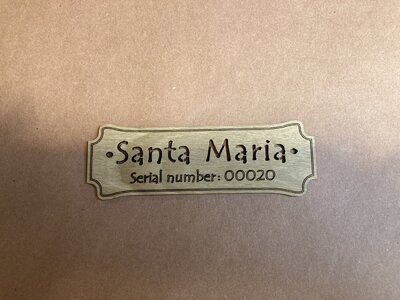
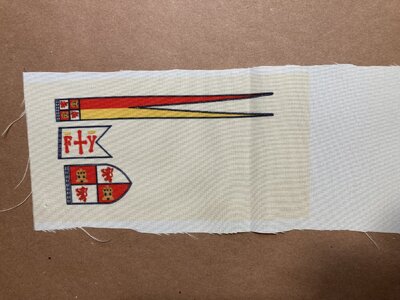
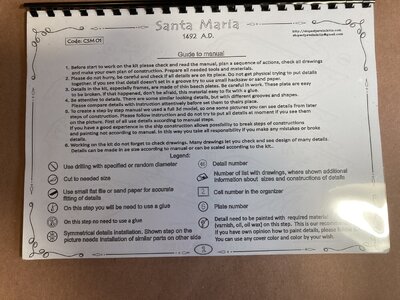
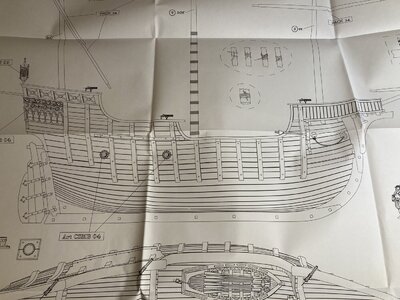
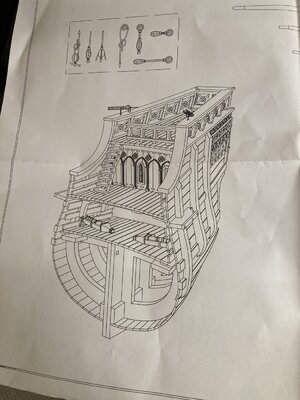
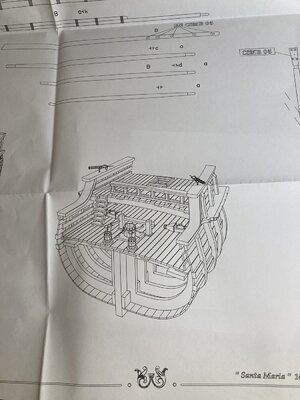
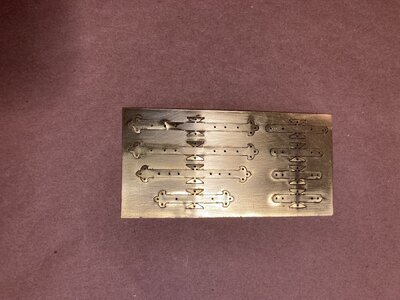
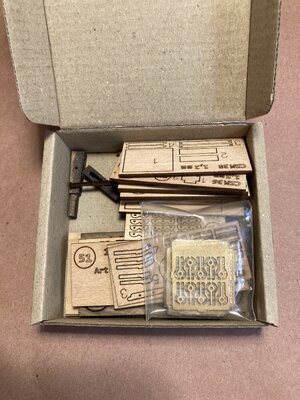
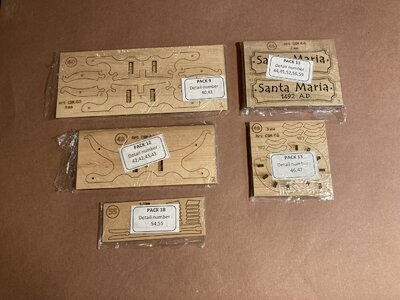
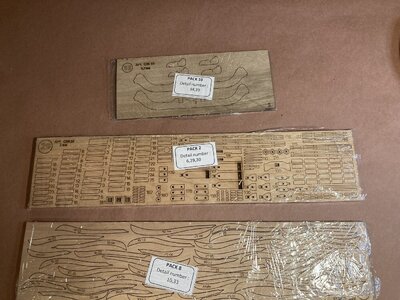
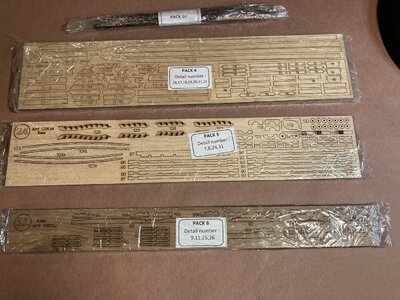
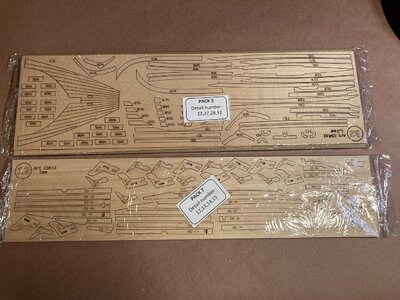
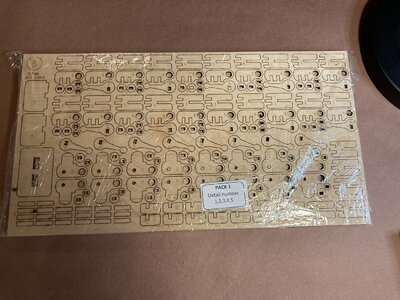
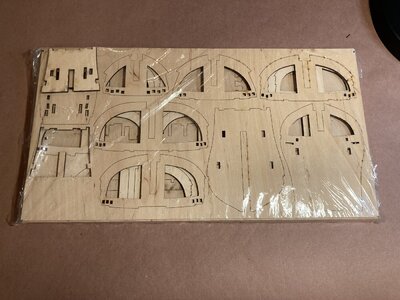
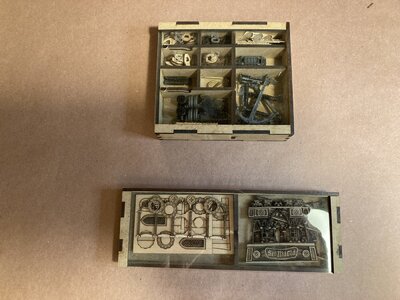
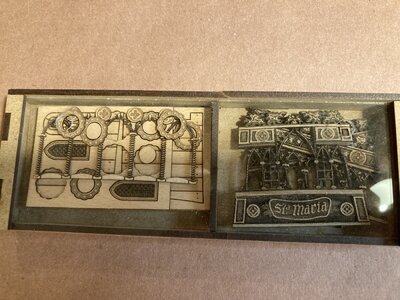
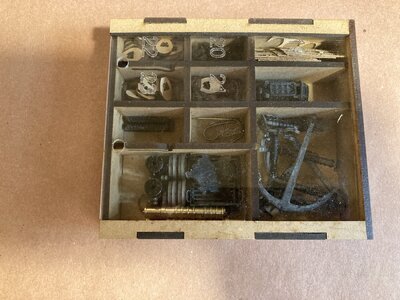
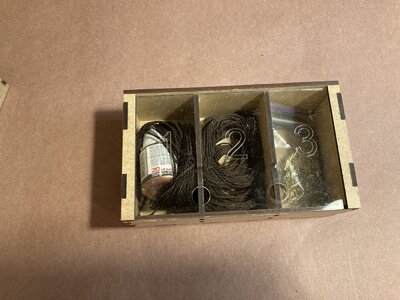
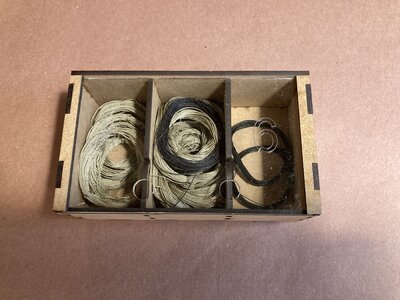
IMG_1199.jpegIMG_1200.jpegIMG_1201.jpegIMG_1203.jpegIMG_1202.jpegIMG_1204.jpegIMG_1205.jpegIMG_1206.jpegIMG_1210.jpegIMG_1211.jpegIMG_1217.jpegIMG_1218.jpegIMG_1220.jpegIMG_1221.jpegIMG_1222.jpegIMG_1223.jpegIMG_1224.jpegIMG_1225.jpegIMG_1226.jpegIMG_1227.jpegIMG_1228.jpegIMG_1229.jpegIMG_1230.jpegIMG_1231.jpegIMG_1232.jpegIMG_1199.jpegIMG_1200.jpegIMG_1201.jpegIMG_1203.jpegIMG_1202.jpegIMG_1204.jpegIMG_1205.jpegIMG_1206.jpegIMG_1210.jpegIMG_1211.jpegIMG_1217.jpegIMG_1218.jpegIMG_1220.jpegIMG_1221.jpegIMG_1222.jpegIMG_1223.jpegIMG_1224.jpegIMG_1225.jpegIMG_1226.jpegIMG_1227.jpegIMG_1228.jpegIMG_1229.jpegIMG_1230.jpegIMG_1231.jpegIMG_1232.jpegIMG_1199.jpegIMG_1200.jpegIMG_1201.jpegIMG_1203.jpegIMG_1202.jpegIMG_1204.jpegIMG_1205.jpegIMG_1206.jpegIMG_1210.jpegIMG_1211.jpegIMG_1217.jpegIMG_1217.jpegIMG_1218.jpegIMG_1220.jpegIMG_1221.jpegIMG_1222.jpegIMG_1223.jpegIMG_1224.jpegIMG_1225.jpegIMG_1226.jpegIMG_1227.jpegIMG_1228.jpegIMG_1229.jpegIMG_1230.jpegIMG_1231.jpegIMG_1232.jpegIMG_1232.jpegI received my Santa Maria kit yesterday and unboxed it today. This is a heavy kit. Very well packaged and presented. I think it's a good value for the money. I've attached photos of the unboxing. There is a spiral bound instruction book. There are sheets with illustrations. There are fabric sails and sigils/flags. The only negative was that the container with the blocks, deadeyes, etc. came open and the small parts were scattered in the box. I tried to be careful to make sure I retrieved them all.

My next step is to inventory of the parts list and read the instructions before starting the build. I am excited about the model. I think it's a piece of art. I hope I can do it justice.
 
My next step is to inventory of the parts list and read the instructions before starting the build. I am excited about the model. I think it's a piece of art. I hope I can do it justice.
The model is amazing and piece of art needs an artist. If you use it well, this model will be a real masterpiece. I'll be happy to watch the construction. This is one of those models that is a pleasure to make and you will definitely notice it.
Groundhog day?
I always see the same things
what ??? ROTF
 
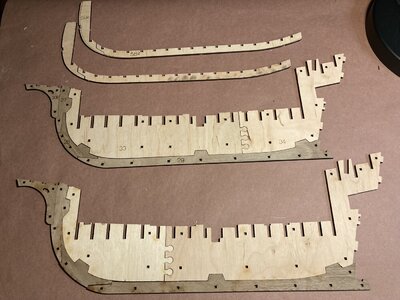
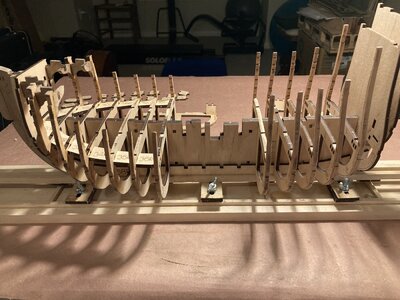
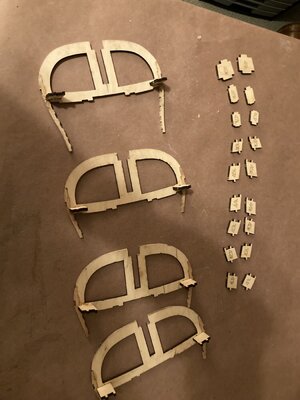
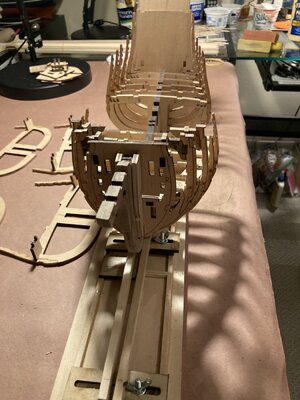
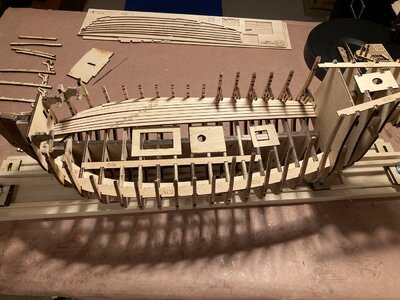
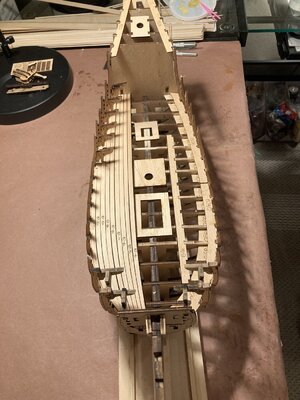
I cut out the pieces for the keel and the stem and for the bulkheads. The fit of laser cuts are very good and these pieces don't appear to need any cutting or shaping They will only need sanding the char from the laser. I'll glue the pieces and set them aside. In the mean time I will assemble the building platform.

At this point it may seem premature but I want to decide on a finish for the wood. The instructions say to use oil and wax but not the color. I want the finish to be the similar to the rich finish on ship in the box photo. Any suggestions are welcome.

IMG_1236.jpegIMG_1234.jpegIMG_1235.jpeg
 
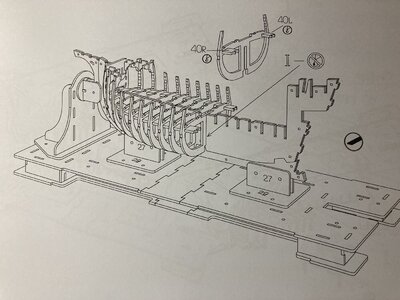
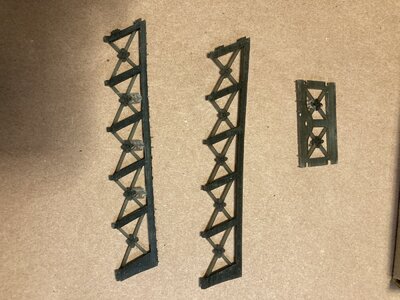
Can anyone tell me where I could purchase a building platform like the one in the picture. I contacted Dry Dock and was told that this platform doesn't come with the kit and that they don't offer it. I may have to make my own but would rather use the one pictured.


IMG_1237.jpeg
 
Can anyone tell me where I could purchase a building platform like the one in the picture. I contacted Dry Dock and was told that this platform doesn't come with the kit and that they don't offer it. I may have to make my own but would rather use the one pictured.


View attachment 410616
Hi

 
I got the answer regarding the platform. Thank you very much. But apparently I'll have to wait until ModelExpo lists it on their site.
 
At this point it may seem premature but I want to decide on a finish for the wood. The instructions say to use oil and wax but not the color. I want the finish to be the similar to the rich finish on ship in the box photo. Any suggestions are welcome.
It's never too soon to consider the finish.
I've been eyeing a kit from Pavel Nikitin and noticed in their store, they offer a finish kit. It is meant to provide the signature finish typically seen on the Nikitin models.
 
The pavel finishing kit does an excellent job but is a multi stage process that you should use an air brush to apply Here is a you tube link for the process
I always pre stain my wood before assembly to avoid Glue Marks ( stain won't penetrate if glue soaks in to wood on surface)
After assembly I sand and re stain if required
 
Hi Glenn and sleepfish

Thanks for your messages. I’d like to get the finish kit on the Nikitin site but can’t make the purchase as Model Expo will at some point sell his products but not now, I plan to stain the individual pieces before assembly for just the reason you mentioned. In the absence of Nikitin’s kit I was considering Watco dark walnut Danish Oil and then a wipe on poly or wax finish.
I have been using Epifanes matte wood finish ( very expensive but goes a long way ) for a final coat. Goes on very nice and leaves a great finish
 
View attachment 410224View attachment 410225View attachment 410226View attachment 410227View attachment 410228View attachment 410229View attachment 410230View attachment 410231View attachment 410232View attachment 410233View attachment 410234View attachment 410235View attachment 410236View attachment 410237View attachment 410238View attachment 410239View attachment 410240View attachment 410241View attachment 410242View attachment 410243View attachment 410244View attachment 410245View attachment 410246View attachment 410247View attachment 410248View attachment 410224View attachment 410225View attachment 410226View attachment 410227View attachment 410228View attachment 410229View attachment 410230View attachment 410231View attachment 410232View attachment 410233View attachment 410234View attachment 410235View attachment 410236View attachment 410237View attachment 410238View attachment 410239View attachment 410240View attachment 410241View attachment 410242View attachment 410243View attachment 410244View attachment 410245View attachment 410246View attachment 410247View attachment 410248View attachment 410224View attachment 410225View attachment 410226View attachment 410227View attachment 410228View attachment 410229View attachment 410230View attachment 410231View attachment 410232View attachment 410233View attachment 410234View attachment 410234View attachment 410235View attachment 410236View attachment 410237View attachment 410238View attachment 410239View attachment 410240View attachment 410241View attachment 410242View attachment 410243View attachment 410244View attachment 410245View attachment 410246View attachment 410247View attachment 410248View attachment 410248I received my Santa Maria kit yesterday and unboxed it today. This is a heavy kit. Very well packaged and presented. I think it's a good value for the money. I've attached photos of the unboxing. There is a spiral bound instruction book. There are sheets with illustrations. There are fabric sails and sigils/flags. The only negative was that the container with the blocks, deadeyes, etc. came open and the small parts were scattered in the box. I tried to be careful to make sure I retrieved them all.

My next step is to inventory of the parts list and read the instructions before starting the build. I am excited about the model. I think it's a piece of art. I hope I can do it justice.
I am somewhat astonished to see that such a great model maker still calls the "Santa Maria" a caravel. It is a Naõ. The other two ships were caravels.
 
I often stop to observe just how complex putting together a quality ship model kit really is! Astounding! Even more astounding are the finished models our forum members produce from these kits! Every time on the forum I appreciate the craftsmanship and modeling expertise displayed by all. I stand in awe…
 
Last edited:
I often stop to observe just how complex putting together a quality ship model kit really is! Astounding! Even more astounding are the finished models our forum members produce from these kits! Every time on the forum I appreciate the craftsmanship and modeling expertise displayed by all. I stand in awe…
Hi Daniel

If you’re remarking about the Santa Maria build this kit is very simple. Instructions leave much to be desired but if one follows the illustrated instructions it’s quite simple. The designer gets the credit for numbering each piece making assembly straight forward. I’ve been at it for about two weeks and I’m ready to plank the main deck. This has been a fast but fun build.
 
Regarding finishes for the Santa Maria I’m going to use General Finishes Hard Oil Wax wipe on after staining. Supposed to protect, can be buffed to a satin finish and can be sanded and repeated if necessary over time.
 
Good morning all from Spring, TX

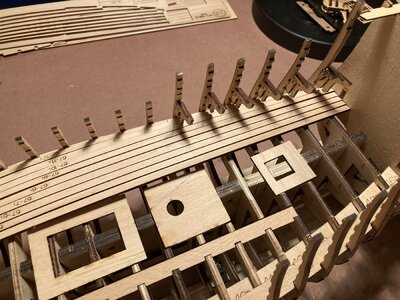
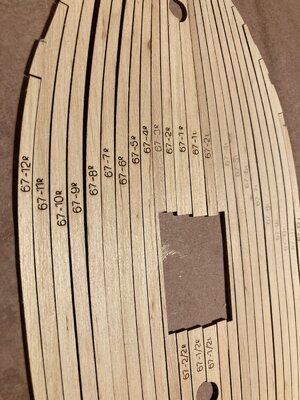
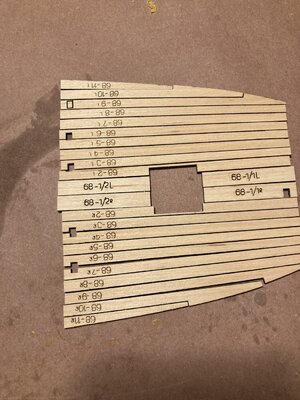
I need some help / suggestions. The part numbers etched into the deck planks need to be removed, However the amount of sanding required to remove them completely will reduce the thickness of the plank. And unless etching is completely removed they will show through whatever stain I use. I've already dealt with this on the keel and stem. These those parts are much thicker and the sanding didn't have any negative consequence. Thank you.IMG_1245.jpegIMG_1246.jpeg
 
Back
Top