Royal Yacht HMY Fubbs (1682-1781) – 1:24 Scale Stern Section by DocBlake

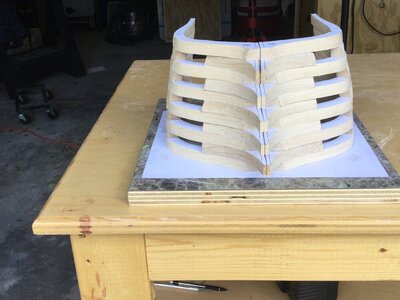
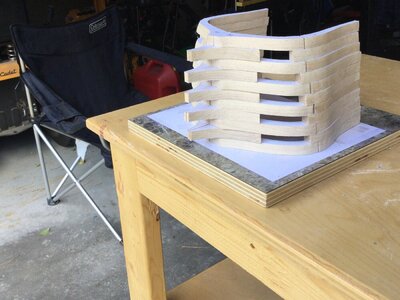
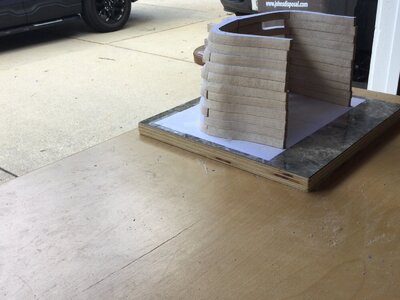
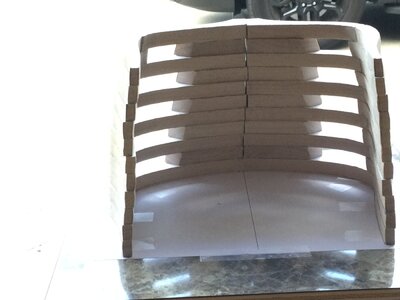
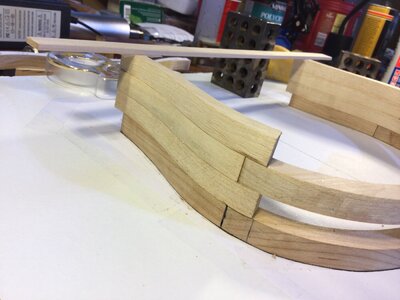
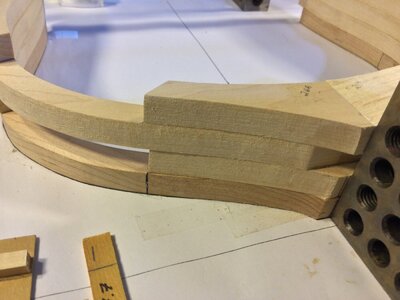
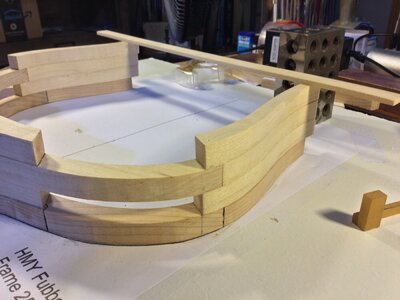
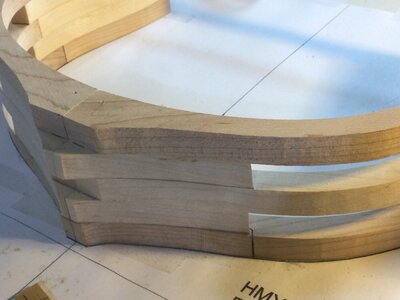
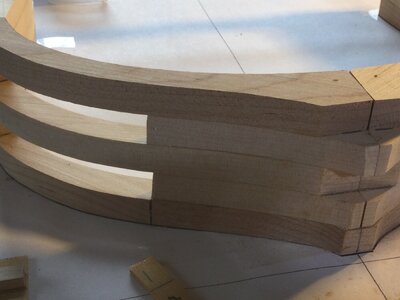
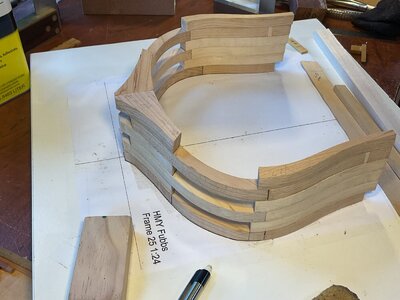
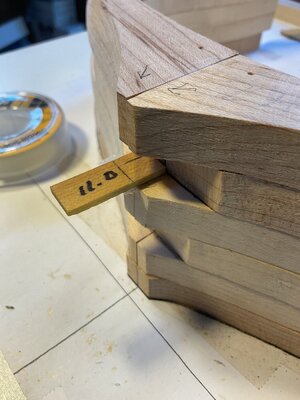
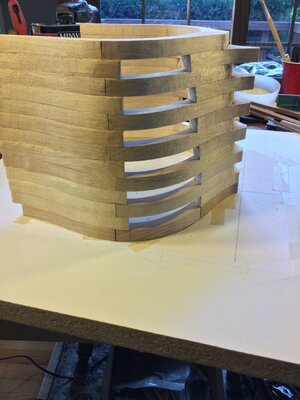
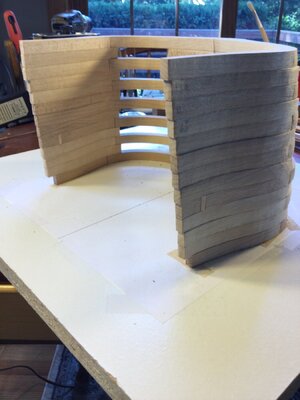
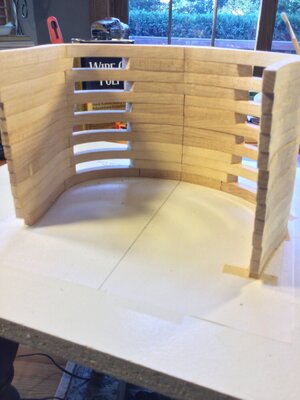
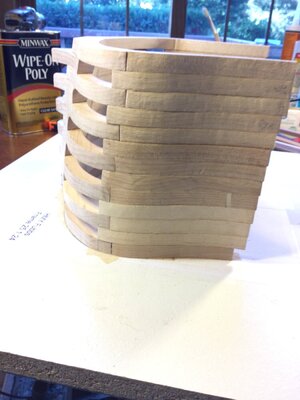
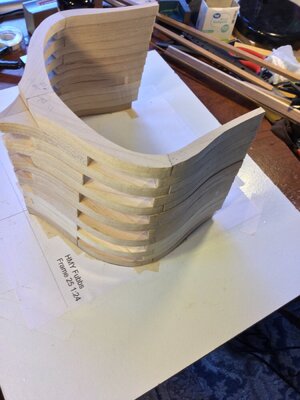
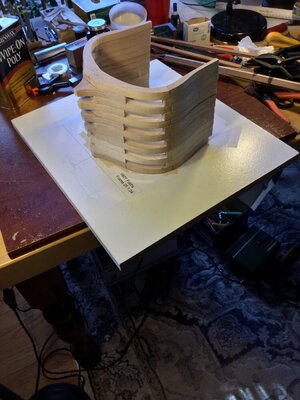
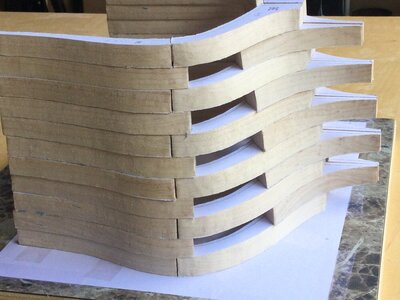
I finished beveling all the frame parts from 25 through 36. I will probably have to wait until the aft section is glued up to fit frame 36A because of the changes made when the prototype was being build. Here are some shots of frames 31 through 36, stacked up but not glued. You can see the lines of the hull taking shape


5.JPG6.JPG7.JPG8.JPG9.JPG10.JPG
 
I finished beveling all the frame parts from 25 through 36. I will probably have to wait until the aft section is glued up to fit frame 36A because of the changes made when the prototype was being build. Here are some shots of frames 31 through 36, stacked up but not glued. You can see the lines of the hull taking shape


View attachment 389650View attachment 389651View attachment 389652View attachment 389653View attachment 389654View attachment 389655
Magnificent work, Doc . . .
 
One has to admire a build that is so focused and delivers the appropriate results - this is what years of experience does! Well done, Dave!
 
Thanks, guys!

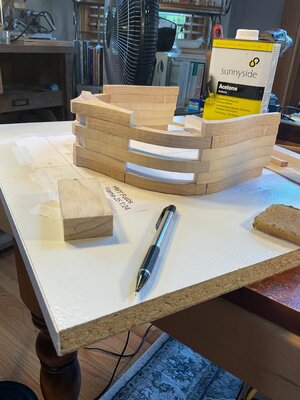
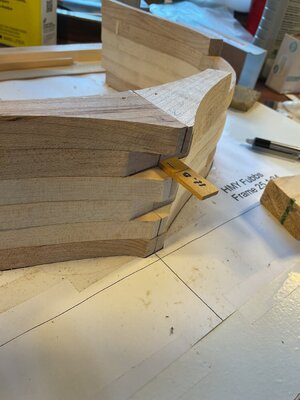
I finally got around to starting the glue up. I used double sided tape to tape the fore side of frame 25 to the template sheet and glued part 25A to it. This was followed by 26 and 26A. The floor frames (25A, 26A, 27A etc.) rest directly on the keel up until frame 32. The futtock frames sort of "float" above the keel, sandwiched in by the floor frames in front and behind them. The "offset" of these frames is important in establishing the shape and esthetics of the hull.

Jodie's build log explains this well. The distance between the bottom of frames 26 and 27 and the keel is supposed to be 7.4mm and 11.0 mm respectively. Mine were very close to those numbers. So far, so good!


11.JPG12.JPG13.JPG14.JPG15.JPG
 
Thanks, guys!

I finally got around to starting the glue up. I used double sided tape to tape the fore side of frame 25 to the template sheet and glued part 25A to it. This was followed by 26 and 26A. The floor frames (25A, 26A, 27A etc.) rest directly on the keel up until frame 32. The futtock frames sort of "float" above the keel, sandwiched in by the floor frames in front and behind them. The "offset" of these frames is important in establishing the shape and esthetics of the hull.

Jodie's build log explains this well. The distance between the bottom of frames 26 and 27 and the keel is supposed to be 7.4mm and 11.0 mm respectively. Mine were very close to those numbers. So far, so good!


View attachment 397100View attachment 397101View attachment 397102View attachment 397103View attachment 397104
Precision, Doc . . . .
 
Thanks, guys!

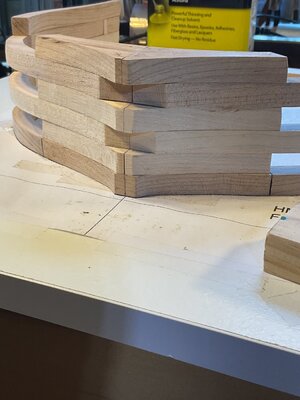
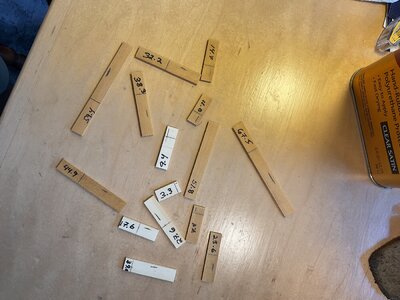
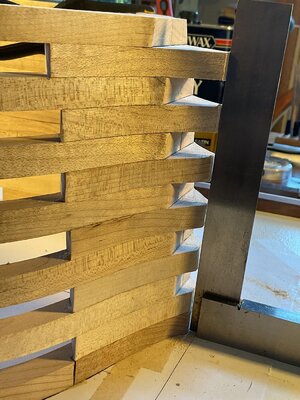
Progress so far: The first 6 frames are installed (25 - 27A). The most important measurement is how high above the keel the futtock frames sit. Each is different, increasing in distance as we move aft. To make checking this easier, I drew to proper dimension on thin pieces of stock; each measurement having it's own little "ruler". Eliminates the difficulty of trying to read the tiny gradations on a metric rule! After frame 25, each frame moving aft has it's top timber about 1.5 mm higher than the frame in front of it. You can see the "saw-tooth" pattern developing along the top timbers.


16.jpg17.jpg18.jpg19.jpg20.jpg21.jpg22.jpg23.jpg
 
FANTASTIC DOC THE USE OF THE WOOD AS DIMENSIOING IS A FANTASTIC IDEA WILL BE USING IT WITH MY BUILD. EVEN THOUGH I HAVE NOT POSTED I AM WORKING ON IT CONSTANLY. AS MANY OF YOU KNOW I HAVE SOME PROBLEM GRASPING THINGS HAVE REREAD AND STUDY, VERY, VERY MUCH UNTIL I UNDERSTAND WHAT I NEED TO DO. THANKS MIKE SHANKS FOR PATIENCE. WILL BE POSTINTING SOON. GOD BLESS STAY SAFE YOU AND YOURS DON
 
Very smart idea the use of those precisely cut pieces of wood. The other smart idea is to use the metric system :). As all was done using the imperial system I find myself all the time with the phone looking inches to millimeters, HAHAHA.

I should have waited to start my built, unfortunately its too late and I can only think..... "Why I didn't thought it? " ... HAHAHA.

Cheers and excellent job !!

Daniel
 
I haven't sanded anything but the bevels as yet, John! Those were done with a dremel and a coarse sanding drum.

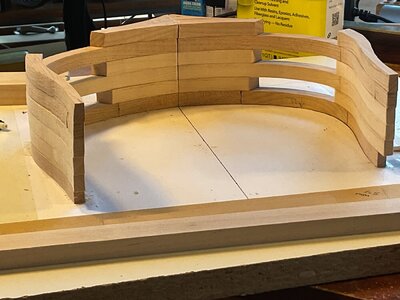
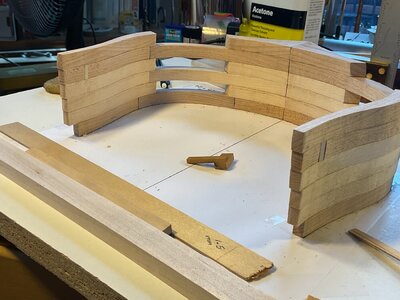
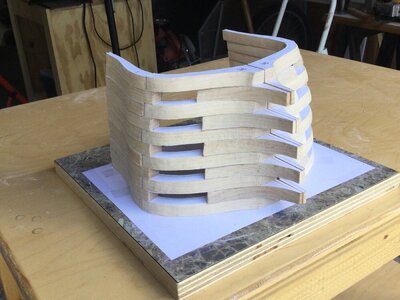
Frames 25 through 30A are glued into place, but there has been no fairing of the hull yet. Frame 31 is sitting on top of the stack, not glued. It will start the second stack of frames. Once the second stack is glued up, the two stacks will be glued together. I'm considering adding a couple of removable brass pins to join Frame 30A and Frame 31 and "register " a perfect fit once the stacks are complete. They would keep the frames oriented to each other and prevent any slippage as the glue dries. I guess I'll sleep on it!

25.jpg26.jpg27.jpg28.jpg29.jpg30.jpg31.jpg
 
Back
Top