POF L'Amarante Corvette de 12 canons 1744 1:36 (Ancre Monograph- Gérard Delacroix) By Shota

Good evening my dear friends :) First of all, I would like to thank all of you for the kind words and encouragement, I am glad that you joined me on a new and challenging journey in the hope that we will enjoy it.
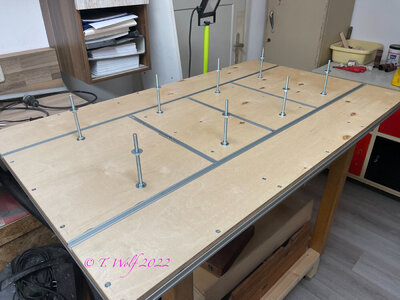
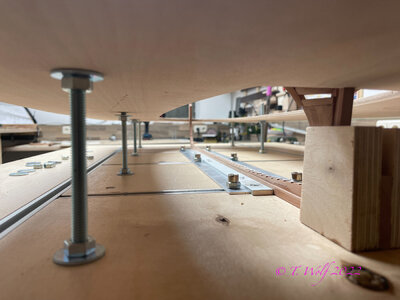
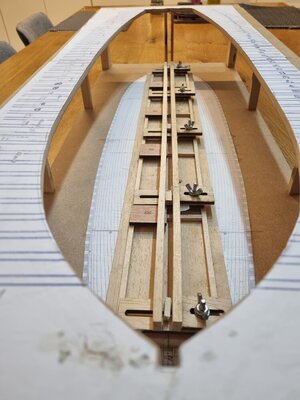
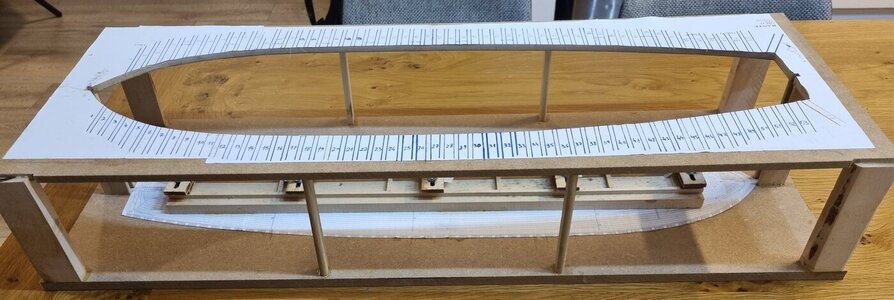
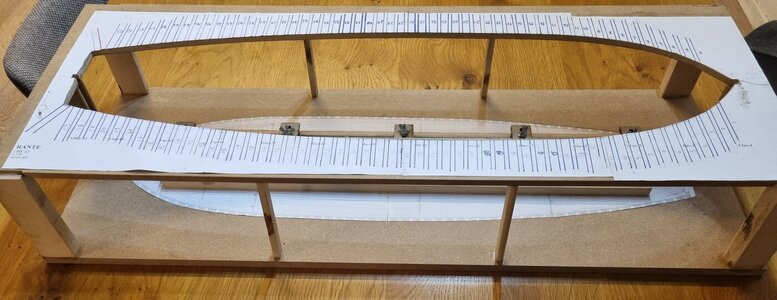
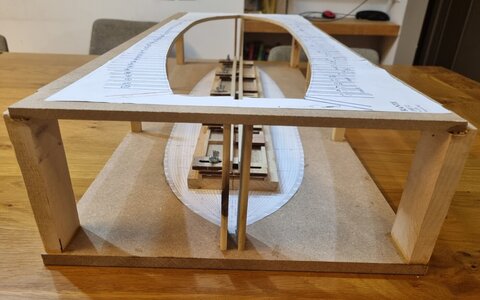
in the last few days I have continued to work on the jig in which the hull will be built.
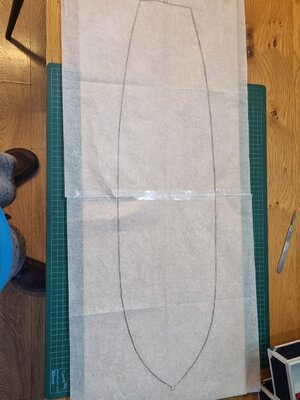
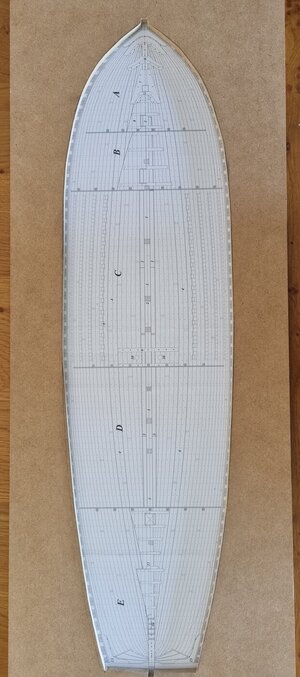
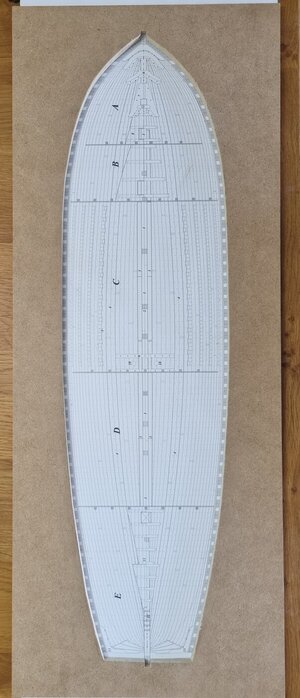
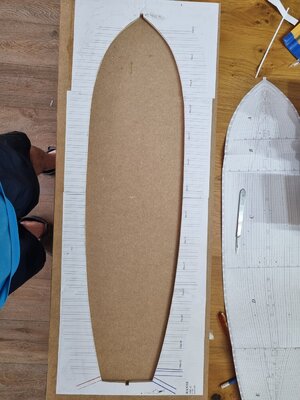
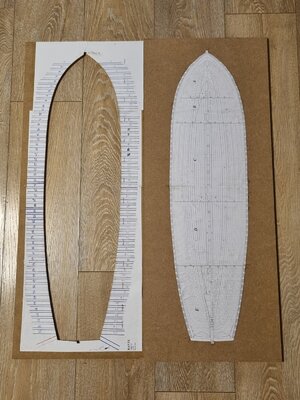
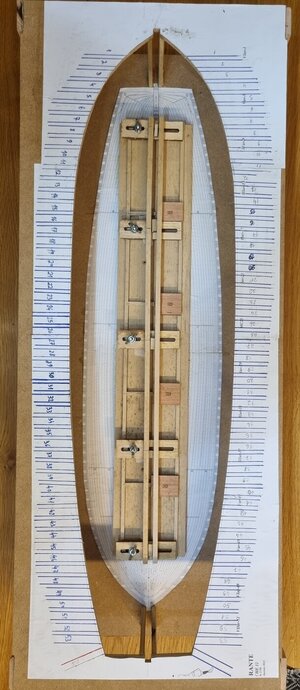
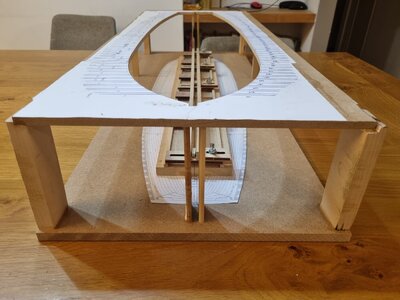
After preparing the two boards, I made a copy of drawing board 12, the inner part of which will be placed on the lower board and the outer part (outside the frames) will be glued on the upper board.
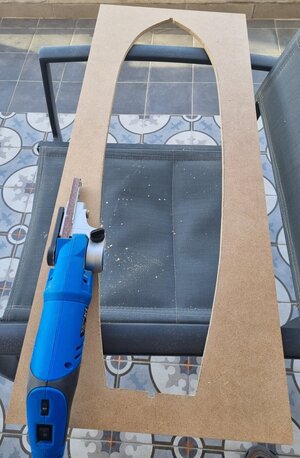
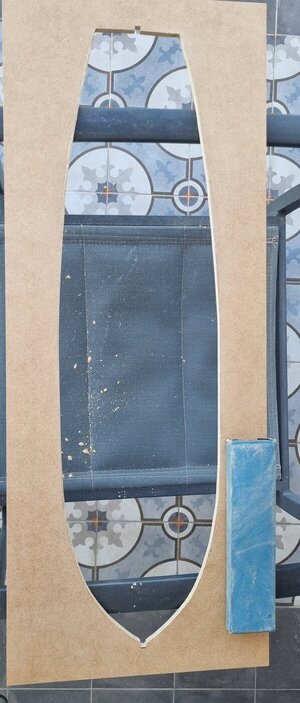
After that I sawed from the upper board the outline of the upper deck up to the frame line. I worked for several hours to achieve an exact fit of the top panel to the correct outline, with both manual and electric sanders.
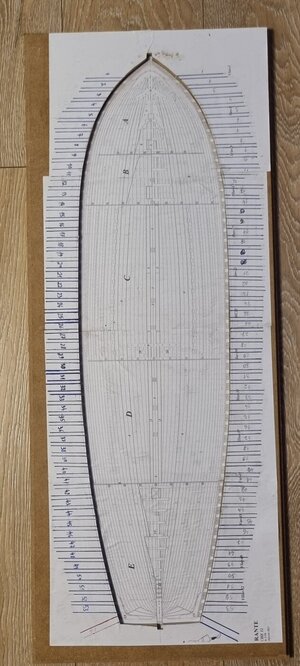
After I reached the required adjustment, I cut/separated from the drawing board the inner part that will be glued to the lower board of the jig and the outer to the upper board.
then I marked on the upper board I marked the outlines of the frames including numbering.
In the next few days I will prepare the support columns that will connect the two panels as well as add thin and small reinforcement panels to the bow and stern slot.
I admit that the high-quality construction log of our
friend Tobias's is of very helpful for me!
wish you all glory days
20231101_163936.jpg20231104_113647.jpg20231104_135418.jpg20231104_135831.jpg20231104_150004.jpg20231104_162037.jpg20231104_172722.jpg20231104_172754.jpg
 
Witaj
Z przyjemnością będę oglądał twoją relację bardzo podoba mi się ten model. Masz wiernego kibica . Pozdrawiam Mirek

Hello
I will enjoy watching your report I like this model very much . You have a faithful supporter . Greetings Mirek
 
Last edited by a moderator:
Good morning Shota, very neat work and a great basis for the assembly. One small note though, you need to bear in mind that your frames will have some oversize after assembly, usually about 0.5mm - 1mm. You should take this oversize into account, otherwise the frames will be squashed. There are several possibilities, after you have made your keel and it is fitted, you can build frames 5, 10, 15, 20, 25, 30, 35, 40, 45, 50 and then adjust the height of the top plate until the frames are tension-free (this is how I did it) or you can work out the top plate by approx. 0.5mm on each side. The advantage of variant 1 is that you have a good reference dimension after you have sanded your fuselage for the first time. However, only if you use threaded rods to correct the height.

eZy Watermark_17-09-2022_05-30-49PM.jpeg

eZy Watermark_17-09-2022_07-32-40PM.jpeg
 
‏good evening dear friends
Today I finished building the jig.
I made 4 support columns for the corners, with each of them having a rectangular recess into which the upper panel goes.
I also made two pairs of thinner columns that will support the upper panel in the center on each side as well as sides for the bow of the ship and the end of the keel on which the rudder is mounted.
Unfortunately, I don't have the ability to make a jig with round metal support posts. Of course, I incorporated the advice of our friend Tobias in the construction of the jig.
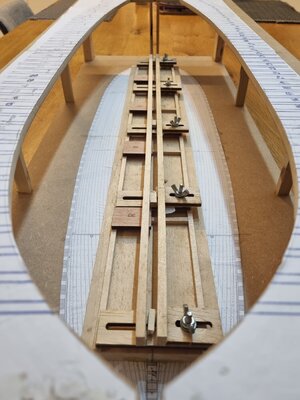
in the main jig I installed an additional jig to which the keel was attached, and you were also able to make sure that the frames are installed at the right angle.
In the coming days I will start work on the keel.
Good week to all of us

20231105_185255.jpg20231105_185340.jpg20231105_185347.jpg20231105_185403.jpg20231105_185436.jpg20231105_185538.jpg20231105_185624.jpg
 
Good Heavens, looks like the jig alone is a vast project and the boat hasn't even got started yet. This is going to be interesting to say the least but I'll park my chair near the refreshments if you don't mind. Shota can this kit be built without all the jig work or is that mandatory? I just never have built with a jig before and it looks like it will help a lot when it comes to the frames. This I have to see. Pete
 
Good Heavens, looks like the jig alone is a vast project and the boat hasn't even got started yet. This is going to be interesting to say the least but I'll park my chair near the refreshments if you don't mind. Shota can this kit be built without all the jig work or is that mandatory? I just never have built with a jig before and it looks like it will help a lot when it comes to the frames. This I have to see. Pete
Dear Pete
Thank you very much for the kind words and compliments. welcome aboard my dear friend, it's my honor :)
You are partially right that the construction of the jig requires work,
But it is possible and not too complicated. it is important to understand that it is required for the creation of the hull.
One of the reasons I try to attach the detailed including measurements, is so that the next friends will be able to use the information in a practical way, thus making it easier for them.
I promise you that I will try to help you when you reach this stage.
regards Shota
 
Without the hint from Uwe, I had totally missed the start of your new project. I wish you a lot of patience and fun during the build.
 
Good to see you're embarked on another build journey and a scratch build to boot. Good luck with this adventure. At least you have a couple of knowledgeable people around, who are not afraid to give you feedback.
I'll take a seat and will watch patiently qnd quietly how this build will unfold.
 
Good evening, dear friends
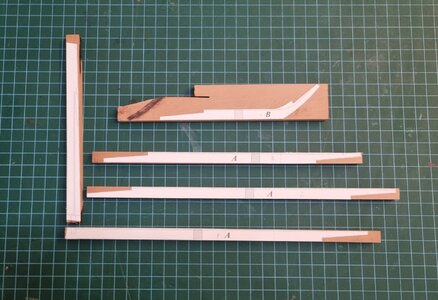
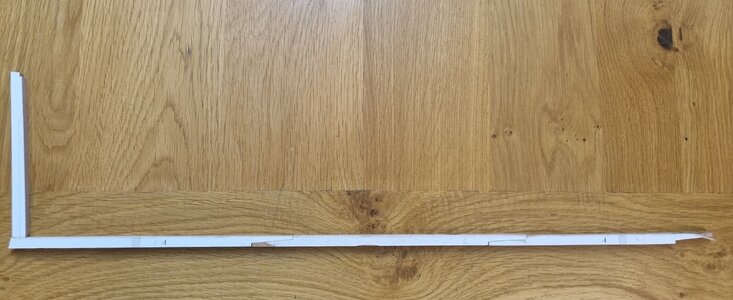
In the last few days I continued to work on the keel, as well as on the sternpost.
First I would like to share the measurements of the different parts;
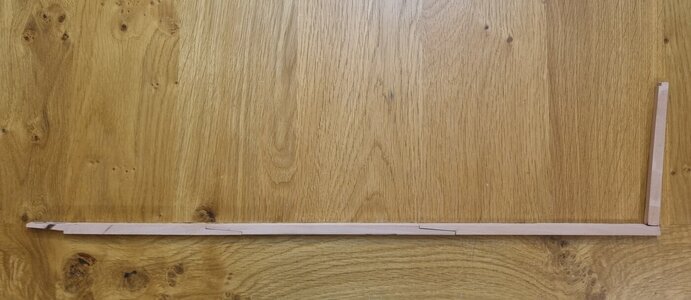
The width of the keel is 7.5 mm and the height is 8.8 mm, while the width of the sternpost is 7 mm, the height changes because of its slope.
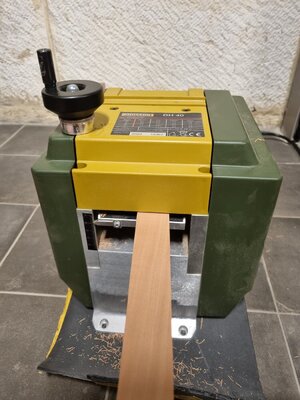
To reach the correct dimensions, I used a proxxon dh 40 planer and then glued copies of the different parts.
At first I tried to work on the keel scarph using the proxxon mf 70, but I didn't liked the result so I used the sanding a tape machine (about a centimeter wide of thetape) is more suitable.
By the way, I intend to make the upper third of the sternpost from ebony wood.
I am at the beginning of the process of preparing the parts of the ship from the bow to the stern. I am not doing the final adjustments and polishing yet, I will do it when all the parts will be ready, and it will be possible to perform the full and correct synergy.
In the meantime I will attach headshots.
20231106_185959.jpg20231107_185119.jpg20231107_222419.jpg20231107_222557.jpg
 
Last edited:
Back
Top