POF La Palme (L'Amarante) Corvette 1744 1:36 (Ancre Monograph) by Tobias

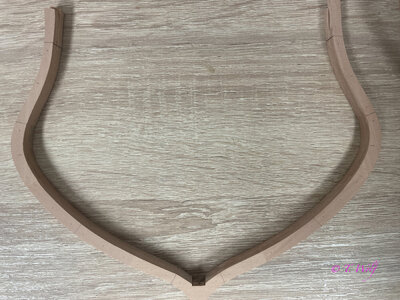
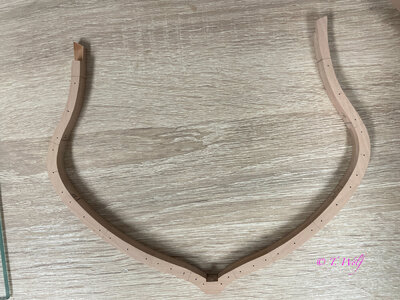
Nothing special, but I think it works well. I decided to leave out the tree nails in the upper area and also work with the bolts there where there are no gunports. According to GD, original bolts are also attached here and not tree nails. It says so in the monograph to facilitate the omissions.

View attachment 317464

View attachment 317465
Hi Tobias. There is so much to see on the SOS. Why did I miss this build of yours?
Very nice work on your frames and the bolts. They are looking very smooth.
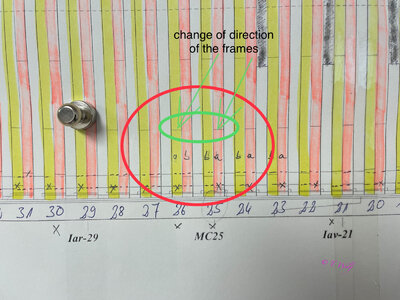
PS: Is it correct frame 25 is turned? It’s no problem, because its dry-fit.
Regards, Peter
 
Last edited:
Hi Tobias. There is so much to see on the SOS. Why did I miss this build of yours?
Very nice work on your frames and the bolts. They are looking very smooth.
PS: Is it correct frame 25 is turned? It’s no problem, because its dry-fit.
Regards, Peter
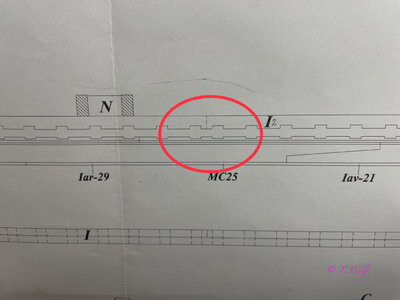
Hello Peter, according to the plan, the direction is changed from frame 26, the frames are also mirrored.
A1B7E0D1-FA1E-40B8-A4EE-2647E4E76AE5.jpeg

638228B0-0F2B-4CC7-A125-5DD0D0D99FA8.jpeg

Thank you Peter for your words and yes I know it well, there is sooooo much to see ;)
 
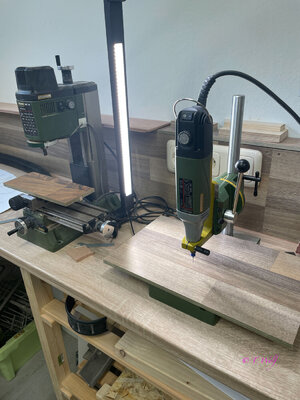
A little update for the weekend. So far I've drilled the holes with the MF 70 and it's very tedious and takes time as I've gotten to a point where I can't drill through anymore because the frames are buckling. I have decided to hire a new helper who makes my work a lot easier. There are 68 holes to drill per frame. Thanks to EBay and a bit of luck, I was able to bid on both items for €110.

EFCB9AA1-B332-475F-A6F3-FE1FE6490934.jpeg
 
Since we have very nice weather and the temperatures are still bearable at the moment, I have moved my workplace to the terrace. The program is: Marking the bolt holes.
View attachment 318671
Hallo Tobias,
this is a beautiful place for modeling - I would work there most of the time....... enjoy
 
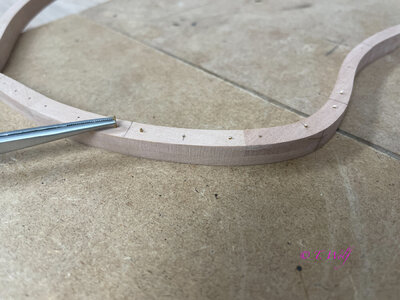
I wish you all a nice evening. In post #156 I already explained how I proceed with the installation of the square bolts, well I thought I would show you a few pictures of the process.
1. Measure and mark the hole pattern from both sides.
FA6D68DC-82D5-4656-A86F-4A482F19116F.jpeg
2. Drill holes
4EAA753C-23C1-4A95-A41D-02C0B49F4F00.jpeg
3. Insert bolts with small pliers and a hammer.
FD6759BB-EE94-4125-B6CF-60F1E813FC90.jpeg
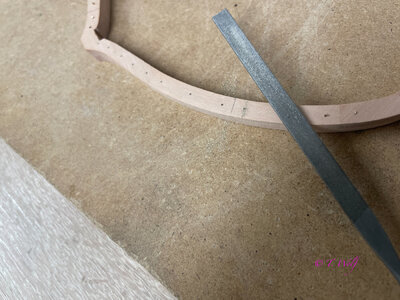
4. File off the bolt with the needle file.
1F45828B-3A2B-4376-B474-4D53EEF547B7.jpeg
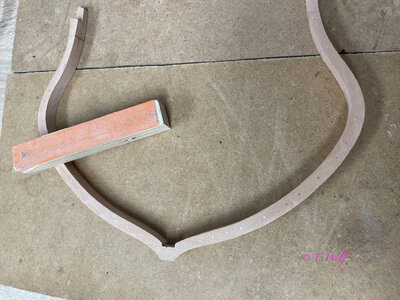
5. Sand with 240 grit sandpaper.
42A65208-770F-4316-93DD-A0B0ED7CEE38.jpeg
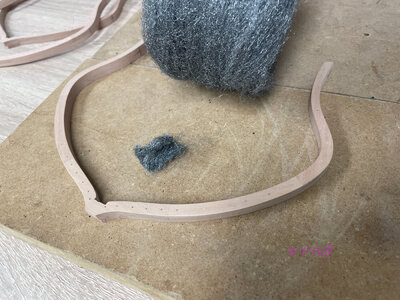
6. Buffing with steel wool.
844A0D41-AD2F-4A13-B116-60B0562EF5B4.jpeg
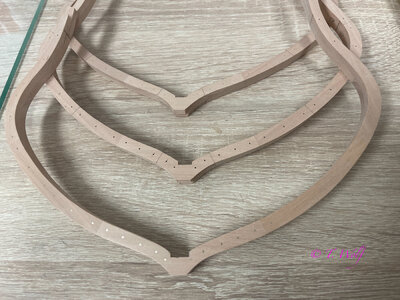
And here three frames in comparison.
4A1A1C80-4060-45A6-8975-E96229A95F1E.jpeg
So now I'll get back to work, there's still a lot to do.
 
Back
Top