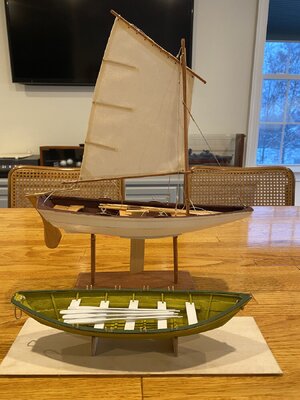
Thank you! My son got me a Model expo 18th century long boat for a gift!Happy Birthday, Rob!
You are using an out of date browser. It may not display this or other websites correctly.
You should upgrade or use an alternative browser.
You should upgrade or use an alternative browser.
Norwegian Sailing Pram from Model Shipways Building Log
Brother Rob:The mast, boom and jib will be stained mahogany.
Project is looking good! But I would not recommend mahogany for spars; the grain is too noticeable for an authentic look. Full size spars would be made of spruce or something similar that would have invisible grain at 1:12 scale. Fair winds!
Thank you for your suggestion. I am not going to uses mahogany wood. I am just staining it that shade to differentiate it from the other stained wood. Why mahogany? I like the color, but more important I have it on hand.Brother Rob:
Project is looking good! But I would not recommend mahogany for spars; the grain is too noticeable for an authentic look. Full size spars would be made of spruce or something similar that would have invisible grain at 1:12 scale. Fair winds!
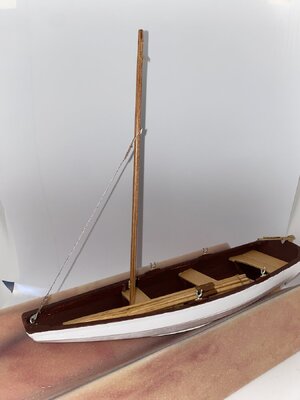
I shaped the spars from the square pieces of wood using the supplied jig. It was interesting to do and worked fairly well. The spars came out a bit oval than truly round, but I was happy with the results. I also carved the oars provided. I had previously carved some oars when I made the Grand Banks Dory and I have to say it was much easier the second time around,
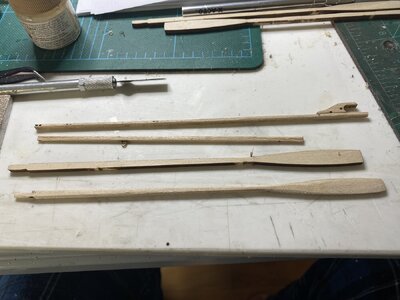

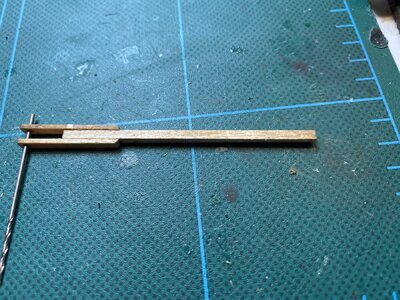
One of the most delicate parts was assembling the tiller. The parts are small and the hole for where it slips over the rudder takes almost the entire diameter of the tiller. Annealing the brass parts as suggested really made cutting and shaping them much easier. I have to say the manual really explains things and makes the job so much easier. If you read over parts carefully the explanations are very helpful.

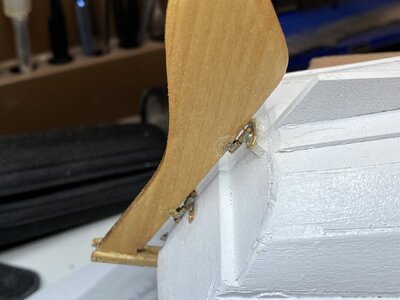
After the rudder was carved, stained and varnished, I made the rudder gudgeons out of the brass strip and tubing. I was very careful to make sure the brass rod fir into the tubing, using a ream to clean the tubes. Instead of using CA cement to attach the tubes to the brass straps. I used silver solder. Silver soldering is easy to do and it makes for a firm attachment. I was also careful to align the gudgeons to insure they would fit exactly on the transom. This was probably the most painstaking (or fiddly for our British shipmates) part of the entire build.

Last edited:
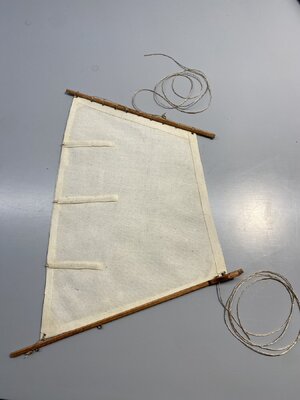
Onward to the sails! I cut a piece of sail material and attached it to a foam core board with tape as suggested. I cut the reenforcing strips of material and painted everything with diluted white glue. This in retrospect was the wrong thing to do. The sail attached itself to the foam board. After it dried I had to carefully try to peel it off. Unfortunately pieces of the board (slick white paper) were attached to the sail. Fortunately, suing water and a sponge, I was able to moisten and take the paper pieces off. I would recommend using some plastic wrap under the sails before applying glue. I also attached the battens to the sail.
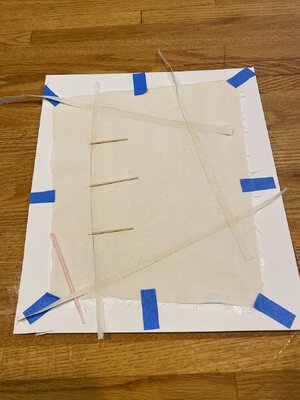

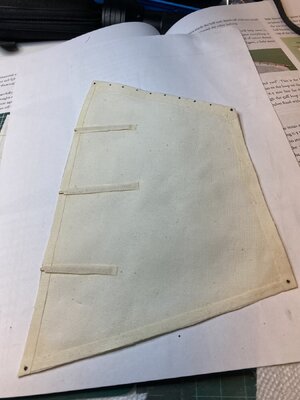
I carefully cut out the sail using fine fabric scissors. I put reenforcing triangles of fabric on the back and glue these into place. I did not like the look of the battens so I made fabric "pockets" for them out of the sail material and glued them over the battens. using a fine sharpie pen I put dots to replicate grommets. The middle of these were opened with a fine drill.

- Joined
- Oct 1, 2023
- Messages
- 448
- Points
- 168

Thank for the clothes pin tip.I next glued in the inwales. I took the 3/32 inch strips and cut them slightly longer than needed. They were then put in the hot water and bent into place. At this stage I cut the ends to fit the angle of the transoms and let them dry. I then glued them in all at one time instead of gradually as suggested by the manual. They fit perfectly. I used clothe pins to set them in place, You may notice I modified some of the clothes pins by taking them apart and "turning" them around so the longer side closes. This makes for a more forceful action as a clamp and also makes them a bit more precise.
View attachment 427205
We learn from each other! I have found so many good ideas here.Thank for the clothes pin tip.
- Joined
- Oct 1, 2023
- Messages
- 448
- Points
- 168

I really enjoy this site and all the people willing and about to help a newbie
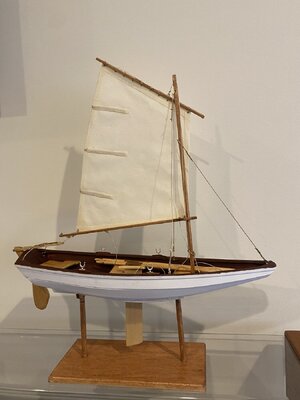
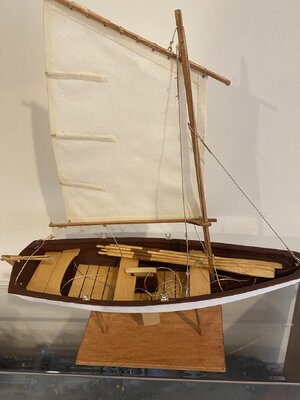
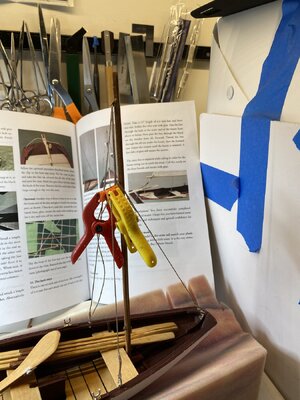
The Back Stays also went in easy. Using clamps to provide tension. After achieving the proper tension the yarn was fixed together by using UV setting glue. I find this much easier to use than CA glue for some procedures. It is easy to apply and most important, will not set until you expose it to UV light. When you are happy with what you have, it will set instantly using a UV flashlight.

- Joined
- Oct 1, 2023
- Messages
- 448
- Points
- 168

Certainly a Pram to be proud of.

