Norwegian Sailing Pram from Model Shipways Building Log

Joined
Dec 20, 2020
Messages
301
Points
168

Location
Connecticut, U.S.A.
This is my first building log. This is the second wooden ship I have built. I have done plastic models for many years. I found the Ship of Scales site and decided to dip my toe in after reading for a few months. My first build was the Grand Banks Dory, which I found to be a lot of fun. My sailing pram arrived in a well packed box with no missing parts. The instruction manual is very detailed, as it was for the Dory.

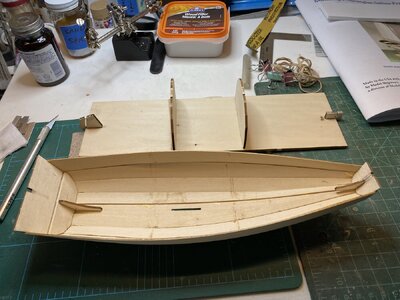
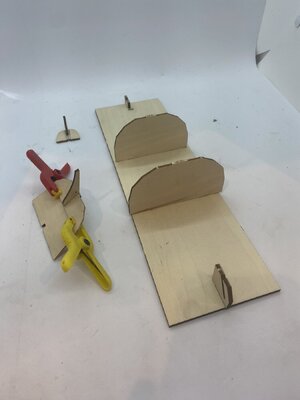
I first started with the transom pieces for the bow and stern, which were easy to assemble after reading the description in the building manual. While the stern transom, which is two pieces was drying I made the building board.


IMG_8278.jpeg
 
Last edited:
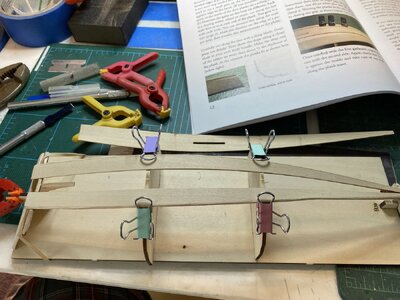
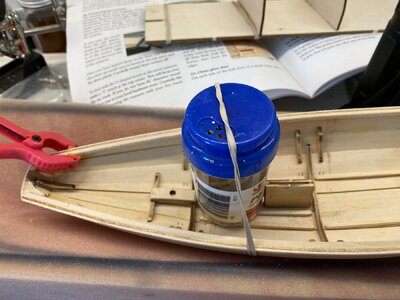
As several others have notes the stern transom holder on the building board is prone to break. So of course I broke it and had to glue it back together. Supported it during the build with a clamp. I freed the keel board and sanded off the char. I then placed it in a thermos of hot water for a few minutes and bent it to fit the transom pieces and the build mould using rubber bands and clamps. I let it set for a few hours then removed it. I followed this procedure with all the planks, which while it takes time, really made it easy to build the hull. After beveling the ends as per instructions, I used the hot water to shape the two bottom planks.

IMG_8286.jpeg

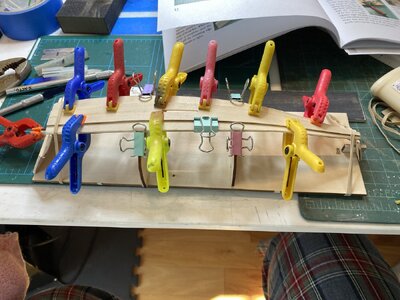
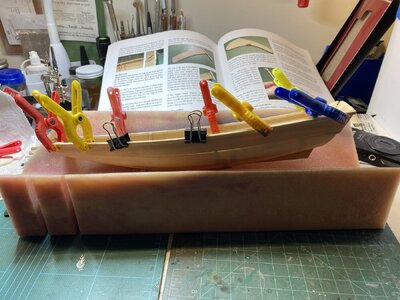
You can note the modified binder clips that I used as clamps. I found them helpful, they are not an invention of mine but were discussed in the instructions for the Dory. Note also the clamp on the stern transom and the rubber band I used to hold the stern transom in place during the build.
 
After the planks were bent and dry, I glued them to the bow and stern transom using Elmers wood glue. I take a small (10CC's or so ) and put it into a used model pain bottle. I take the glue out using a toothpick or dental brush. I find it easier to do this than going back to the large bottle. After the planks were bent I attached the keel board to then using glue. I was careful to ensure that glue did not get onto the building frames. Everything was held together using clamps, binder clips and rubber bands.

IMG_8287.jpeg
 
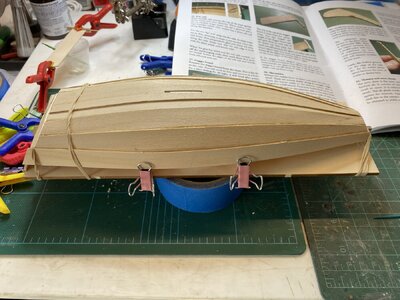
The Garboards, second Strate planks and Sheer planks were all done in a similar manner, Soaking in hot water, letting them dry in place then gluing them. They were beveled and rabbeted as described. (I would take time to read and understand this part), The were placed in pairs instead of separately. I held the hull onto the building board with rubber bands and clips when I wasn't working on it as suggested by the manual.

IMG_8288.jpeg
 
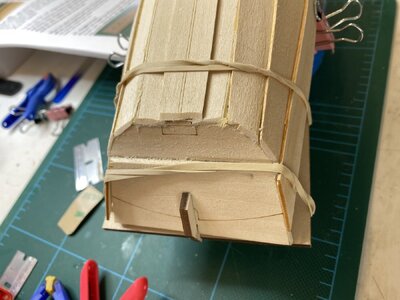
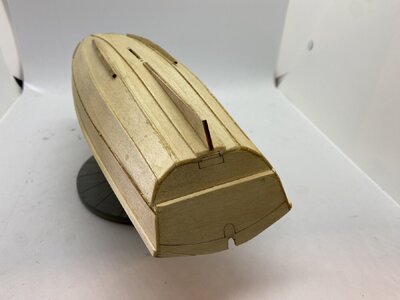
One problem I discovered it that I did not overlap the stern boards enough. This made the stern boards go beyond (upward) the transom. The boards extend beyond the line that is suppose to be the upper edge by about a quarter of an inch (about 5 mm). You can see this on the picture below. There were a few areas that would not be watertight in the real world! I used Elmers wood filler to fill these minor gaps. As you can see the boards extend beyond the transom. the boards were sawed off even with the transom and sanded level, which you will see in a later picture.

IMG_8290.jpeg
 
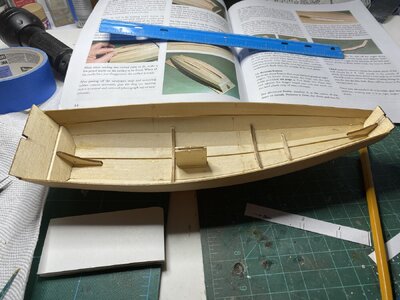
While I was waiting for parts of the hull to dry, I built the dagger board and the dagger board case. The case was easy to assemble. However the daggerboard, as well as the rudder requires some carving to get the desired shape. The daggerboard itself required quite a bit of sanding to male sure it slid easily into the daggerboard case. Make sure it will slide in even if you pain or varnish it. The dagger board case easily glued onto the keel board. I did not bother to sand it to the curve of the keel board as It looked plenty tight without requiring that. After the dagger board case was cemented into place I put in the bottom frames using the paper guide. There was no problem with these they just required some light sanding to fit in tightly.

You may notice another mistake I made here. There front transom knee is not tight up against the keel board. This is probably due to my sanding an incorrect angle when i beveled the front transom, but I was careful to use the included bevel guide. I decided to leave it as is.


IMG_8319.jpeg
 
Last edited:
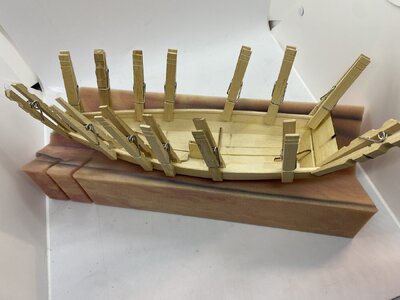
I next glued in the inwales. I took the 3/32 inch strips and cut them slightly longer than needed. They were then put in the hot water and bent into place. At this stage I cut the ends to fit the angle of the transoms and let them dry. I then glued them in all at one time instead of gradually as suggested by the manual. They fit perfectly. I used clothe pins to set them in place, You may notice I modified some of the clothes pins by taking them apart and "turning" them around so the longer side closes. This makes for a more forceful action as a clamp and also makes them a bit more precise.

IMG_8325.jpeg
 
This is my first building log. This is the second wooden ship I have built. I have done plastic models for many years. I found the Ship of Scales site and decided to dip my toe in after reading for a few months. My first build was the Grand Banks Dory, which I found to be a lot of fun. My sailing pram arrived in a well packed box with no missing parts. The instruction manual is very detailed, as it was for the Dory.

I first started with the transom pieces for the bow and stern, which were easy to assemble after reading the description in the building manual. While the stern transom, which is two pieces was drying I made the building board.
Hallo @Rob444
we wish you all the BEST and a HAPPY BIRTHDAY
Birthday-Cake
 
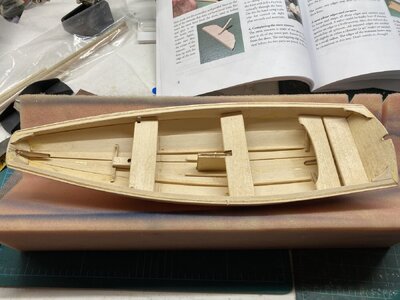
After installing the bow and stern quarter knees, making sure the beveled angles fit the transom, I fitted the thwart frames and the floor board cleats. These all went in early using the paper tape measure provided. The floor board cleats had to be molded a bit to fit and I held them in place with a bit of weight as they set.

IMG_8334.jpeg
 
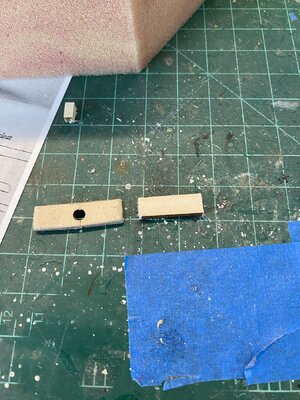
As has been noted by others the mast step gave me a bit of trouble. According to the instructions there are two pieces, one with a hole for the mast, one without. In actuality both pieces have holes for the mast and are very flimsy. I immediately broke one of the pieces and glued it together. I decided to glue both parts together and used a piece of sturdier scrap beneath them to make a 3 layer sandwich, which worked quite well,

IMG_8333.jpeg
 
It was time to take off the overhangs on top of both transoms. The excess to be cut is marked on both pieces, but as I described before, made a mistake on the stern transom and the boards extended about 1/4 inch too far. Using a compass I went from the original line to the extended line and scribed a new cut line. I cut the excess off with a razor saw and put a new u shaped notch in the stern transom suing a small file. the transoms were then beveled and sanded smooth.

IMG_8357.jpeg
 
Back
Top