Lowell Grand Banks Dory [COMPLETED BUILD]

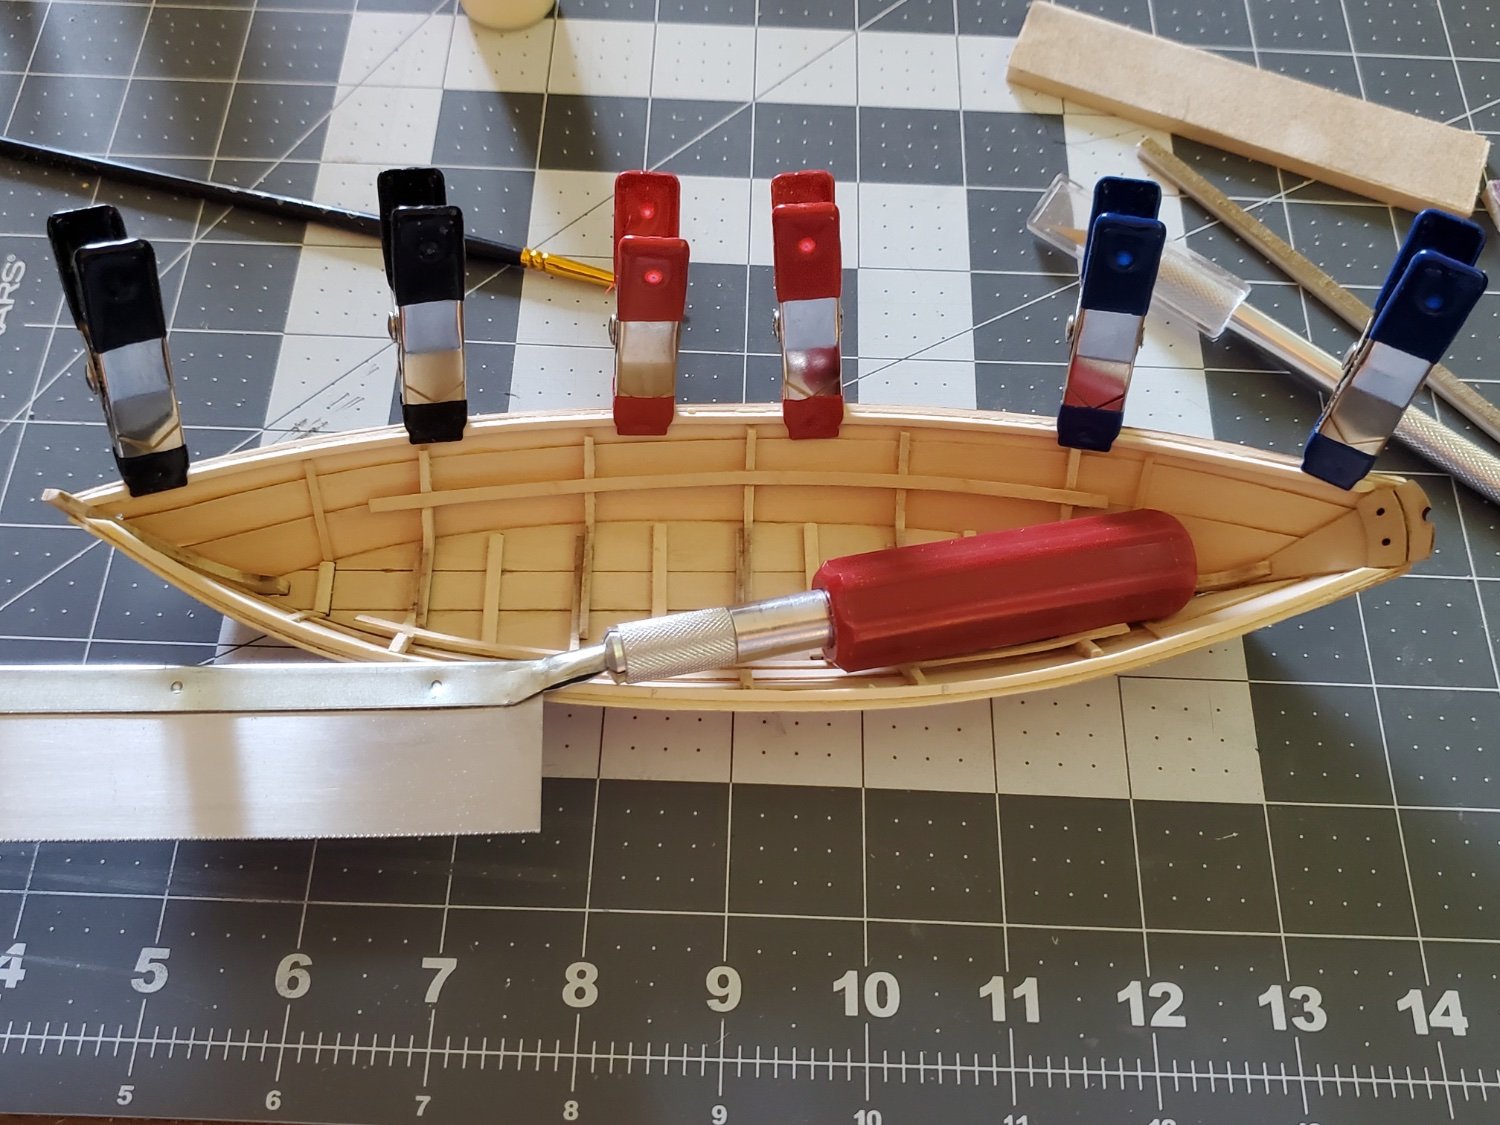
I think Dave, the haws hole on the Sheer Strake, and the caprail plank should be the indication of the bow. But it would be nice if we had an arrow engraved toward the bow,

you would think so but looking at a picture of the bow in the instructions there is no haws hole so you would naturally put that hole at the stern.

img319.jpg
 
The structure is very fragile, at this point either the build is a fail because i used super glue and there is no way of taking it apart to test different ways to run the planks.

dazed and confused

unless i missed a clue as to what the combination of the planks are. what is stern and what is the bow?
 
i do have sheets of 1/32 Basswood around and i can cut out a new set of gardboards. The problem is removing the ones on the model. I would be a very delicate and risly operation. But what if they are on right in the first place?
 
here is what i did i used the cap rail in green and what i thought might be a haws hole in the sheer plank as an indication of the bow so if these two are at the bow i thought it logical the broad and garboard would also follow, and those ends would be the bow, that is how the sheet is layed out. In my left handed thinking why would you flip the gardboard and put the stern end on the bow end of the caprail?

maybe they all face the same direction maybe not

img322.jpg

then i got the idea to measure the bow and stern on the plans from the bottom to the cap rail lines blue and green. Well as it goes the plans are not to any scale the red line does not match the laser cut bottom. '

img321.jpg

i looks like i hit the end of this build because i found out there was no need to wet the planks and clamp them. They bent just fine dry and using super glue it took 30 seconds to glue them down without rubber bands and clamps. i can't take it apart and try different ways to of planking. Or if this is right or wrong.
 
"you would think so but looking at a picture of the bow in the instructions there is no haws hole so you would naturally put that hole at the stern."

If you look further on in the instructions the haws holes do go to the bow. The stern transom has areas for holes to place lines there.

That picture you are referring to may be from a pre-production kit.

ok then the plank with the hole and the caprail are both on the bow end but the other two planks are flipped and those are the stern ends.
the picture of the bow is a scan right out of the instructions and your right it migh be a pre production picture but how would a build know that?

Every picture of the bow in the instructions do not show a hole so it must of been added after the instructions were done.
 
i am going to make cardboard patterns of the planks and try different combinations to see what happens.

To remove super glue from wood, dab the area with acetone, if i need to remove the gardboard i will try the acetone.
it sure would have taken the guess out of the planking if the bow and stern were marked next to the planks.

i get back with the results
 
I agree, the instructions could be a little clearer especially for us first time builders. If you look at the cover of the manual you will see the line for those holes on the inside of the bow. On page 22 it describes the bow line withe the line draped inside the Dory.
 
here is a test

this has the wider end of the gardboard at the bow and actually the cardboard template of the broad strake wiill fit in either direction.

test1.jpg

the broad plank as one end measuring .423 and the other ar .493

putting the wider end at the bow the results are the picture above. You can get it to fit

the bottom picture has the narrow end at the bow

if the wider end of the garboard is at the bow. either end of the board plank will fit


test2.jpg


looking at the run between the planks is where the difference is showing up when you flip the board plank.

so i does matter which end of the planks are the bow and stern
 
i am making more problems for myself
what i did now was go back to the drawing the blue line at the stern measures 1.758 the green line at the bow measures 1.681 so there is more surface area of planking at the stern than the bow.

img321.jpg

ok now
going back to the sheet of planks i measured the width of each plank at the ends. adding up the left side is 1.875 the right side is 1.676 so the blue line at the stern is longer the left side would be the stern because it adds up to more than the right side. BUT that puts the haws hole at the stern.
i can flip the top plank and the left is now longer and the right side shorter so we are still ok. which way does the middle plank go?

numbers.jpg

i am pretty sure the wider end of the gardboard goes at the stern

so i made the attempt to remove the supper glued gardboars from the model and it worked.

DSCN6747.jpg

what i did was cut it away until there was just a tiny bit on the frames and along the bottom edge then sanded that off. the only damage was an ever so small splinter along the bottom. Now i will retrace the gardboard from the laser sheet and make a new ones. The little splinter can be filled in and painted over.

There is still the mystery of the flip flopping planks they can flip either way.

DSCN6745.jpg
 
and this is the first beginners kit yikes! all it would have taken is to pace the planks on the sheet in the same direction and mark the sheet bow and stern or mark each plank for the bow end. but nooo you have to guess and maybe you will get it right the first time. unless it just me and i totally missed the clue someplace.
 
a conversation between myself and my number 1 critic

i say to my wife "hey i am running out to hobby lobby you want to come along?" sure
as we were driving out she asks "so what are you getting? i said "a sheet of 1/32 Basswood and more super glue to fix the model i am building"

that little dory?

really! for years i watch you pick a subject, research it, draw the plans, layout all the laser cutting sheets, mill the wood and build a model from scratch and you messed up a beginners kit!

you got that right and here's the thing i scratch build models so i am a first time beginner as a kit builder, seems i have trouble following someone else's instructions. As a scratch builder i know what i am doing right from the start, as a kit builder you might have to second guess what the original designer had in mind.

i got what i needed so i taped the kit laser sheet to a sheet of 1/32 Basswood and cut out a new gardboard i need 2 so i will use the original sheet as a pattern and cut another one.

i am going to super glue the second set of gardboards on the model. i am pretty sure the wide end goes at the stern, so i will have no need to cut it off again.
i think!

new gardboard1.jpgnew gardboard2.jpg
 
Last edited:
the gardboard 2.0 i am test fitting the gardboard to the model.

the garboard is longer than the model


as before i set the garboard along the bottom edge with a slight over lap

DSCN6753.jpg


here are the instructions
quote
Set it's forward end flush to the front edge of the stem and let any overlap happen at the transom.

DSCN6754.jpg

that is not possible because the angle at the end of the gardboard is not the same angle as the stem you can not line it up flush.


DSCN6751.jpg

when i saw that i flipped the gardboard around and tried the wider end and guess what the angle on the other wider end is an exact match to the angle of the stem.

DSCN6752.jpg

take a look from the other side yup the angle on the end of the garboard matches up with the angle of the stem.

i had it right in the first place if you follow the instructions and line up the garboard flush with the stem.
 
super glue avoids all the clamping the problem is you have 10 seconds to place the gardboard or glue it down one frame at a time. Using the wood glue you need to clamp it in place BUT you have time to tweek it and shift is to get it in place.
 
Last edited:
Dave,

I would not worry too much about the overlap at then ends. There is enough length of these boards that both ends can have a slight overlap. I also think that the 2 step method of wetting the boards in hot water and clamping them in place and letting them dry and then gluing and clamping in place works better. I would also use wood glue (I used Elmer's carpenter glue which is what I happened to have). I think it is more forgiving.

There are a few other build logs of these dories on this site and others.


You can see each person has built theirs differently

Rob
 
Rob444
i took your advice and went with the wood glue provided in the kit and i have the new gardboards on. I also gave both ends an overlap rather than "Set it's forward end flush to the front edge of the stem" as the instructions suggested.
once again i did not wet the planks they bent with no problem dry.
 
Dave:
Thanks for sharing your trials, tribulations, and solutions with us. Keep making progress and keep us informed. I am inspired to provide a few comments.

Post #6: The concern about glue oozing and gluing the frame to the plan reminds me of building balsa/tissue aircraft in my childhood. The standard practice was to place wax paper over the plan and build on top, which prevented gluing the plane to the plan.

Post #34: Lap-strake construction is shown in photos and an illustration in this post. Note that bank dories were constructed with a modification of lap-strake called dory lap. Part of a drawing by John Gardner from The Dory Book is shown below to illustrate dory lap on a bank dory. Compare this to the drawing in Post #34. With lap-strake, only the lower plank is beveled. With dory lap, both planks are beveled where they join. Admittedly, this difference might not be obvious at 1/24 scale.

Posts #39 and #41: Here there is discussion of haws (sic) holes in the sheer strake. These aren't precisely hawse holes but holes for a becket for hoisting the dory onboard the schooner. Gardner specifies these at 1" diameter. There are also a pair of holes in the transom. The bow becket was typically a rope grommet and the stern becket was made by reeving the rope through the holes in the transom and tying stopper knots on the outside. Shown below is a dory hanging from its beckets.

Fair winds in the new year!

bank dory lap.jpgbank-dory.jpeg
 
Back
Top