Longlegs55 builds ZHL Soleil Royal

hi everyone,
could someone advise what part y16 117 small copper nails are used for as i see no reference for them anywhere.
cheers for now!!
Neil
There is no reference for them. You are free to use anywhere at your discretion.
 
thanks for those replies, Vic and Jay, seems like the instructions are as specific as ever, "here are some parts, use them". I shall , as you appear to have done, use them as i see fit. Just spent the last week or so Blinging up some more parts with gold leaf, pictures to follow when i finish the parts i have completed.

Thanks again for the invaluable assistance,

Neil
 
Hi all,
sorry for the lack of posting, however i have not been completely idle in the interim. As i previously said I have been "blinging" some pieces up with gold leaf. Much to the annoyance of 'er indoors, the house now appears to have been hosting a glitter party with bits of gold leaf appearing everywhere!!
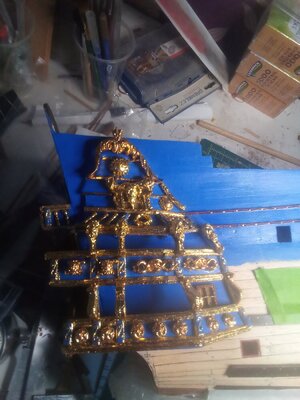
Anyway, have just about completed the "blinging" of my starboard gallery and will post more as and when I can progress.IMG_20231128_144430.jpg. I hope this comes up in the photo as progress is quite slow.

Before I go, i'd like to thank everyone who has given me advice and helped me up to this point, it has been invaluable and saved, what i hope will turn into a great finished model, form turning into matchsticks.

If I am unable to post before, Seasons Greeting to one and all, I'm sure i'll be asking more very soon!!

Cheers, Neil
 
Hi all,
sorry for the lack of posting, however i have not been completely idle in the interim. As i previously said I have been "blinging" some pieces up with gold leaf. Much to the annoyance of 'er indoors, the house now appears to have been hosting a glitter party with bits of gold leaf appearing everywhere!!
Anyway, have just about completed the "blinging" of my starboard gallery and will post more as and when I can progress.View attachment 410195. I hope this comes up in the photo as progress is quite slow.

Before I go, i'd like to thank everyone who has given me advice and helped me up to this point, it has been invaluable and saved, what i hope will turn into a great finished model, form turning into matchsticks.

If I am unable to post before, Seasons Greeting to one and all, I'm sure i'll be asking more very soon!!

Cheers, Neil
PLEASE post a description with photos on how you do this!!!
 
thanks for those replies, Vic and Jay, seems like the instructions are as specific as ever, "here are some parts, use them". I shall , as you appear to have done, use them as i see fit. Just spent the last week or so Blinging up some more parts with gold leaf, pictures to follow when i finish the parts i have completed.

Thanks again for the invaluable assistance,

Neil
I thought about gold leaf, but decided against it because I really liked the Testors gold paint. I’m interested in seeing how it turns out. Got some close up pix?
will make it a priority Darivs Architectvs, but it will get messy!!
Lots of work! She sure looks blingy, though. Keep at it. She's coming along.
 
Hi all,
sorry for the lack of posting, however i have not been completely idle in the interim. As i previously said I have been "blinging" some pieces up with gold leaf. Much to the annoyance of 'er indoors, the house now appears to have been hosting a glitter party with bits of gold leaf appearing everywhere!!
Anyway, have just about completed the "blinging" of my starboard gallery and will post more as and when I can progress.View attachment 410195. I hope this comes up in the photo as progress is quite slow.

Before I go, i'd like to thank everyone who has given me advice and helped me up to this point, it has been invaluable and saved, what i hope will turn into a great finished model, form turning into matchsticks.

If I am unable to post before, Seasons Greeting to one and all, I'm sure i'll be asking more very soon!!

Cheers, Neil
Good morning. Lovely gold leaf work. I gave it a go on my Victory and it was a disaster. Bling looking good. Cheers Grant
 
ok so as requested the "blinging" bit.

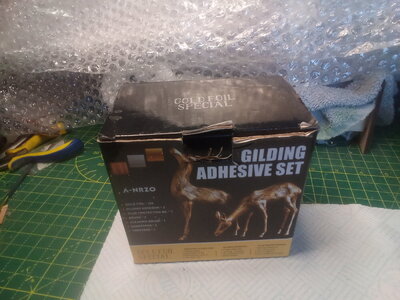
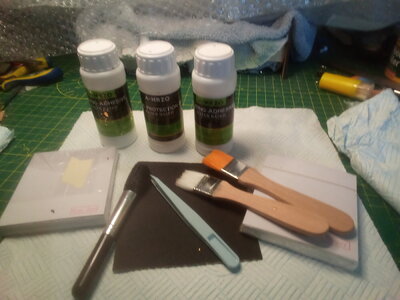
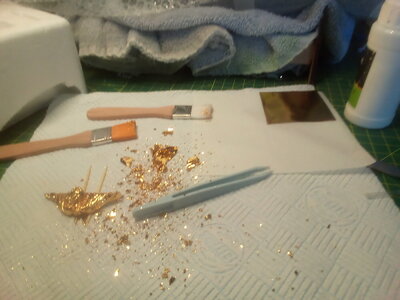
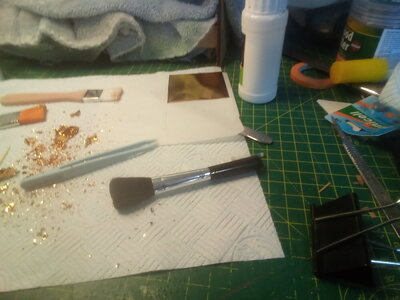
this is the gilding kit that i bought off Amazon for £24.IMG_20231129_090829.jpg and the contentsIMG_20231129_091014.jpg the kit comes with 2 bottles of gilding adhesive and a bottle of protection oil(explained later), three brushes, sandpaper,tweezers and three types of foil(only 2 in picture as i finished the gold!)
 
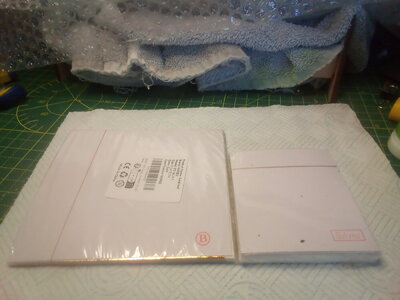
the good things about the kit are, bearing in mind i have never gilded before, everything is there to get going straight away, loads of glue and enough protection oil, which goes over the finished gilding to prevent oxidation. even better is that these can be watered down if needed but I haven't done that. Down sides of the kit are pretty vague instructions, but anyone building zhl Soleil royal will be used to that, and only 100 sheets of each foil, being yellow gold, rose gold and silver. also the sheets are small see photoIMG_20231129_091846.jpg you may notice the pack on the left has a letter "B" on it. this apparently is the "shade code". the original ones were code K. there is a slight difference which stands out a mile to me but 'er indoors says she can't tell so that will do for me. it is just worth trying to get the same code when you re-order foil. please note i didn't say if you order foil. even with the larger sheets i ordered an extra 300 because there is so much "bling" to do
 
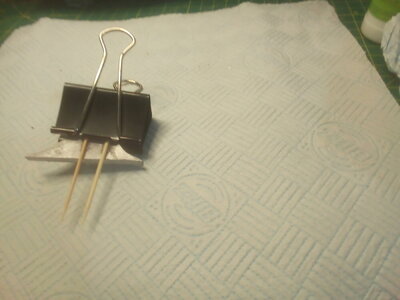
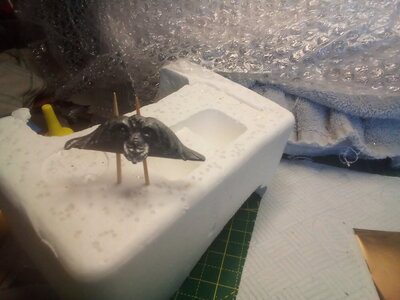
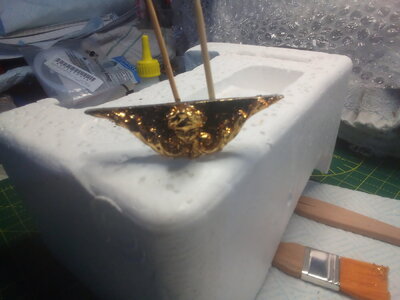
Now to the actual fun bit, firstly mount whatever you are intending to gild onto something, I use cocktail sticks on the back with superglueIMG_20231129_092712.jpg two reasons for this firstly so that you can hold it while you apply the adhesive and scondly to place it on the foil. I should point out that there are two types of foil. One is transfer foil that you can lift and transfer to the piece the other is called something else that i can't remember. anyway, the hit comes with transfer foil but the additional foil i bought is the other type and if you try to lift it, it just tears so you have to place your object onto it. hope this becomes clearer as i go on.Secondly, get some gloves on, this will get messy!!!
 
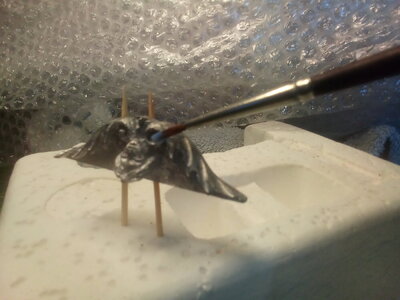
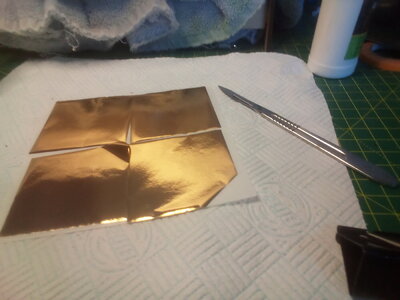
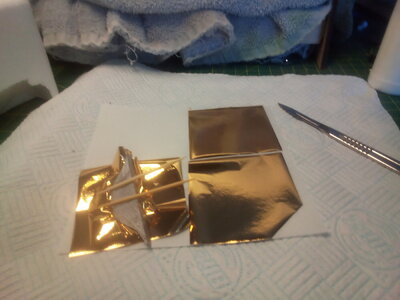
with an ordinary paint brush (washes out in water)IMG_20231129_094501.jpg apply the adhesive. its a very light milky blue colour when you apply it and then LEAVE IT ALONE for at least 15 minutes to an hour. you will know when it is ready because the milkyness will have gone. don't be tempted to touch it to see if it is ready, it will be very tacky but will lift off on your gloves.IMG_20231129_095106.jpg don't skimp on the glue, better too much than not enough. make sure you get into all the nooks and crannies, swirls in this case, but try to burst any small bubbles that you may have created, just makes the foil go on better. whilst you are waiting for the glue to go off, prep your foil. with this piece i will cut one of the large sheets into 4 because you will need at least 2 pieces. if you are using the original sheets from the hit i would use 2 whole sheets for this. if you have one, use a scalpel to cut the sheet, just through the sheet try not to cut the backing paper. i prefer a scalpel with a rounded blade for this, i find a flat blade catches and rips the sheet. as a side note you may see the hull in the background completely covered in bubble wrap. i suggest you cover it with something as the leaf starts to go everywhere once you start brushing, but more of that laterIMG_20231129_100159.jpg I'll be back in a bit when the glue is ready. TTFN!!!
 
I thought about gold leaf, but decided against it because I really liked the Testors gold paint. I’m interested in seeing how it turns out. Got some close up pix?

Lots of work! She sure looks blingy, though. Keep at it. She's coming along.
hopefully the little bit i'm doing about gilding will give you the close ups Vic.
Cheers Neil
 
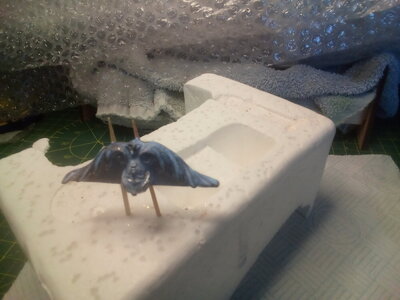
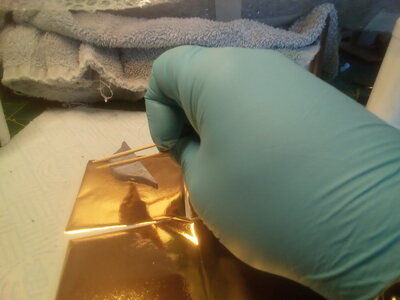
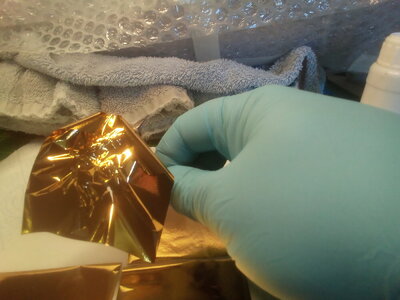
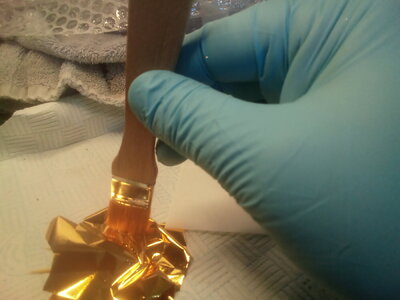
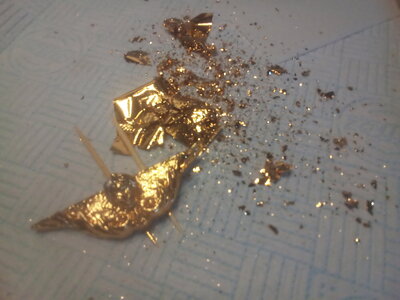
ok, so once the milky blue has goneIMG_20231129_104628.jpg i then lay the piece onto the foilIMG_20231129_104648.jpg then tap it down gently with my fingerIMG_20231129_104730.jpg lay it down again to pick up second sheetIMG_20231129_104820.jpg then use the brush in a stippling effect to push the leaf into the swirls and detailsIMG_20231129_104920.jpg and then check it, a piece on the left hand side of the head hasn't taken so i'll re-glue that bit and follow the process again. IMG_20231129_105219.jpg Back soon
 
i use the other brush to stipple in the touch ups and use the left over bits of foil. the reason to use the other brush is just in case any glue has got on during the first application as, rather than stippling extra on, it will lift all your hard work.IMG_20231129_114706.jpg Once you are happy that everything is covered then you will need the third "bushy" brush.IMG_20231129_115053.jpg twist this to produce a spinning action and use it all over your finished piece to remove any final little pieces and to buff it up.IMG_20231129_115312.jpg all that is left to do is to "paint" over the whole piece with the protection oil, you only need a little as it goes a long way!! One note on this piece, to fully finish it, as it hangs down from the stern, i would remove the cocktail sticks and any glue residue and complete the same process on the reverse.

Hope this hasn't been too long winded, that's gilding from a complete novice.

Cheeers all, Neil
 
Back
Top