IJN AKAGI 1/350 by Hasegawa [COMPLETED BUILD]

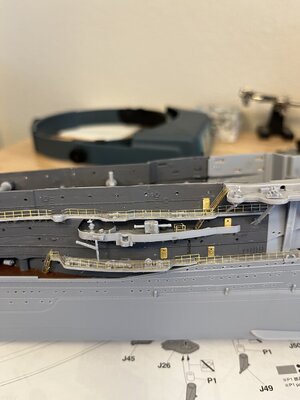
Just another short update. First I must say the Hasegawa Akagi has an amazing about of detail without PE just the moulded model. When the PE is added it really brings the moulded details into focus. I spent the week added Eduard and Hasegawa PE on the port side while following the kit instructions. This was going to be a break from the under deck lattice structures but all the time checking the different instruction sheets is mentally very confusing. My PE work is improving with all the PE features and I'm learning with each piece. What comes first and when to add the next piece, etc. Measuring and fitting railings before glueing has been a real learning experience.
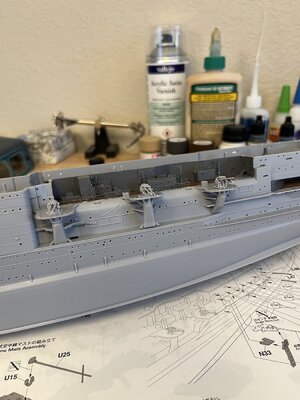
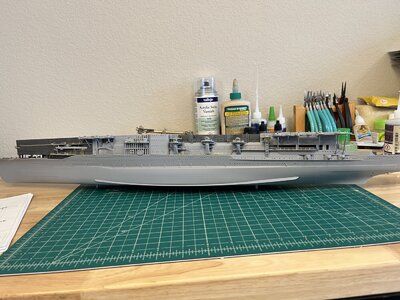
Just a few photos starting at the bow and down the portside going aft.
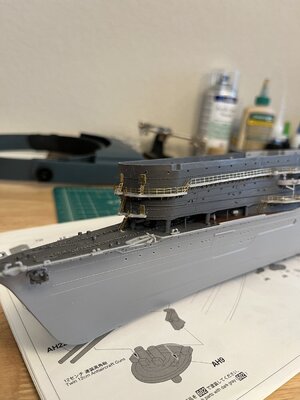
IMG_1236.jpeg


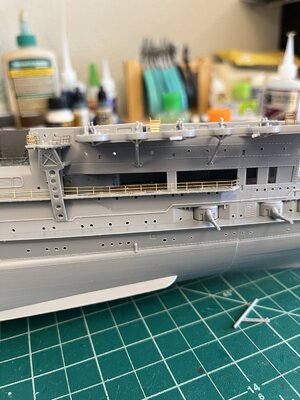
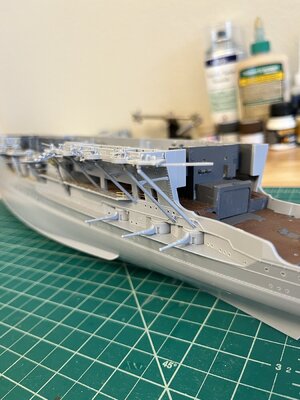
The next photo shows the amount of plastic detail on the Hasegawa kit. Look at the detail on the guns and the jackstays. I'm taking NMBROOKs suggestion and use black weathering was on the jackstays rather than add the PR. When you look a the complete kit the jackstays and everywhere.
IMG_1238.jpegIMG_1239.jpeg

Well on to more Photo Etch
IMG_1237.jpeg
 
Looking Good WillThumbsup

I agree, working between all the different sets of Etch instructions AND those for the basic plastic model are confusing and very time consuming. There is a lot to be said for using a complete aftermarket upgrade kit, e.g, Flyhawk,Pontos or Tetra. Their instructions are perhaps very cramped but you are only looking at two lots of instructions. I count seven sets for this if you use all Hasegawa"s etch and wood deck plus the Eduard Set and that's without the planes....

Kind Regards

Nigel
 
Thank you Nigel.
You're so right about looking at all the separate instructions. I also am looking at seven sets of instructions Hasegawa A. B, C, Wood Deck, Fire Hawk, Eduard, and SSModel. Making matters worse the SSModel set has 12 sheets of PE which comprise all the Hasegawa sets including the Super Detail Upgrade. The SSmodel set does not have instructions included so I must search the prints, from you, finding the part needed.
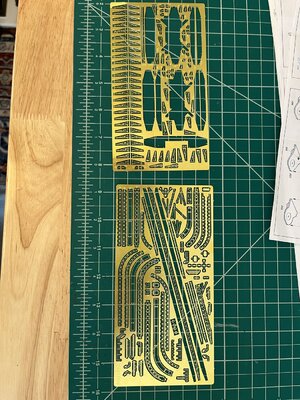
And photo of two sheets one that has been partially used.
IMG_1240.jpeg
More to come. This is a fantastic model and one which I'm having much fun building as long as I don't expect fast completion.
 
Thank you Nigel.
You're so right about looking at all the separate instructions. I also am looking at seven sets of instructions Hasegawa A. B, C, Wood Deck, Fire Hawk, Eduard, and SSModel. Making matters worse the SSModel set has 12 sheets of PE which comprise all the Hasegawa sets including the Super Detail Upgrade. The SSmodel set does not have instructions included so I must search the prints, from you, finding the part needed.
And photo of two sheets one that has been partially used.
View attachment 389044
More to come. This is a fantastic model and one which I'm having much fun building as long as I don't expect fast completion.
I got confused just reading about all the PE sets your working with :oops: - thoroughly enjoy following this build and the NMBROOK input(s). Excellent stuff. Cheers to both Beer
 
New plastic kits come with high detail even in 1/700 no wonder about 1/350.
I was tempted to by an old MT Miniatures model of USS Intrepid i found on a reasonable offer, however on comparison with Trumpeter kit leaves me with no choice
Intrepid-03e.jpgTrumpeterIntrepid_036.JPG
 
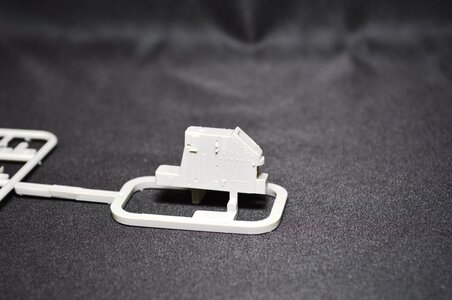
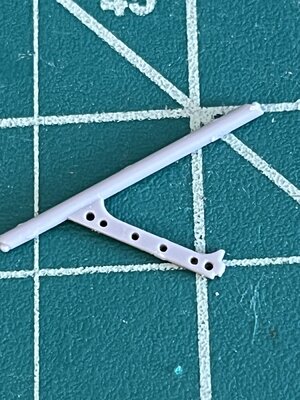
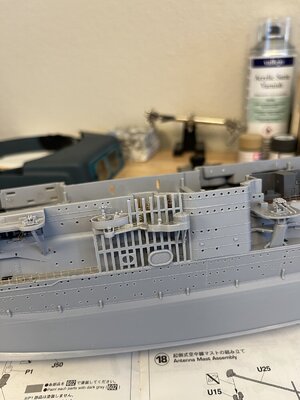
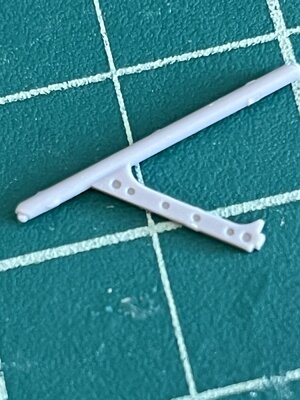
When I looked at the difference between the moulded parts from different generations and seeing the detail in new vs old I decided to add some detail on my Akagi parts. Working on the aft gun platform and antenna mast support I noticed the moulded details indicating holes through the structure and thought of all the gussets with holes that I had added why not drill out the indentations.
Here is one of the gun platform support with moulded indentations to indicate holes.
IMG_1246.jpeg
Next is the support with the holes. There are two size holes as indicated in the moulded part. I thing they had larger holes when the material was larger.
IMG_1247.jpeg
And this is the antenna platform support
IMG_1248.jpeg

Looking at this I wonder am I becoming to anal?
 
Hi Will

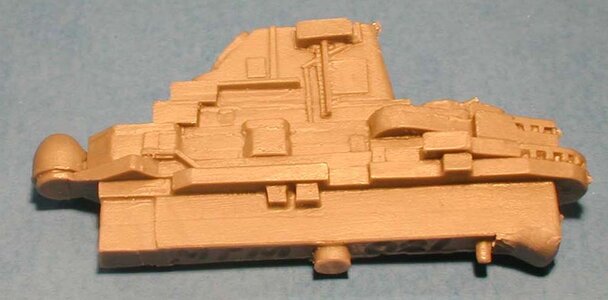
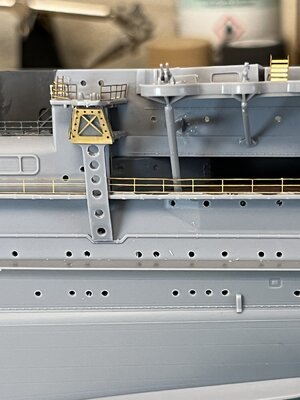
Looking at the last picture of your first post, the long plastic support with the "x" in the middle at the top has a photo etched replacement piece for that small section, just not sure which of the many sets it comes in?????

Not too anal at all, your not replacing all the gussets under the AA platforms like I amROTF:rolleyes:
 
Good Morning Nigel
Yes, I saw the piece you mentioned and its from the Eduard PE. The PE piece is flat and has no stiffening bent edges. I'm kind afraid that being ca glued would not be secure. I still might go back and cut off moulded and attach #179. Thanks for looking at my work and I greatly appreciate you suggestions.
 
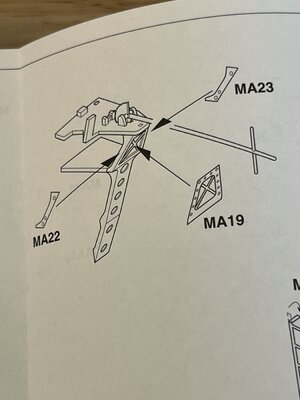
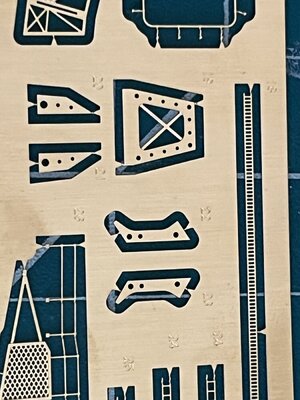
Nigel your comments started me wondering and I found that Hasegawa Akagi detail up Basic C has another PE piece for the antenna support.
This is a photo of the instruction sheet
IMG_1250.jpeg
This is the PE still on the fret
IMG_1251.jpeg
I'll go back and install PE #'s 19,22, 23 as shown in the instructions.
Nigel I can't thank you enough
 
Your doing fine with the fine details.

I had 1/48th scale model aircraft with all the PE to upgrade wheel wells and gun/weapon bays and have not even started.

In my 1/87 scale HO model railroad I have many PE upgrade kits waiting to be installed and still not the time or courage to tackle.

Everyone says once you get started working with PE becomes easier, but I just need time to get going.
 
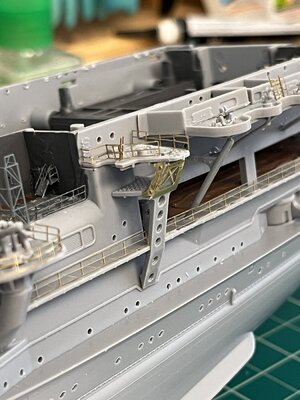
I finished the portside PE and still have the aft deck to complete. Studying plans, sets of PE, Hasegawa kit made the decision to complete the aft under deck PE lattice.
This a photo of the portside
IMG_1256.jpeg
and a closeup of the rear
IMG_1255.jpeg
And now on to PE that gave me so much trouble that I had to disassemble by soaking in acetone. First pieces in place. I made a big mistake when taking the pieces from the acetone by not marking them with proper location. Spent the better part of today checking each part and identified it.
IMG_1260.jpeg
I'll post more as I progress.
 
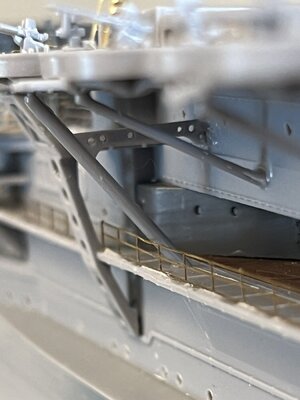
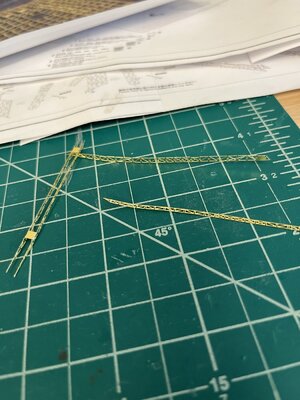
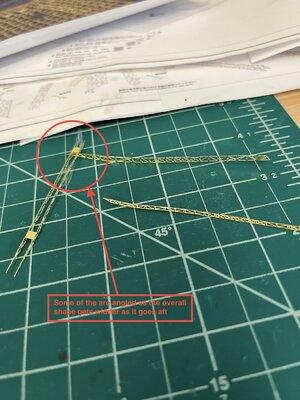
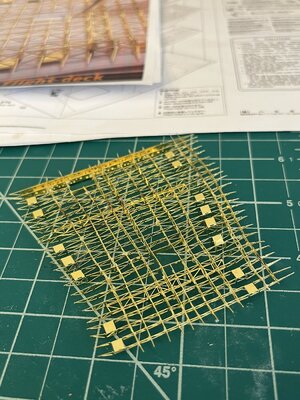
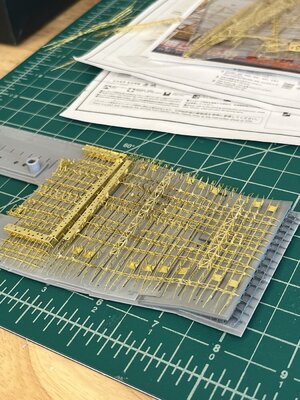
Not much to show except I've been working on the under deck lattice structures. The basic structure is complete after many oops. Hardest part was getting the cross pieces in the correct orientation and position. Just as laying a cross sectional box and not understanding why the longitudinal pieces did not align with the grooves in the cross pieces took hours to understand. Once again it was back into the acetone did. This time being carful placing the pieces in their correct order. One problem with dipping in acetone is the gummy residue left is hard to clean without bending the delicate PE. I remembered a trick I had read and decided to try it on one of the gummy sections. Taking a propane lighter and with the smallest flame touch the piece of PE at the gummy area and poof the flame roared and gummy area gone with the PE unaffected. Cleaned everything and rebuild the structure. AGAINIMG_1260.jpeg
So when I built the second set I placed one of the cross pieces reversed which caused the angle to be opposite and the longitudinal not to align with the slots.
The section built with a few pieces to go which by the way are the ones I've not done before. So new opportunities await.
IMG_1264.jpeg
Just thought I'd align everything on the aft section of the flight deck underside.
IMG_1263.jpeg
On to the opportunity that awaits
 
Back
Top