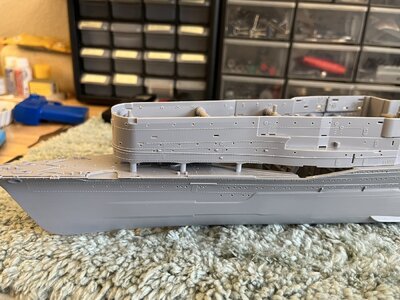
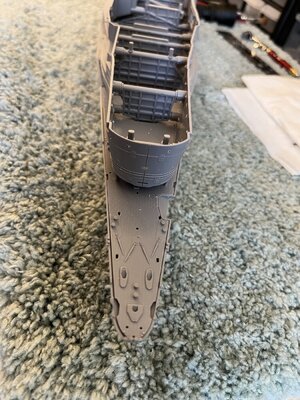
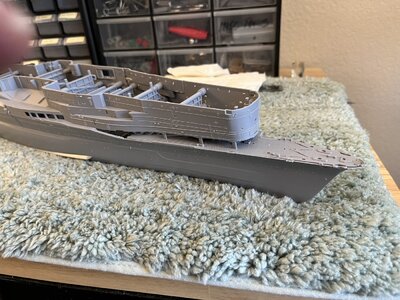
While looking for a model to build that has great visual detail I came upon YouTube videos of the Akagi with a the under deck structure and thought maybe I could build this complicated photo etch. I ordered the model to study and when it arrived it left me with a OMG feeling.
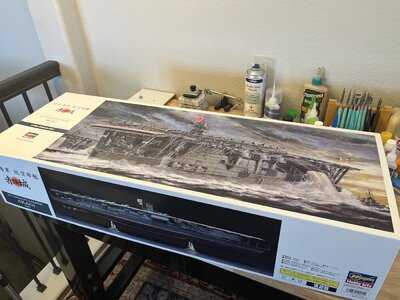
Do I have enough room to build this monster? I presently have taken possession of the dining room until the basement finish is completed. I will then have a proper shop to build models. As I said in another post I have started building plastic while the shop is being fitted. When the shop is completed I can get back to finishing wood models the move forced into storage.
My plan is to build the Akagi with the Hasegawa photo etch as I have seen on YouTube. Let the search begin for the pe I have been able to find the basic A, B, C, and jackstays from several sources. The Super Detail kit has eluded me for months so I found a kit by SSModelKits that was described to have all the Hasegawa Akagi photo etch. I bought the SSModelKit and it does have all the Hasegawa pieces.
Unboxing the Akagi revealed just how big this model is and how much was included.
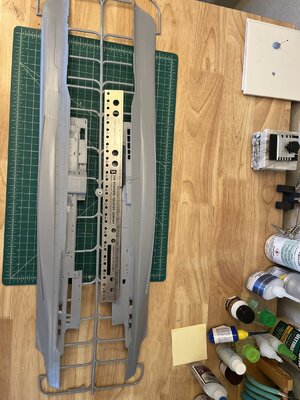
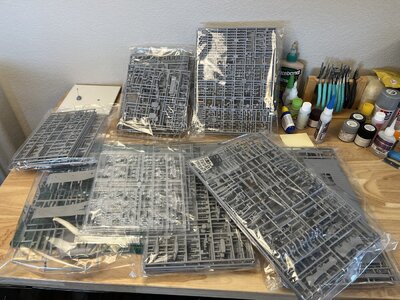
The instructions are as other Hasegawa kits I've built but the complexity leaves the instructions lacking.
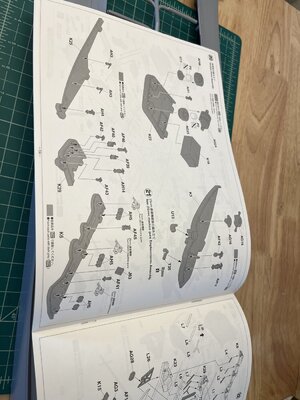
I studied the the Hasegawa basic pe kits which seem straight forward
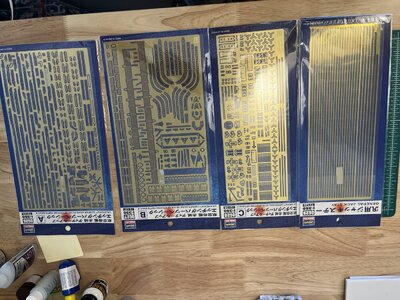
Now onto the SSModel pe. This kit is complete as described from what I can tell. The quality of the pe is very good. I laid pieces of SS SSon top of correct basic pieces and the quality is excellent. Now one major short coming with the SS kit is has no instructions. This problem was overcome with the help of NMBROOK who is building the Akagi. With furnished pdf of the super detail instructions I'll be able to corroborate the parts with instructions.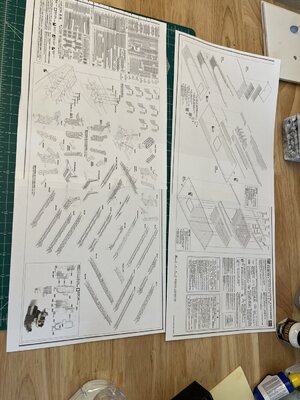
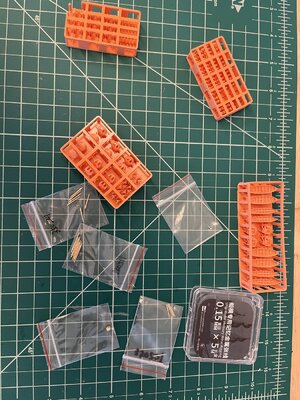
The SS kit also includes 3d printed boats, aa guns, and brass barrels.
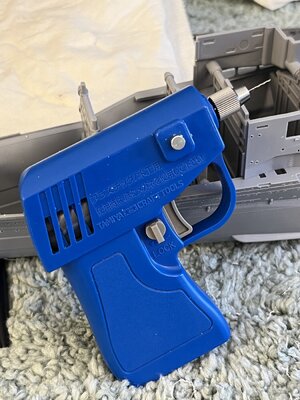
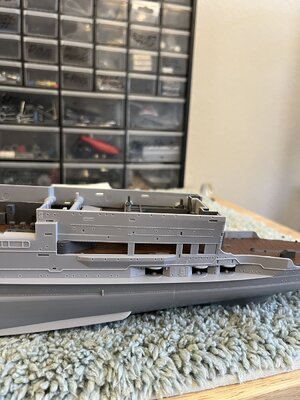
With all this I believe I should start with something simple. Drilling portholes.

Do I have enough room to build this monster? I presently have taken possession of the dining room until the basement finish is completed. I will then have a proper shop to build models. As I said in another post I have started building plastic while the shop is being fitted. When the shop is completed I can get back to finishing wood models the move forced into storage.
My plan is to build the Akagi with the Hasegawa photo etch as I have seen on YouTube. Let the search begin for the pe I have been able to find the basic A, B, C, and jackstays from several sources. The Super Detail kit has eluded me for months so I found a kit by SSModelKits that was described to have all the Hasegawa Akagi photo etch. I bought the SSModelKit and it does have all the Hasegawa pieces.
Unboxing the Akagi revealed just how big this model is and how much was included.


The instructions are as other Hasegawa kits I've built but the complexity leaves the instructions lacking.

I studied the the Hasegawa basic pe kits which seem straight forward

Now onto the SSModel pe. This kit is complete as described from what I can tell. The quality of the pe is very good. I laid pieces of SS SSon top of correct basic pieces and the quality is excellent. Now one major short coming with the SS kit is has no instructions. This problem was overcome with the help of NMBROOK who is building the Akagi. With furnished pdf of the super detail instructions I'll be able to corroborate the parts with instructions.

The SS kit also includes 3d printed boats, aa guns, and brass barrels.

With all this I believe I should start with something simple. Drilling portholes.


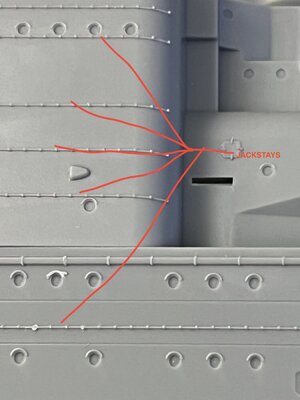

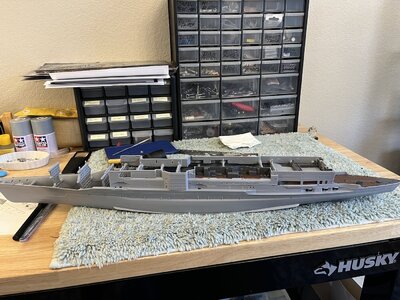
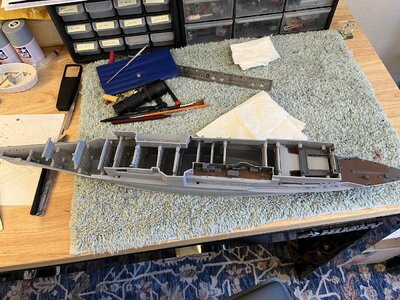
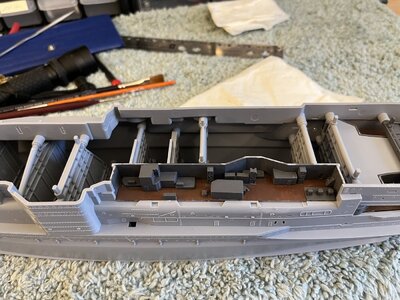
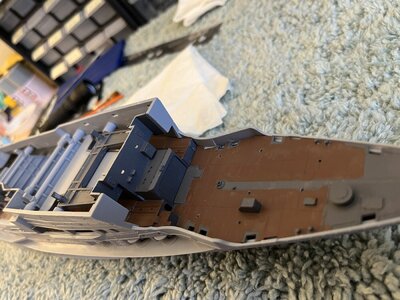
 - cheers.
