HMS Ajax 38 gun frigate. Euromodel [COMPLETED BUILD]

Hi Ken,
I look forward to watching your build. I have Euromodel's Ajax and Falmouth. One of them will be my next build. I suspect i will sell whichever I do not build. I don't think I will get to another one.
I have collected a fair amount of research from the Euromodel site but it is probably a few years old and fairly scattered. Let me know if you think any of it might be useful. But, from the stage you are in I think you probably already know all of it.
Richard
 
Hi Richard, At the moment, I am finishing a build of a schooner and have set the start of 2024 to continue with my build of the 'Ajax'. I placed a number of detailed and sequential build files for the hull of that ship on the Euromodel website in May 2022 but then put that ship aside (nothing to do with the build itself). So, with Ken's great postings and perhaps mine, there is an excellent reservoir of guidance to see you through a build of this ship. It could be said that my files are too detailed but the very nature of a Euromodel build encourages both research and individualism. There is no doubt that that research will always raise questions about the plan drawings but any kit is going to be a compromise.
 
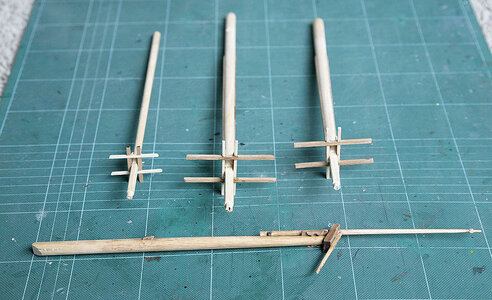
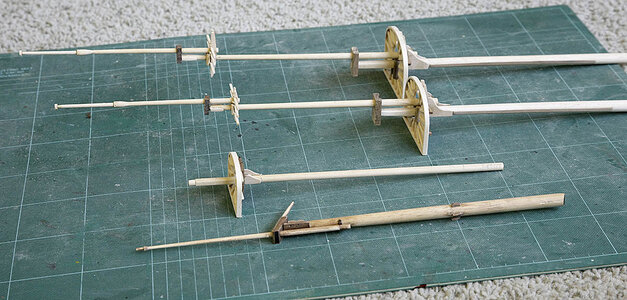
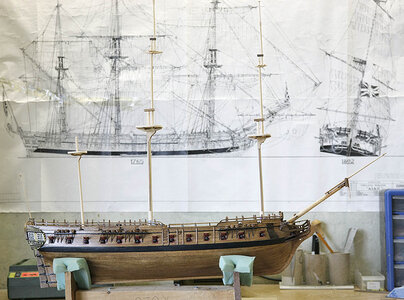
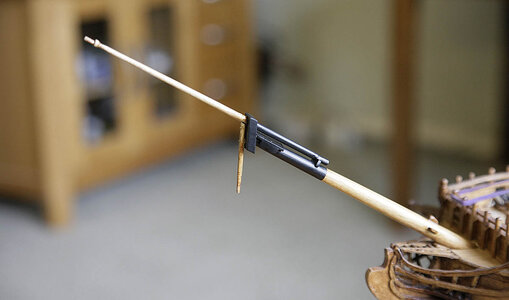
Hello Everyone. The build continues. I’m completing the bowsprit and have made a start on the masts. I’ve tapered the lower dowels and am making up the cross trees and their supports. The kit doesn’t provide any pre cut or shaped parts, you just use the excellent plans to make all the parts from the supplied wood. I’m finding this preferable as the parts fit better than most pre cut ones usually supplied with kits, this is Euromodels way.

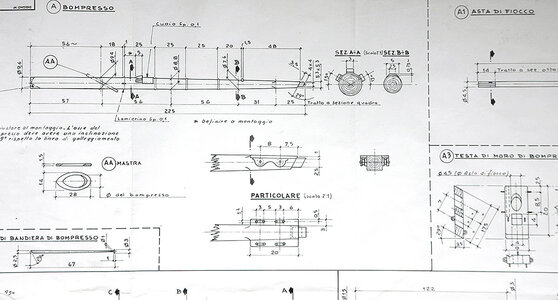
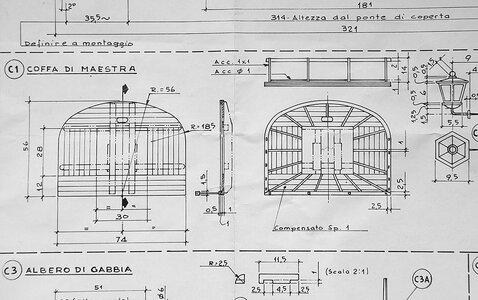
The plans have every possible measurement but as you can see on my attached bowsprit plan probably a bit too many which can make it confusing to visualize the overall part that you need to make, some of the diagrams are in a different scale so care is needed, parts needed are spread out over several plan sheets and not in any particular order, you need to have a few of the large plans spread out on the floor which annoys my wife, I think a bunch of flowers might smooth the waters.

Thanks for following.

007.jpg

005.jpg

006.jpg
 
You are spot on Ken - the masts are easily shaped to the correct dimensions. All I use is a small wood plane that will sit in the palm of my hand, shape by eye and finish with sand paper. It's actually enjoyable.
 
  • Like
Reactions: Ken
You are spot on Ken - the masts are easily shaped to the correct dimensions. All I use is a small wood plane that will sit in the palm of my hand, shape by eye and finish with sand paper. It's actually enjoyable.
Yes Pete, That’s how I do it, I did have a Proxxon lathe but found it much easier by hand and like you said, more satisfying.
 
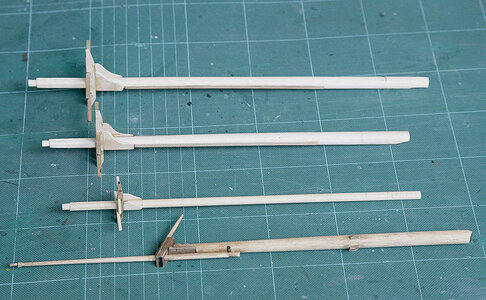
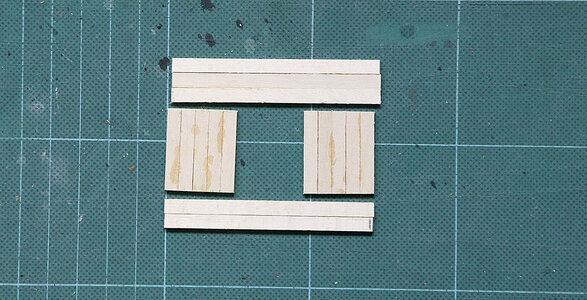
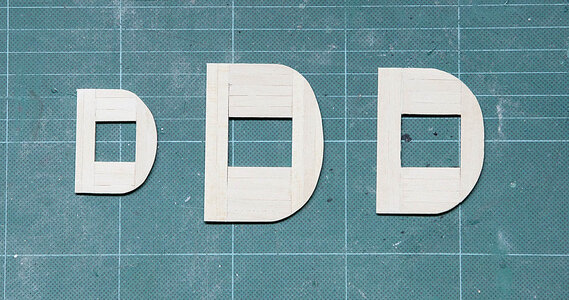
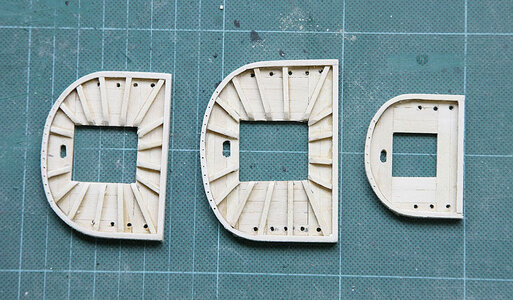
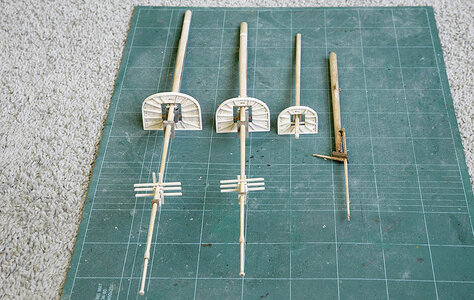
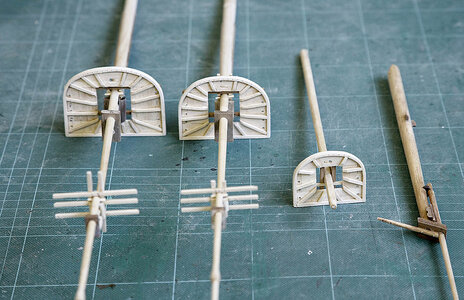
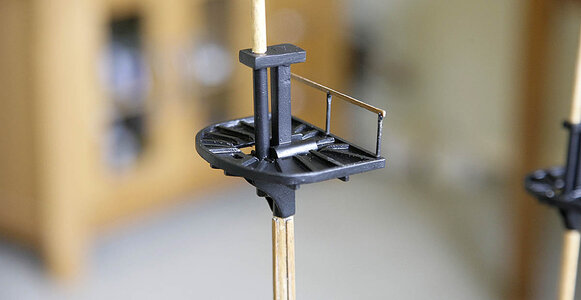
Hello. I’m making fairly quick progress on the masting, apart from a bit of finishing off the tops are done. I’ve run out of the supplied walnut strip wood and I’m now having to use odd stuff from my stash, the colour differs but I intend to paint the top areas black so it doesn’t matter.

Thanks for those likes.

008.jpg

009.jpg

010.jpg

011.jpg
 
Hello. I’m making fairly quick progress on the masting, apart from a bit of finishing off the tops are done. I’ve run out of the supplied walnut strip wood and I’m now having to use odd stuff from my stash, the colour differs but I intend to paint the top areas black so it doesn’t matter.

Thanks for those likes.

View attachment 385698

View attachment 385699

View attachment 385700

View attachment 385701
Hi Ken. Those drawings look brilliant, I'm amazed at the speed of your progress.
Tony
 
  • Like
Reactions: Ken
Ken, the tops turned out very well. What timber did you use around the edges as it would be easy to break whilst bending.
 
Ken, the tops turned out very well. What timber did you use around the edges as it would be easy to break whilst bending.
Hi Pete, I don't know what the wood is, I was given a large amount some time ago, it was from an abandoned De Agostini kit, it isn't very good quality. The method that I use for bending tight curves is the same as for when I plank around the bow section of the hull, I find it easy and successful. I soak the strips in boiling water for about 20 min then start to induce a slight curve using the shank of a soldering iron. I glued the leading edge to the platform using cyno, this lets you glue whilst the strip is still moist, after about a minute I add a spot of cyno about 5-10mm further along the platform and hold the strip in with pressure until it has set. I work my way around in these small increments. This way it finds the correct curve and there is no excess pressure at any one point.
 
Hi Ken. Those drawings look brilliant, I'm amazed at the speed of your progress.
Tony
Hi Tony, Yes they are good, they were drawn up to make a scratch build so to have them in a kit is pretty good. There are about 10, large 1-1 scale plans all very detailed so you need a lot of floor space to lay them out. Euromodel are noted for there plans, for my Royal William there were twenty such plans, mind boggling.
 
Hello, Thank you all for visiting my Ajax log and for your comments and likes.

Todays offerings are the masts, not much to say about them other that they are coming along without any problem, just making them according to the plan.

Just before I put the model away a trial of the dowels showed me that they were true yet now a trial stepping showed that they are quite a bit out and needs correcting, how is that?

Next I will finish off the masts with fittings like cleats etc, sand, stain, varnish, in no time I’ll be on to the rigging which I quite enjoy, no more dust.

012.jpg

013.jpg

014.jpg

015.jpg
 
Tony, the Euromodel plan sheets are remarkably detailed, as Ken said, and the kits are designed for those who wish to break away from the much easier, laser-cut pieces that help you produce a carbon copy of a ship model. They are designed for those who would like to do a scratch build but not quite prepared to make that huge leap. Ken has mastered the concept of using the plans to create what he wants to do. This approach is unique and guarantees that each build of the one ship will be different and this guarantees that you get so much pleasure from building the ship. As Ken has shown in his posts there is much frustration but that's the fun of the whole thing. Ken has shown all of us what can be done with such a kit build that is not a kit. Keep at it Ken, your posts are a real pleasure to read.
 
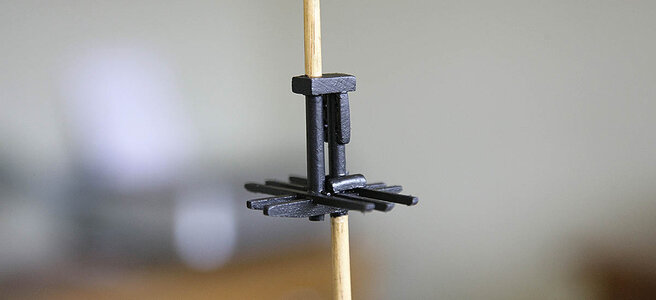
Hello. Welcome to my build and again thanks for following. You will see that I’ve made quite a bit of progress on my masts. They were sanded, stained a light oak, treated with sealer and varnished, a handrail and some cleats were added and the tops were painted black. Quite a bit you may think in a short time but the weather here is awful, it’s hardly stopped raining for a week now so nothing else to do, the golf open is just down the road from me so I pity them as the players can’t fly in on their helicopters.

I now need to band the masts then try and work out what blocks need to be fitted prior to stepping them, I’m finding it difficult to figure these out and fitting the ones that I miss when the rigging is part done is often very awkward.

I must say now that the frustrations of building this kit are long passed I really like it and I’m happy that I worked my way though the build, I would even build another Euromodel kit if their prices were a bit more realistic.

016.jpg

017.jpg

018.jpg

019.jpg

020.jpg
 
Hello. Welcome to my build and again thanks for following. You will see that I’ve made quite a bit of progress on my masts. They were sanded, stained a light oak, treated with sealer and varnished, a handrail and some cleats were added and the tops were painted black. Quite a bit you may think in a short time but the weather here is awful, it’s hardly stopped raining for a week now so nothing else to do, the golf open is just down the road from me so I pity them as the players can’t fly in on their helicopters.

I now need to band the masts then try and work out what blocks need to be fitted prior to stepping them, I’m finding it difficult to figure these out and fitting the ones that I miss when the rigging is part done is often very awkward.

I must say now that the frustrations of building this kit are long passed I really like it and I’m happy that I worked my way though the build, I would even build another Euromodel kit if their prices were a bit more realistic.

View attachment 386105

View attachment 386106

View attachment 386107

View attachment 386108

View attachment 386109
It’s looking very nice, Ken. And it’s fine to read that the pleasure of building on this model is back again. :)
Regard, Peter
 
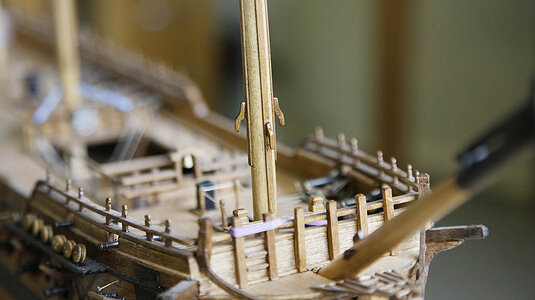
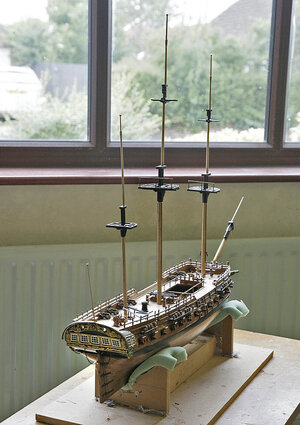
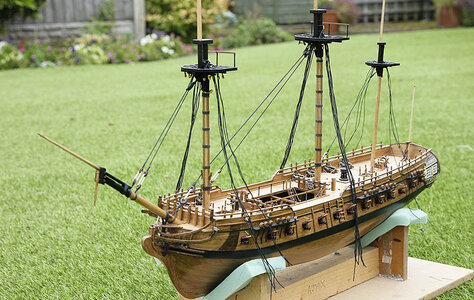
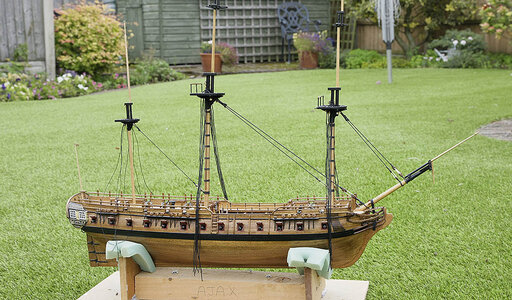
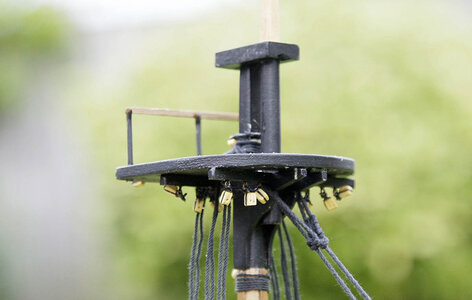
Hello, Once again and thanks for dropping in. The build is still making progress, I have now fitted some blocks that would prove difficult later on, I’ve banded the masts and stepped them, and they sit well, in line and look to be at the correct angle. I’ve done the top of the shrouds and the lower stays, I’m happy that it’s taking shape.

Some of you will be aware from previous logs that I have issues with my hands, missing fingers etc. and that I have extreme difficulty working with small blocks, so you must give me some slack when it comes to authenticity with knots etc. So that I don’t get too frustrated and quit I’m going to simplify all aspects of the rigging so that I can get over the finishing line with my sanity intact. I am not going to follow the excellent but complicated plan but instead do a sort of simple generic 18th century rig and hope that it looks believable, and that from a pace away looks convincing to the masses.

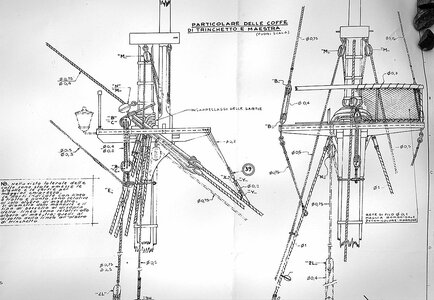
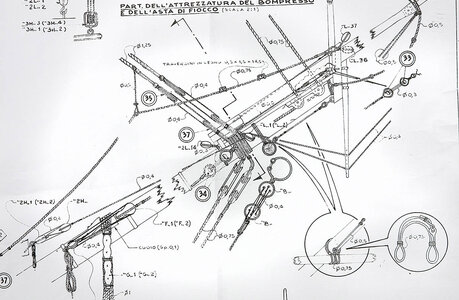
To do Euromodel justice I’ve shown part of their rigging plans which are a lesson in rigging, they are to my mind overcomplicated for a model and would take an age to complete, but they are good, it would be up to the modeller to leave out or simplify to suit his aims. Mine won’t resemble these plans in any way.

021.jpg

022.jpg

023.jpg

024.jpg

025.jpg
 
Ken, much work achieved in a few days so well done on that. Did you darken the lines yourself and if so what did you use ?
 
Back
Top