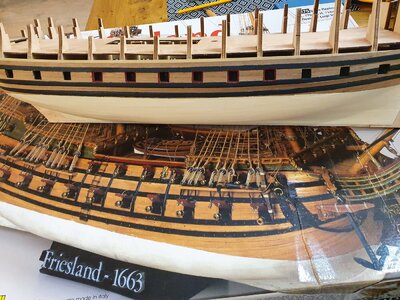
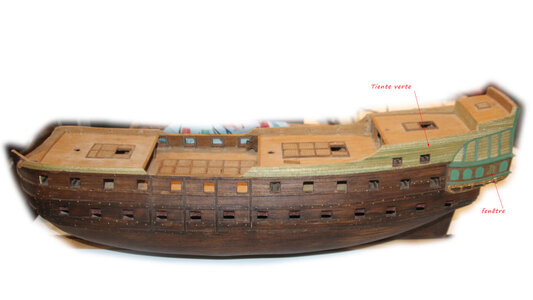
Friesland - Mamoli scale 1:75

good evening dear friends
After several days of not being able to work on the ship I returned to it.
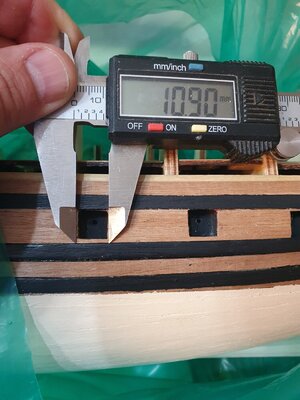
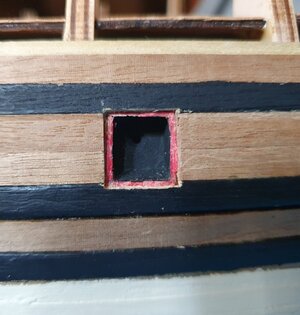
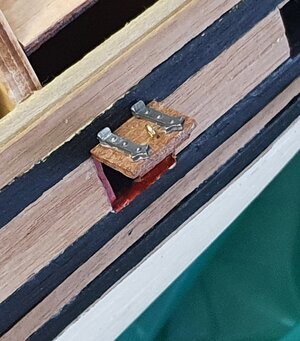
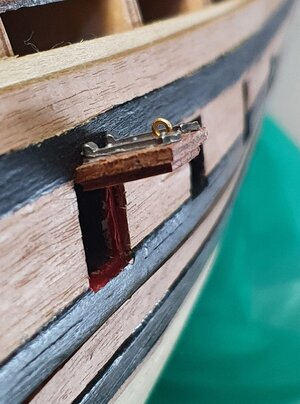
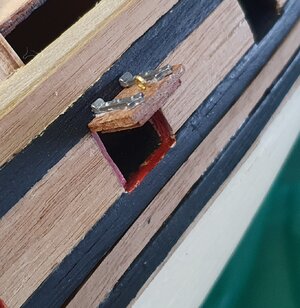
I decided to make the Adjustments are required to make cannon window gunport . I started to prepare the covers for the gunport. I made a measurement of the plans of the kit and it turned out that the length and width is 13 millimeters. Next I expanded the outer layer of the planking to the required size when in the inner layer it turns out that the size is about 10 millimeters. The difference is in the purpose that there will be a fit of the inner and outer layer and the inner of the gunport will fit the body of the ship and the planking. I hope the pictures will reflect my words.
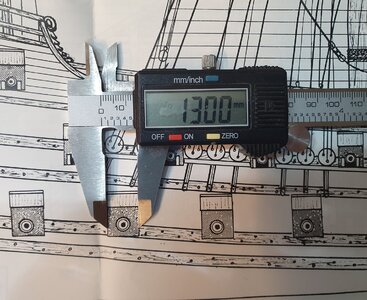
20211118_200944.jpg

20211118_201138.jpg

20211118_210410.jpg
20211118_210418.jpg20211118_221834.jpg20211118_222123.jpg

I now have to continue the fitting process in the shack openings and on the other side of the ship.
20211118_213450.jpg
 
Last edited:
Hi Shota, you are doing great with your Friesland.
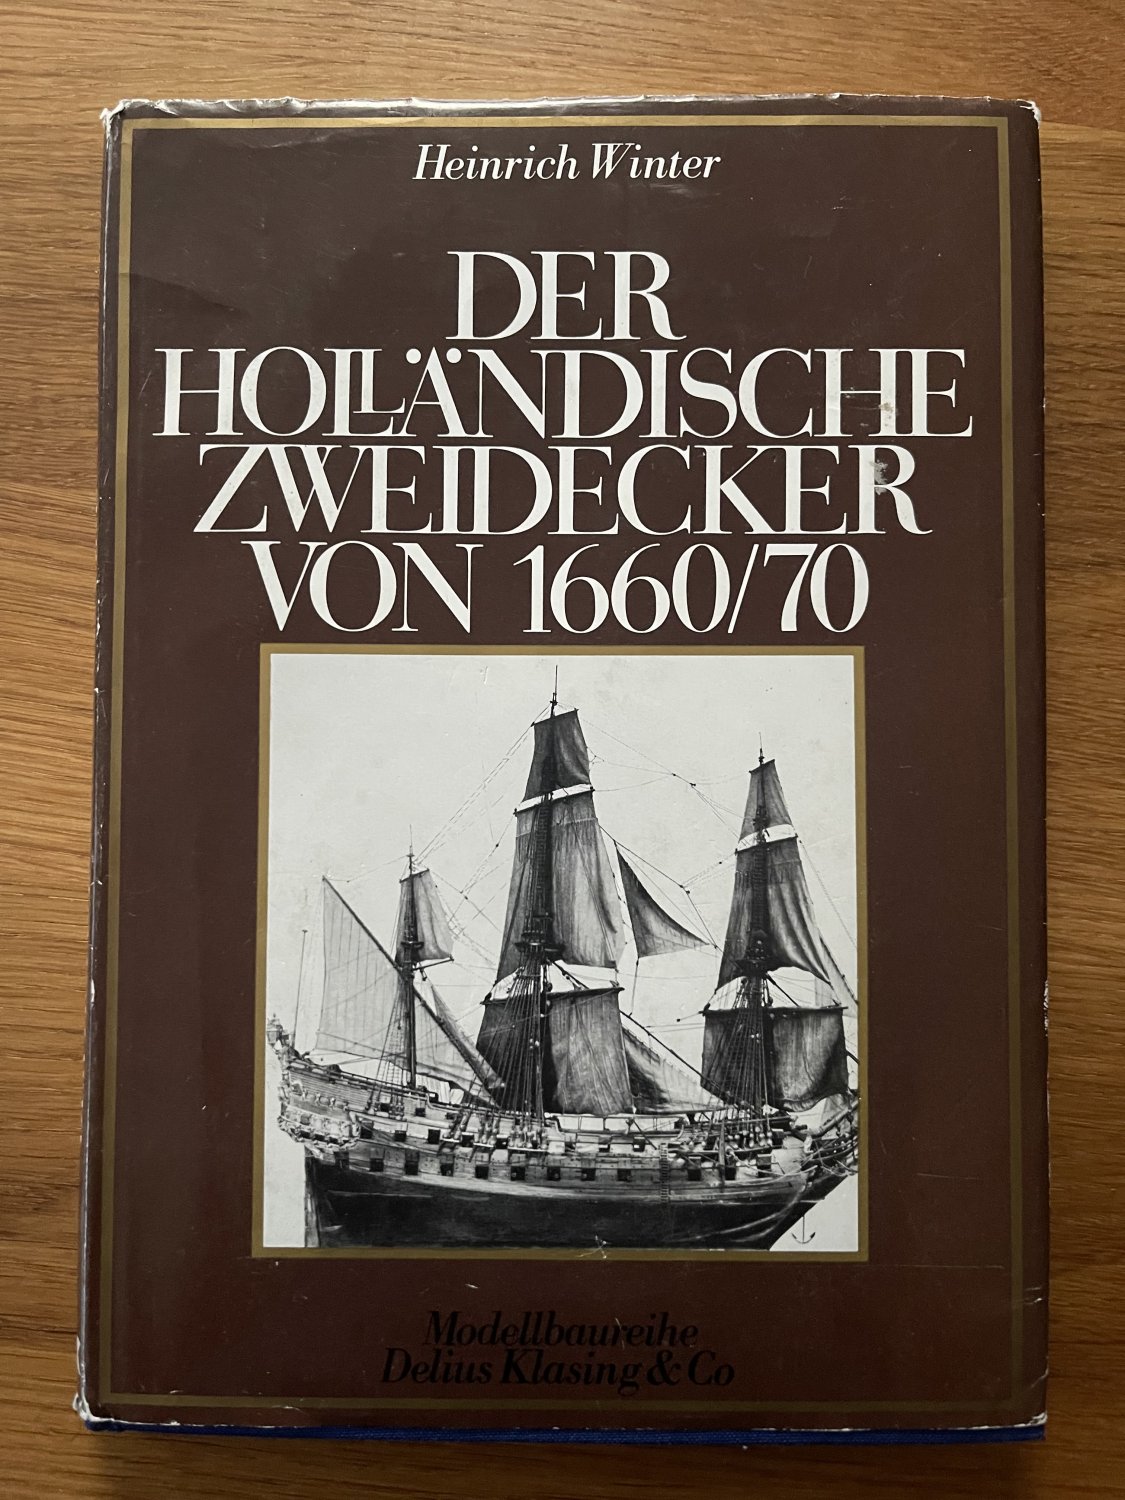
If you want to do more detailing and scratch building you have to get a copy of the book of Winter about the dutch two decker.
This book is about the famous Hohenzollern ship model on which mamoli based their Friesland model.
There is a Dutch and a German version of the book.

On the Dutch version we have a review of @Steef66
 
Hello dear friends
Today I spent several hours examining, experimenting and testing the construction process of the covers for the gunport.
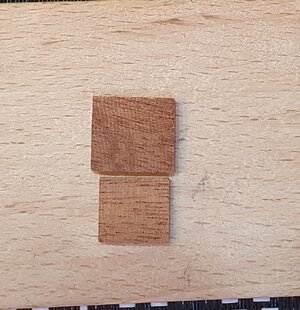
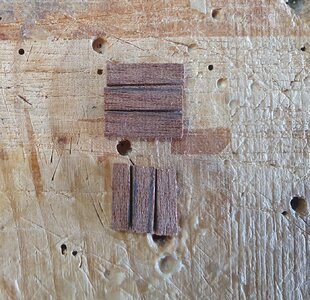
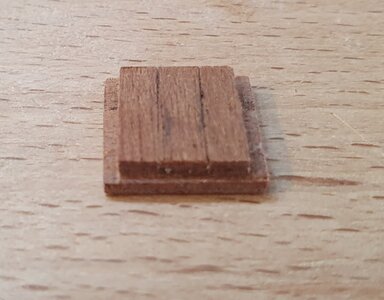
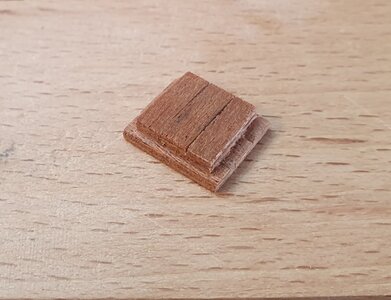
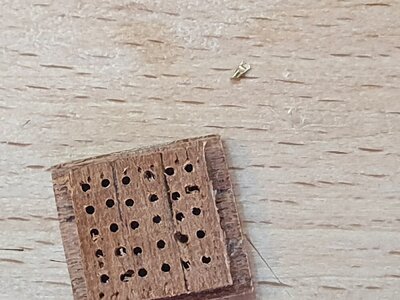
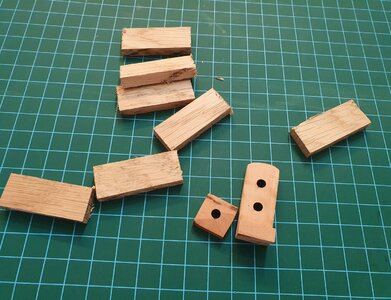
I used wood that the kit manufacturer gave because it is compatible with planking. I cut them into three strips.
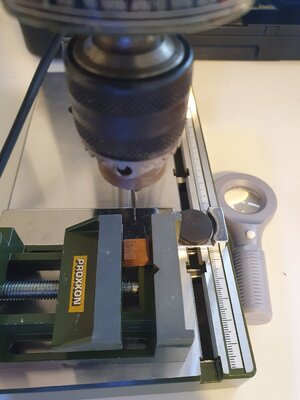
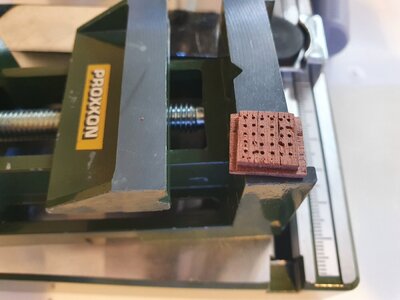
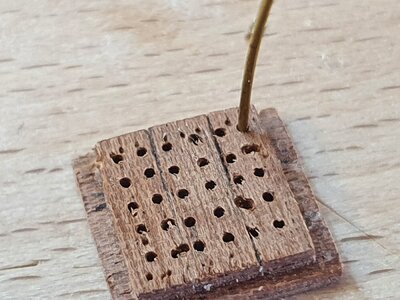
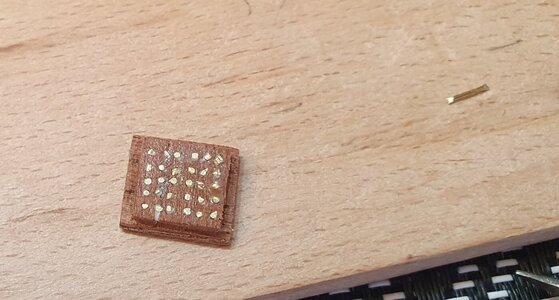
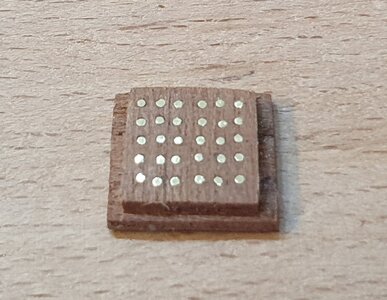
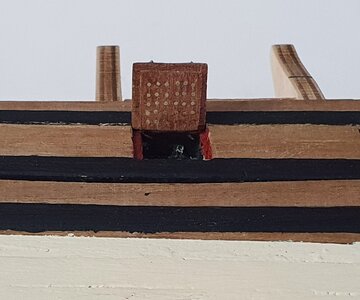
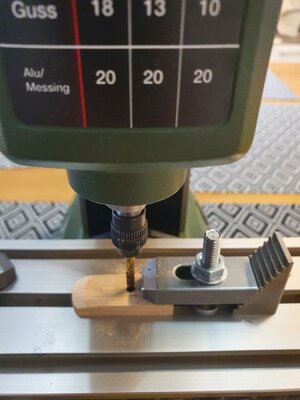
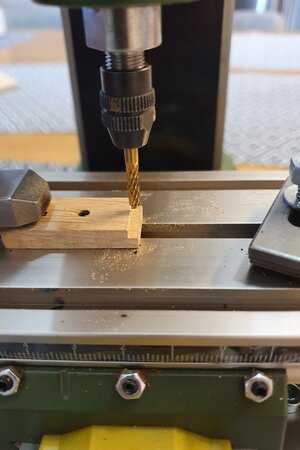
then I glued the two layers, inserted the brass wires into the inner layer of the cover after making holes for it with the required thickness of 0.6 millimeters.
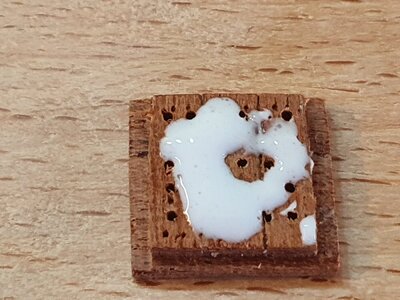
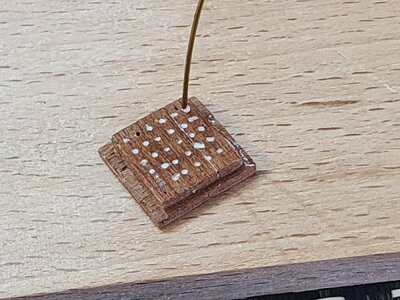
Before inserting the brass wire , I applied a layer of glue that went into the holes and was cleaned from the surface.
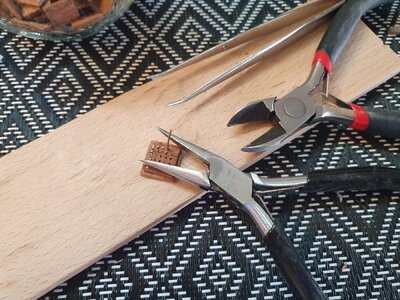
At first I cut brass wire in a 2 millimeter nail, but it was difficult to insert.
So what I did was thread the brass wires into the hole and only then cut it.
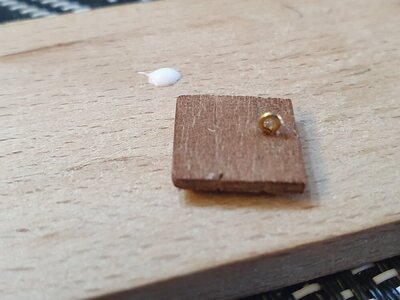
At the end of the process I sanded the surface to give it the shape of a nail head. Next I made the ring to which I would later attach the grip rope of the cover and the connecting plates with their hinges to the hull.
I admit that I have not yet finished the process of adjusting the windows to the required dimensions, but I really wanted to experiment with this new experience. So it seems to me that in the coming weeks I will focus on completing the preparations and construction of the huts and their covers.
I would love to receive any comment and response especially if you can help me learn and improve in the process and achieve a good result.
I attached detailed pictures of the process so that you can be impressed by it and so that those who will build the model in the future can better understand the process
20211119_141554.jpg20211119_121543.jpg20211119_123627.jpg20211119_123720.jpg20211119_131054.jpg20211119_131645.jpg20211119_132219.jpg20211119_132658.jpg20211119_132726.jpg20211119_132800.jpg20211119_132901.jpg20211119_140630.jpg20211119_141134.jpg20211119_134009.jpg20211119_145541.jpg20211119_150303.jpg20211119_150255.jpg20211119_150200.jpg20211119_150708.jpg
Wishing us all a pleasant and enjoyable weekend
 
Absolutely love your creativity and metalsmith work! You will need lots of patience to complete all gun pot covers, but I am sure, you will be rewarded in the end.
 
Good evening friends Today
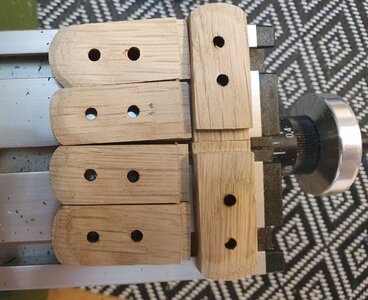
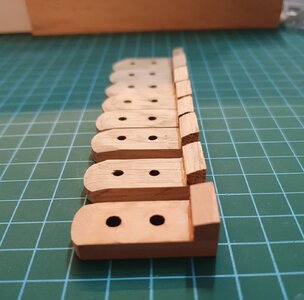
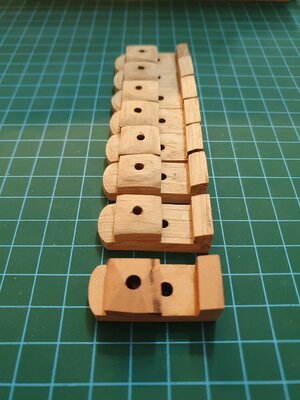
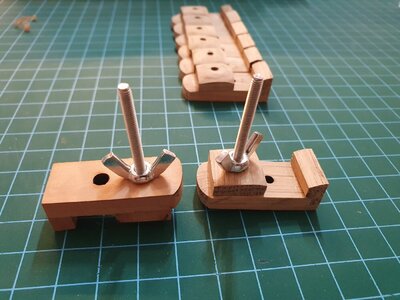
I implemented a small plan that waited two months, to produce Hull planking clamps for model ship Planking.
About a few months ago I bought a package of 10 clamps at a cost of about $ 22.
Screenshot_20211120-191455_Chrome.jpg after looking at them I realized that it is relatively not hard to produce them. So today I went to work.
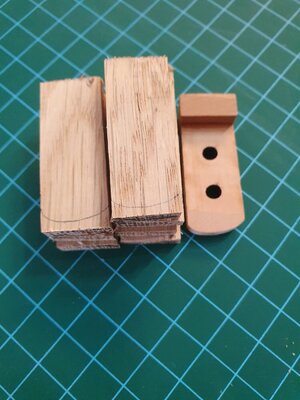
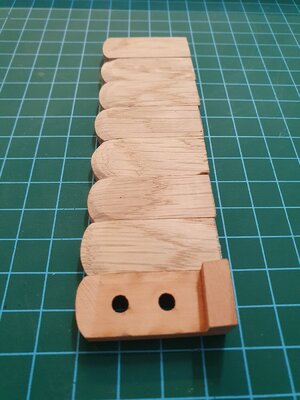
I performed two changes: instead of a pear wood, I used oak because it is rare to get a Swiss pear in my country and the oak is relatively available and common. Second difference - The top (small) piece of wood that glued to the long board is glued only one and straight area, I created a step/disadvantage on both the long board and the small board so I created a large gluing surface and More durable in my opinion. you impressed from the process and results in the attached photos.
20211120_142246.jpg20211120_142728.jpg20211120_145536.jpg20211120_152406.jpg20211120_152723.jpg20211120_162629.jpg20211120_181926.jpg20211120_182103.jpg
20211120_182357.jpg
Wishing us all a good and blessed week
 
Hello dear friends
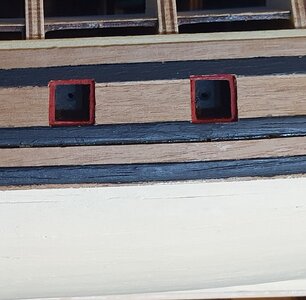
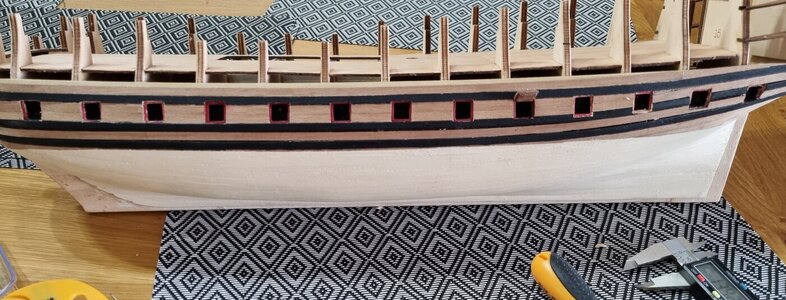
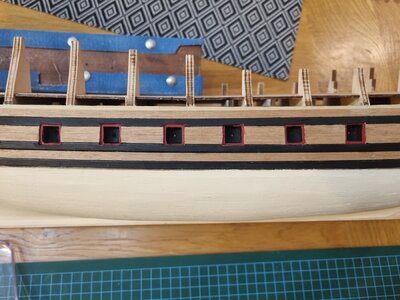
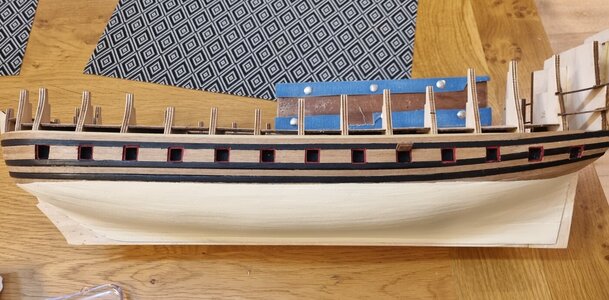
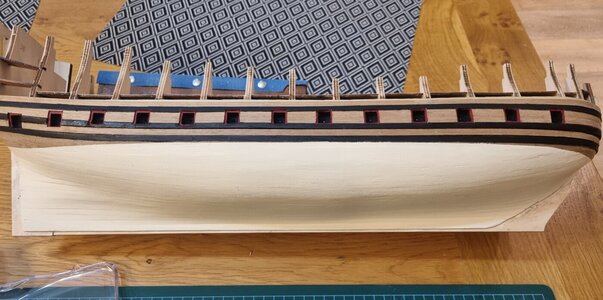
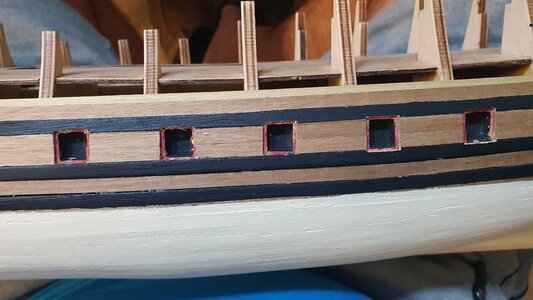
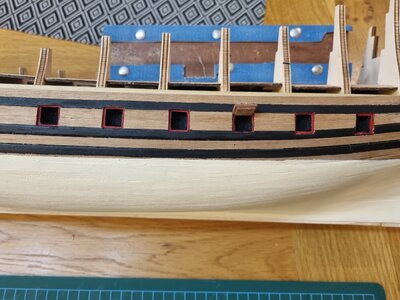
For the past two days I have been focusing work on adjusting and opening the cannon windows to the correct Measurements. after that I have painted in red the inner frame as well as in black of the planking boards.
For now I have reached a good result. Which will further require higher quality finishes later with the installation of the frame / cover of the windows.
The two pictures in the top, show the situation before the widening of the openings and the painting
wish for all us, happiness and joy :)
20211126_155144.jpg20211127_135351.jpg20211127_173525.jpg20211127_173644.jpg20211127_173636.jpg20211127_173518.jpg
 
Last edited:
Hello dear friends
This model is going to be my "never ending story ", a sequel story.
For the past two weeks I have also abandoned the model to clear my head for the next project.
Unlike the Hannah who I was very attached to the construction process, this model is less appealing to me, even though it is very beautiful.
After conversations with friends from my country how build ships, we decided to build the Alert.
So, Dear friends you are welcome to visit my new blog that I started today.
I believe I will return to this model - Friesland after the Alert :cool:
 
Bonjour, il y a de nombreuse d’années que ce navire dort dans mon garage et j’en suis loin du résultat. Et à l’époque internet n’était pas à notre porté. Je l’ai resorti de sa boite. J’ai fait pas mal de bêtises, déjà en teintant en bun. Je lie beaucoup le forum et j’en aprends pas mal sur les décorations de ce navire.

Hello, this ship has been sleeping in my garage for many years and I am far from the result. And at the time the internet was not within our reach. I took it out of its box. I did a lot of stupid things, already by dyeing in bun. I link the forum a lot and I learn a lot about the decorations of this ship.

NJ5A0001.JPG
 
Bonjour, il y a de nombreuse d’années que ce navire dort dans mon garage et j’en suis loin du résultat. Et à l’époque internet n’était pas à notre porté. Je l’ai resorti de sa boite. J’ai fait pas mal de bêtises, déjà en teintant en bun. Je lie beaucoup le forum et j’en aprends pas mal sur les décorations de ce navire.

View attachment 292140
I love the look!
 
Bonjour chers amis
Aujourd’hui, j’ai passé plusieurs heures à examiner, expérimenter et tester le processus de construction des couvertures pour le port d’armes.
J’ai utilisé du bois que le fabricant du kit a donné car il est compatible avec les planches. Je les ai coupés en trois bandes.
puis j’ai collé les deux couches, inséré les fils de laiton dans la couche interne de la couverture après avoir fait des trous pour elle avec l’épaisseur requise de 0,6 millimètre.
Avant d’insérer le fil de laiton, j’ai appliqué une couche de colle qui est entrée dans les trous et a été nettoyée de la surface.
Au début, j’ai coupé du fil de laiton dans un clou de 2 millimètres, mais c’était difficile à insérer.
Donc, ce que j’ai fait, c’est enfiler les fils de laiton dans le trou et seulement ensuite le couper.
À la fin du processus, j’ai poncé la surface pour lui donner la forme d’une tête d’ongle. Ensuite, j’ai fabriqué l’anneau auquel j’attacherais plus tard la corde de préhension du couvercle et les plaques de connexion avec leurs charnières à la coque.
J’avoue que je n’ai pas encore terminé le processus d’ajustement des fenêtres aux dimensions requises, mais je voulais vraiment expérimenter cette nouvelle expérience. Il me semble donc que dans les semaines à venir, je vais me concentrer sur la réalisation des préparatifs et de la construction des cabanes et de leurs couvertures.
J’aimerais recevoir des commentaires et des réponses, surtout si vous pouvez m’aider à apprendre et à m’améliorer dans le processus et à obtenir un bon résultat.
J’ai joint des images détaillées du processus afin que vous puissiez être impressionné par celui-ci et que ceux qui construiront le modèle à l’avenir puissent mieux comprendre le processus.
View attachment 270359View attachment 270358View attachment 270345View attachment 270346View attachment 270347View attachment 270349View attachment 270350View attachment 270351View attachment 270352View attachment 270353View attachment 270354View attachment 270355View attachment 270356View attachment 270357View attachment 270360View attachment 270361View attachment 270362View attachment 270363View attachment 270364
Je nous souhaite à tous un agréable et agréable week-end

Bonjour, j’ai aussi ce projet en cours. les couvertures pour le port d’armes sont présente dans la boite, mais ton idée de les confectionner est intéressante.
Par contre j’ai fait une bêtise j’ai teinté en brun la coque. Je ne sais pas encore si je ne vais pas poncer pour laisse nu les lisses. Bon courage pour la suite.

google translation:
Hello, I also have this project in progress. The blankets for the weapons are present in the box, but your idea to make them is interesting.
But I made a mistake, I stained the shell in brown. I still don't know if I'm going to sand the smooth ones. Good luck with the rest.

NJ5A0001.JPG
 
Last edited by a moderator:
Back
Top