Corel HMS Unicorn - 1/75 scale [COMPLETED BUILD]

Now I've finished the Black Pearl I'm going to complete a model I started around 25 years ago. The Unicorn was chosen because I felt it was the best ship in my price range at the time. This build stopped in 97 when we moved house then a new puppy, change of job and no time for models.

View attachment 268027

View attachment 268028
View attachment 268030
View attachment 268029
As you can see by the dust and cobwebs it's going to need a good clean up and there's a bit of fixing to be done.
Hi Tony,
I can see your wood working skills were well developed 25 years ago. I'll be curious to see how the canons are set up below the main deck.
 
G'day I've haven't made much progress with my new project, I striped back the planks that needed replacing then hit a problem.

IMG_20211028_154100.jpg
IMG_20211028_153927.jpg

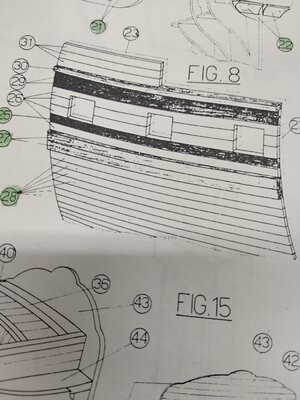
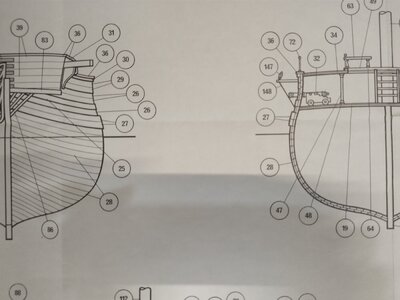
I got up to the first black plank #25 when I stopped the build. Now when I checked the remaining planks they are taller than the first planking. There's a error in the drawing one view shows two white planks the other shows three. I decided to go with 3 planks and raise the height of the deck by 1.5mm.

IMG_20211028_154213.jpg
Here I have removed the defective planks from one side, I'm going to add one extra plank that runs the full length then do the repairs.

IMG_20211103_171642~2.jpg
Finishing off the second planking, next job is to fix up the loose planks on the hull.
 
Looks like a great workaround for a minor problem. I now see that the subfloor of the main deck is off and you have easy access to the canons.
 
Good progress Tony! I will continue to watch your work with interest.
 
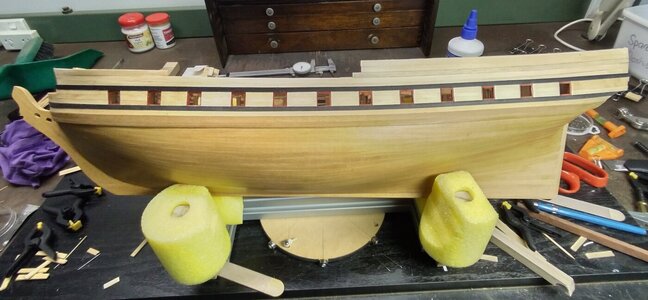
Tony she's looking magnificent! And once again you have some of the coolest gadgets for clamping I've ever seen! What type of wood is the veneer?
 
Tony she's looking magnificent! And once again you have some of the coolest gadgets for clamping I've ever seen! What type of wood is the veneer?
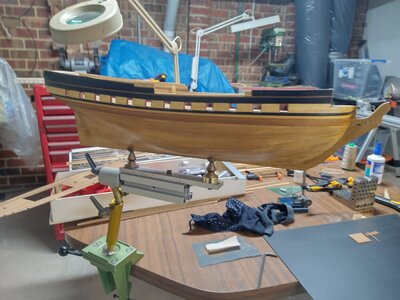
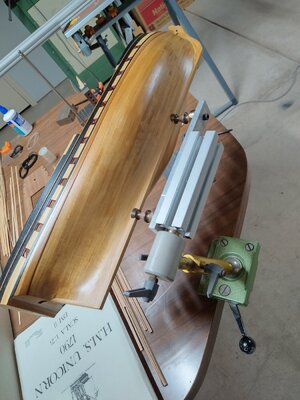
I was lucky enough to be in the right place at the right time, most of the stuff I use has been modified scrapped production equipment it's been good to finally get to use it.
The second planking is Walnut, black lime and maple, the maple was a lot lighter colour when I purchased this kit.
 
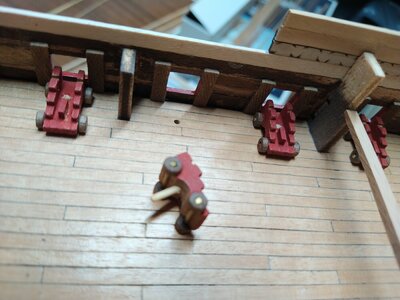
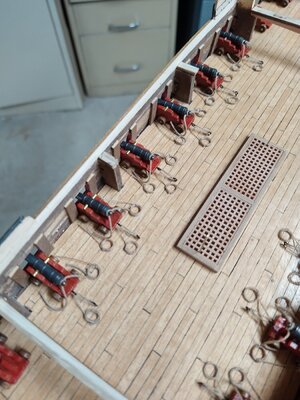
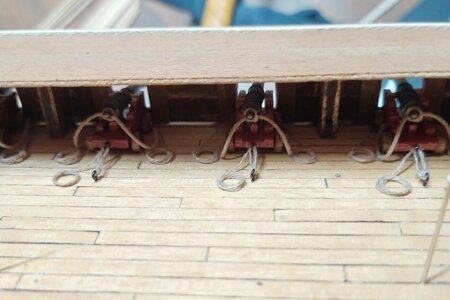
Firstly a big thanks to everyone who reads this, I have finalized the cannons on the lower deck.

IMG_20211124_160651.jpg
As you can see I have only done what will show when the upper deck is fixed in place.

IMG_20211124_152601~2.jpg
This is more than you would normally be able to see when viewing these cannons.

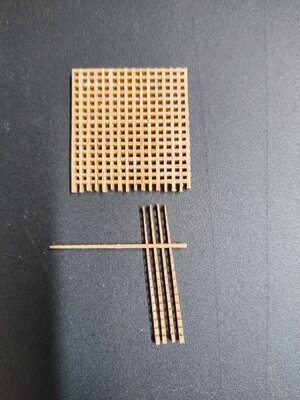
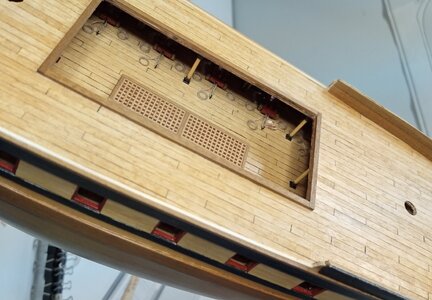
The gratings where a bit of a problem as about 25% of the parts where cut on a taper. As there was only 5 spare I had to use them as it would have taken too long to get replacements. Only the worst ones show. I'll use this one on the lower deck where it won't be seen.

IMG_20211115_141102.jpg
If you look at the top LH corner you can see poorly cut parts.

Next week I'll be attaching the upper deck and planking it.
 
I really like your work Tony. You have created a beautiful hull and your deck placings and cannons are just right. I will continue to follow with interest.
 
I really like your work Tony. You have created a beautiful hull and your deck placings and cannons are just right. I will continue to follow with interest.
Your canons look great Tony! The grating also excellent. Nice tight clean-cut work, is a pleasure to look at.
Thanks for your likes and comments it's good to know I'm heading in the right direction, top deck is in place and the planking nearly finished. I will post some pictures on the weekend.
 
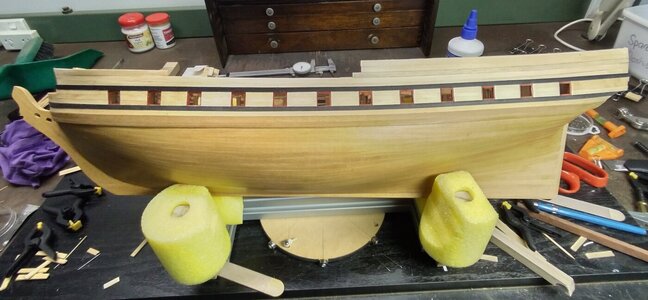
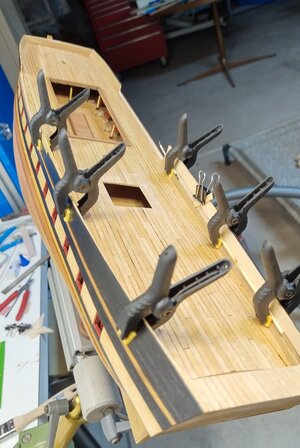
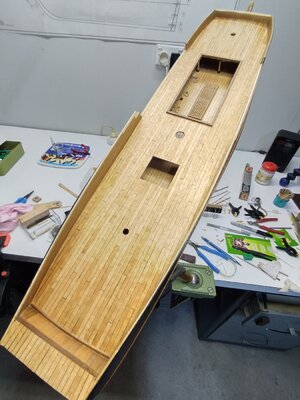
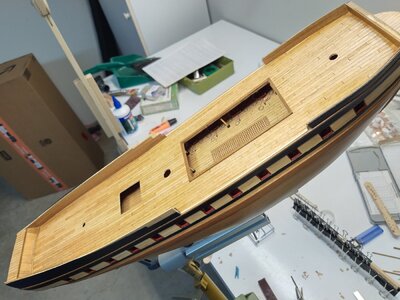
Just a quick update and a few photos, the top deck is fixed in place and the planking finished.IMG_20211208_165619~2.jpg

Everything was pretty straightforward with no real problems. I apply a coat of poly to the planks before blackening one edge with a Sharpie. Some of the planks where prepared years ago when I started this model, these appear to be lighter in colour to the ones I did now. Maybe the timber strips have darkened over the years. As there was only just enough strips to do the job I did the best with what I had.

IMG_20211210_102439.jpg
IMG_20211210_102520.jpg
IMG_20211210_102620~2.jpg
Next job will be to do the side rails, I'm considering doing them differently to the drawing, so we'll see what happens.
 
Tony, nice job. This kit looks pretty nice and you are doing a great job.

Best
Daniel
 
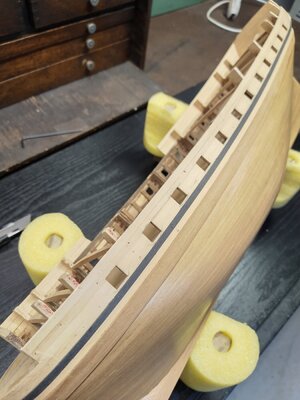
The second planking is now complete and I have fixed up the loose planks.

View attachment 271387
View attachment 271388

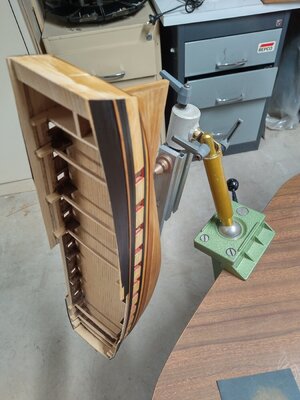
I have a different way to hold this ship and am finding it very handy. It was originally used to repair PCBs until I adapted it to hold a model.View attachment 271389
View attachment 271390


To make sure the cannons are fixed securely I will pin them in place.
View attachment 271386

Tony, I can't stop watching again and again the hull of your ship. The finishing and color it has.... I love it.

Superb Job !!
Daniel
 
Tony, nice job. This kit looks pretty nice and you are doing a great job.

Best
Daniel
Tony, I can't stop watching again and again the hull of your ship. The finishing and color it has.... I love it.

Superb Job !!
Daniel
Thanks Daniel one of the things I was planning to do with this build is to copper the hull. Although it's not necessary with this kit I want the experience for future builds. Your log has provided lots of information on how to tackle this job.
Tony
 
Back
Top