You are using an out of date browser. It may not display this or other websites correctly.
You should upgrade or use an alternative browser.
You should upgrade or use an alternative browser.
CalderCraft HM Granado
- Thread starter Nietslim
- Start date
- Watchers 13
-
- Tags
- caldercraft granado
Good afternoon. This is great work. Cheers GrantBefore I place the next deck I first prepared all the cannons.
First i cut out all the walnut parts and sand them.
Also i paint all the cannons black
View attachment 367623View attachment 367624
Then i prepared all wagons and only varnish them.
The walnut color is perfect in my opinion.
View attachment 367625View attachment 367626View attachment 367627View attachment 367628View attachment 367629View attachment 367630
Under the deck 2 cannons can be placed and I like this.
Once the deck is in place, this becomes virtually impossible to do.
View attachment 367631View attachment 367632
At the moment I have 1 placed on the deck and am working on the other to rig and install it.
As soon as this is also in place, I can continue with the order of the construction description.
The 2 stairs to the front deck are looking very close to the Cannon ports.Good work with the guns
Interesting, that Jotika propose to install two guns there at the front chasing gunports and left the first regular gunports free - usually bomb vessels would usually not chase other ships - the normal guns were used for self defense
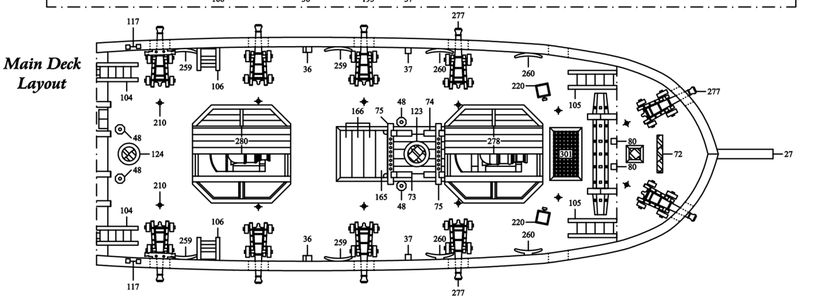
drawing by Jotika / Caldercraft
View attachment 368750
No idea if Jotika did made the decision by it.
Last edited:
First, I sized and installed the support beam for the forecastle after both guns are in place to my liking.
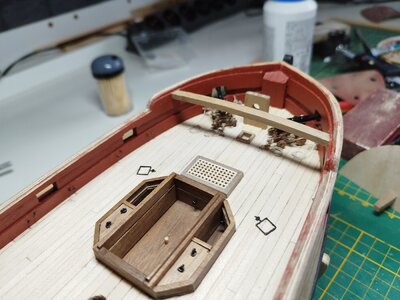
After this, the forecastle was first loosely fitted and tailored.
Painted the galley flue between the upper gun deck and the forecastle black and also placed it so that the forecaste fits perfectly.
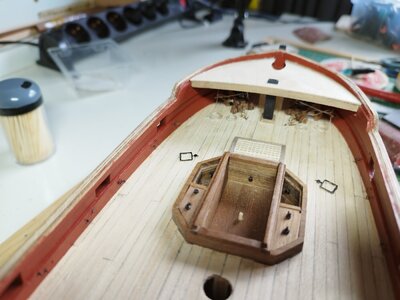
After this was done I started making the main hatch between the mortar pits.
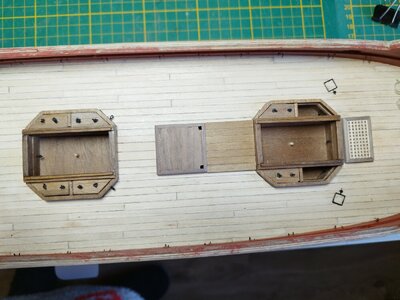
This is loose on the deck since the anchor cable has to be pulled here at a later stage and placed in the main hatch.
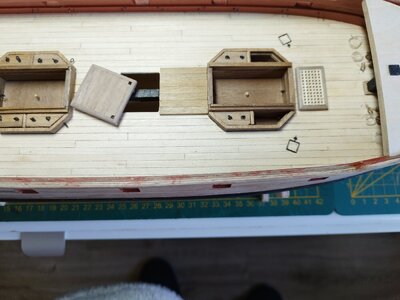
2 holes on the front of the hatch have already been made for this purpose.
A small deck must be reinforced between the main hatch and the front mortar pit.
According to the description I should use 1x a piece of 5x2mm and 6x a piece of 4x2mm. Unfortunately, there is no slat of 5x2mm with the model.
The deck reinforced should be just as wide as the main hatch and the 4x2mm is actually slightly wider, 4.31mm which is very nice.
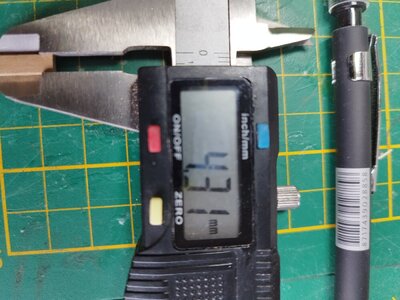
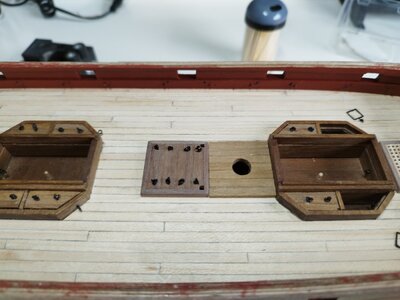
I sawed 7 slats to size and used them instead of the 5 and 4 mm slats suggested in the description.
Now the deck reinforcement also comes out just right.
Of course the hole for the mast was also made immediately.
My next step was to start the quarterdeck bulkhead.
Painted the inside first black and read everything first as these are many parts and it takes a lot of patience and a lot of fitting work.
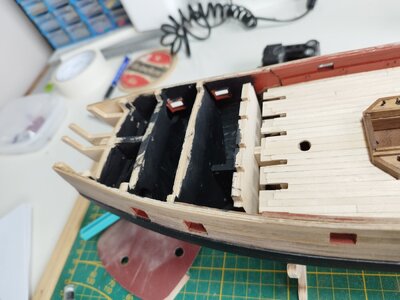
First all parts cut out and lightly sanded.
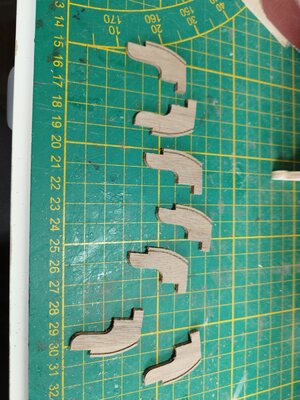
After this I put everything together several times via dry fitting until I was satisfied.
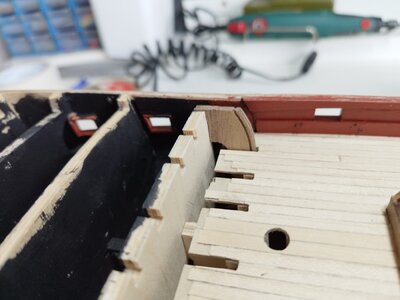
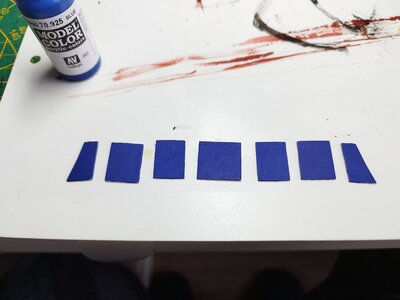
Painted the front panels blue and then put everything together.
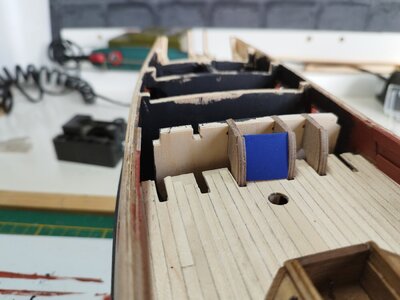
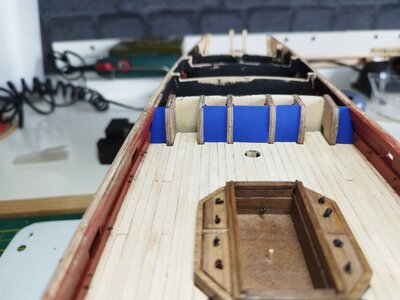
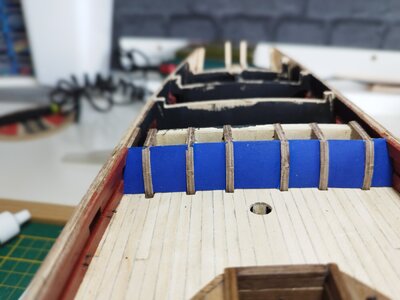
The curved pillars still need to be covered with a piece of walnut strip of 3x0.5mm.
Because this is somewhat bent, I wetted 3 pieces of strip and bent it with the bending aid of the planking.
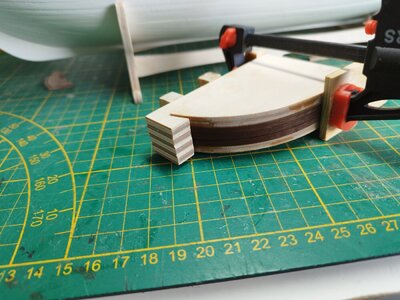

After this, the forecastle was first loosely fitted and tailored.
Painted the galley flue between the upper gun deck and the forecastle black and also placed it so that the forecaste fits perfectly.

After this was done I started making the main hatch between the mortar pits.

This is loose on the deck since the anchor cable has to be pulled here at a later stage and placed in the main hatch.

2 holes on the front of the hatch have already been made for this purpose.
A small deck must be reinforced between the main hatch and the front mortar pit.
According to the description I should use 1x a piece of 5x2mm and 6x a piece of 4x2mm. Unfortunately, there is no slat of 5x2mm with the model.
The deck reinforced should be just as wide as the main hatch and the 4x2mm is actually slightly wider, 4.31mm which is very nice.

I sawed 7 slats to size and used them instead of the 5 and 4 mm slats suggested in the description.
Now the deck reinforcement also comes out just right.
Of course the hole for the mast was also made immediately.

My next step was to start the quarterdeck bulkhead.
Painted the inside first black and read everything first as these are many parts and it takes a lot of patience and a lot of fitting work.

First all parts cut out and lightly sanded.

After this I put everything together several times via dry fitting until I was satisfied.

Painted the front panels blue and then put everything together.


The curved pillars still need to be covered with a piece of walnut strip of 3x0.5mm.
Because this is somewhat bent, I wetted 3 pieces of strip and bent it with the bending aid of the planking.

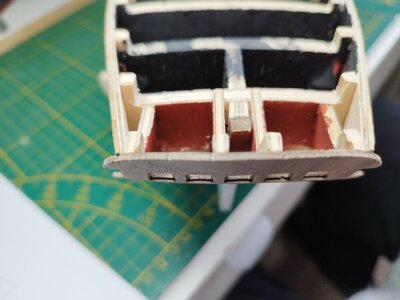
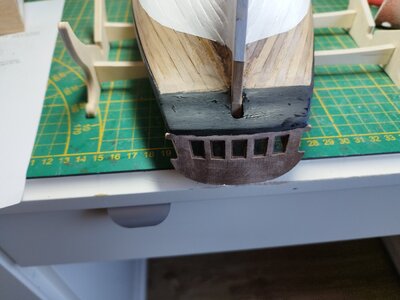
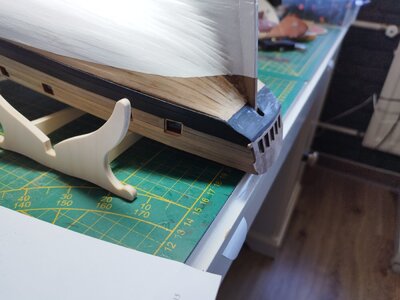
Next i cut out the decals and dry fit them.
And made sure the side way's but also bottom an top fits on the screens.
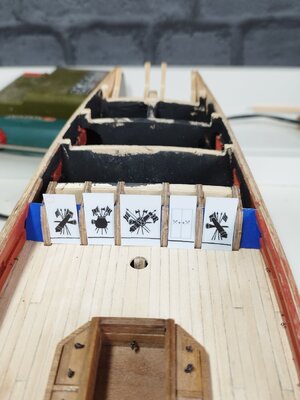
When they fit i took of the back layer of the decal and paint it also blue on the tacky side.
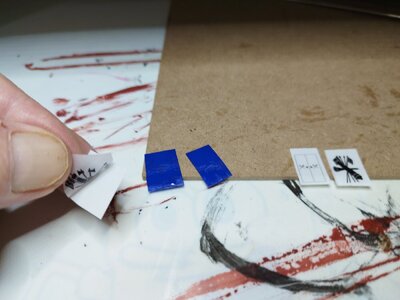
When this is dry i carefully put on the painted side a tiny bit pva glue andl Placed the decals 1 by 1 on the screens and with a brush 1 gently push it against each other.
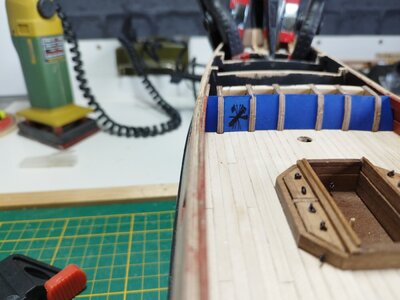
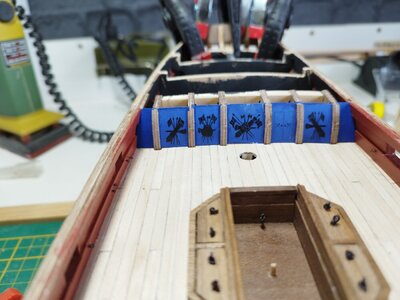
Its wierd to do it this way but it works great.
next i started to place the stern fascia and stern counter.
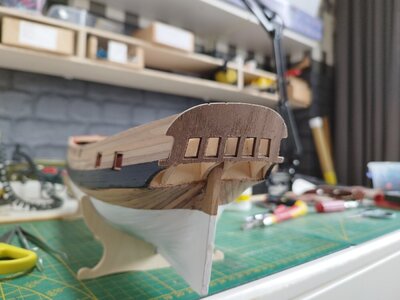
And made sure the side way's but also bottom an top fits on the screens.

When they fit i took of the back layer of the decal and paint it also blue on the tacky side.

When this is dry i carefully put on the painted side a tiny bit pva glue andl Placed the decals 1 by 1 on the screens and with a brush 1 gently push it against each other.


Its wierd to do it this way but it works great.
next i started to place the stern fascia and stern counter.

You are very fast - comparing to the work on my Granado you rae super fast
Very good work
Very good work
I try everyday to do something.You are very fast - comparing to the work on my Granado you rae super fast
Very good work
But somedays it isn't possible because the captain needs my attention
Still i though i where a slow builder.
To be able to place the quartedeck I first removed all the uprights of the bulheads 8 to 10 and the uprights of the stern extensions.
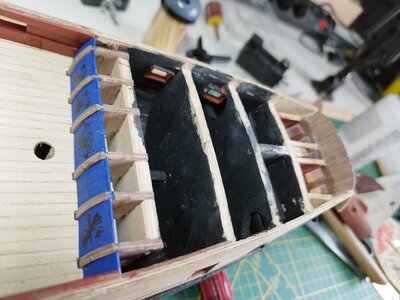
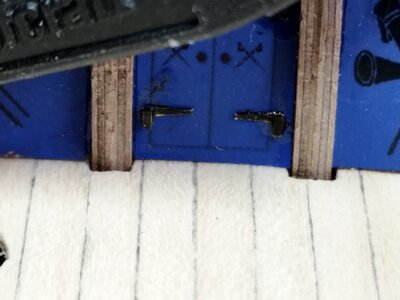
Immediately painted the four hinges of the cabin doors matt black and placed them on them, probably I can no longer reach them once the deck is placed.
Now I also place the walnut strips of 3x0.5mm on the curved pillars since I hadn't done this yet.
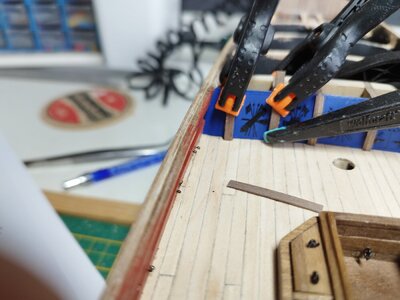
Once these are on I can go fit the deck and sand to the right size if needed.
I dry fit it after i removed the uprights and i don't think i need to sand it much, it almost fits already.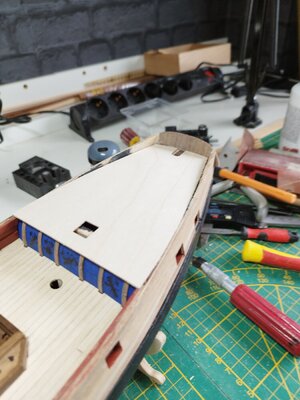

Immediately painted the four hinges of the cabin doors matt black and placed them on them, probably I can no longer reach them once the deck is placed.
Now I also place the walnut strips of 3x0.5mm on the curved pillars since I hadn't done this yet.


Once these are on I can go fit the deck and sand to the right size if needed.
I dry fit it after i removed the uprights and i don't think i need to sand it much, it almost fits already.

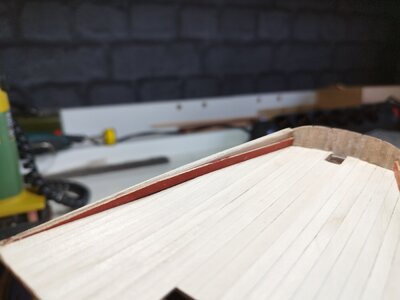
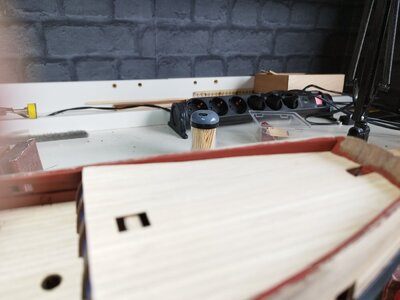
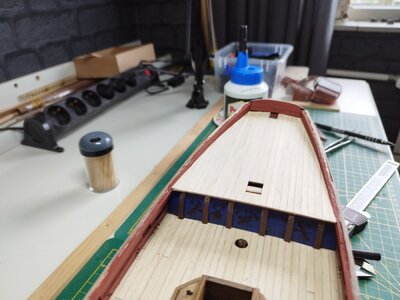
With the gun deck and the quarterdeck in place i started to plank them both.
Because i used a kings plank on the main deck in the middle i used it again on both decks.
The kings plank is a little bit another color and a little wider. Because i used it over the whole model it looks great.
I started planking in the middle and worked to the outer sides.
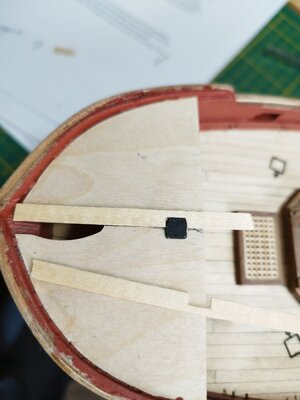
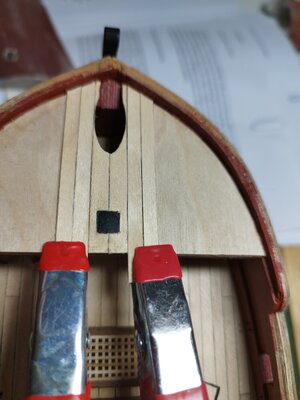
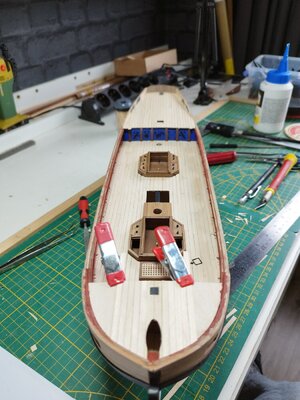
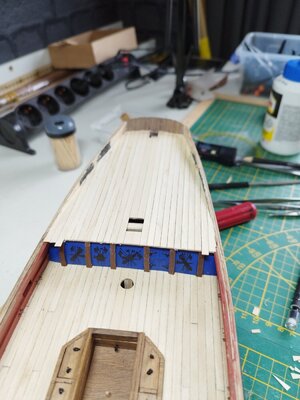
After sanding the decks i took some scrap walnut 0.5mm and place it on the the sides above the quarter deck to make them a bit ticker.
Then i painted some walnut strips red and place them on the walnut.
Because i used a kings plank on the main deck in the middle i used it again on both decks.
The kings plank is a little bit another color and a little wider. Because i used it over the whole model it looks great.
I started planking in the middle and worked to the outer sides.


After sanding the decks i took some scrap walnut 0.5mm and place it on the the sides above the quarter deck to make them a bit ticker.
Then i painted some walnut strips red and place them on the walnut.


Very nice looking decks!
after I had finished the quarterdeck bulkwards I first varnished the decks again. after this I started cutting, sanding and painting the capping rails.
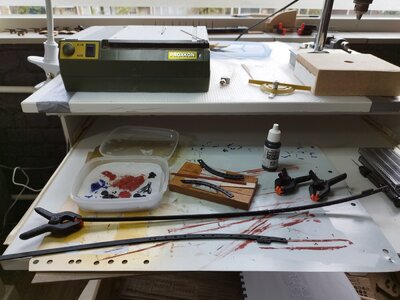
While this is drying I also sawed the bowsprit to size and made the narrowing that will be in the deck. I still have to sand it down but that will come later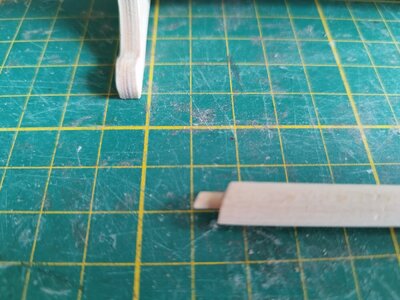
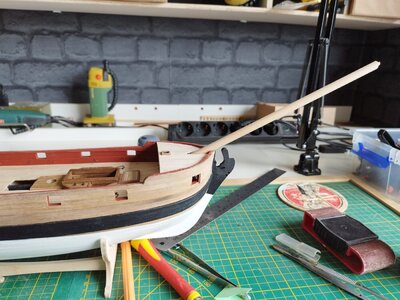
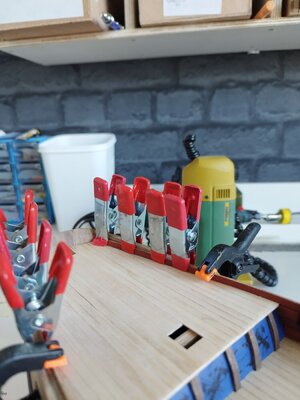
Now that the capping rail has dried nicely, I glued them on and secured them with some clamps.
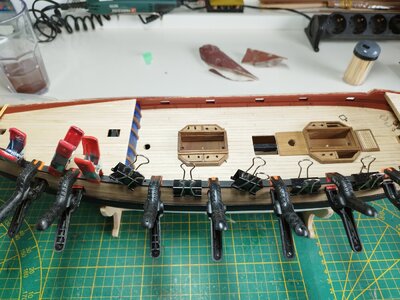
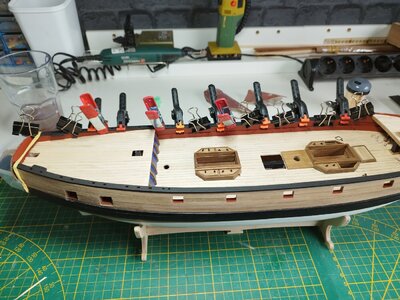
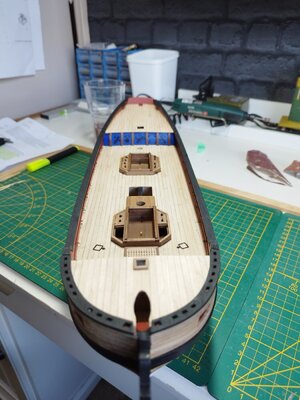
I did this piece by piece.
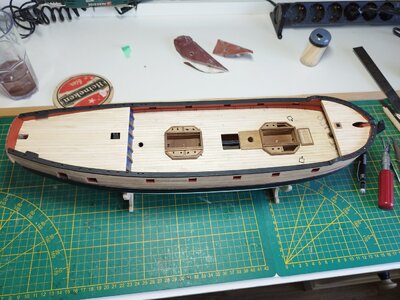
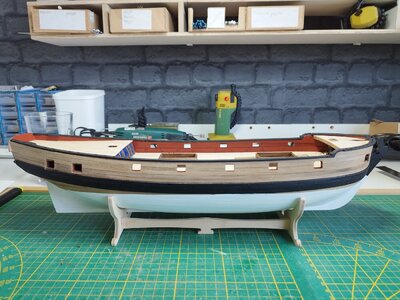

While this is drying I also sawed the bowsprit to size and made the narrowing that will be in the deck. I still have to sand it down but that will come later


Now that the capping rail has dried nicely, I glued them on and secured them with some clamps.


I did this piece by piece.


While working on the model i skipped some small parts. Now it's a perfect time to do it.
So i made the hatch on the quarterdeck. And placed this.
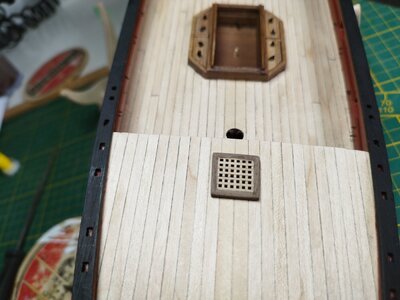
And on the stern counter i cut out the stern vents and placed them back into the open spots.
I also placed the hinges on to them and drill the holes for the vent tackles.
Because the model lay upsidedown now the picture is also.
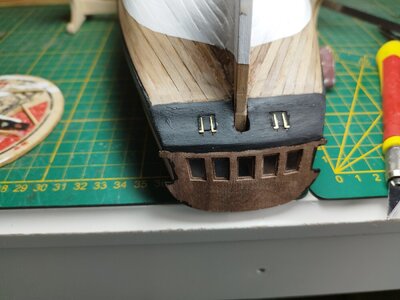
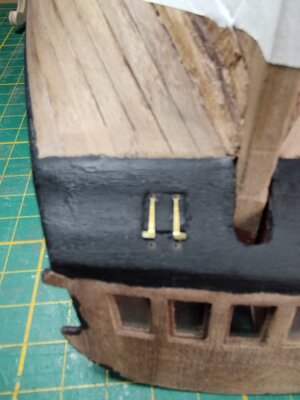
So i made the hatch on the quarterdeck. And placed this.

And on the stern counter i cut out the stern vents and placed them back into the open spots.
I also placed the hinges on to them and drill the holes for the vent tackles.
Because the model lay upsidedown now the picture is also.


The sheer rail is a brass strip that is quite difficult to bend. Fortunately, you can also use the bending jig that comes with the model for this.
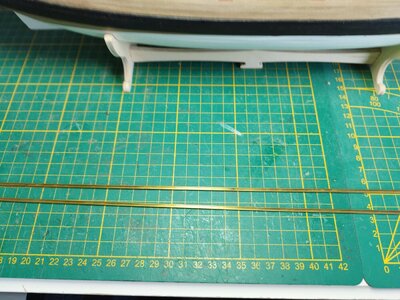
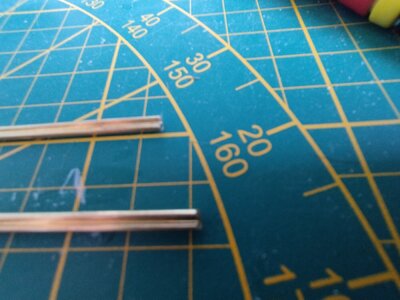
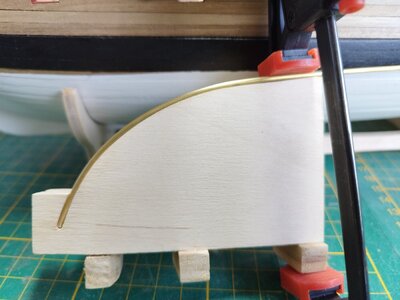
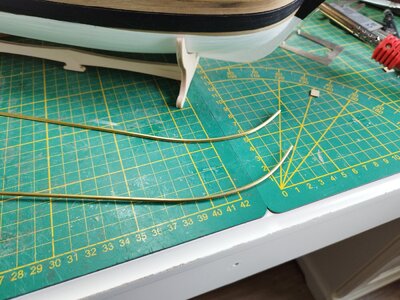
The brass sheer rail bends the easiest when it is warm (be careful not to get it too hot). After bending I first painted it black.
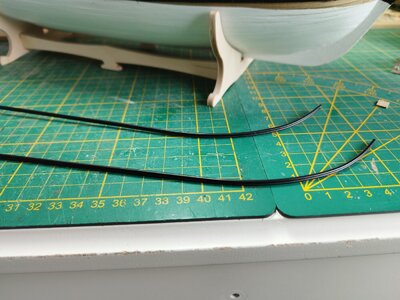
And glued it to the model when the paint is totally dried.
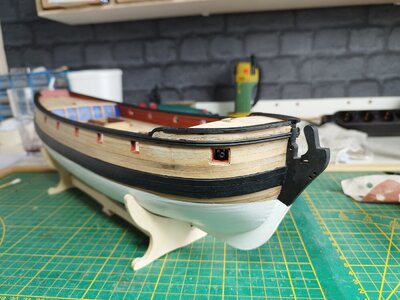
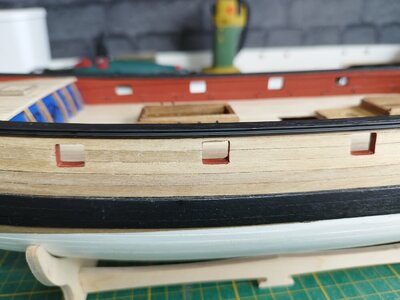
After this I immediately painted the forecastle capping blue.
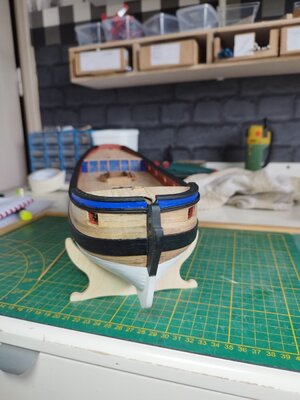
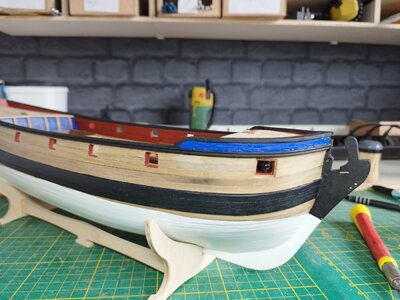


The brass sheer rail bends the easiest when it is warm (be careful not to get it too hot). After bending I first painted it black.

And glued it to the model when the paint is totally dried.


After this I immediately painted the forecastle capping blue.


Kurt Konrath
Kurt Konrath
Great details and guidance on what and why of the work being done. As what I consider myself still a novice, this level of instruction and details are very welcome to see and read.
Looking very good - good job my friend 
Because I don't like having to turn the model over and over, I skipped a few chapters of the construction description. And after this piece, which I do first, I also just go back to the chapter where I was originally.
I have now started at the rudder.
After cutting out the rudder I sanded it and fitted it to the model.
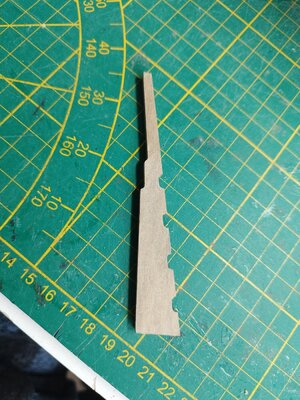
Immediately i drill a hole into it for a later stadium. Otherwise i have to drill the hole when the rudder is already in place.
This hole is needed when you place the steering axle.
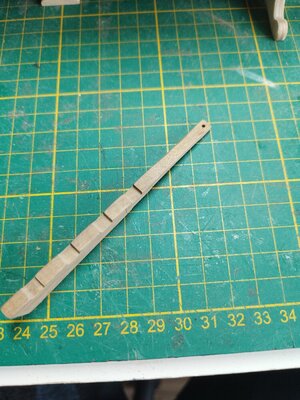
When this is done i marked the waterline and painting it.
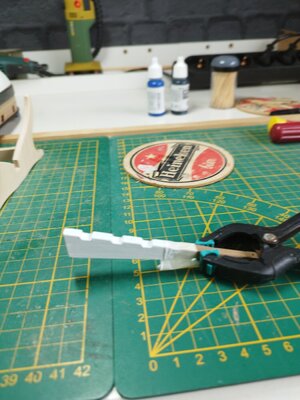
When this was dry I detached the rudder pintle straps and the hull gudgeon straps from the brass etch sheet.
I then glued these hull details in the right places according to plan sheet 1.
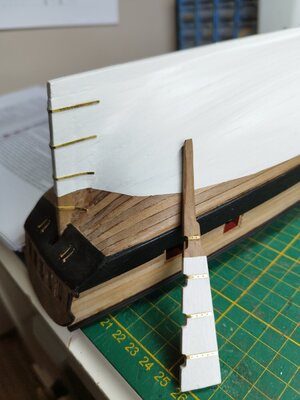
I drilled a hole of 0.65mm in the middle of the straps.
4 brass nails i bend 90 degrees and cut if their heads, also 4 eyelets i used.
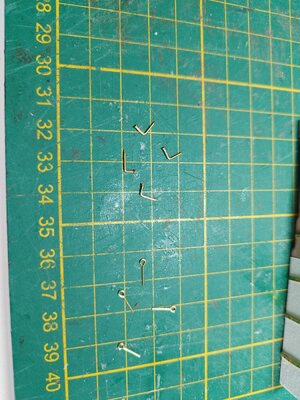
The 4 nails i fit into the rudder and the 4 eyelets i placed into the stern posts.
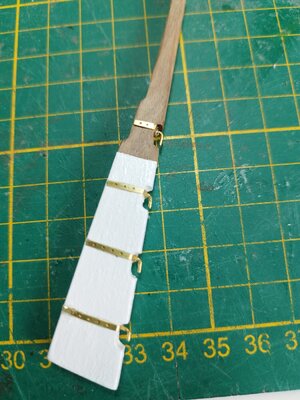
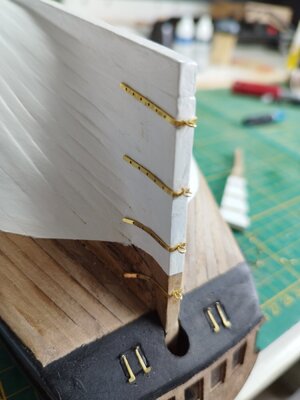
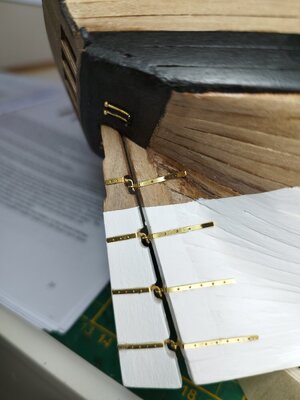
After placing the rudder I painted the straps. The one below the waterline white and the one above black.
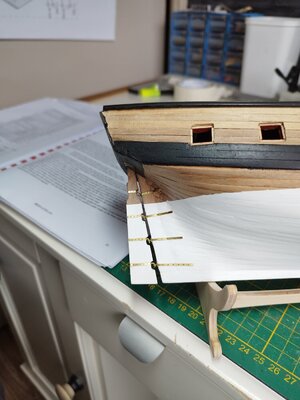
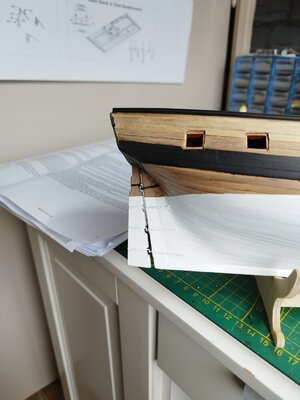
Once this is completely dry I lower the rudder to the correct height.
I have it set a little too high right now.
Because of the painting it will get a bit stuck which is easy to fix by pushing it down after the paint is dry, then it can move again.
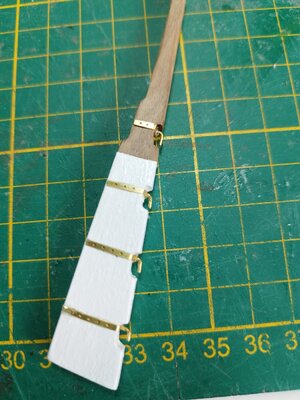
I have now started at the rudder.
After cutting out the rudder I sanded it and fitted it to the model.

Immediately i drill a hole into it for a later stadium. Otherwise i have to drill the hole when the rudder is already in place.
This hole is needed when you place the steering axle.

When this is done i marked the waterline and painting it.

When this was dry I detached the rudder pintle straps and the hull gudgeon straps from the brass etch sheet.
I then glued these hull details in the right places according to plan sheet 1.

I drilled a hole of 0.65mm in the middle of the straps.
4 brass nails i bend 90 degrees and cut if their heads, also 4 eyelets i used.

The 4 nails i fit into the rudder and the 4 eyelets i placed into the stern posts.


After placing the rudder I painted the straps. The one below the waterline white and the one above black.


Once this is completely dry I lower the rudder to the correct height.
I have it set a little too high right now.
Because of the painting it will get a bit stuck which is easy to fix by pushing it down after the paint is dry, then it can move again.

Kurt Konrath
Kurt Konrath
Did this ship have rudder safety chains I see on many old sailing ships?
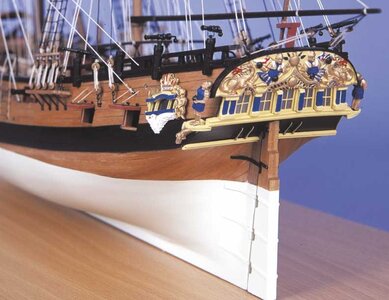
The photo is showing the Granado kit model build out of the box, because it a photo published by Jotika / Caldercraft.So far i have seen in the description it doesn't.
I think it's a pity because it always look great on the models
I found this picture on the internet of this model
You can see it isn't there
View attachment 373888
Due to the fact, that there is no chain included in the kit content, there is also no chain installed at the rudder.
A chain would be a fine detail to batch your model with adding some details


