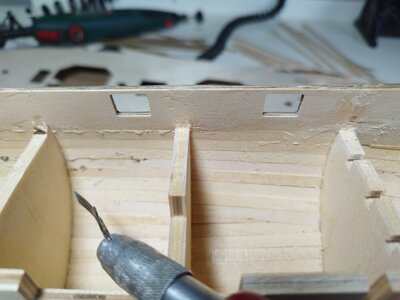
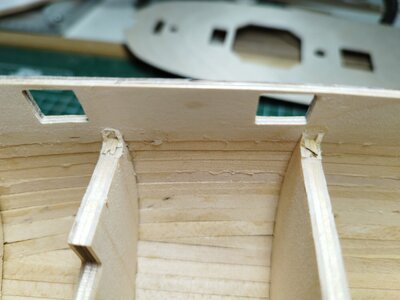
CalderCraft HM Granado

Joined
Feb 27, 2021
Messages
187
Points
143

Location
The Netherlands, Brabant
A year ago i bought this model but didn't receive it complete. The factory got some problems with the wood.
Now finally the last pieces are received and because i finished black beards ship i cleaned up my shipyard and today i started building.

Need to say i also watch the video's that kevink shared in the forum where i unpacked this model.
And again i thank you for them. I probably will watch them many times building this model. You show a lot information in them.

Back to the ship.
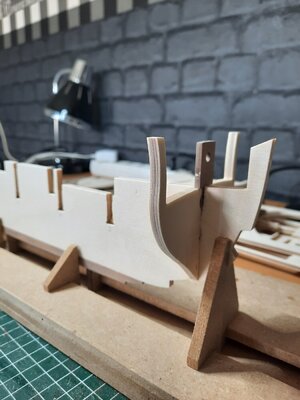
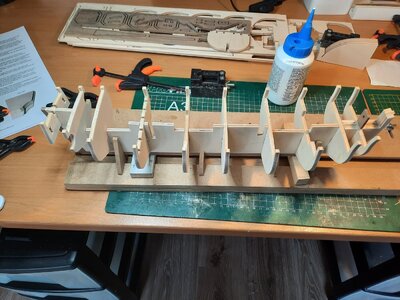
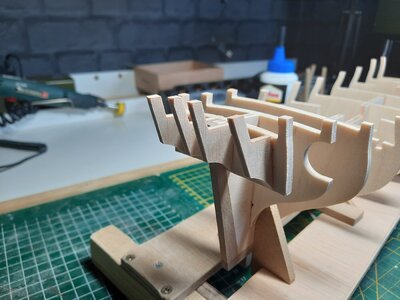
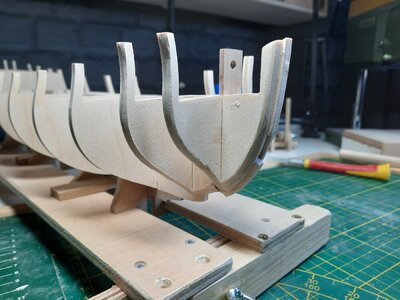
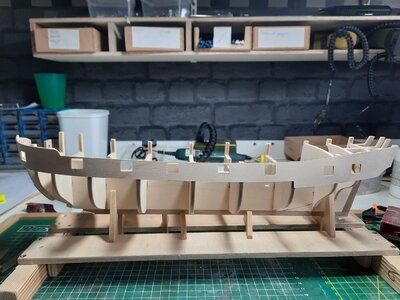
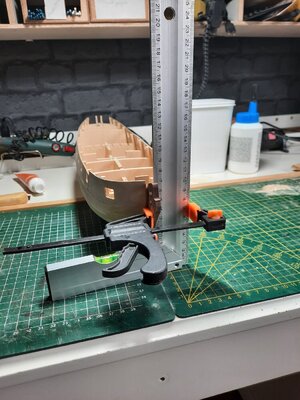
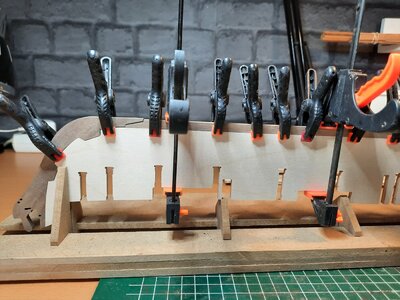
I have put the bulkheads on the keel and thanks to the video's i didn't make the mistake with bulkhead 8. It is easy to misplace that one.
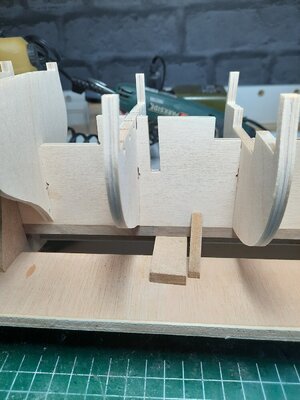
20221212_121002.jpg
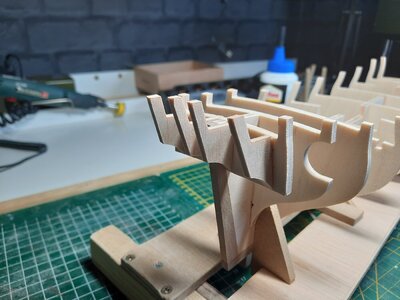
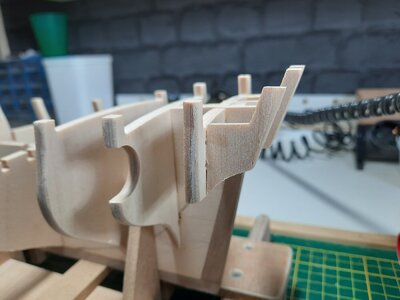
Also the walnut bowsprit is placed on bulkhead 1. I didn't put in bulkhead 15, it is a false one so i can place this in a later stadium. I have placed the walnut stern post and fals keel on before the bulkhead , but not yet the stern. Its easier with sanding the frame, so that one i will also place in a later stage. 20220407_112104.jpg20220408_101606.jpg20220407_113755.jpg20220410_121940.jpg20220411_132238.jpg
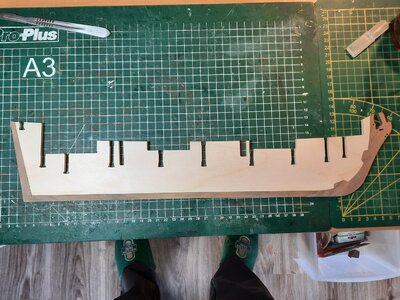
20221212_121609.jpg
After the gleu dried i started today sanding the front
And i placed the outer stern extensions.
20221212_115241.jpg20221212_115250.jpg

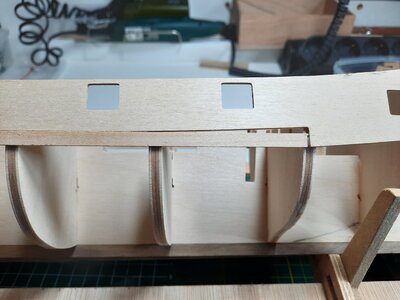
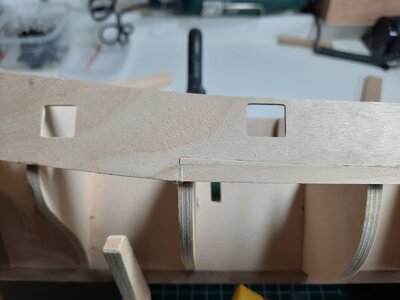
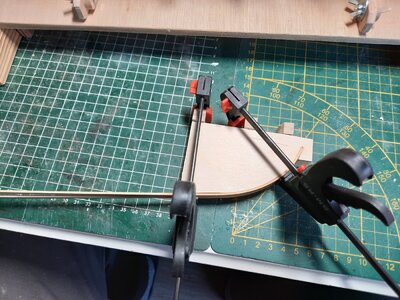
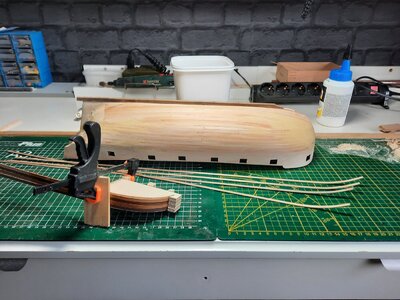
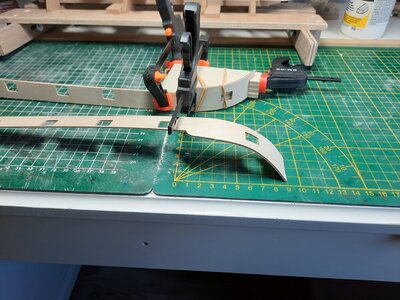
With the model you get a bending piece of wood. So you can use it for bending the gunport patterns, it's a nice and easy tool.20221212_123111.jpg So last thing for today is bending the second gunport pattern and let it dry. (I did yesterday the 1st one)
20221212_115323.jpg

20221212_115241.jpg

20221212_115250.jpg
 
Today i have being sanding the backside, and checked if everything was in a correct line so the planking will be smooth.
20221213_115107.jpg


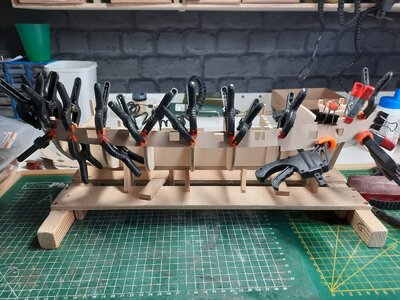
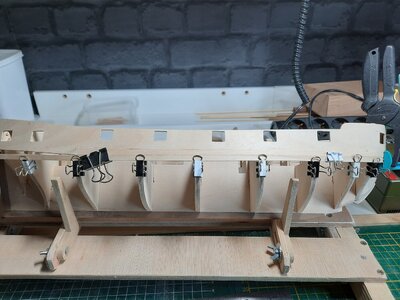
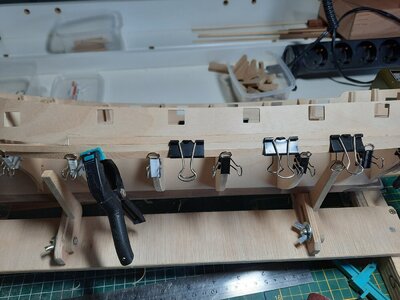
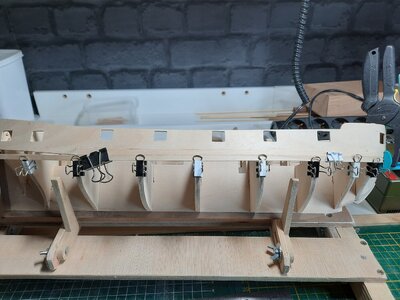
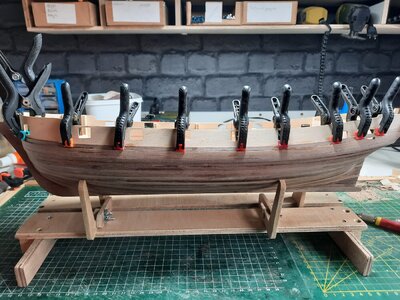
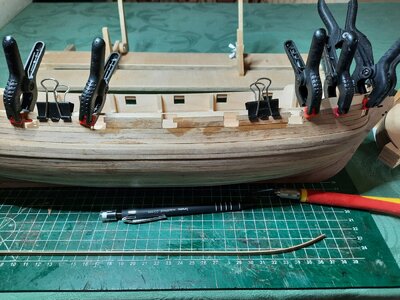
I also have put on 1 of the gunports patterns. Needed a lot of clamps to keep it in the right position as you see.

20221213_122920.jpg

This side is now dry, i use woodgleu so i give it at least 2 hours to dry.
20221213_133624.jpg
for today i am gonna put on the otherside also and let it dry again.
Iff im happy with the results tomorrow i hope i can start putting on a few planks already.
 
I am happy to see another Granado in a building log
Have fun and show us as often as possible some progress
 
Didn't get very far yesterday and today will not be better, lot stuff to do just before Christmas.
Hopefully i get some more work done this week on the model.

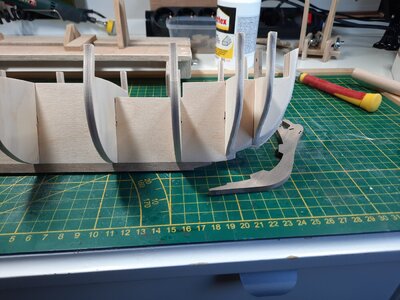
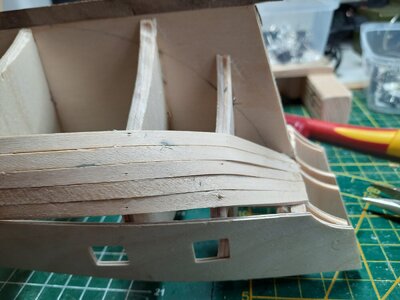
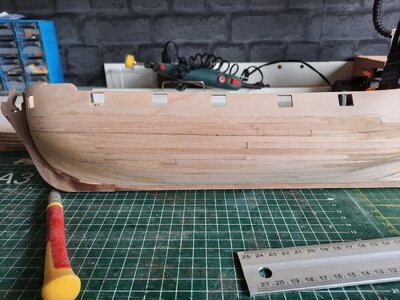
I started on the first layer of planking. The part that isn't so spectacular to post here.
But i begon on the same high as the gunports pattern ends on bulkhead 8.
20221215_085218.jpg
Then i filled the gap above it. So i have a straight line.
20221215_090154.jpg
Then i put a full length under it, and you can go on and on.
20221215_103004.jpg

20221215_120740.jpg
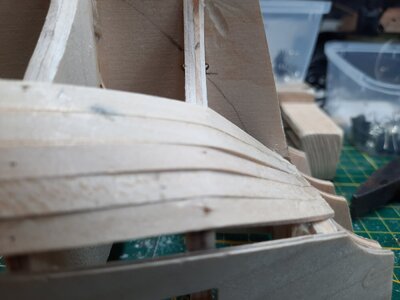
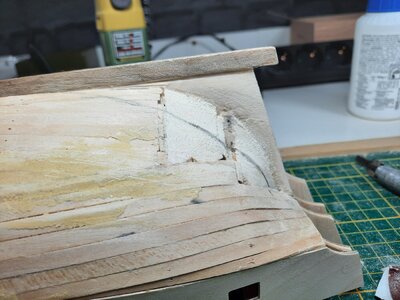
On the bow you need to sand them in shape.
The backside i didn't glued, i do that later when i have about 5 planks on it.. i need to make those wet too to bend so maybe i saw them of and put them first a while in water. So they bend easily when i try to put them on again and shape them.
Not really sure what i will do

You really need to soak the planks before you can bend them. And it takes about 1 hour to dry.
You can use the bending mall for it that you used at the gunports pattern. I glued some old wood on it so the clamps stays better on their place.
20221214_140457.jpg

20221215_103004.jpg
 
Last edited:
I forgot to mention, the rear of the ship is hard to bend in the right position.
It have a sharp angle and even soak strips break easily.
1671359680517662929965675004630.jpg

it is the first layer so you will sand it away and it will look smooth after sanding.
I have glued on the inside of bulkhead 10 a extra layer to have some more grip with gleuing on the planks.
20221218_105657.jpg

I also choose to cut the planks in half, not all on the same lenght, so it ends [or starts it how you look on it] on different bulkheads.
It makes it a lot easier to get them in place.
And you don't need to soak both sides to bend them.
20221218_112749.jpg

I also took the walnut strip of at the rear end.
Because i don't want it to be damaged when i am sanding the model.
20221218_105724.jpg

20221218_105657.jpg

20221218_105724.jpg
 
After I was almost done with the first layer of planks and read through the description again I found out that I had read over a line.
I had drawn the bearding line nicely for the first layer, but did not see at all that I had to sand it thinner.
To solve this, I redrawn the bearing line and decided to remove the rear piece of planking. Behind bulkhead 10 and a piece between 9 and 10.
Unfortunately, with planking on it, it is not possible to sand it away.


I immediately ordered some balsa wood to fill it in these places after adjusting.
This will probably work better to place the 2nd layer of planks.

It would have been even better to sand this to 2mm right away, before the bulkheads and walnut stips were on.

So I'm going to adjust this and clean it first.
And sand the beardingline to the right size.
And hope that my ordered balsa will be delivered quickly.
 
I have placed some balsa wood on the rear where i made the mistake.
After filling with balsa wood i sanded it in the right shape and draw the beardingline on to it.
Im not totally sure i need to sand it even thinner as now.
1000000156.jpg
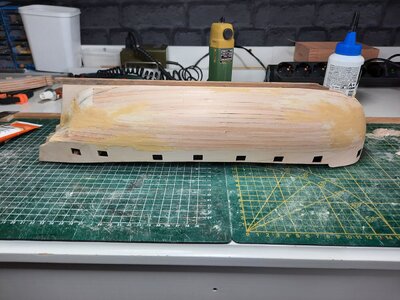
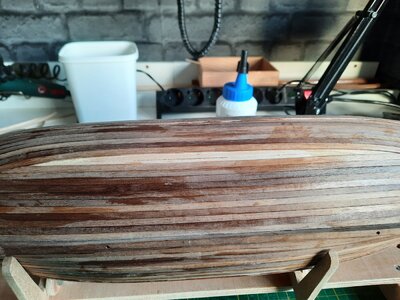
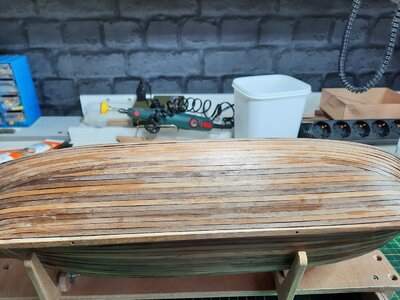
After this i sanded the whole model and put some putty on the places im not satisfied with.
When this is dry i will sand the model again.
1000000159.jpg
I also have soak some walnut strips and placed them in the bending block. When they are dry i can look if i need to sand the beardingline more.

For now it's enough for today so everything can dry nicely.

I wish you all a great new year and a lot building pleasure for 2023.
 
I started today by first soaking a few walnut planks so I could bend them.
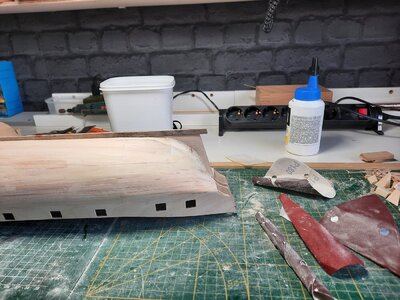
Then I started sanding the hull.
I don't use any electronic devices to sand now because it can go to fast and you won't have a smooth hull.

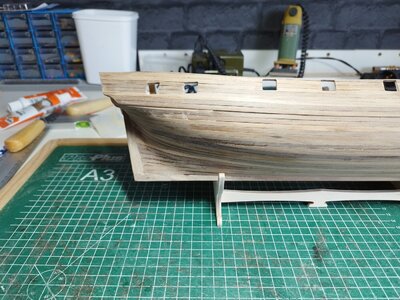
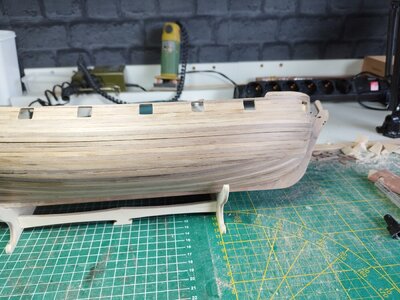
First i used a coarse sandpaper, then with a finer grit. After smooth sanding, i check whether the bearding line is flat enough to place the walnut planks in the right shape.
1000000191.jpg
After some more sanding i sanded the entire hull again with a very fine grain of sandpaper so that the hull is nice and smooth.
The few little unevenness of the plaster are so thin now you won't see it when the second layer goes on to it.
1000000190.jpg
Then i wiped the hull with a slightly damp cloth so that all the sanding dust is gone.
1000000192.jpg
While sanding, immediately soak the next 4 walnut planks and secure them to the bending block. (A maximum of 4 planks can be bent at the same time each time).
1000000193.jpg
 
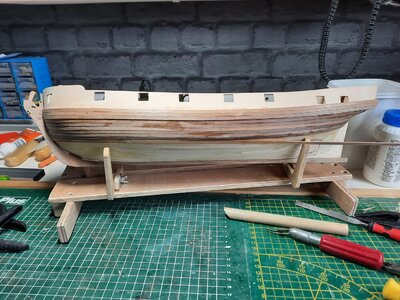
Today i placed the stem so i could used it to mark a line around the model for the wale. This will also be the first plank of the second layer that get on to the model.
I saw how kevink hold his model to mark the position of his wale in his video. I didn't know this trick but it works great.
1000000204.jpg1000000205.jpg1000000207.jpg
 
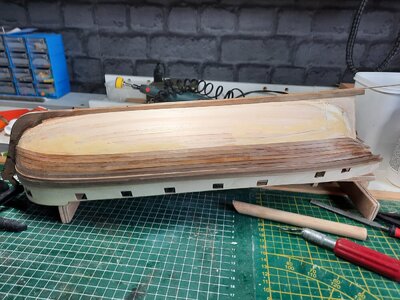
I have started to put on the second layer,
Walnut strips of 4x1mm.
First i glued 3 planks on both sides above the marking line.
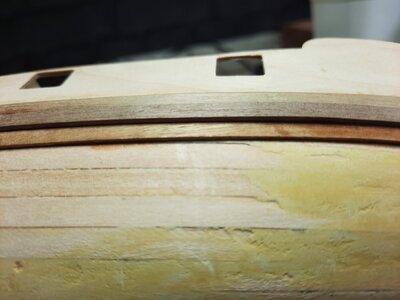
Those 3 will be the basis of the wale.
Now im glueing on those 3 again a 1 walnut plank.
Normally i use pins to keep them in place but the description says i have to use Medium super gleu, or super gleu.
Never did it before this way so it is nice to do it differently than im used to do.
It is also a bit of practice. Gladly kevink showed it and called is gleu nails.
When both sides have those 3 on and the second 3 are placed on the wale i can start planking below the wale to the false keel
1000000231.jpg1000000232.jpg
 
Hi Nietslim, I just stumbled across your build log and have been viewing it with interest. I have just started building this model myself. I started in November 2022 and haven't had much time to progress (I'm about to add the gunport patterns). It seems that you are a few pages ahead of me in the instructions, so I will follow in your footsteps (if you don't mind). I will also start a build log and upload some photo's as I think it will be interesting to compare how we approach the intricacies of the build.

 
Hi Nietslim, I just stumbled across your build log and have been viewing it with interest. I have just started building this model myself. I started in November 2022 and haven't had much time to progress (I'm about to add the gunport patterns). It seems that you are a few pages ahead of me in the instructions, so I will follow in your footsteps (if you don't mind). I will also start a build log and upload some photo's as I think it will be interesting to compare how we approach the intricacies of the build.

Hey, Philbo
I can't hardly wait till see how far you are.
It's great to know you have pictures and will share so i, and others can see how far you are and how it looks.
Im not a fast builder. So im not sure i will catching up with you or even will pass you.
I think it's great you make a building log. I can follow you also and learn of the things you do or already have done on the model
 
Actually i had to sand and paint the wale black before i went further with the second layer.
This is what the description says.
But when you sand the second layer below the whale there is a big change you damage the paint when you touch it by accident with sanding.
Thats the reason i do first the whole second layer planking.
1000000273.jpg
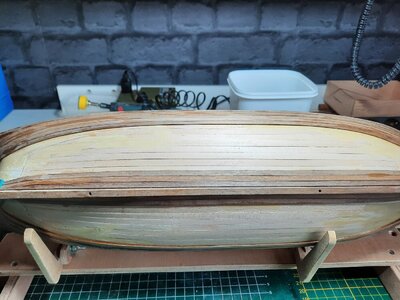
Also i had to plank from the whale down all the way to the false keel.
I didn't do it that way.
When i reached the point the model starts to curve i start planking from the false keel up.
Personally i like the look of the ships planking that way a lot more.
1000000275.jpg1000000294.jpg1000000302.jpg1000000337.jpg1000000345.jpg

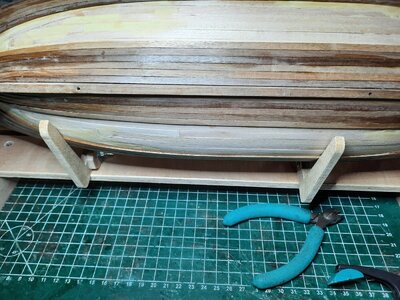
Now i only have to cut and place some planks in the gaps on the rear and clean and sand the second layer now.
1000000347.jpg
I read the description a bit further and saw in a later stadium of the model you need to plank above the wale, as well you make and plank the stern counter.
Now im not totally sure if i better plank above the wale also before i start sanding.


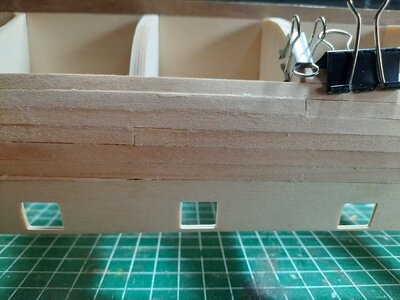
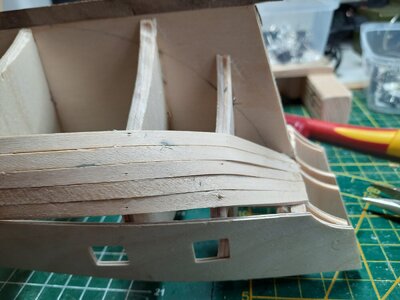
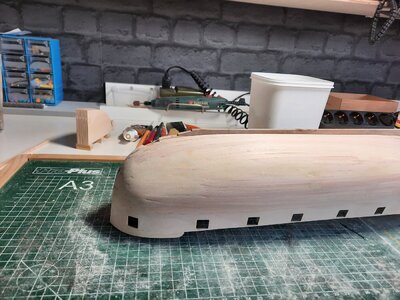
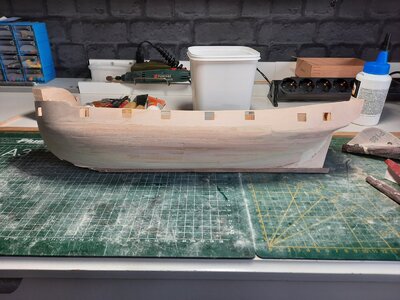
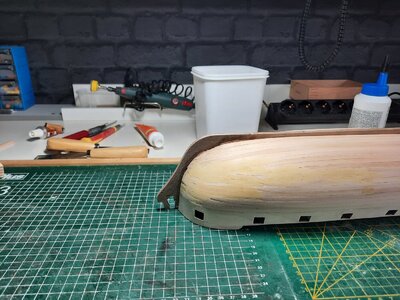
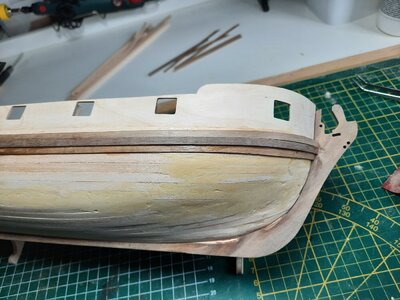
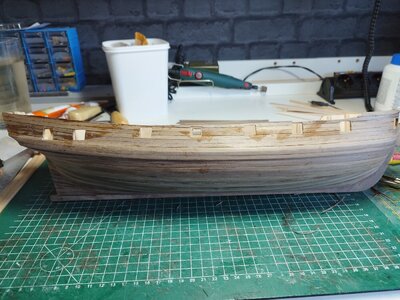
After i sanded the model i decided to do the second layer at the gunports first. So i glue those walnut strips on the model and cut out the gunports, now this is done i have to clean it and sand it so i can start painting the wale, and draw and paint the waterline.
Don't do the second layer above the whale !!
i found out that you better do it in a later stage. I had to remove them in post #35

20230116_112305.jpg
20230117_122422-jpg.352126
IMG_20230118_122345.jpg

20230117_122422.jpg
 
Last edited:
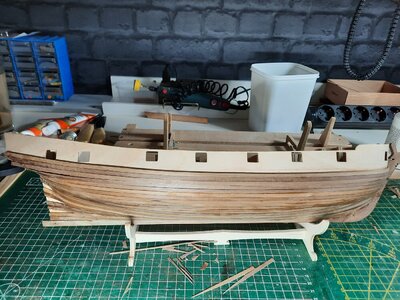
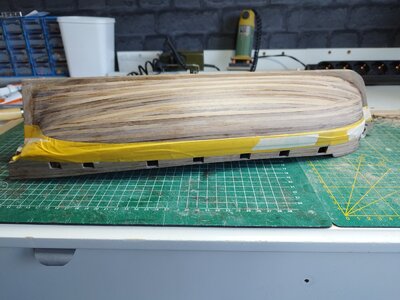
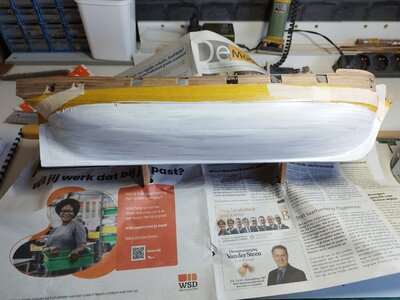
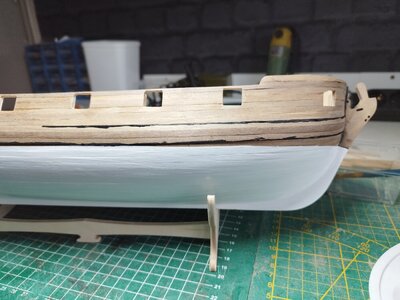
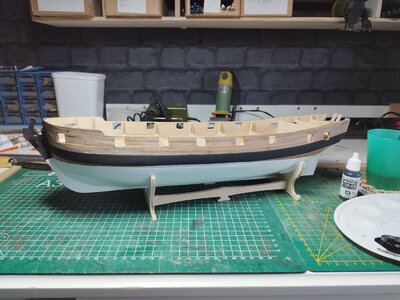
After cleaning up , sanding and making the gunports nice i put on the rear the walnut strip back that i took of when i started with the first layer of planks, Then i draw the waterline and
tape it all around the model.
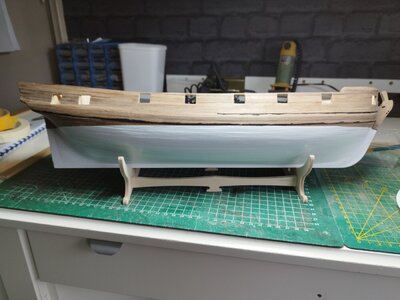
After checking if it looks on both sides the same i painted one side with primer. When this is dry i will do the other side also before i paint it.
IMG_20230119_120006.jpg
IMG_20230119_120009.jpgIMG_20230119_125109.jpgIMG_20230119_133547.jpg
 
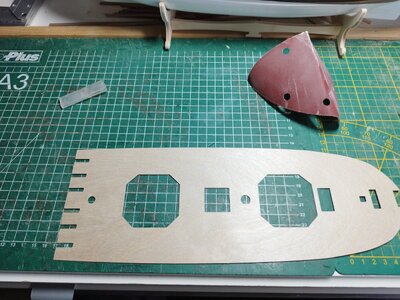
Next to do is cut out the upper gun deck of 0.8mm ply wood.
IMG_20230123_115708.jpg
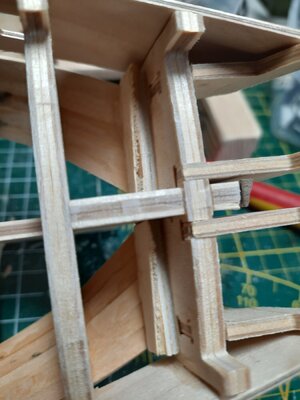
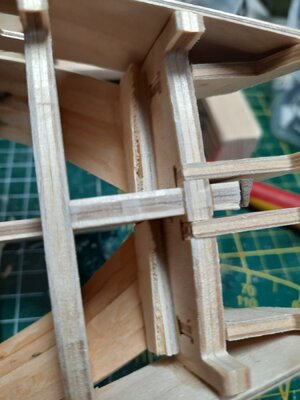
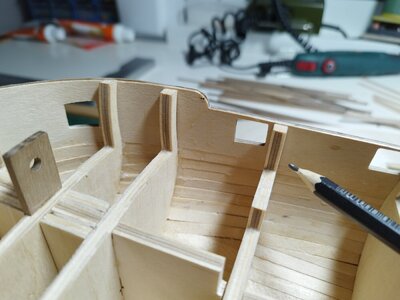
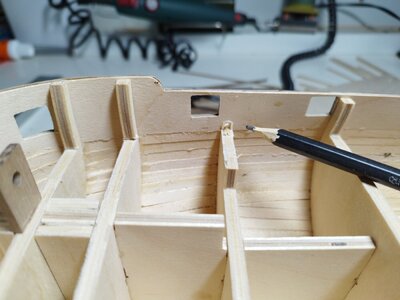
an start removing the bulkhead uprights down to the deck level.
IMG_20230123_120127.jpgIMG_20230123_120604_1.jpg
Remove all glue that is there and sand the bulkheads smooth.
This is quite a bit work to do, not so easy to reach probably on the sides because it's a little bit round.
16744737037878796982851419342841.jpg16744737372071940811571552856046.jpg
 
A year ago i bought this model but didn't receive it complete. The factory got some problems with the wood.
Now finally the last pieces are received and because i finished black beards ship i cleaned up my shipyard and today i started building.

Need to say i also watch the video's that kevink shared in the forum where i unpacked this model.
And again i thank you for them. I probably will watch them many times building this model. You show a lot information in them.

Back to the ship.
I have put the bulkheads on the keel and thanks to the video's i didn't make the mistake with bulkhead 8. It is easy to misplace that one.
View attachment 345263
Also the walnut bowsprit is placed on bulkhead 1. I didn't put in bulkhead 15, it is a false one so i can place this in a later stadium. I have placed the walnut stern post and fals keel on before the bulkhead , but not yet the stern. Its easier with sanding the frame, so that one i will also place in a later stage. View attachment 345266View attachment 345267View attachment 345268View attachment 345269View attachment 345270
View attachment 345264
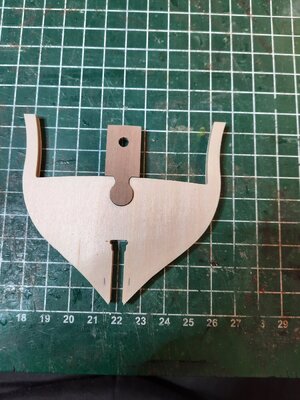
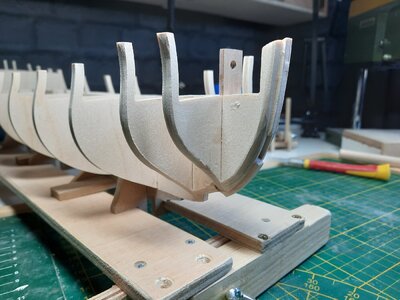
After the gleu dried i started today sanding the front
And i placed the outer stern extensions.
View attachment 345272View attachment 345273

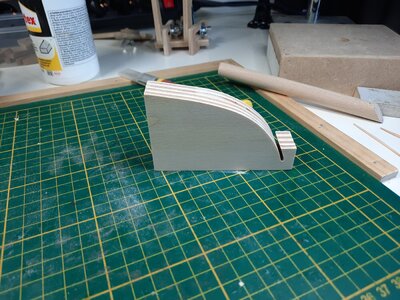
With the model you get a bending piece of wood. So you can use it for bending the gunport patterns, it's a nice and easy tool.View attachment 345275 So last thing for today is bending the second gunport pattern and let it dry. (I did yesterday the 1st one)
View attachment 345274

View attachment 345265

View attachment 345271
Hallo @Nietslim
we wish you all the BEST and a HAPPY BIRTHDAY
Birthday-Cake
 
Back
Top