Anteo Harbour Tug. Panart

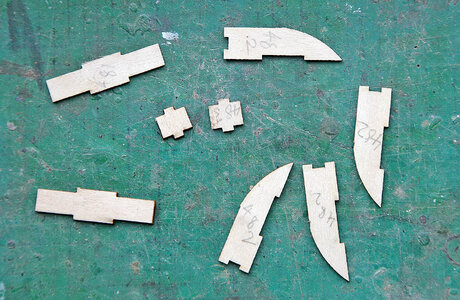
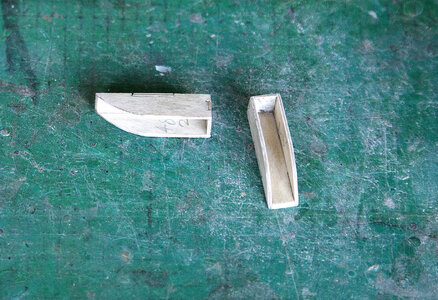
Good morning all, again thanks for your likes. My last post was the recovery of the decks which was a success but in my euphoria and after posting I realised that I was a bit out of sync with the build and missed an earlier session that I’d photographed, so here’s a description of where I was at.

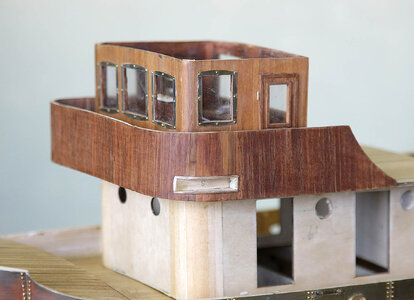
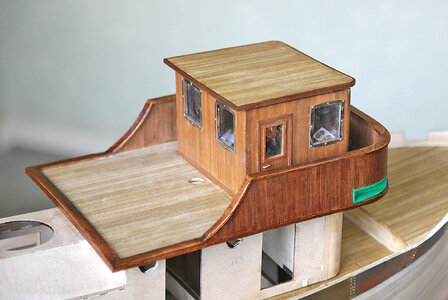
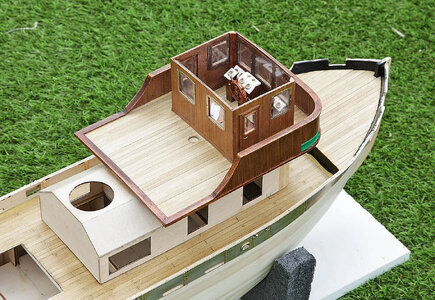
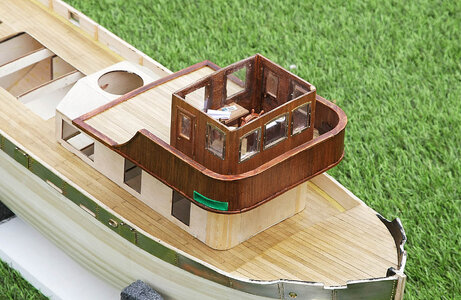
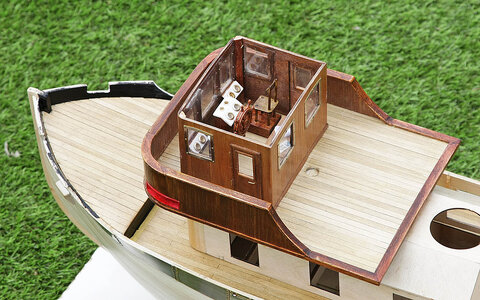
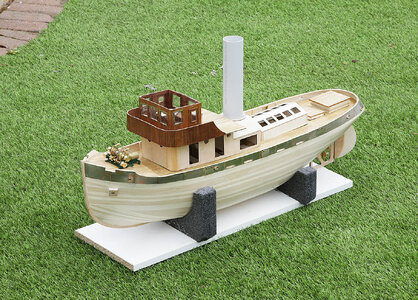
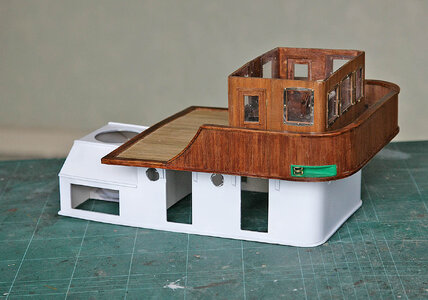
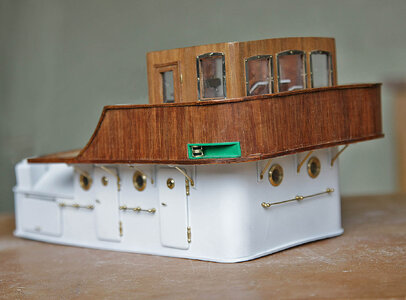
I made up the units for the navigation lights and cut the opening in the bridge to house them. Prior to fitting I painted them, red/green then glued them into place. I made up from 10 x 2mm strip the hand rails, fitted them and a lower beading for the bridge. Using the same strip I made up and fitted into place the deck edging. I stained and varnished them all continuing with the mahogany theme. Not an overcomplicated process but just basic model joinery, but once again very enjoyable.


077.jpg

077a.jpg

088.jpg

090.jpg

092.jpg

093.jpg

095.jpg
 
If you had not told us about the problem with the paint bleeding into unwanted areas we never would have known. Beautiful recovery job.

Jim
Hi Jim, Thanks, I think that modellers are their own worst critics, we are so close to the model during a build, that we see every imperfection, imperfections that nobody else would notice but we magnify their importance in our own minds and aren’t happy unless we do our best to rectify them, I think that’s the nature of our hobby
 
Hello, following your wonderful construction, I see that you have put some brass frames on the outside of the bridge windows that I assume came with the kit, that's right, right? In the same way as the exterior metal coating of the bows, gunwales and transom.
The level of detail in the bridge is great, I love it, you just need to hang a jacket from the pilot's chair... (it`s only an idea, ;))
Thank you for sharing.
Hi Adry, Welcome to my build, good to have you along. Yes the brass sheet came with the kit but it was not as it appeared. It wasn't brass, it was coated steel with a shiny coloured laquer finish. I wasn't going to use it as such but when I started to sand it with very fine grit to give it a key for painting it started to give the appearance of brass which gave me the idea of the type of colour scheme Brass/Mahogany that I would use. If you look at some of the sheathing you'll see a copper colour starting to show through, I had to be very careful with sanding to not go through to this coat. It's usually cold in the UK so the captain keeps his jacket on. When the roof is on you can hardly see any interior detailing so I did it with just the basic needed not to look empty.
 
Hello Ken! Hello modelers, SOS readers! Ken's models look great in my opinion, and his build books rival the build manuals. And I won't be wrong if I say that Ken's build logs will be better.. Please continue, Ken! with best wishes Egor! Thumbsup :p
 
Hello Friends, Thanks for showing an interest in my build and again thanks for your comments and many likes.

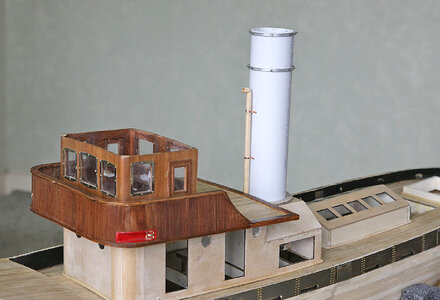
The build is progressing quite well with no more surprises. Today I’m showing you the funnel and how it now gives more of an impression of the boats outline. I’ve fitted the rings around the upper part of the funnel, these don’t fit flush but are about 3mm out from the surface, they are fixed in place with steel pins, I also made up and fitted the vent pipe. I prepared the surface of the funnel and the deck structures then primed them using an acrylic rattle can. I sprayed the area where a white stripe will be, I’ll mask this, then when the rest of the funnel is painted I’ll remove the mask, hopefully leaving a crisp white band. I feel like it’s now really taking shape.


083.jpg

101.jpg

103.jpg
 
Great job Ken. I've always used adhesive backed automotive pin stripe on my models for a nice clean line on waterline or funnel stripes. It saves a lot masking and has never come off on my RC ships that see a lot of water. Just an idea.

Jim
 
Great job Ken. I've always used adhesive backed automotive pin stripe on my models for a nice clean line on waterline or funnel stripes. It saves a lot masking and has never come off on my RC ships that see a lot of water. Just an idea.

Jim
Hi Jim, Yes I thought of doing it that way. I’m an impatient builder, I didn’t have any available, I didn’t mind the extra work so just went ahead and painted it, I’ve done a fair amount of airbrushing so am confident that I can get the result that I want, I also like the suspense as you peel off the masking and the pleasure of seeing that perfect edge.
 
Hello again. Thanks for all the likes that I’m getting, I assure you that they are very much appreciated and keep me motivated.

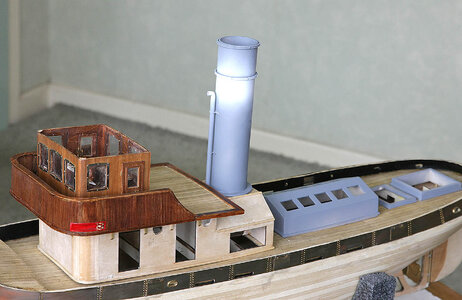
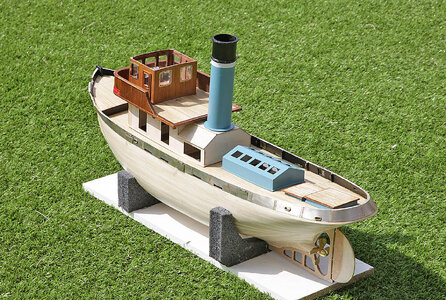
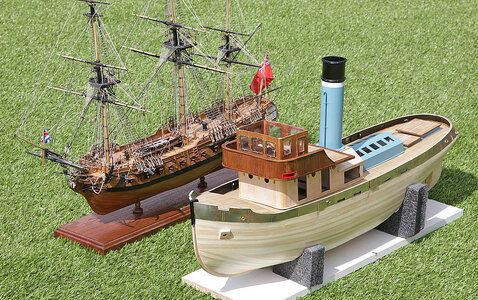
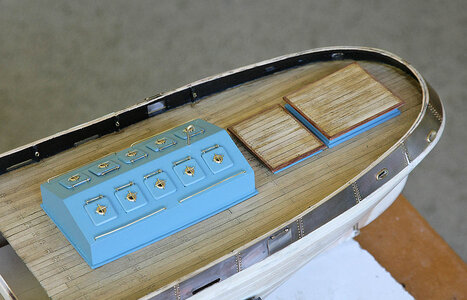
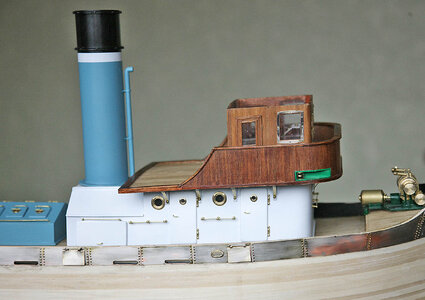
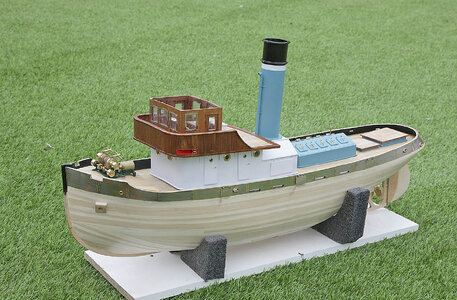
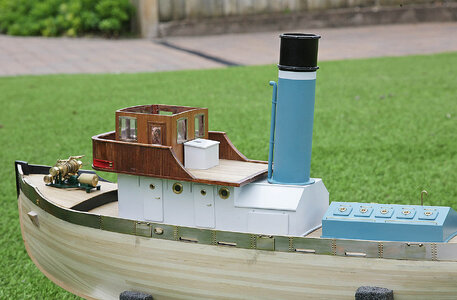
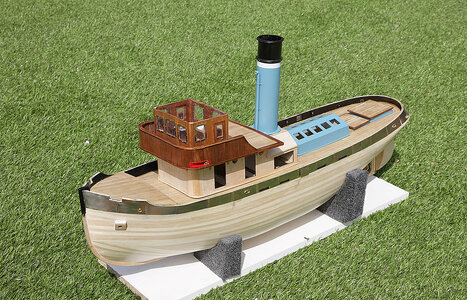
Today’s progress report is only a short one but as you can see in the photos it’s a huge visual step. The funnel and deck structures have now been painted and I’m delighted with the result. I used Tamiya acrylic, a mixture of 2 blues/grey/white, half gloss and half matt, not your usual tug livery but I like it. I’ve also fitted the planked roofs on the aft structures that I’d made earlier. For a size comparison I’ve shown it with my Ajax, a 1:72 frigate 800mm in length. Next will be quite a bit of brass detailing.


104.jpg

105.jpg

106.jpg
 
Hello again. Thanks for all the likes that I’m getting, I assure you that they are very much appreciated and keep me motivated.

Today’s progress report is only a short one but as you can see in the photos it’s a huge visual step. The funnel and deck structures have now been painted and I’m delighted with the result. I used Tamiya acrylic, a mixture of 2 blues/grey/white, half gloss and half matt, not your usual tug livery but I like it. I’ve also fitted the planked roofs on the aft structures that I’d made earlier. For a size comparison I’ve shown it with my Ajax, a 1:72 frigate 800mm in length. Next will be quite a bit of brass detailing.


View attachment 445258

View attachment 445259

View attachment 445260
Good morning Ken. As usual you are creating a wonderful model. I see spring has brought some sunshine to the UK. Now I can see the scale of your “little” tug boat;). Cheers Grant
 
  • Like
Reactions: Ken
Hello Everyone, welcome back. The likes continue and I thank you all for that, Daniel ( Badras Khan ) welcome and thanks for joining another of my builds.

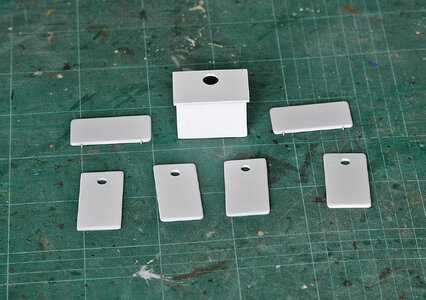
I was going to start the brass parts but as I had my airbrush set up I decided to continue painting, this time the main cabin. I masked the wheelhouse and upper deck, primed and painted it white, again using Tamiya acrylic, about 25% mat, 75% gloss, and I use about 50/50 levelling thinner which over the years I’ve found to be the perfect formula. At the same time I also sprayed the doors, vent hatch and a locker, all came out quite satisfactory. Now on to the brass.


107.jpg

109.jpg

110.jpg
 
Hello, I said that I would now start on some brass fittings so here’s the first of them. Just the one picture but I think that’s all it needs, nice and bling, just the look I’d hoped for. No subtle working boat weathering, this will be a display feature somewhere in the house, so nothing subtle, I want it to shout, “ Hey look at me. “
You'll see that I've also attached the planked tops to the rear structures.

108.jpg
 
Hello Ken ,do you have some product for anti tarnishing the brass?
Daniel
Hi Daniel, No, I just leave it natural, it would be almost impossible to coat all the brass wire and the riveted panels aren’t brass, they just look like brass, some sort of chemical coating.
 
Good morning. Today I am showing you the progress that I've made with the brass parts, I have glazed and fitted all of the ports, I’ve fitted the doors and vent, made up and fitted the hinges and handles and all the handrails. I have also made from brass the supports under the wheelhouse deck. The theme is coming along nicely and looks as I’d hoped. Now just on to some pictures showing the result.


109a.jpg

114.jpg

112.jpg

113.jpg
 
Back
Top